

You can actually grow your business faster letting your users log in to your application by their profile information. This is a win-win both for the customers and for you. That’s because your users can access or login to your application or services with just a single tap and you get all his/her details like email and name.
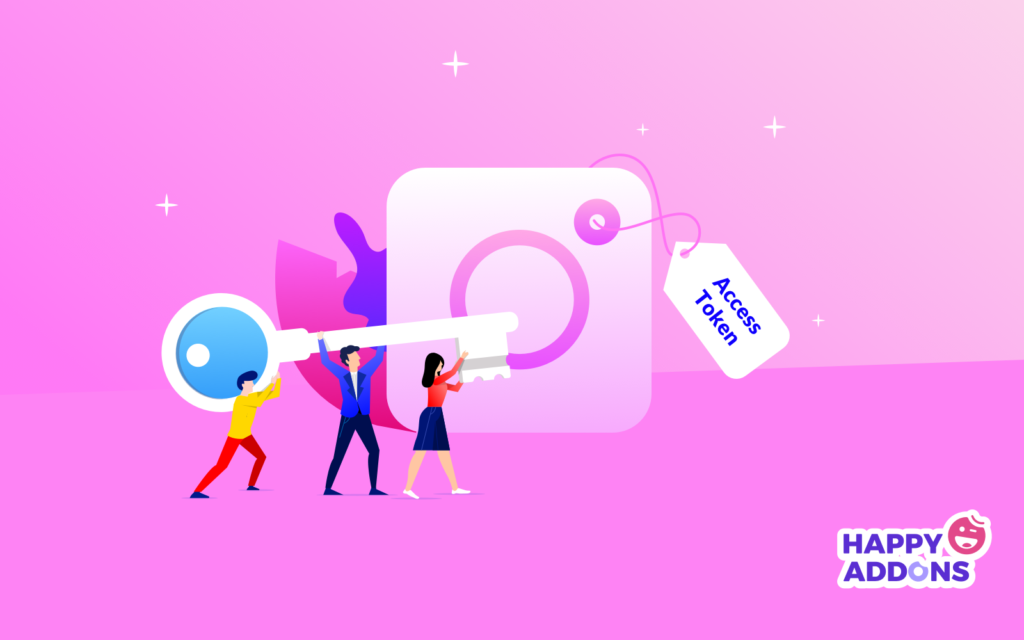
What can be a better way to collect leads than this? With the help of Instagram Access Token, your customers can request on behalf of you to give you his/her details. If you are using WooCommerce, you can use this method to collect user details.
But how to collect the Instagram Access Token? In this article, we will be showing you easy ways to get the Instagram access token. So, sit tight and go ahead!
Method 1: Getting Instagram Access Token for Non-developers
Follow this method if you don’t have any programming knowledge:
Navigate to developer.facebook.com. Next, click on My Apps.

Now, select “Create App”.

Select for Everything else:

Fill out the App Display Name, App Contact Email and hit the “Create App ID” button.

Next up, click the “Add Platform” button:

Select your platform. In this case, we are choosing the “website”.

Provide your website URL and save changes:

Now, go to the Product option:

Now, select “Set Up” from Instagram Basic Display:

Now, scroll all the way down below to “Create New App”.

You will see a popup window. All you need to do is to provide a Display Name and hit the “Create App” button.

Now, provide your website URL to the following fields and make sure to save changes:

Go to the Roles-> Roles option and select the “Add Instagram Testers” option:

Provide your Instagram username URL:

Now login to your Instagram profile then go to Edit Profile > Apps and Websites> Tester Invites. You will be able to see the invitation. Make sure to accept the invitation:

Now, go to the developer.facebook.com > Products > Instagram Basic Display > Basic Display > User Token Generator > Hit the “Generate Token” button:

Continue with your account:

Hit continue again:

Voila! Here is your Instagram access token:

If you are a developer and want to create an Instagram access token then proceed to method 2.

Method 2: Create Instagram Access Token (For Developers)
Follow these steps:
Step 1: Get Authorization
Instagram will redirect your users to your app and include an authorization code right after a user logs in and chooses which data to allow your app to access. With this authorization code, you will then be able to exchange for a short-lived access token.
To start off the process, you will need to find the Authorization Window and show it to the user:
https://api.instagram.com/oauth/authorize
  ?client_id={instagram-app-id}
  &redirect_uri={redirect-uri}
  &scope={scope}
  &response_type=code
  &state={state}        //Optional
Query String Parameters
All parameters except state are required.
| Parameter | Sample Value | Description |
|---|---|---|
client_idRequired Numeric string | 990602627938098 | Your Instagram App ID displayed in App Dashboard > Products > Instagram > Basic Display. |
redirect_uriRequired String | https://socialsizzle.herokuapp.com/auth/ | A URI where Instagram will redirect users after they allow or deny permission requests. You have to make sure that this URI exactly matches one of the base URIs in your list of valid oAuth URIs. Please note that Instagram recommends you verify by checking the list as the App Dashboard may have added a trailing slash to your URIs. |
response_typeRequired String | code | Set this value to code. |
scopeRequired Comma- or space-separated list | user_profile,user_media | A comma-separated list, or URL-encoded space-separated list, of permissions to request from the app user. user_profile is required. |
stateString | 1 | An optional value indicates a server-specific state. For instance, you can use this to protect against CSRF issues. When redirecting the user back to you, Instagram will include this parameter and value. |
Sample Authorization Window URL
https://api.instagram.com/oauth/authorize
  ?client_id=990602627938098
  &redirect_uri=https://socialsizzle.herokuapp.com/auth/
  &scope=user_profile,user_media
  &response_type=code
Successful Authorization
In the event of a successful authorization, Instagram will redirect your user to your [redirect_uri]. After that Instagram will pass you an Authorization code through the query string parameter [code]. All you need to do is to capture the code so that you can enable your app to exchange it for a temporary Instagram User Access Token.
Please note that the Authorization Codes are valid for 1 hour and you can only use it once.
Here is a Sample Successful Authentication Redirect:
https://socialsizzle.herokuapp.com/auth/?code=AQBx-hBsH3...#_
Please note that though the #_ will be appended to the end of the redirect URI, it does not belong to the code itself therefore you can remove it.
Canceled Authorization
Not always the user will complete the authorization flow. In case the user does not complete the authorization follow, Instagram will redirect your user to the redirect_uri and append the following error parameters.
In this situation, you can display an appropriate message to your users.
| Parameter | Value |
|---|---|
error | access_denied |
error_reason | user_denied |
error_description | The+user+denied+your+request |
Sample Canceled Authorization Redirect
https://socialsizzle.herokuapp.com/auth/?error=access_denied
  &error_reason=user_denied
  &error_description=The+user+denied+your+request
Step 2: Exchange the Code For a Token
When you receive a code, you will need to exchange it for a temporary access token. You can do it just by sending POST request to the following endpoint:
POST https://api.instagram.com/oauth/access_token
Body Parameters
Now you will have to include the following parameters in your POST request body.
| Parameter | Sample Value | Description |
|---|---|---|
client_idRequired Numeric string | 990602627938098 | Your Instagram App ID displayed in App Dashboard > Products > Instagram > Basic Display. |
client_secretRequired String | a1b2C3D4 | Your Instagram App Secret displayed in App Dashboard > Products > Instagram > Basic Display. |
codeRequired String | AQBx-hBsH3... | The authorization code Instagram passes you in the code parameter when redirecting the user to your redirect_uri. |
grant_typeRequired String | authorization_code | Set this value to authorization_code. |
redirect_uriRequired String | https://socialsizzle. heroku.com/auth/ | The redirect URI you passed us when you directed the user to our Authorization Window. This must be the same URI or Instagram will reject the request. |
Sample Request
curl -X POST \
  https://api.instagram.com/oauth/access_token \
  -F client_id=990602627938098 \
  -F client_secret=eb8c7... \
  -F grant_type=authorization_code \
  -F redirect_uri=https://socialsizzle.herokuapp.com/auth/ \
  -F code=AQBx-hBsH3...
Sample Success Response
There you go! If the response is successful, the API will return a JSON payload containing the app user’s short-lived access token and User ID.
{
  "access_token": "IGQVJ...",
  "user_id": 17841405793187218
}
Now that you got the Access Token, you can easily capture the access_token value. By using this short-lived Instagram user access token you can allow your app to access Instagram Basic Display API endpoints.
Sample Rejected Response
The API will return an error if the request is malformed.
{
  "error_type": "OAuthException",
  "code": 400,
  "error_message": "Matching code was not found or was already used"
}
Conclusion
We hope this article will help you to get the Instagram Access Token in the easiest way. If you think there is an even easier way, don’t hesitate to share with us so that we can all get benefitted. Thanks in advance!
Related Topic: Learn How to Add Instagram Feed on Your WordPress Website.
Courtesy: developer.facebook.com,

2 Responses
Author really never even tried to do it himself. Last part is simply doesnt work.
Hello Arthur, we have checked and our dev team shared the method with us. Thanks for informing us we need to recheck it. Insta team always changes their API. It’s really pathetic. Do you have any suggestions? We love to know that method too.
Thanks and Regards,
Gobinda.
Coordinator | Team HappyAddons.