
According to many researchers, the average conversion rate on eCommerce websites is around 2.5%-3%. This means that most people who visit eCommerce sites don’t instantly buy a product. Because most of them think they might buy the product at a later time after exploring it.
Elementor Countdown Timer is a useful widget that can save you from this hassle. It has the power to create an impulse among web visitors so they think of purchasing their desired products instantly, instead of leaving them in the ‘Add to Cart’ option.
In this article, we’ll explain a detailed tutorial on how to influence visitors with the Elementor Countdown Timer widget. Before that, we’ll discuss the widget a bit.
What Is the Elementor Countdown Timer Widget?
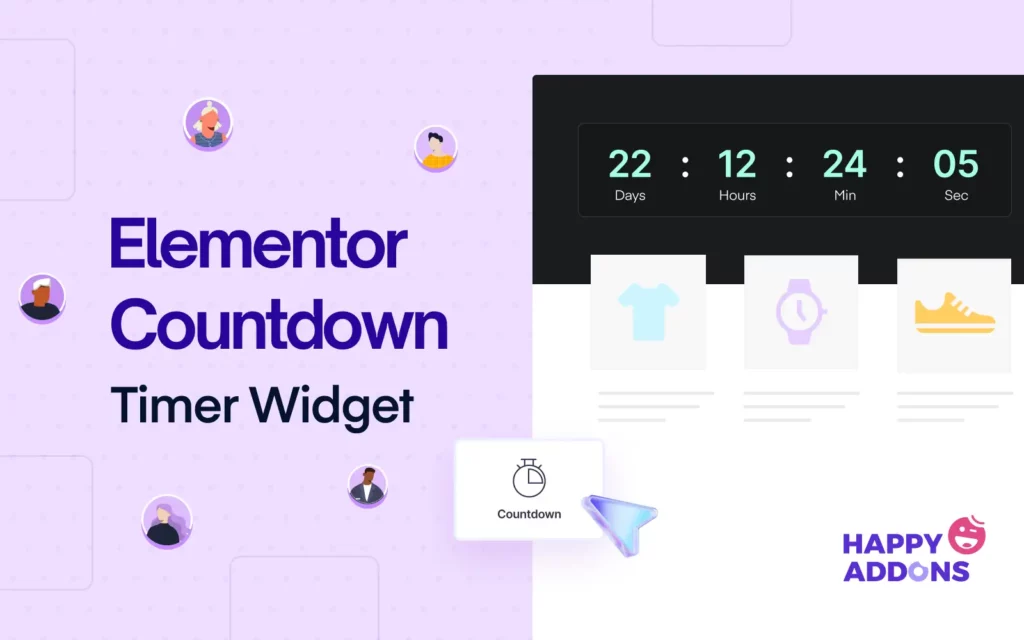
The Elementor Countdown Timer widget allows you to represent the time remaining until a specific event or deadline. It’s an effective way to create a sense of urgency among web visitors. The widget is useful during product launches, sales promotions, special seasons, sales offers, etc.
The Elementor Countdown Timer widget is highly customizable. You have to begin by setting the countdown to any particular date and time according to your campaign. Then, you have to configure its layout, font, typography, special effects, and overall design.
How the Elementor Countdown Timer Widget Influences Visitors
By adding the Countdown Timer widget, you can encourage web visitors to take immediate action, increasing the potential for conversions. The widget does it in the following ways.
- Creates a Sense of Urgency
A ticking clock displaying that the sales offer is ending soon can instigate visitors to take immediate action. The visual representation of ‘time-running out’ can heighten emotional response. This approach can be extremely helpful during promotional and sales events. Explore 10 proven ways to create urgency and boost eCommerce sales.
- Build Anticipation
As the countdown progresses, visitors become more engaged in the upcoming events, product launches, and special promotions. This anticipation encourages users to mark their calendars so they don’t forget the day when the campaign exactly starts.
- Generate Buzz & Hype
As the countdown timer widget heightens emotional responses, this makes it easy to generate buzz and hope among the users. This can amplify word-of-mouth marketing, engaging more target audiences. Remember, generating buzz and hype is extremely helpful before launching new products.
- Drive Repeat Visits
As the deadline nears, visitors may feel like visiting your website multiple times to check how much time is left. This can foster a sense of connection between your brand and potential customers, helping a lot in retaining customers in the long race.
- Increase Conversion
By combining urgency, anticipation, hype, and repeat visits, you can drive visitors to take the actions you want, whether it’s making a purchase, signing up for a newsletter, or participating in an event. The ultimate result of all these is increased conversion
How to Use the Elementor Countdown Timer Widget on WordPress
In this section, we’ll show you a step-by-step guide on how to use the Elementor Countdown Timer widget on WordPress. But before starting the tutorial, make sure you have the following plugins installed on your site.
Pre-requisites:
Hope you have the plugins on your site. Now, get started with the tutorial below.
Step 01: Find the Countdown Widget and Add It to the Canvas
Open your page with Elementor Canvas. We already have a page created before. Now, we’ll just add the countdown timer widget to the page to explain the process.
Type Countdown on the search bar of the Elementor panel. Select the widget that has the HappyAddons logo as you have paid for it. Drag and drop the widget to a suitable place on the canvas.

You can see the widget is added. This is the default view. You now have to customize it to align with your website’s branding.

Step 02: Customize the Countdown Timer Widget
You have to stylize its layout, typography, color, messages, and effects (if necessary) throughout customizations. Explore how to do it.
- Colorize the Widget
Go to the Style tab. Scrolling down the tab, come to the option Time Color. Choose the color you want. We have selected the white color for the widget text.

Like the time, colorize the labels of the widget. (Mention that you need to scroll down) Make sure you choose a contrasting color that makes the widget text perfectly visible.

Note: If you want, you can set different colors for days, hours, minutes, and seconds individually using these options. With the above method, you can apply the same color to the entire widget at once.

- Set Typography for the Widget
Come to the option Time Typography. Find and click the Pencil icon. You’ll get the typography list. Select a font family.

After that, you can customize the font size, weight, style, decoration, letter spacing, and word spacing for the widget text.

In the same way, set typography for the labels.

- Set Height and Width
By changing the Box Width and Box Height, you can decide whether to show the widget in single or multiple rows.
Note: If you want, you can customize the Background Type, Border Type, and Radius as well. But as we don’t need the below design, we have left the options as they are.

- Set the Time
To set the countdown time, go to the Content tab. You’ll get the option to set the countdown time.

- Configure Countdown Settings
Under Countdown Settings, you’ll get options to change the Label position, show/hide the labels, and rename the labels. The process has been explained in the video attached below. Do the changes as you want.
Align the widget where it suits the best. You can add a separator between the times. You can set any character as the separator. For example, we have added colon (:) as the separator for the widget.

- Set End Action
You can specify what happens after the countdown timer ends. You can display any specific image, message, or redirection link.
Under End Action, choose an End Action Type from the list. Suppose, we’ll add a message. Click the Message option.

Write your desired message as an End action. By default, the message will appear in black. As our web page background is also black, the text should have a contrasting color so it becomes perfectly visible.
Click the Toolbar Toggle icon. This will open up several more options by which you can customize the text.

Clicking the Toolbar Toggle icon will open up the below-marked options. You can stylize your Ending Action message using them.

Note: You’ll see the Ending message or anything related to the ending action only after the countdown ends.
Step 03: Make the Countdown Timer Widget Mobile Responsive
Click the Responsive Mode option at the footer of the Elementor panel. This will show you the option to switch your screen to different screen sizes.
You can adjust the font size, widget placement, and layout separately to make the widget fit perfectly for particular screen sizes.
Note: Don’t delete any element or change its color on any screen. Because if you delete any element or change its color, it will be applied on all screens.

Step 04: Add an Additional Message to Make the Widget Meaningful
Once your Countdown Timer widget is ready, you can decorate it with some additional widgets so it looks smart and meaningful to the users.

Thus, you can create a countdown timer on your website using the Elementor Countdown Timer widget.
Step 05: Or Use a Readymade Template
If creating a countdown timer on your website from scratch looks hassling, you can use a readymade template. HappyAddons comes with a template library where you’ll find numerous countdown timer templates that you can easily import.
Click the HappyAddons Library icon on the canvas.
Click the Filter option to see the categories. Choose the Coming Soon category.

Hover your cursor over the template you like. The Insert button will appear. Clicking the button will insert the template into the canvas.

The template is imported to the canvas. You can now customize it as you wish following the same way shown above.

Hope you have enjoyed this tutorial.
How to Solve Elementor Countdown Timer Not Working
There are several scenarios when you may experience the Elementor Countdown Timer widget not working. Consider to check the following points if you ever experience this.
1. Incorrect Configuration of Timer Settings
Your countdown timer won’t function as expected if the due date isn’t configured the right way. If you have configured a time format in your WordPress backend that is different from your target location, the Countdown Timer widget will definitely show you the wrong time.
Go to WordPress Dashboard > Settings > General. By scrolling down the page, come to the sections marked on the page. Check if you have properly configured the time.

2. Caching Issues
Caching plugins can often interfere with dynamic web elements like countdown timers. If there is a caching plugin on your site, make sure you have cleared the cache. If the widget still doesn’t work after this, try deactivating the Caching plugin.
3. JavaScript Errors
There are some JavaScript errors that can make the countdown timer stop functioning. Go to your search console. If there is any error, you’ll see it as a notification.
4. Outdated Plugin
Ensure the HappyAddons Pro plugin is updated to the latest version. Because sometimes bugs automatically get created in the older versions which may cause conflict with the Countdown Timer widget.
FAQ on Elementor Countdown Timer Widget
In this section, we’ll answer some common questions related to today’s topic. Hope you’ll find them useful for decision making.
What can you customize for the Elementor Countdown Timer Widget?
You can customize colors, fonts, sizes, and layouts of the Elementor Countdown Timer Widget.
What happens when the countdown expires?
You have to set an action. You can automate an image or message that will automatically display after the timer ends. Or, you can also set the widget to disappear.
Can I create multiple countdown timers on the same website?
Yes, you can create multiple countdown timers on the same website.
Can I use the countdown timer on mobile devices?
The Elementor Countdown Timer widget is 100% mobile-friendly. So, you don’t have to worry about its mobile responsiveness.
What are the best places to display the Countdown Timer Widget?
Hero section, product pages, landing pages, checkout pages, sidebar, footer, pop-ups, modals, and event pages.
Final Word!
Hope you have got a clear guide on how to use the Elementor Countdown Timer widget. Now, by incorporating the widget strategically into your website, you can enhance user engagement, drive conversions, and promote limited-time product offers.
But remember, while using the widget, ensure aligning it with your brand’s appeal so it maintains consistency on your website. Besides, don’t forget to analyze the performance of the countdown timer to assess its impact on user behavior.