The ultimate goal of website owners and designers is to add as much content as possible without breaking the website design. That is a hard feat to achieve, as adding too much content can cause the readers to become unfocused and abandon their efforts.
But what if we tell you you can add more information to your website without hurting the website design or making the readers get bored? Yes, using the Happy Addons’ Content Switcher widget, you can add more content while keeping the site design intact.
Content switching is a way of presenting more contrasting information on the same web page so that users don’t have to open a new tab to see additional facts, figures, and details.
Happy Addons is a powerful Elementor Addons by which you can design your dream website in a day. It has 110+ wonderful widgets to power up your website. The content switcher is one of them. It can help you overcome the struggle of displaying lots of information in small spaces.
Most importantly, this widget is completely free to use. This article will show what you can do with the content switcher and how to set up this widget on your website.
Table of Contents
- Advantages of Using the Happy Addons’ Content Switcher Widget
- How to Set Up the Happy Addons Content Switcher Widget
- Bonus Point: How to Add Saved Templates as Content with Content Switcher Widget
- FAQs on Content Switcher Widget
- Get Ready to Use Happy Addons Content Switcher Widget
Advantages of Using the Happy Addons’ Content Switcher Widget
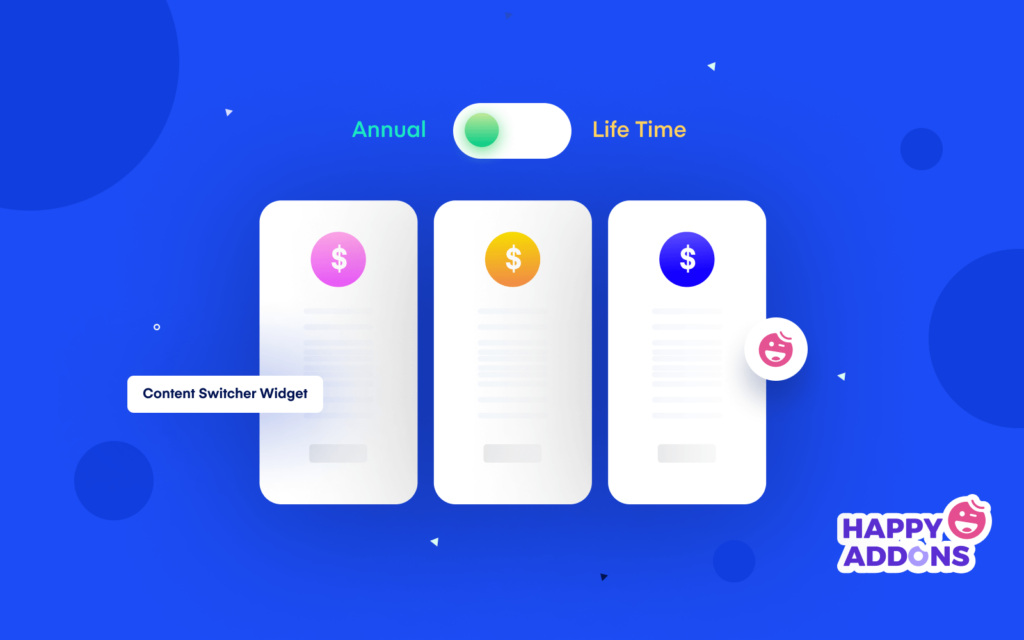
Most web users today love to see all the necessary information of a single content in one single place. They don’t want to waste time traveling multiple web pages to get the rest of the same content. The content switcher widget can help you solve this problem. Let’s check out what you can do with it.
a. Add More Information Without Breaking the Site Design
The content switcher helps you add multiple paragraphs on different topics within the same block. It won’t cause a breakdown of your site design. Also, you can add visual graphics in this section to make your demonstration lively.

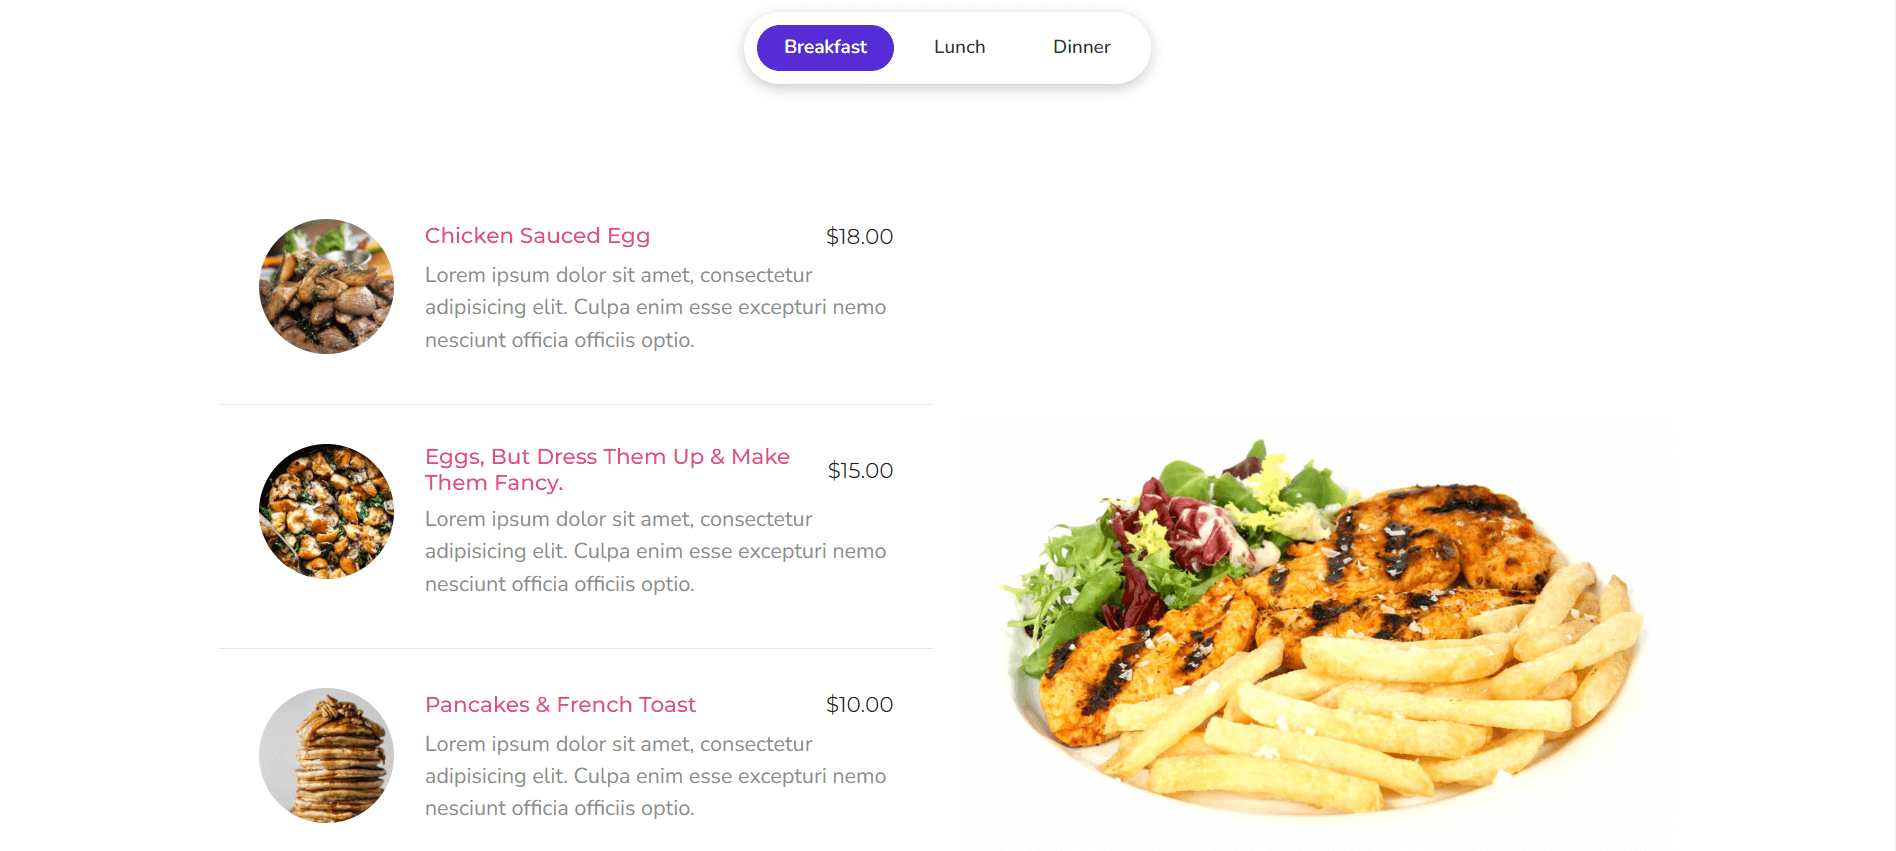
b. Show Multiple Menus
Food-based websites usually offer different platters and grouped items to boost online sales. But too many menus make their web pages too long. It makes it difficult for visitors to find the exact information they need. The content switcher will help you display multiple menus side by side.
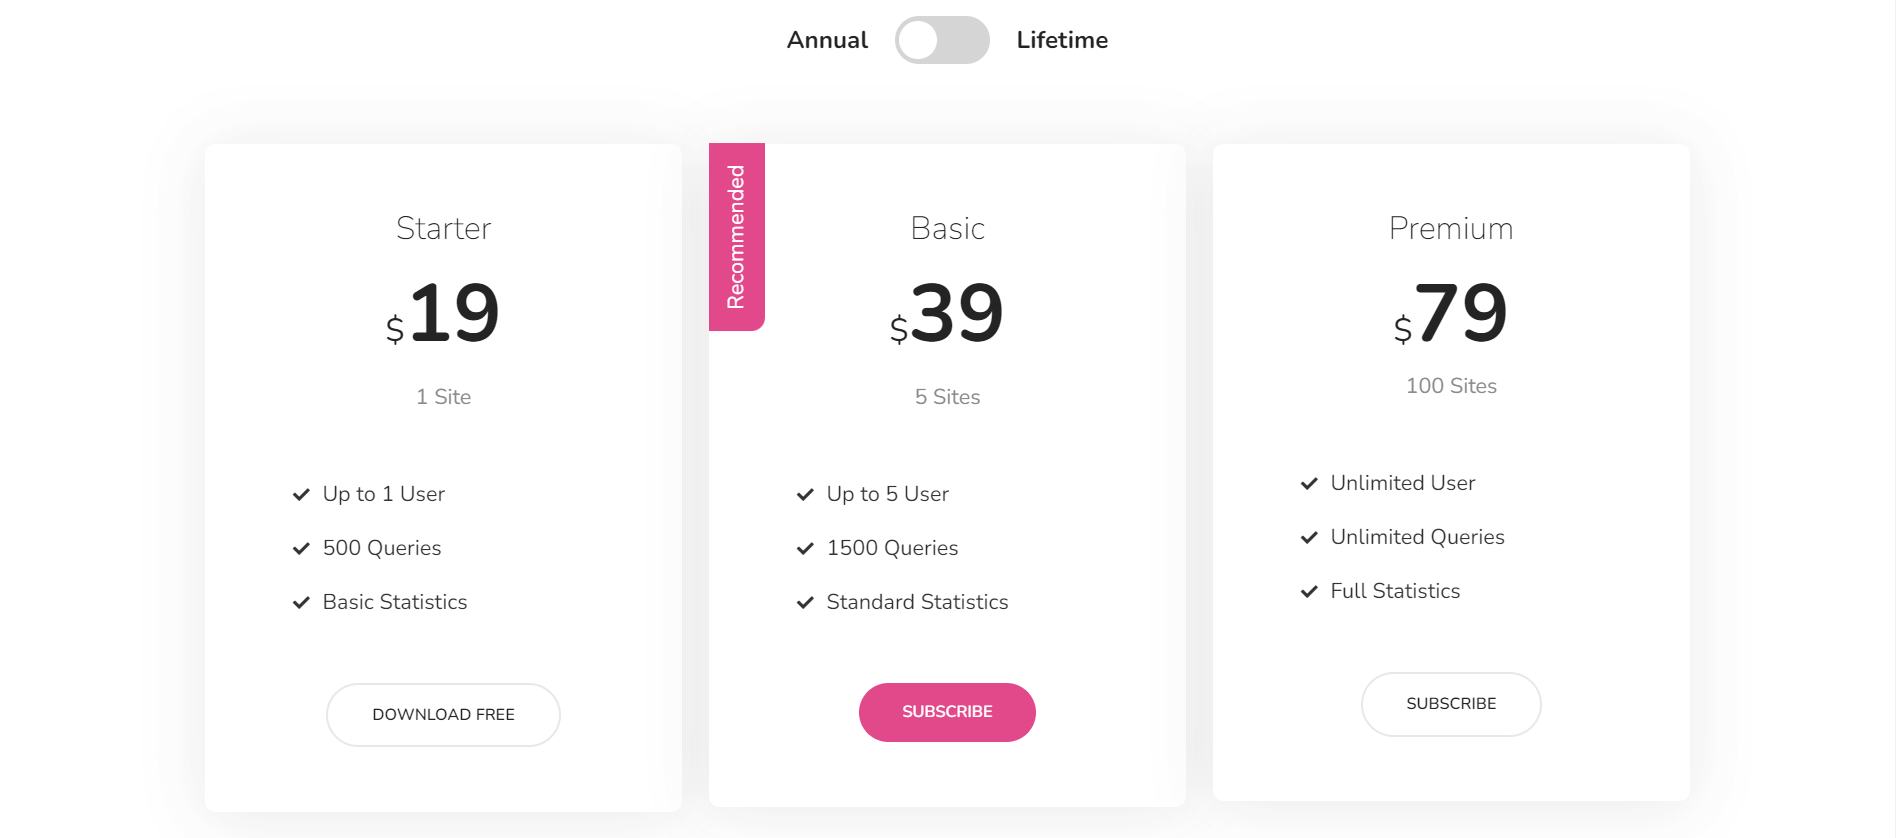
c. Show Pricing Plans for Separate Packages
If you are an IT agency, you will obviously have separate pricing plans for your software and services. You can show those plans in one place using the content switcher widget.
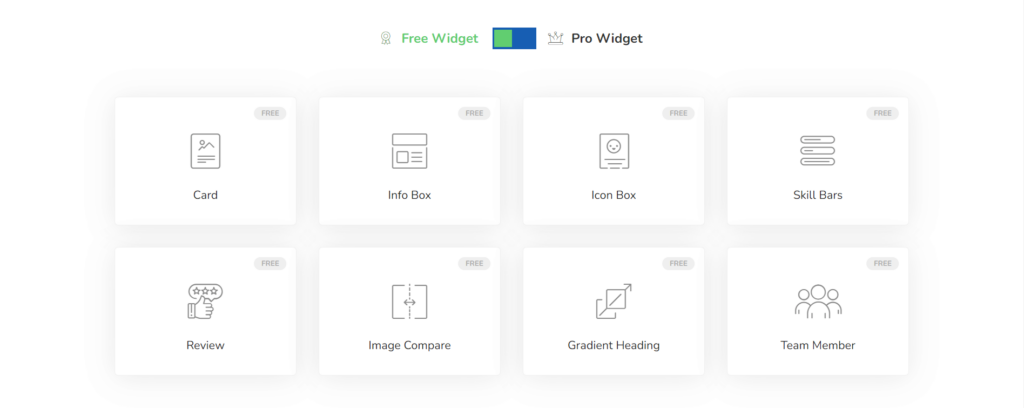
d. Display Free & Premium Features on One Page
Suppose your themes and plugins have both free and premium versions. You may want to publish them on your website through multiple lists. But a content switcher can group them in one place and save your page space. You can follow the same process to show discounts on eCommerce products.
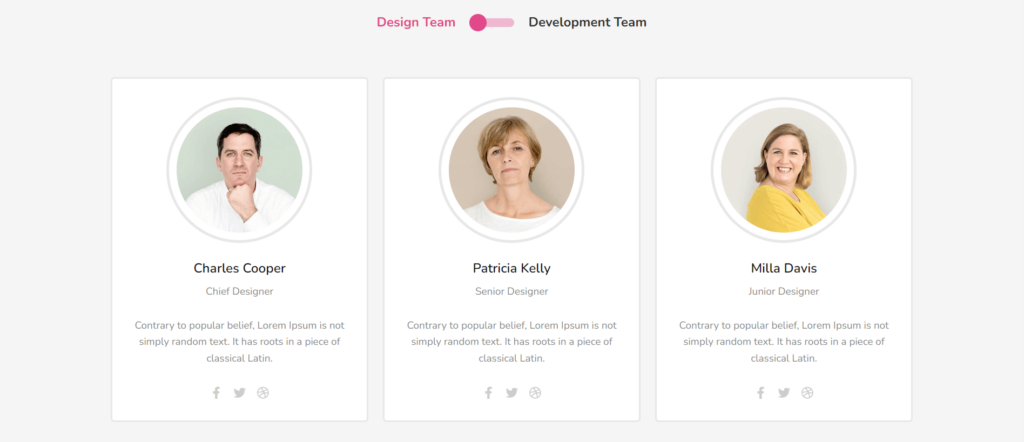
e. Display Your Talented Team
You no longer have to create a dedicated page to show your team testimonials. You can display numerous testimonials on the same raw if you have the content switcher. You can even show your eCommerce product reviews in the same way.
How to Set Up the Happy Addons Content Switcher Widget
It will take only a few minutes for you to set up Happy Addons’ content switcher widget on your website. But there are two prerequisites to start the setup.
Pre-requisites
- Elementor (Free)
- Happy Addons (Free)
Make sure these plugins are installed on your websites. If all are okay, check out the process explained below.
Step 01: Drag-and-Drop the Content Switcher Widget
Type content switcher on the Elementor search bar. It will show you the content switcher widget. Drag and drop it in the selected area.
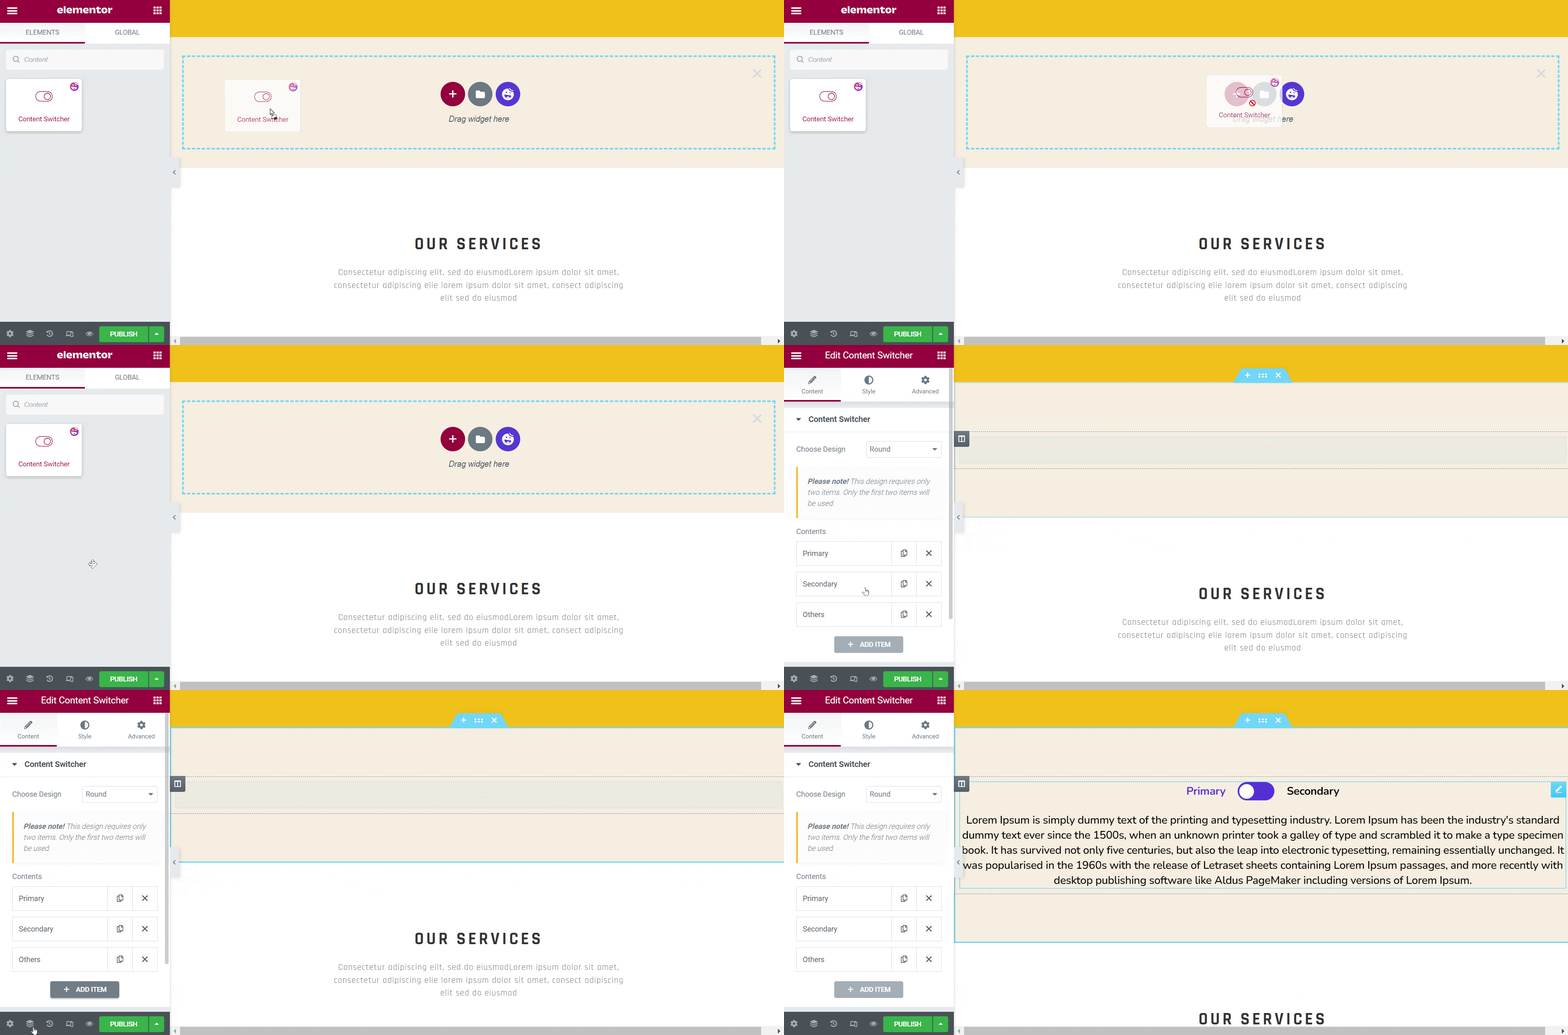
Once you add this widget to your selected area, the content switcher will automatically get expended on the left side. There you can see the Choose Design option. There are five designs are available for your toggle icon. Choose the one you like.
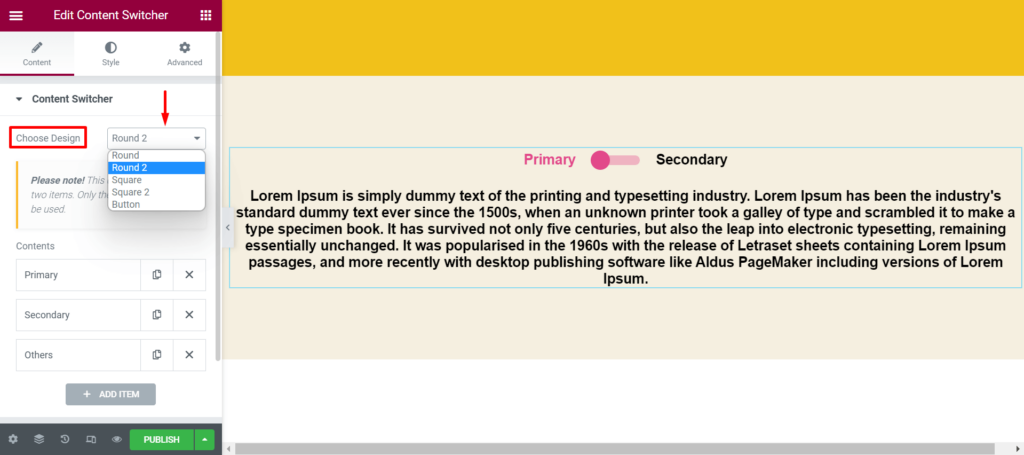
Step 02: Customize the Content Items
From the Contents option, you can edit the title, select content type, change the icon, move its position, and activate it. The following GIF shows how to do these all.
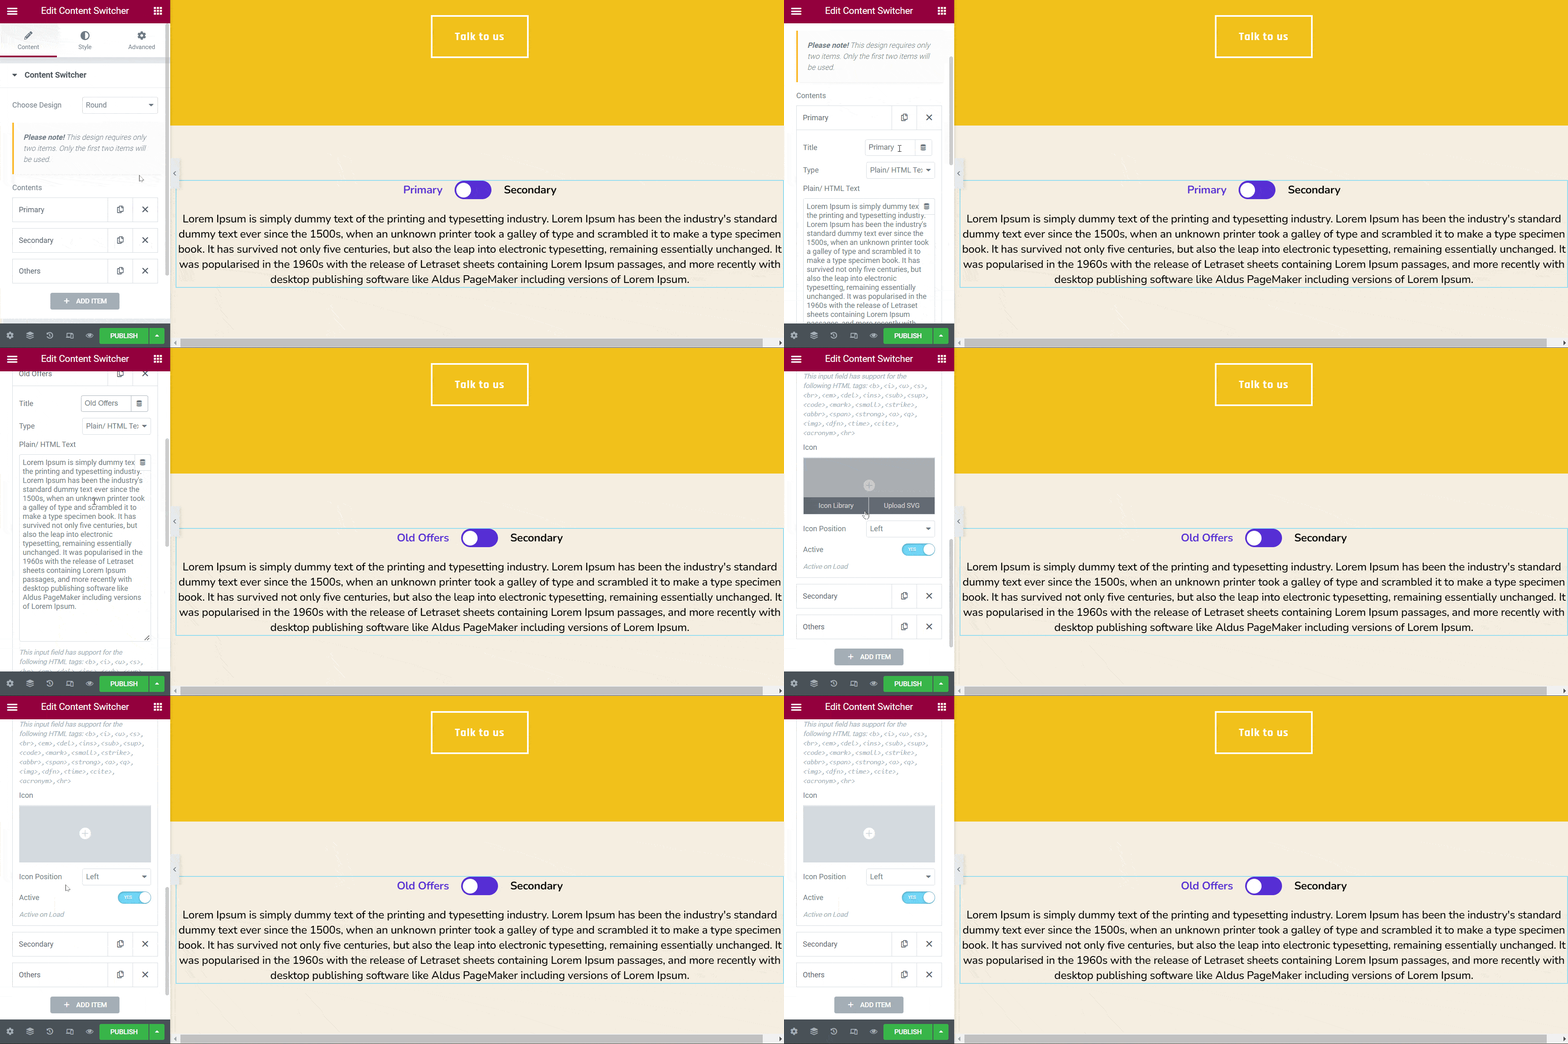
In the same way, can edit the second content section. You can increase the number of content sections in your content switcher. To do that you have to choose the button design. You will see a new section has automatically been added with the toggle icon named as others.
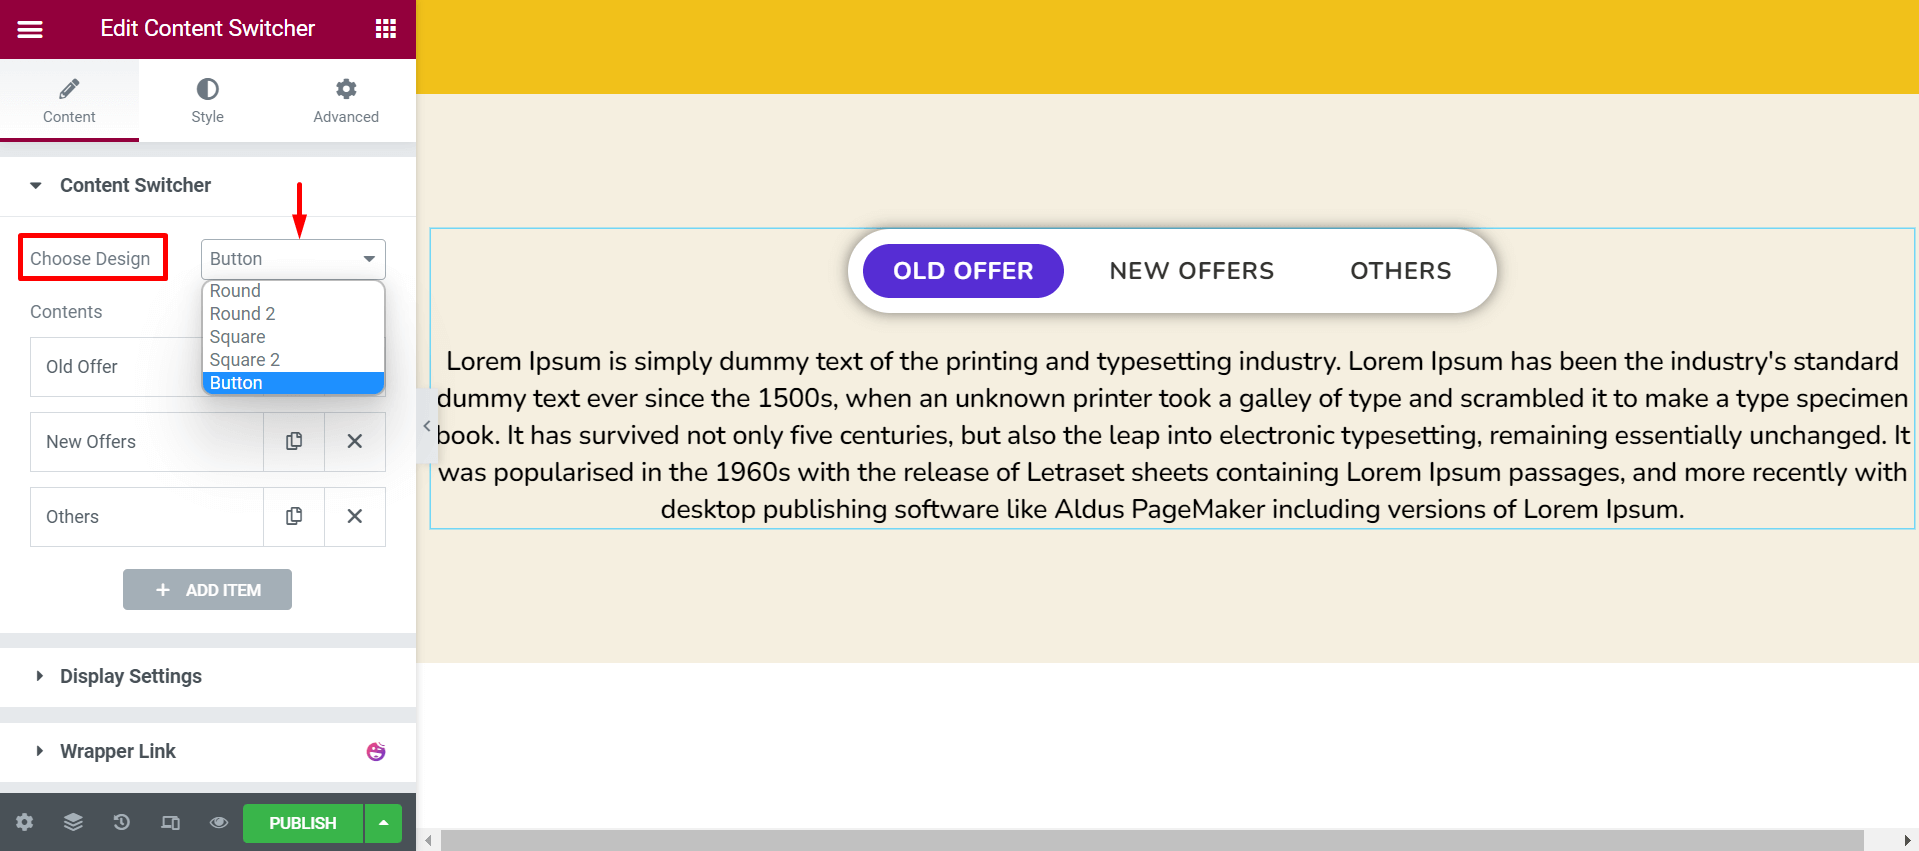
Step 03: Configure Display Settings
Next to the content switcher, you will get the display settings option. You can change the direction of your content presentation, alignment, space, and animation speed. Take a look at the below picture. We have enabled the vertical direction for the content switches.
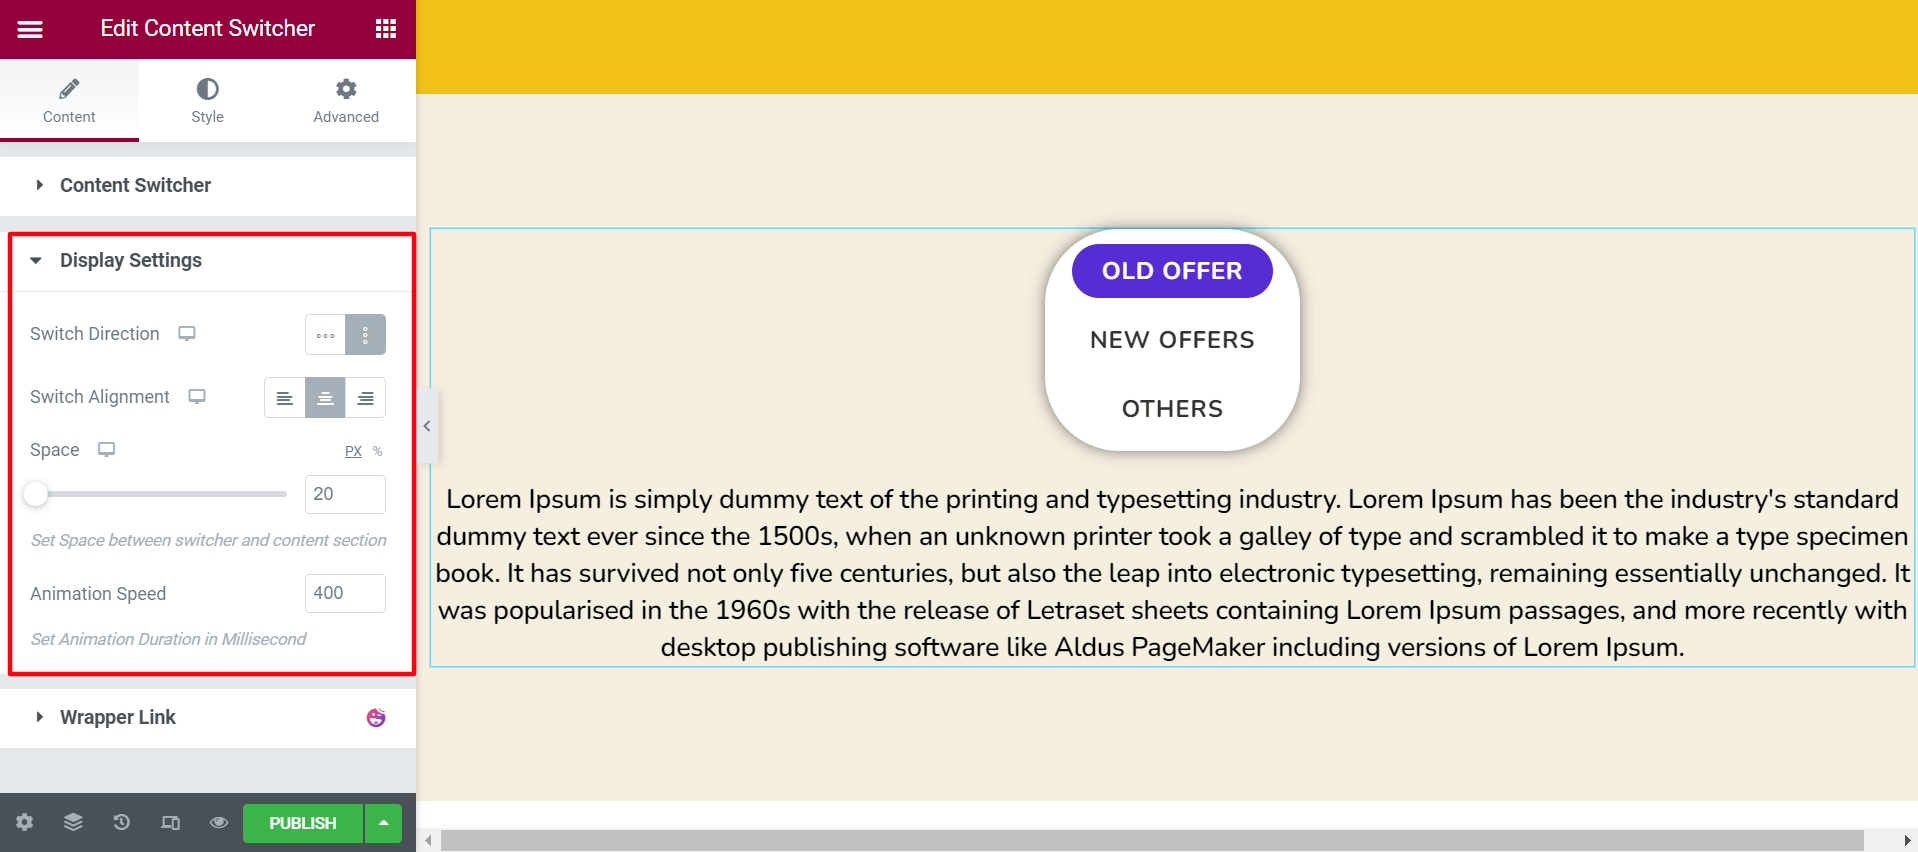
Step 04: Customize the Style Options
Come to the style section. There you will get three more options. Using them, you can change typography, title color, icon color, background color, section padding, and content typography. Do the changes as you wish.
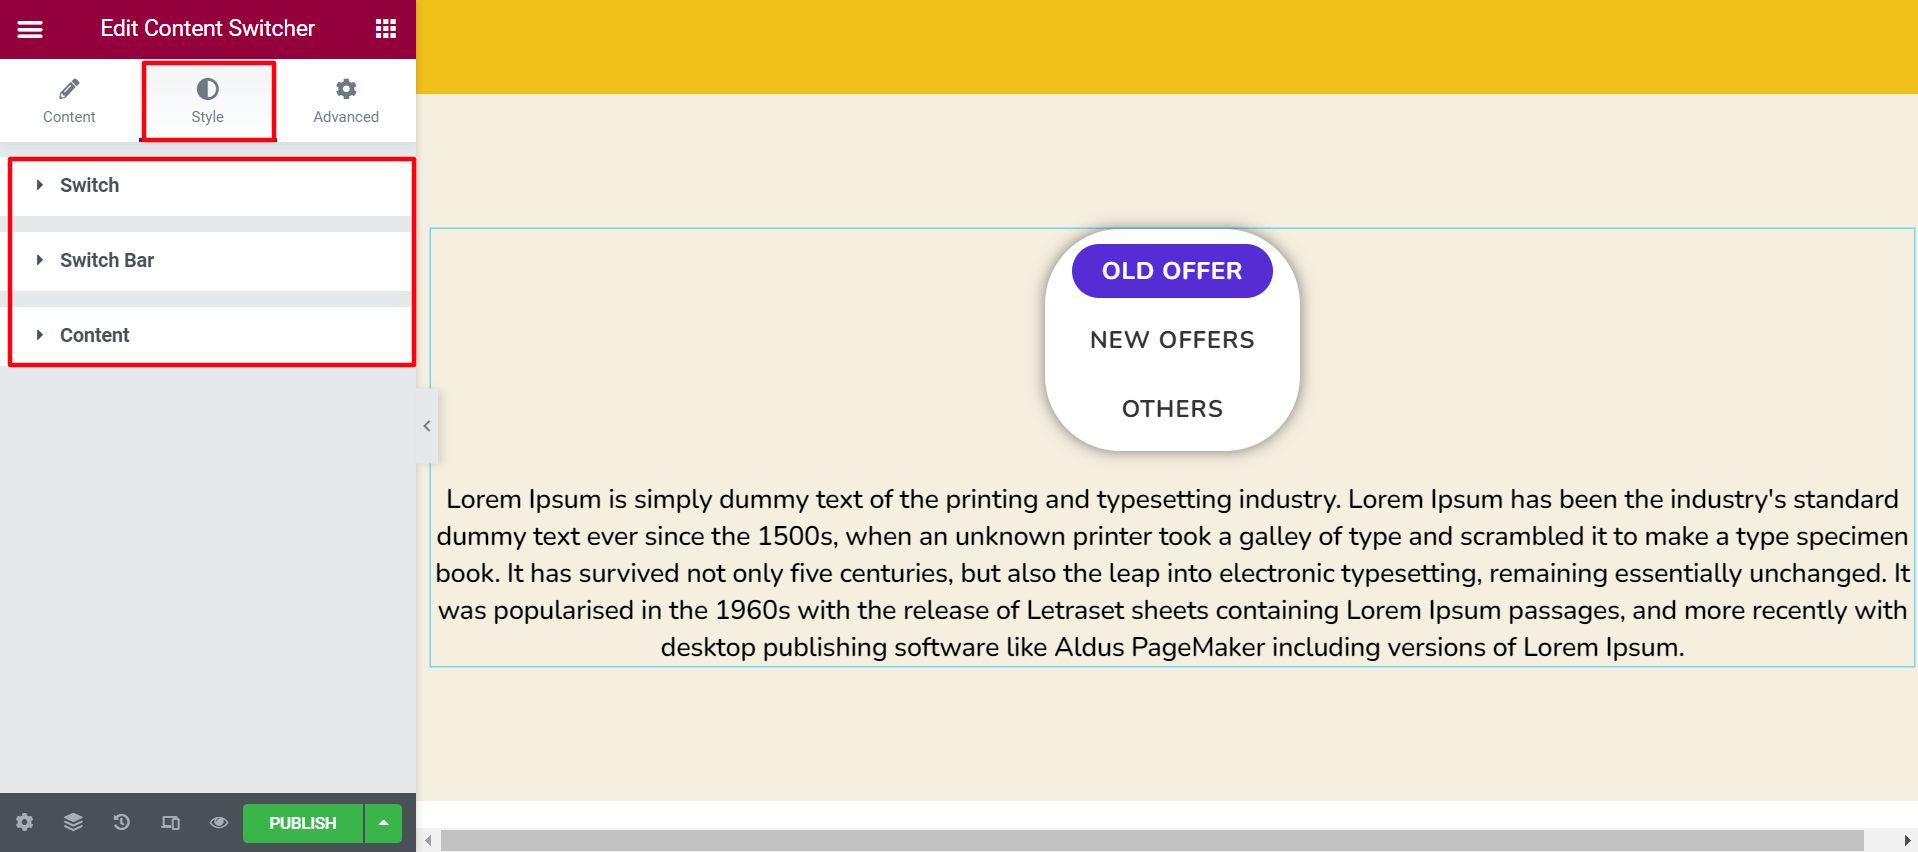
Thus, you can set up your content switcher widget and present content for visitors.
Final Preview
Here is the result you will get on your front-end or preview option.
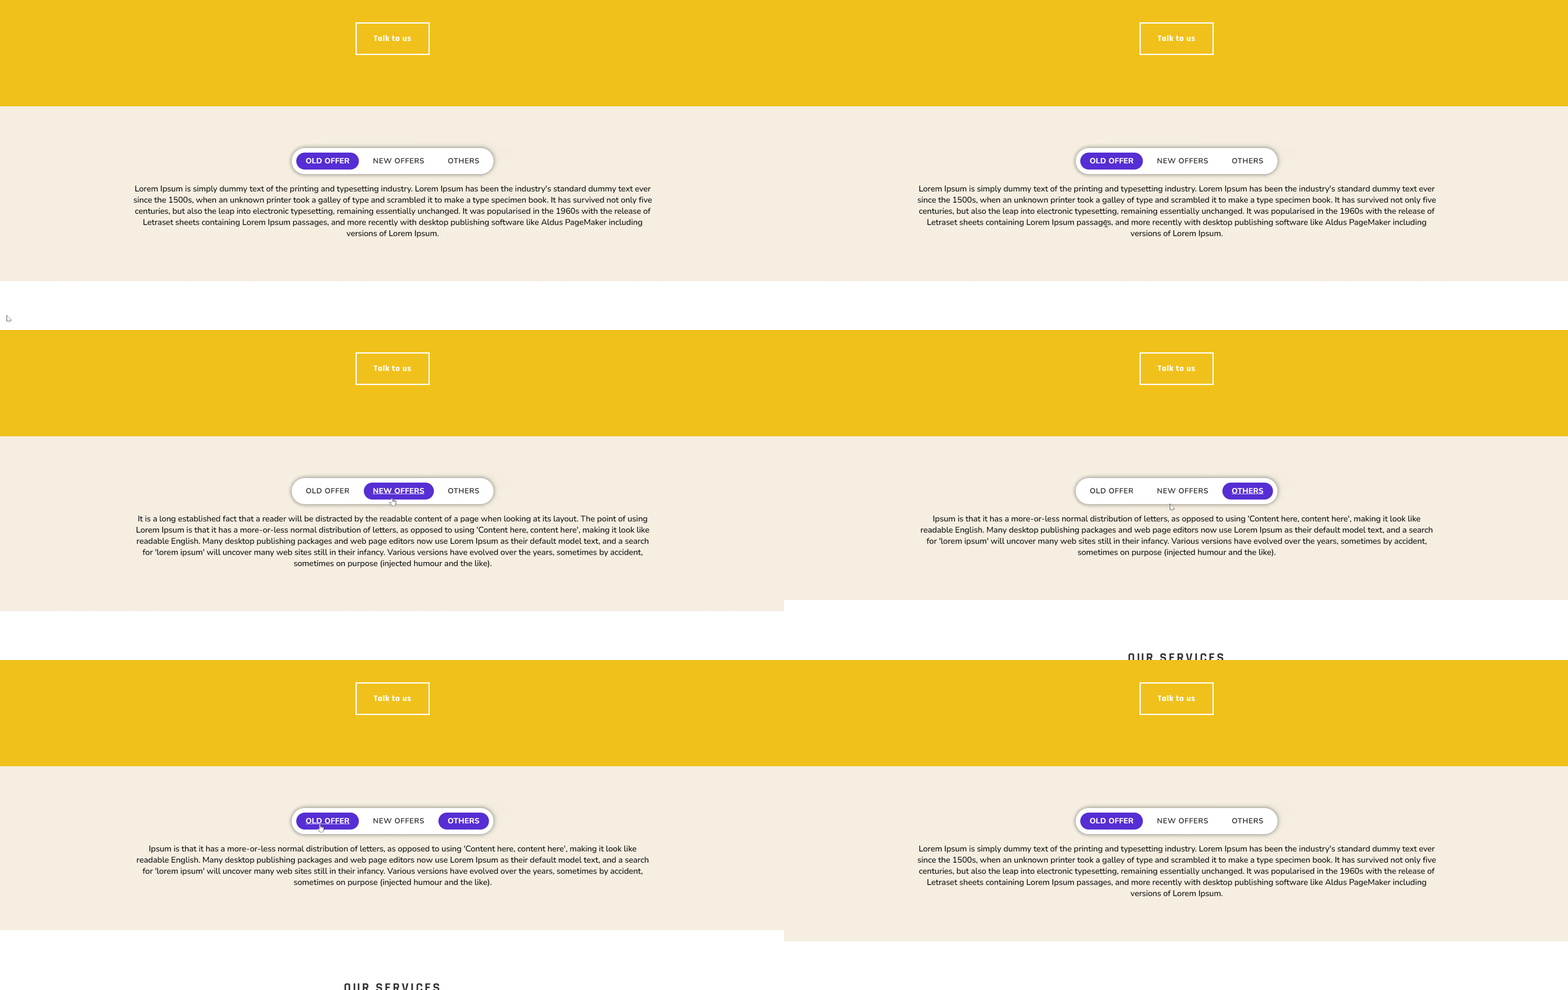
You can check out this detailed documentation on Happy Addons’ Content Switcher widget to know more.
Bonus Point: How to Add Saved Templates as Content with Content Switcher Widget
The Plain/HTML Text option can add your custom content design with raw HTML. But you need to be very careful while phasing the code. Otherwise, your page design may break, or you’ll face responsive issues.
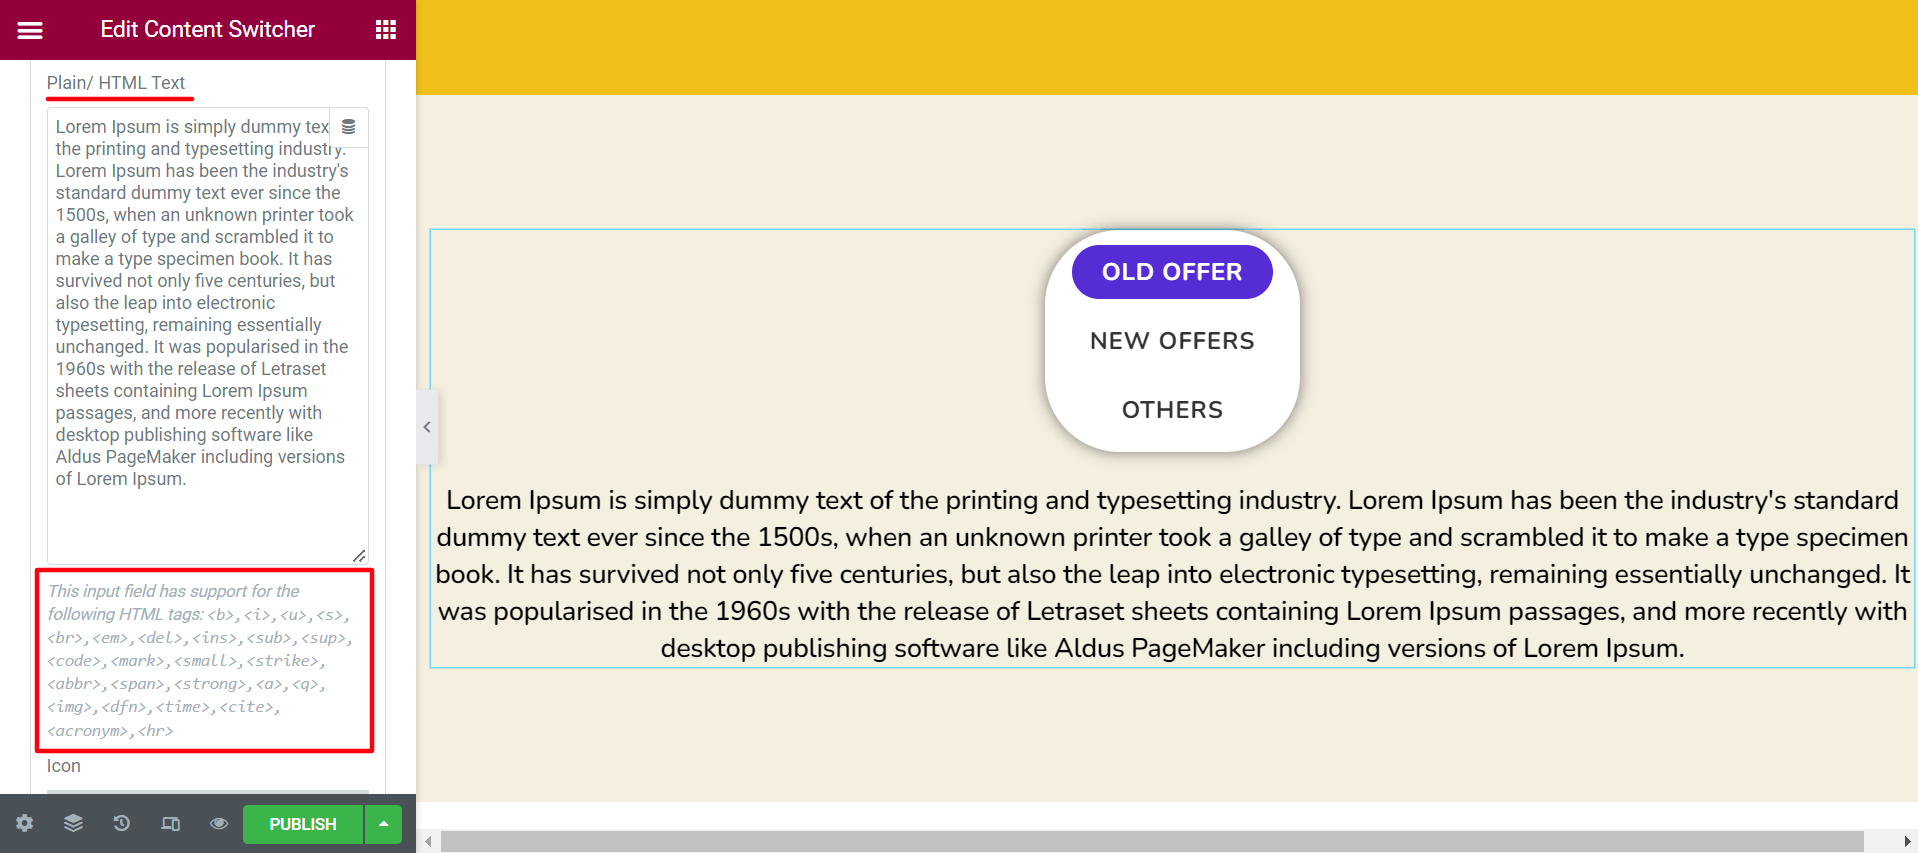
Rather you can use your saved templates from the Dashboard > Templates > Save Templates area. You can also try the Happy Addons free templates to insert custom content into the switcher instantly. It will save both your time and labor. You have to save the suitable templates as you save templates first.
Then navigate to Contents > Type > Saved section. Then, choose your desired template from the Sections.
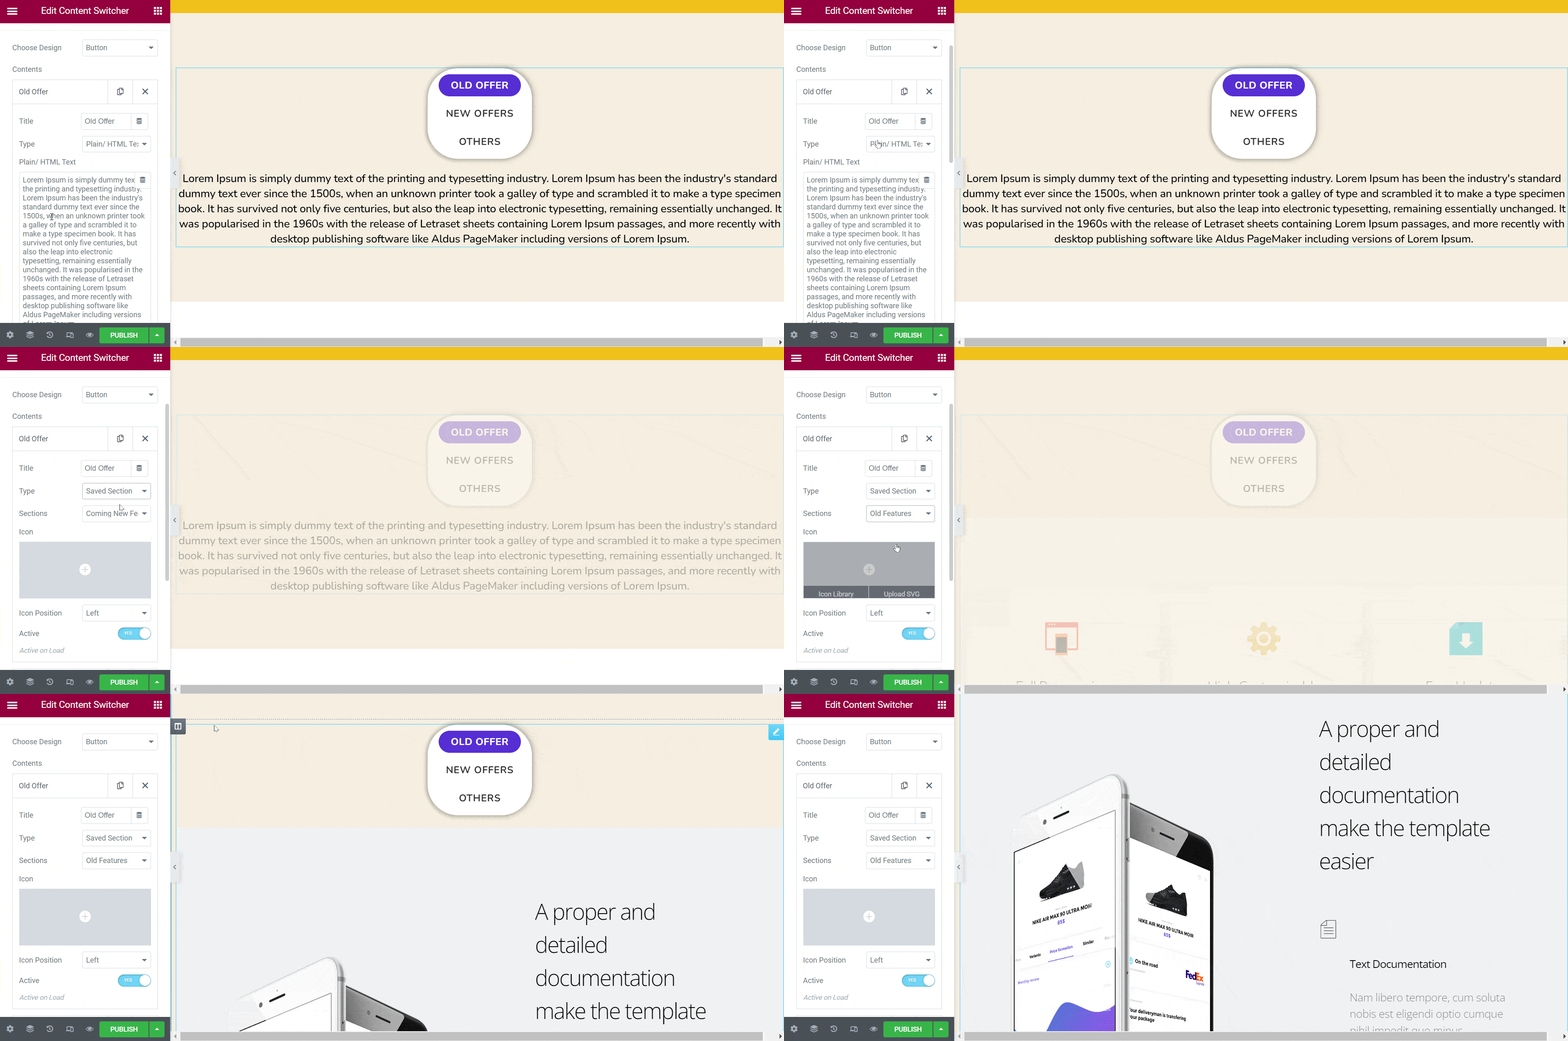
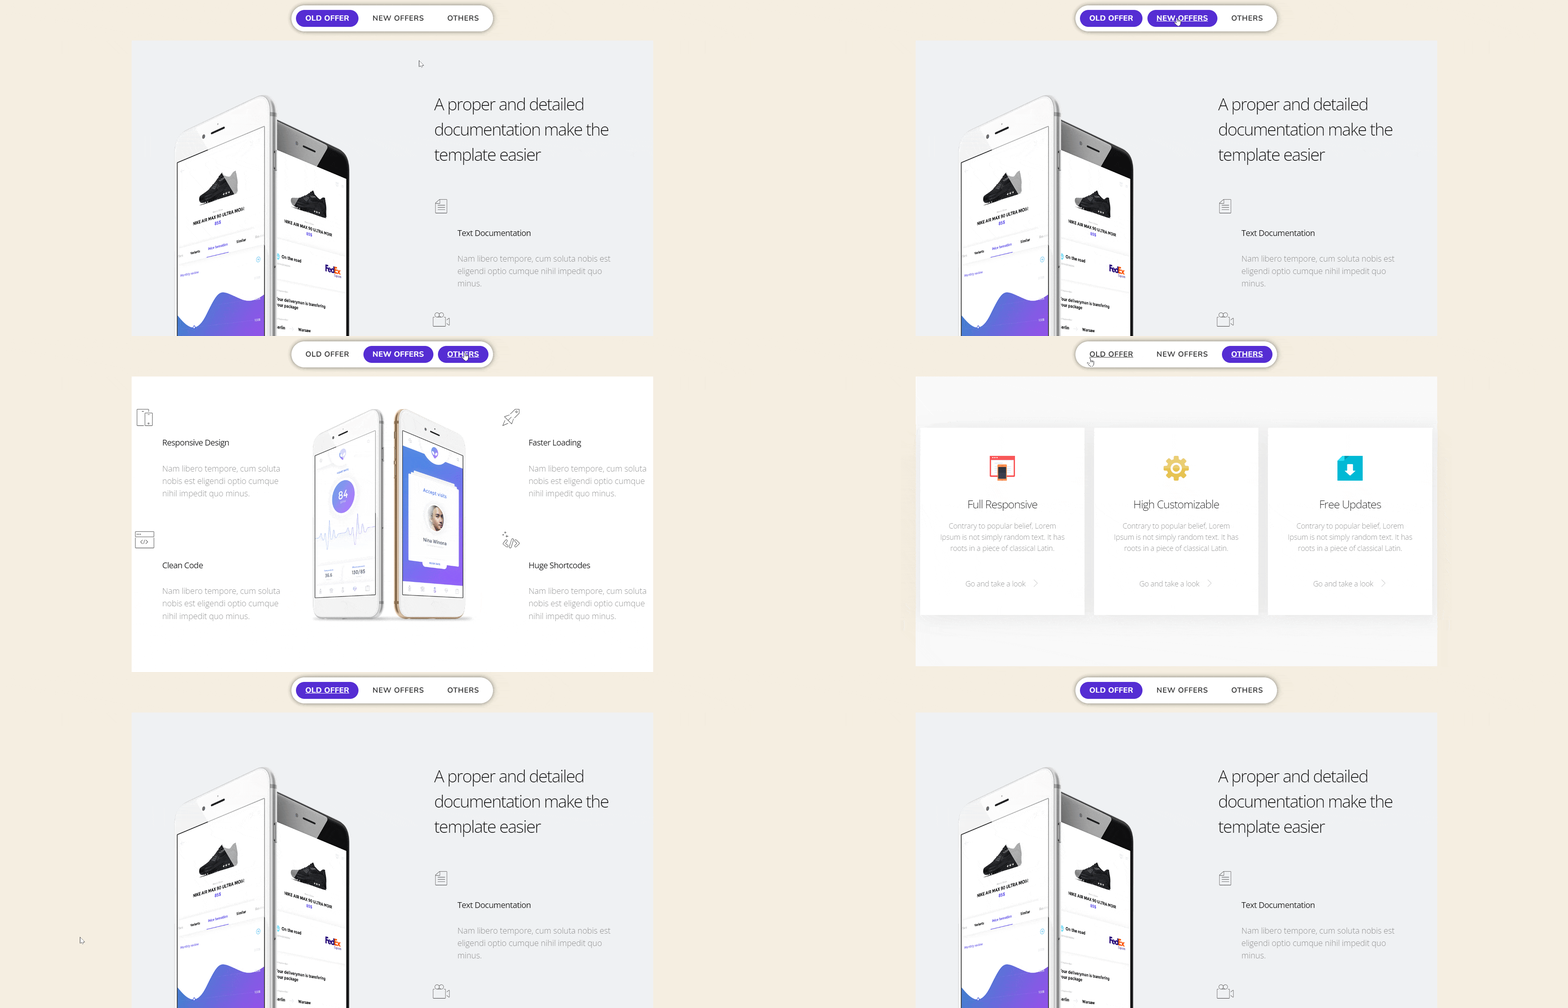
In the same way, add templates to your other content sections. We have enabled the horizontal direction of the content switcher. Then, added new templates to the other options.
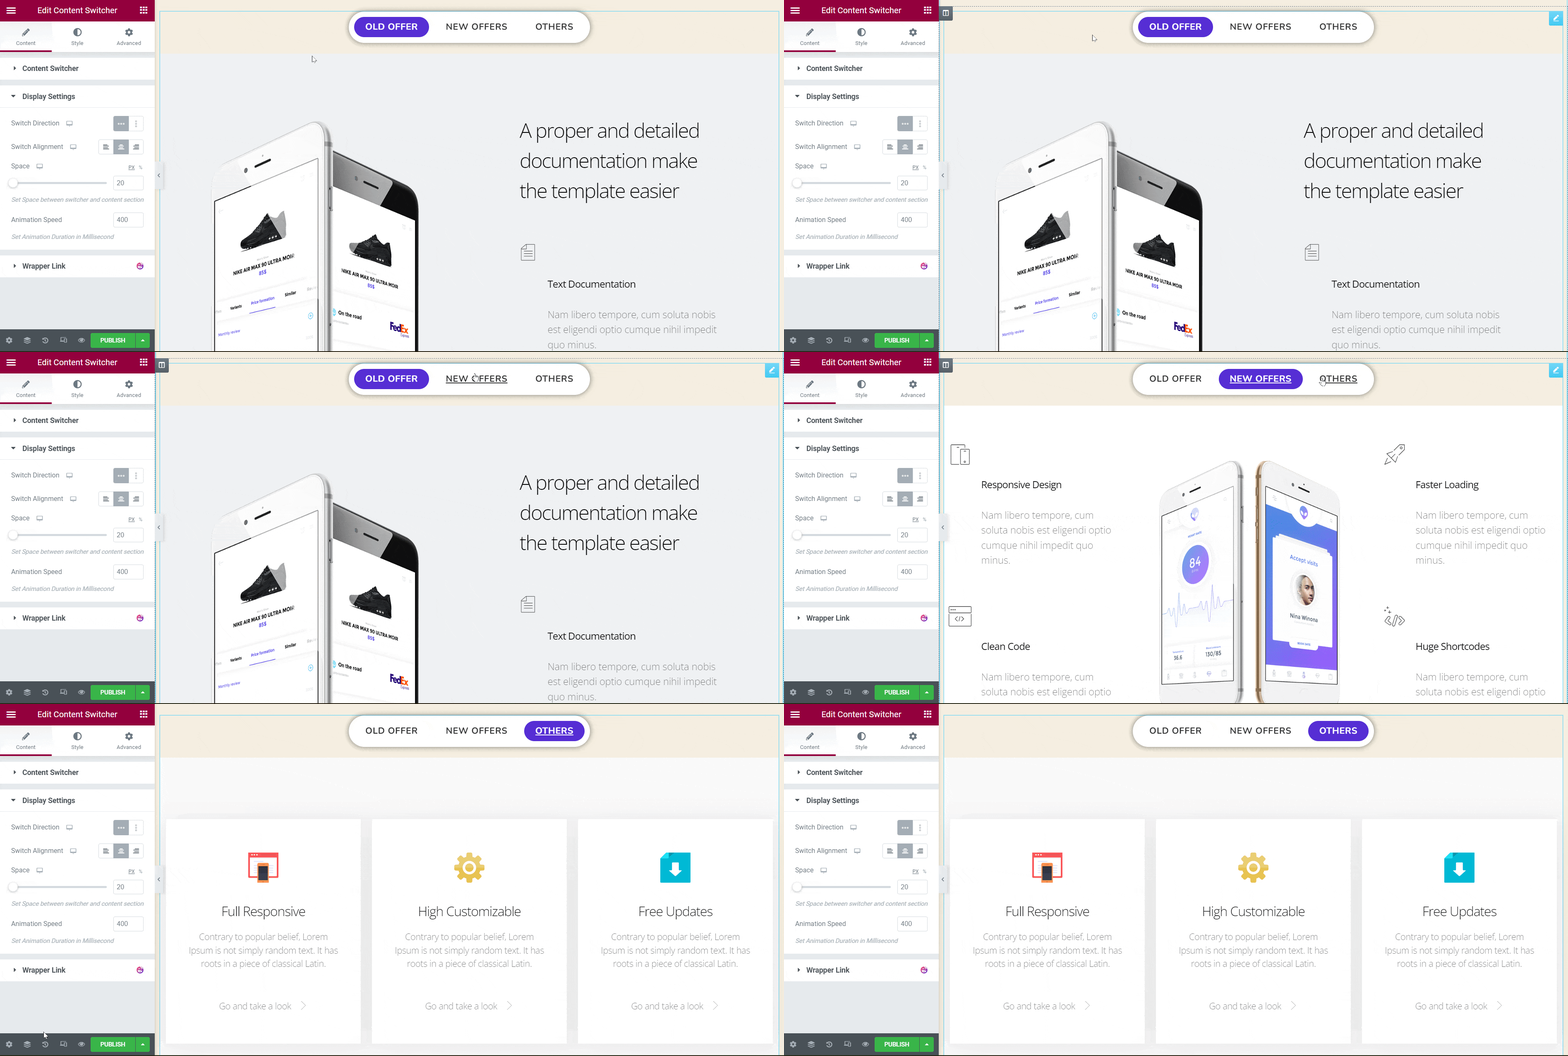
Now, you can edit texts and images on these templates with the information you have.
End Result
This is the final result you will get on your preview page.
Hope that now you can create more interesting content with the content switcher widget.
Also, learn how to use the Happy Addons template library.
FAQs on Content Switcher Widget
This section will cover some most frequently asked questions on the content switcher.
-
How many content switcher demos are available in Happy Addons?
There are five content switcher demos available in Happy Addons. Check out those content switcher demos you can use anytime.
-
How much content can you add using Happy Addons’ content switcher?
If you use the button option from the content design, you can add as much content as you want. But the standard practice is adding up to three pieces of content.
-
Can I add GIFs and videos to the content switcher?
Yes, you can add GIFs and videos to your content switcher. But for that, you need to save your desired templates in Happy Addons first. Later, you have to import them on your canvas from the Content > Type > Saved section.
Get Ready to Use Happy Addons Content Switcher Widget
Today, you will find numerous plugins available online by which you can enable the content switcher option on your website. But why should you look for a premium plugin when you can do it for free using Happy Addons?
Happy Addons have many other exciting free widgets that are ready to give you a thrilling experience. Click this link to check out the free widgets of Happy Addons.
If you find this article useful, subscribe to us for more interesting write-ups like this one. Follow our Facebook and Twitter channels for regular updates.
Subscribe to our newsletter
Get latest news & updates on Elementor
[yikes-mailchimp form=”1″]

