

Whether you are a lawyer or an attorney, you can’t move ahead without a website today. American Bar Association reveals in a report around three-quarters of law firms maintain official websites. Because 64% of people love to research online for hiring suitable attorneys or law firms.
Lawyers have always been at the forefront of settling all sorts of legal matters, spanning from business to family issues. In 2012, Apple paid $60 million to lawyers for winning the case against Samsung. Numerous lawsuits of similar type are being filed almost every day.
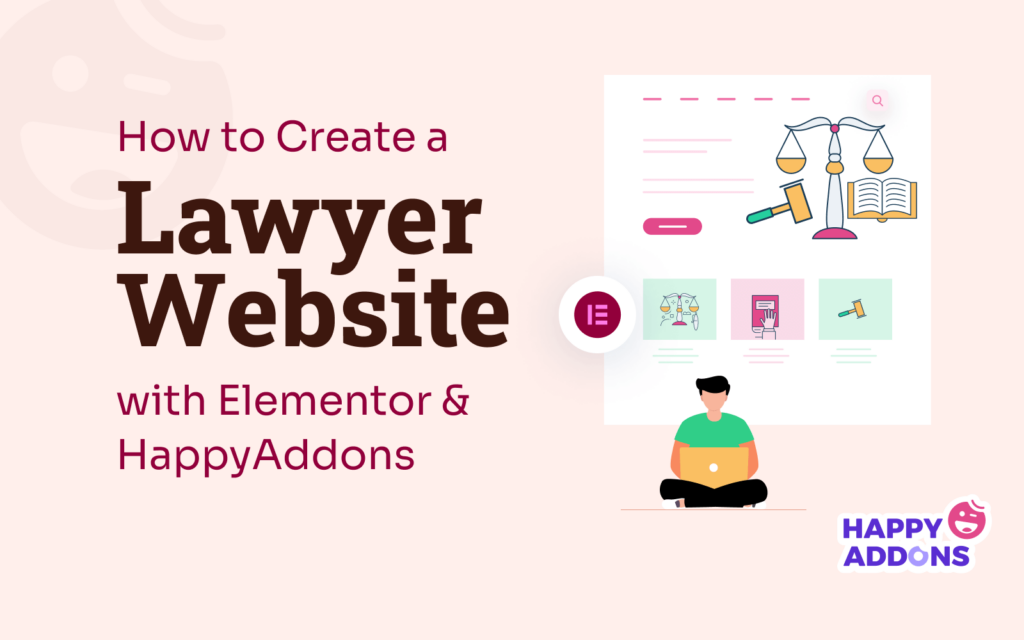
Having a website can help you showcase your services, highlight attorney profiles, engage potential clients, and publish content regularly. This article will explain how to create a lawyer website from scratch with Elementor and HappyAddons. It won’t require you even a single line of coding.
What are the Elements You Must Have on a Lawyer Website

There are several key elements that must be present on all lawyer websites, regardless of their design and layout. Before jumping into the tutorial section, you must know about them in detail. Let’s explore them in detail so you can prepare content for the elements.
a. Homepage
A homepage is the main landing page of a website. It works as the navigational gateway to the content available on the site. A good landing page can instantly set a positive impression, capture readers’ attention, and drive them to the information published on different pages and sections.
A good homepage is one that quickly introduces your services and helps them decide if these fit their needs or not. Below are the things you must include on your homepage.
- A clear-concise description of your services and practice areas.
- Navigation menus, including a header and footer.
- Professional and high-quality images.
- Testimonials and social proofs.
- Contact form and a CTA button to book a consultation.
b. About Page
The About page must be able to establish credibility among visitors over the lawyer’s expertise and professionalism. Demonstrate the history of your law firm in detail, including its vision and objectives. If it has received any awards and recognition, make sure to publish these on this page.
c. Attorney Profiles
You may include attorney profiles on the About page. But better if you create a separate page for them. Make sure to have a professional headshot, biography, educational background, practice areas, professional membership, and social channel links of each attorney on the page.
d. Service Page
Law firms usually deal with various lawsuits. For example, misuse of intellectual property, medical malpractice, discrimination, family violence, breach of contract, etc. Present only those lawsuit services your company offer in specific sections showcasing your professional expertise.
e. Testimonials
Testimonials work as social proof. According to Attorney Sluice, 80% of people who seek to hire attorneys online tend to read reviews first. Create a specific testimonial section on the home page and showcase them through slideshows. And never publish fake testimonials.

f. Contact Us Page (Book for Consultation)
This page must provide information through which visitors can get in touch with your law firm. You must include phone numbers, WhatsApp, social channel links, and email addresses on this page. Add a map to point to your physical office location.
Today most law firms allow clients to join online meetings. If you also want to offer this service, have a ‘Book for Consultation’ section on the page describing the office hours. Better if you describe the office hours in a table.
g. Blog Posts
Blog posts allow you to share your knowledge, expertise, and recent updates about legal matters. Besides, it has numerous SEO benefits. Regular blog posting on relevant keywords can rank your website organically on search engines and bring you many potential clients.
Prerequisites to Create a Lawyer Website
Hope now you know the must-have elements on a lawyer website. But some technical prerequisites need to be settled before building a website. And this rule applies to lawyer websites as well. Take a look at them below.
1. Get a Domain Name

A domain name is a website’s unique address equivalent to a physical address. It includes a name and an extension (like .com, .org, and .net). Catchy domain names are those that are short, meaningful, easy to remember, and represent the company name.
There are numerous places where you can buy domains. But the best of them are Namecheap, BlueHost, Hostinger, Dreamhost, and HostGator.
2. Buy a Web Hosting Plan
Web hosting is a service that stores your web files and data in an online space. Buying a hosting plan means renting an online space, which is the same as the physical store. Make sure your hosting provider offers top-notch support, security, 99% uptime, and a friendly control panel.
Top web hosting providers are Hostinger, Kinsta, Cloudways, Namecheap, and Exonhost. Explore their sites and buy the plan you need.
3. Install WordPress
WordPress is a beginner-friendly and easy-to-use content management system (CMS). You can use create and design almost any website using this CMS.
- Log in to the cPanel once you get access from the hosting provider.
- Find Softaculous Apps Installer and click it.

- You’ll find all the popular content management systems.
- Scroll them till you find WordPress.
- Hit the Install button under WordPress.
- This may take you several easy steps.
- Complete them one by one.

If you have bought the domain and hosting plan from separate companies, you have to settle several more technical things, like the nameserver setting. Ask the hosting provider if you don’t want to take these hassles. They’ll do these on behalf of you.
4. Install a Theme and Create Pages
- Go to Appearance > Themes.
- Click the Add New button on top.
- Type Hello Elementor in the search box.
- Hovering on the theme will appear the Install button.
- Click the Install button and then activate it.

Without pages, you can’t publish information on your site.
- Navigate to WP dashboard > Pages.
- You can create as many pages as you want by clicking the Add New button.

Step-by-Step Guide to Lawyer Website Design
We are now in the designing part of this article. Here, we’ll cover a step-by-step tutorial on a lawyer website design with Elementor and HappyAddons. Elementor is a powerful page builder plugin by which you can design every single part of your website without coding anything.
HappyAddons is an addon that can further power up Elementor with more exciting features and widgets. Get these plugins installed on your site from the link below.
Once they are installed, start following the steps illustrated below.
Step 01: Create a Header for the Website
HappyAddons has a powerful theme builder by which you can create stunning headers and footers.
- Navigate to HappyAddons > Theme Builder > Header.
- Click the button Add New.
- This will open an easy popup.
- Finish it.

- The Elementor Canvas will be opened on your screen.
- Click the plus (+) icon and select the number of columns for your widget area.

- You can add color to the background.
- Click the six-dotted icon from the top.
- Go to the Style Section.
- You’ll see the color option coming down a bit.
- Set the color you want.

- Using the Inner Section widget, you can add more columns inside the individual column.
- This will give you more options to add elements to the header section.

- Drag and drop the Icon widget.
- This will add a default icon to the section.
- But you can change it and customize its stylization.
- Using the Text Editor widget, you can add text to the area.
- You can stylize the text following the same guide shown above.

- Add icons and text like the image below using the same widgets and formula.
- You can create a button on the section using the Button widget.

- Following the same ways, you can create a new area with the preferred number of columns.
- Add logo using the Image widget.
- Add a header menu using the Happy Menu widget.
- You may change the background color if your taste changes
- You can see we have changed the background color of the top layer.
- Once done, press the Publish button from the bottom of the Elementor panel.

Note: If the Happy Menu widget doesn’t work, you haven’t configured the menu on the backend.
- Go to Appearance > Menus.
- Configure the menu following the video attached below.
- The Happy Menu widget will work after that.
Step 02: Design the Homepage for the Lawyer Website
- Go to WP Dashboard > Pages.
- Select the Home page.
- Open the page with Elementor.

Once the page opens, you will see the default menu bar, page name, and footer coming to the top. To clean this page from these default items:
- Press the setting icon from the bottom-left corner.
- Click on the dropdown list next to Page Layout.
- Select the option Elementor Full Width from the list.

# Add Hero Section
- Select a column for the hero section.
- Increase the height of this section from Layout > Height > Minimum Height.

- Go to Style > Background.
- Click the Slideshop icon.
- Add as many images as you want.
- But make sure the height and weight of these images are relevant to the height you selected.

- You can add an overlay color to the image.
- You will find the Background Overlay option by scrolling down a bit.
- Add the color you want.

- You can add texts and buttons on the hero section as we did.
- Use the Heading, Text Editor, and Button widgets for that.

# Add Service Section
- You can use readymade templates to create the service section.
- Clicking the Happy icon go to the template library.
- Choose a template you like and hit its INSERT button.
- The template will be imported to your page in a minute.
- See the process in the video.
- Add images and suitable text that represent your services.
- You can add images from the Style tab and customize the Height and Width.
- Hope you can do it yourself.

# Add a Short Video
- Adding short video(s) to the homepage has become a trend today.
- Drag and drop the Sticky Video widget.
- It will give you options to add video(s) to the home page.

- You may link a video from YouTube or Vimeo or upload it from your local drive.
- There are several other options you can enable, like Autoplay, Mute, Loop, Start time, End time, and else.

- For more stylization, you can add an overlay image to the video.
- You may stay with the same icon or change it.
- when visitors will click the icon, the video will start playing.

# Add the Lawyer Section
- By clicking the Happy icon, you can select a template for showing the lawyers working in your firm.
- You don’t need to showcase each lawyer working in the firm.
- But you can showcase the most highly profiled attorneys.

- You can see, we have customized the title for this section.
- Added attorneys to the section.
- You can change their names, job title, and other things from the Elementor Panel.

# Show a Brief Summary of the Work History of Your Law Firm
Showing a brief history of your work can show your expertise to web visitors. Better if you show it in numerical figures. You can create a similar section to our design.
- Create a new area.
- Add image and background overlay to the area.
- Add numerical figures using the Text Editor widget.

# Add Testimonial
Already we said the above testimonial works as social proof.
- Drag and drop the Testimonial Carousel widget to the canvas.
- Add images of the person who have you reviewed, their names, and job titles.
- You can further customize it from the Style section.

# Add a Contact Form
Adding a contact form can help you collect leads and build email lists.
- You’ll find tons of contact forms in the Elementor panel.
- Drag and drop the one that you already have installed in the backend.
- Then, customize its color, font, space, button, and others.

Note: In the same, you can create the other pages. It is impossible to show you the design process of all pages in a blog post. We have presented the homepage as an example. Hope you can do it yourself on the other pages.
Step 03: Add a Footer
- You need to go to the Theme Builder again.
- So, navigate to HappyAddons > Theme Builder > Footer.
- Press the Add New button.

- When you land on the Elementor Canvas, click the Happy icon.
- Type Footer in the search bar to find all the footer templates.
- Select the one you like and click its INSERT button.

- Customize the footer using options from the Elementor panel.
- You may add new menus, social channels, and links to them.
- Hit the Publish button at the end.
- The footer will be displayed all over your website.

Step 04: Make the Web Design Mobile Responsive
Over 50% of traffic to any website today is generated from mobile devices. So, you cannot leave your website unoptimized. When you are designing your website with Elementor, you have to optimize each section and element in it for mobile responsiveness. The process is simple.
- Click the Responsive Mode icon below the Elementor panel.
- It will open the different device view modes on top.
- Switching to these modes, you can see how the web layout seems on different screen sizes.

- If you see any section or element that isn’t perfect to view from particular screens, customize their shape, font sizes, height, space, and else.
- These changes will be fixed only for that device.
- For example, font size or shape changes for mobile devices won’t affect the desktop view mode.
Note: Don’t delete any widgets. Deleting a widget on any particular device mode will also be deleted from other modes.

- However, if you don’t love to show a section or widget on any particular device, you can hide it.
- For example, you can’t see the mobile number section on the above and below images.
- Just select the section by clicking the six-dotted icon.
- Go to Advanced > Responsive.
- Toggle on the button next to the mode on which you want to hide this section.
- Press the Update button at the end.

Thus you can make your entire website mobile responsive and complete the web design for your law firm.
Before Wrapping Up
Designing an entire website is a long project. Years ago, people had to code thousands of lines to design each page. People had to depend on professional developers for that. But with page builders, you can create an entire website without a single line of coding.
What you need is a growing design sense so you can curate wonderful page layouts. Once your concept is ready, you can visualize the design overnight with Elementor and HappyAddons. In this article, we’ve guided you on how to create a lawyer website using these tools.
It’s now your turn to start designing your website. HappyAddons have a 24-hour active support team. In case of any problem, you’ll find our support team always next to you. Plus, you can submit your opinion about this post in the comment box.


2 Responses
You did not mention that you have used pluggin that was not free. Btw, how to update the website content ?
Hallo Jaro,
Addins section or container is always fee to use.
Thanks and regards,
Gobinda
Team HappyAddons