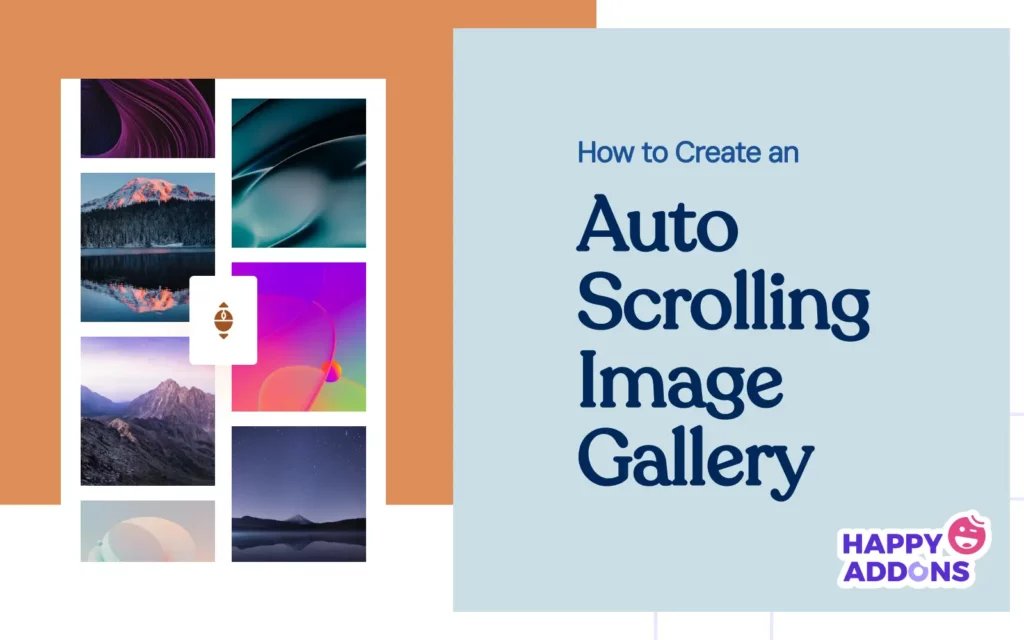

Image galleries are a great way to make your website more attractive. They help you show your products, portfolios, or any visual content in a neat and stylish way. But if you want to make your gallery more dynamic and eye-catching, an auto-scrolling image gallery could be a perfect choice.
With auto-scrolling, your images move automatically without users having to click, swipe, or hover. This keeps visitors engaged and helps them view more content in less time. It also gives your site a modern and smooth look, which can improve the overall user experience.
In this post, we’ll show you how to create an auto scrolling image gallery in WordPress using Elementor. You don’t need to know any coding. Just follow the simple steps, and you’ll have a beautiful and moving gallery on your site in minutes. Let’s get started!
Why Should You Consider Creating an Auto-Scrolling Image Gallery?
An auto-scrolling image gallery is more than just a fancy design feature. It can add real value to your website. Here are some strong reasons why you should consider adding one:
- Grabs Visitor Attention
Movement on a web page naturally draws attention. When images scroll automatically, it catches the visitor’s eye right away. This helps keep people on your site longer and encourages them to look at your content, much like a creative poster design that instantly sparks interest.
- Saves Space on the Page
Auto-scrolling galleries show many images in a small area. You don’t need to place all images in a big grid or stack them one after another. This keeps your pages neat and organized, especially on mobile devices. Learn how to add scrolling text in WordPress.
- Improves User Experience
Visitors don’t need to click, swipe, or hover to view your content. The images scroll by themselves, making it easier for users to sit back and enjoy the gallery. It’s smooth, simple, and user-friendly. Explore how to create a feature box in WordPress.
- Highlights Key Visuals Automatically
As already said, moving things can quickly hook people’s attention. So, by auto-scrolling image galleries, you can easily highlight product photos, client logos, portfolio work, or any important visuals.
- Gives Your Website a Modern Look
A moving gallery adds a stylish and professional touch. It makes your website feel active and up-to-date. This can help create a strong impression, especially for first-time visitors.
How to Create an Auto Scrolling Image Gallery in WordPress (Step by Step)
Although Elementor is an extremely popular page builder worldwide. But unfortunately, it doesn’t have any widget by which you can create a scrolling gallery. So, to do this, you must use an addon that comes with this capability. HappyAddons could be the ideal addon in this case.
HappyAddons comes with 130+ powerful widgets and dozens of features. They can remarkably power up the Elementor plugin. It has a Scrolling Image widget by which you can create different types of auto-scrolling image galleries on your site.
So, make sure the following plugins are available on your site:
Once they are installed and activated on your site, start following the tutorial explained below.
Step 01: Add a Container to Create a New Section
Click the plus (+) icon on the canvas to select a container to create a section where you will create the auto scrolling gallery.

Step 02: Add a Title and Description for the Container
Drag and drop the Heading widget. Using the widget, you can write a title for the container.

Now, in the same way, drag and drop the Text Editor widget to write a description for the container.

Step 03: Drag and Drop the Scrolling Image Widget
Drag and drop the Scrolling Image widget to the container on the Elementor canvas.

The Scrolling Image widget will be added to the canvas. Next, you have to add images to the widget and customize its layout.

Step 04: Select a Preset (Layout) for the Scrolling Image Widget
You can customize the layout for the widget from scratch or select a preset. If you’re not familiar with the term, a preset is a preconfigured design and layout setting that controls how images appear on your website.
The Scrolling Image widget offers a collection of presets on the Elementor panel. Choose the preset you like for the widget.

Check how to create a flip box in WordPress.
Step 05: Add Images to the Scrolling Image Widget
Expand the Scrolling Image option. By default, it offers six image-adding options. But if required, you can add more options by clicking the + Add Item.

You have to add images one by one. First, expand a section. You’ll get the image adding option. Using this option, add your desired image.

You can see that we have already added an image to the Scrolling Image widget.

In the same way, keep adding images to the other options, one by one. The gallery will work as shown in the video clip attached below.
Step 06: Configure Settings for the Widget
Expand the Settings section. You’ll find options to change the Slide direction. By default, the widget shows images from right to left. But you can set it to display them from left to right.
Now, do the configuration as you want.

The Scrolling Image widget allows you to create galleries horizontally and vertically. By default, the widget creates a horizontal layout. But if required, you can create it vertically by choosing the respective option.
Choose the option you want for the auto scrolling gallery. Next, configure the other options – spacing between items and slide speed.

Visit the post on how to embed a Google sheet in WordPress.
Step 07: Change the Preset Anytime (Optional)
While working on the design, you might suddenly feel that the currently selected preset doesn’t look good to you anymore. If that happens, you can easily change it. Just go to the preset section and select the design you like best.

Step 08: Stylize the Scrolling Image Widget
Come to the Style tab. You will get three sections here – Wrapper, Image Box, and Title.
The Wrapper section will let you customize the width, height, padding, and alignment of the widget.

In the same way, expand the Image Box. From here, you can customize the width, height, background type, background color, border type, border width, border color, and more options.
You can see that we have changed the background and border colors for the widget.

In the same way, expand the Title section. You can adjust the text color, background color, typography, and margin for the widget using these options.
Since we haven’t added titles for the images on the widget, we can’t show the reflections of the adjustments here.

Step 09: Check Their Mobile Responsiveness
Since a significant percentage of users today come from mobile devices, it’s a must to optimize any design element today for small screen sizes.
You will get the option to switch between tablet, mobile, and desktop modes on top of the canvas. By switching between them, check if the layout is good for all the screen sizes.
If there is any issue, you can fix this by adjusting the layout specifically for that device view.
Step 10: Preview the Auto Scrolling Image Gallery
When everything is done, publish or update the design. Then, go to the preview page. Check if the widget is playing flawlessly. You can see that the widget is working fine on our end.
Thus, you can create an auto scrolling image gallery on WordPress with the help of the Elementor plugin.
FAQ on Auto Scrolling Image Gallery
Hope you enjoyed the tutorial. Now, in this section, we will answer some questions that may poke your mind. Keep reading!
How many images can I add to the scrolling gallery?
There is no limit. You can add as many images as you want to the gallery.
Can I control the scroll speed and direction?
Sure, you can control the speed and direction of the scrolling from the Settings section of the Content tab of the widget.
Will auto-scrolling affect my website speed?
If you use lightweight images, keep them perfectly optimized, and use a caching plugin like WP Rocket, be assured that the auto scrolling widget won’t affect the speed of your website.
Can I make the gallery vertical instead of horizontal?
The Scrolling Image widget of the HappyAddons plugin allows you to create vertical and horizontal galleries. Based on your web design, you have to choose the one that seems perfect.
Can I create an auto-scrolling gallery without coding?
Yes, of course. Elementor has been so popular because it’s a no-code web building solution. The Scrolling Image widget is a similar solution by which you can create auto scrolling image gallery without any coding.
Final Thoughts!
Creating an auto scrolling image gallery in WordPress with Elementor could be a great way to make your site more lively and engaging. It can help show off your images in a smooth and modern way without taking up too much space. With Elementor and HappyAddons, the process is simple and does not require any coding knowledge.
But for the best results, use high-quality images that load fast. Don’t add too many images at once, as it may slow down your site. Also, make sure the scrolling speed feels natural, neither too fast nor too slow. By following these small best practices, you can create a beautiful gallery that improves both design and user experience.