
With stories and information just a few clicks away, people increasingly rely on statistics and numerical data over abstract narratives to make informed decisions. This is where infographic web pages shine. Not only do they attract visitors, but they also captivate and hold attention, which makes complex information both accessible and engaging.
Besides, infographic web pages can present complex data in compelling and easy-to-read ways. When infographics accompany any case studies or hypothetical stories/ideas, they can create powerful values for the market audiences. However, it’s not difficult to create infographic web pages.
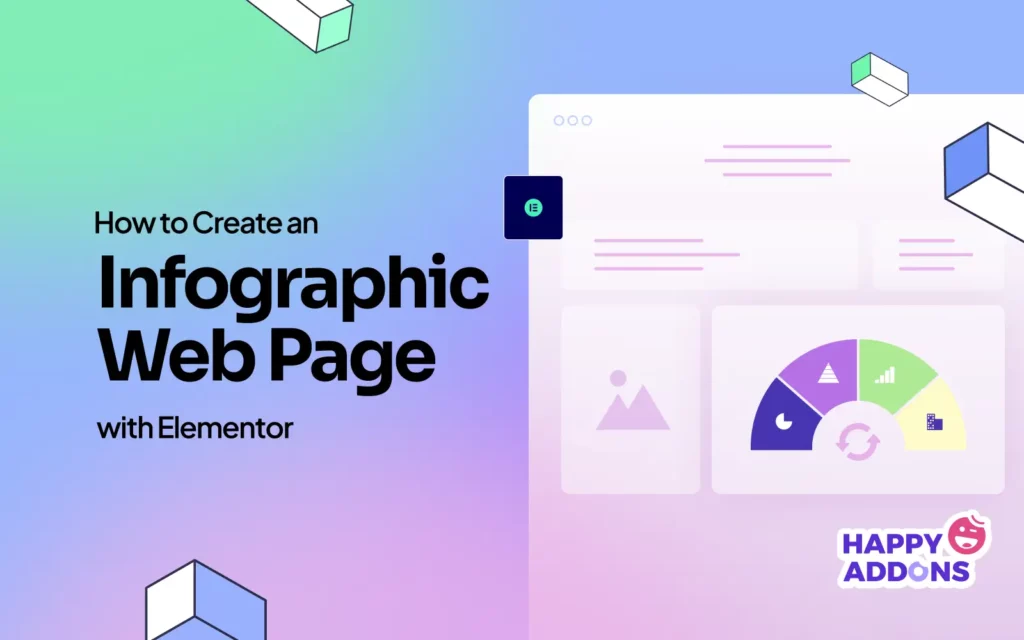
With Elementor and HappyAddons, you can create any type of infographic web page design on WordPress. In this tutorial post, we’ll show a step-by-step guide on how to create an infographic web page with Elementor. Let’s get started!
What Is an Infographic Web Page?
An infographic web page is designed to present information using graphical representations to illustrate concepts. It combines various visual elements like images, charts, statistical figures, icons, etc., with minimal text to simplify the comprehensive data.
Infographic web pages prioritize visual content to improve readability so people can easily understand the whole concept at first sight. To further enhance visual clarity, tools like a photo enhancer can be used to improve image quality and ensure that every visual element supports the message effectively.
This type of page is usually created for storytelling, data visualization, and educational purposes. No doubt, infographic web pages have higher retention and engagement rates.
Why and When You Need Infographic Web Pages
Let’s now take a quick look at why and when you need infographic page designs on your website before diving into the tutorial section. Let’s explore.
- Simplifies Complex Information
Visual elements help users understand complex data topics without becoming overwhelmed by breaking down key insights.
- Keeps Visitors on Your Website Longer
An effective infographic page motivates visitors to remain on your site longer by decreasing bounce rates and boosting conversion potential.
- Strengthens Brand Authority
By visually displaying structured data and valuable insights, you can establish your website as a trusted information provider.
- For Marketing and Promotional Content
Infographic pages stand out as an effective way to display product comparisons alongside campaign highlights. You can also display customer testimonials to grab customers’ attention.
- Share Posts on Social Media
Infographic content is easy to share on social media platforms. Besides, in recent times, people love to view the infographics and statistical information more than textual stories.
How to Create an Infographic Web Page with Elementor
If you have been using WordPress for at least a few weeks, you might have heard of Elementor. It’s a powerful drag-and-drop page builder plugin by which you can design web pages without coding. All you have to do is choose design widgets, drag and drop them on the page, and customize them.
HappyAddons is a well-known addon to the Elementor plugin. It comes with many additional design widgets and features. If you ever feel Elementor isn’t enough, you can try HappyAddons with it. Using the two plugins together, you can do magic in the field of web design.
Get the plugins by clicking the links below.
You can create infographic pages using only the free versions of Elementor and HappyAddons. But the premium version comes with some more exciting resources. So, we’ll use the premium version of HappyAddons in this tutorial.
Once the plugins are installed and activated on your website, start following the tutorial as shown below.
Step 01: Open a Post or Page with Elementor
Open a post or page with Elementor. On the left is the Elementor panel, where you will find all the design widgets and features. On the right is the Elementor canvas, where you have to drag and drop the widgets to design the infographic web page.

Step 02: Create Columns for Placing Widgets
Before placing any widget, you must create columns. To do this, click the (+) plus icon. Then, select the Flexbox container option. After that, select a column structure you need for the design.

Check how to add lightbox in WordPress with Elementor.
Step 03: Start Adding Suitable Widgets to the Columns
According to your design preferences, place widgets in the columns you have created. Let’s see how we design this section.
# Add the Image Widget
Type ‘Image‘ in the search box. Once the Image widget appears below, drag and drop it to a suitable section on the column structure area.

Upload an image or add one from the media library to the widget area from the section marked in the image below.

# Add the Heading Widget
Find the Heading widget and place it in the right column.

Write a title for the infographic page. As I will create this page for diabetes, I have written it for the page title.

Come to the Style tab. You’ll get options to change the alignment, typography, text color, and more.

# Add the Text Editor Widget
After that, add the Text Editor widget below the heading. It will allow you to add plain texts and paragraphs to the canvas.

Now, in the same way, add your desired text to the Text Editor widget. Then, increase its font, change the font family, and select a color as we showed it above.

If you want to reduce the gap between two widgets, you can customize the margin settings.

In the same way, add additional text and images to the canvas using the respective widgets.

By using the margin option, you can move and place any widget to another place, like the map on the image below. Hope you understand it.

Learn how to create an event calendar in WordPress.
Step 04: Create a New Section to Add Statistical Charts
A website page is a combination of several sections. So, to create a new section, you have to add a new column structure area to the page.

Using the Text Editor widget, add a copy to the new infographic section, as we did below.

# Add a Chart Widget to the Canvas
HappyAddons comes with six chart widgets that are really helpful for designing the infographic web page. Just explore the chart widgets and select the ones you like the infographic web page design.

We’ll use the Skill Bars widget to show certain statistical data.

Presets come with pre-designed templates. You may select any preset for the Skill Bars widget or stay with the default one.

From the Skills section, you can add information to all the bars one by one by clicking the respective tabs. You can see we have renamed them and set percentages for each.

Go to the Style tab, keeping the Skill Bars widget selected. You can change the text color, typography, and various other settings of the widget.

Using the Text Editor block, you can add more information to the left side to utilize the white space.

Step 05: Create a New Column Structure for Further Information
To add another section, create a new column structure again. Then, add an image and a textual description like we have done in the image below.

Then, on the right side, fill the white space with suitable information. We have added two texts using the Text Editor widget. In between them, we have kept a section using the Flexbox Container.

You can create these sub-sections using this Flexbox Container.

Now, add the Icon widget to the container sections.
The Icon widget comes with a comprehensive collection of icons in the library. You can change the icon one by one for all the sections. Do it as we have done.
To change the icon color, go to the Style tab > Primary color.
To change their position, go to Layout tab > Margin. Hope you can do the rest yourself.
Step 06: Create the Last Section for the Infographic Web Page Design
Like above, create a new section and column structure using the Flexbox Container. Also add a heading for the section.

# Add a Pie Chart
As said above, HappyAddons comes with many useful chart widgets. We are going to use the pie chart in this section. Drag and drop it to the respective section.

From the Pie Chart section of the widget, specify information for the pie chart by using all the tabs one by one.

Expand the Settings section. From here, you can customize numerous things. But the most prominent ones you can do is write a title and change the legend’s position.

Go to the Style tab. You can customize the typography, font size, and various color effects for the widget.

# Add a Bar Chart
In the same way, add the Bar Chart widget to the canvas.

Like Skill Bars and Bar Chart widgets, customize the Bar Chart widget, setting information and stylization as you want. Hope you can do it yourself. Do it.

Here’s a guide on how to display 360 degree rotating product photography in WordPress.
Step 07: Set a Background Color for the Infographic Web Page Design
Setting a background color throughout the page could make the infographic web page design more eye-soothing. To do this, click the three-line icon on the left-top corner.

You’ll be taken to a new panel. Click the Site Settings option.

You’ll again be taken to a new panel. Hit the Background option.

From the color option, select a color. You’ll see the color is applied through the background of the page.

Thus, you can create and design your infographic web page design.
Step 08: Preview the Infographic Web Page Design
Go to the preview page and check if everything works well. It’s working fine on your end.
Closing Up!
Indeed, Elementor, paired with HappyAddons, empowers you to create stunning infographic web pages that simplify complex information. However, to achieve the best results, certain key points must be carefully considered.
Keep your design clean and uncluttered by avoiding excessive text and visuals. Use a color palette that aligns with your brand identity, and ensure mobile responsiveness to maintain a consistent appearance across all devices. If possible, add animation and hover effects, as they can make your content interactive.
Strive for a harmonious balance between textual content and design elements. Prioritize the use of graphs and charts, as they align perfectly with the purpose of infographic pages. Lastly, optimize your page to ensure it loads quickly without compromising performance.
Thus, by following all these best practices, you can create wonderful infographic web pages that add value and bring conversions.