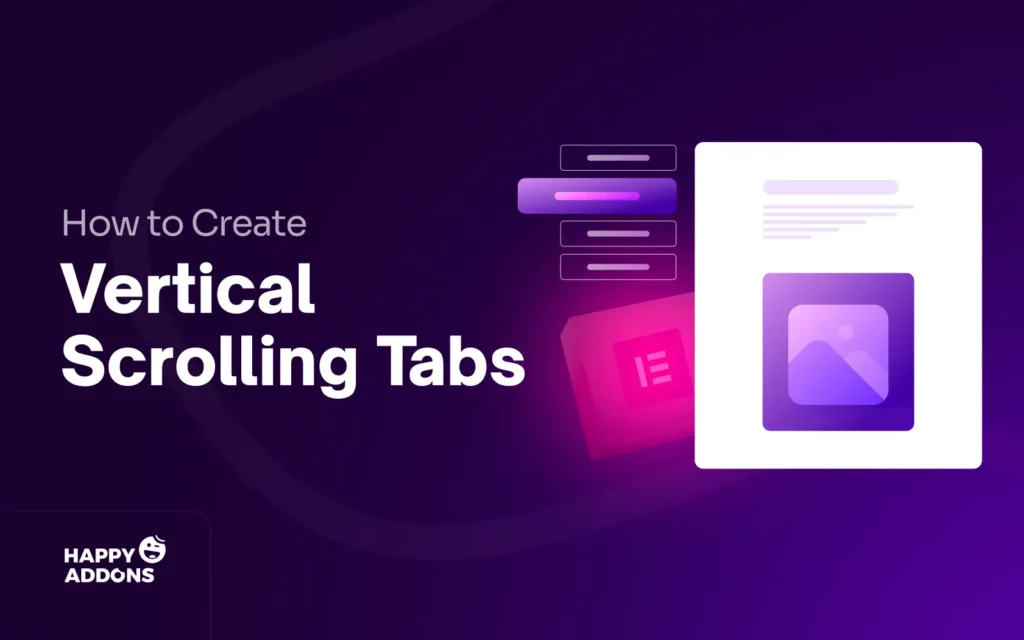

Vertical scrolling tabs allow you to show tabbed content in a tall, side-by-side layout. The tabs stay stacked on the left or right side, while the content for each tab appears on the opposite side. Visitors can scroll down the tabs to explore the content within them.
This keeps the page clean, and people can view a lot of information without leaving the current page. Not only can you display texts, but you can also display images, videos, and templates in vertical scrolling tabs. Users can click or tap a tab to see the content linked to it, while the other sections stay hidden.
Elementor is a popular no-code website builder. With this plugin, you can build an entire website from scratch using its drag-and-drop functionality. In this tutorial post, we’ll show you how to create vertical scrolling tabs in WordPress with Elementor.
Use Cases of Vertical Scrolling Tabs
Vertical scrolling tabs help you organize a large amount of content in a small space. They let visitors move through topics without loading a new page. This layout is easy to use on both desktop and mobile. Let’s take a look at some use cases of vertical scrolling tabs below.

a. Product or Service Details
You can display many product or service descriptions side by side. Each tab can hold specifications, prices, features, or reviews. Visitors can quickly compare different options without leaving the page.
b. Frequently Asked Questions (FAQs)
Vertical tabs are perfect for FAQs. You can group similar questions under one tab and answers under another. Readers can scroll and click only the questions that interest them.
c. Step-by-Step Guides or Tutorials
If you want to share a process with many steps, vertical tabs keep each step clear. Users can click each tab to follow the guide in order. This makes learning easy and keeps the page neat.
d. Team Members or Staff Profiles
Introduce your team in a professional way by giving each member a tab. Each tab can show a photo, role, and short bio. Visitors can scroll through the list and learn about everyone without clutter. Explore some of the best team page examples.
e. Portfolio or Project Showcase
Display your work or projects in vertical tabs to save space. Each tab can show images, descriptions, and links to details. This helps visitors explore many projects from one single page.
How to Create Vertical Scrolling Tabs in Elementor
The theoretical part is over. Hope you now have a clear idea of what the vertical scrolling tab is and what its use cases are. We are going to cover the tutorial part now. We’ll explain how to create vertical scrolling tabs with Elementor on WordPress in this section. Keep reading!
Pre-Requisites to Start the Tutorial
To create vertical scrolling tabs on WordPress with Elementor, you need the following plugins installed and activated on your site.
Note: You need HappyAddons Pro because Elementor does not have a built-in option to create scrolling tabs. HappyAddons Pro offers a widget called Scroll Tabs that lets you create vertical scrolling tabs with ease.
Once these plugins are ready on your site, follow the tutorial explained below.
Step 01: Open a Page with Elementor
Simply open a page with Elementor where you want to create vertical scrolling tabs.

Step 02: Drag and Drop the Scroll Tabs Widget on the Canvas
Find the Scroll Tabs widget on the Elementor Panel. Drag and drop it on the Elementor canvas.

The Scroll Tabs widget comes with some default content. Once the widget is added to the canvas, you’ll see this default content.

Step 03: Start Adding Content to the Tabs
You can add content to the Scroll Tabs widget and stylize the layout in many ways. Explore them in this step.
# Add a Title to the Scroll Tabs Widget
Every web section should have a title that clearly tells what type of content it contains. So, you must write a title for the Scroll Tabs widget section.
Go to Content > Tabs Content > Title. You’ll get the space to write a title. You can see that we have written a title, ‘Stylish Watch Insights.’

# Write a Description for the Widget
Write under the title, you can write a description for the widget. If the description isn’t necessary, you can just remove it.

# Add Content to the Tabs
Take your cursor to a tab and click on it. This will expand the tab and allow you to add content.

# Write a Title for the Tab
You must write a title for each tab. After the tab is expanded, you’ll get a box under Nav Text. Here, you can write a title for the tab.

# Change the Icon of the Tab
You may remove the icon if it isn’t needed. But to change the icon, click on the icon you can see under Nav Icon.
The icon library will be opened up instantly. Choose an icon you like and hit the Insert button.
You can see that the icon has been changed.
# Add Content to the Tab Via Editor
Each tab allows you to add two types of content. You can choose whether to use the Editor or the Template.
Let’s first select the Editor option.

Using this editor, you can add any type of text and images, which will instantly be displayed on the canvas of the respective tab.

# Change the Background Color of the Tabbed Content
To better highlight the content in the tab, you can change its background color, so it aligns well with all the content you have added to the tab.

# Add Content to the Tab Via Template
As said above, the widget lets you add content to the tab via editor and template. Let’s now take a look at how to add content using templates.
Choose the Template option from Content Type. If you already have pre-designed templates saved on your site, this option will be suitable.
Click the dropdown icon next to Choose Template. Then, select the template you want to display on the tab.

You can see that our desired template is already added to the tab.

In the same way, add content to all tabs of the Scroll Tabs widget.

Step 04: Configure Settings of the Scroll Tabs Widget
After the content part is done, expand the Settings section.
You’ll be able to change the width of the navigator panel and height of the content panel, including various alignment adjustments, from this section.

# Adjust Width of the Nav Panel
The Scroll Tabs widget has two parts – the Navigator Panel (Nav Panel) and the Content Panel.
You can change the width of the Navigator Panel by dragging the scale under this option. Also, you can adjust its position and alignment. The process is shown in the video clip attached below.
# Adjust Height of the Control Panel
In the same way, adjust the height of the control panel. Also, confirm that the content is vertically aligned properly.
Step 05: Stylize the Scroll Tabs Widget
Come to the Style tab. Let’s first set a background color for the navigator panel.

# Customize Typography of Nav Panel’s Content
Update the typography, one by one, for each content you have added to the navigator panel. You can change the font family, size, weight, line height, etc., as needed.

# Stylize the Tabs
By adding a border type, border width, padding, border color, border radius, text color, and background color, you can stylize the tabs and present them like the following image. Hope you can do this yourself.

In the same way, expand and stylize the content related to the content panel and scroll section.

Step 06: Optimize the Scroll Tabs Widget for Mobile Phone
To optimize the widget for mobile screen size, go to the Mobile Portrait mode on the top bar.
You’ll see that the navigator tabs appear on top by default.

# Adjust the Content Panel’s Height for Mobile Devices
The existing height may not be enough for the content panel. In this case, you have to increase the height so that all content within the tab can be perfectly seen on mobile screen sizes.
Step 07: Optimize the Scroll Tabs Widget for Tablets
Similarly, switch to the Tablet Portrait mode to optimize the content for optimal display on tablet screen sizes.

You can see in the video clip attached below that the widget already looks good on the tablet screen. So, we don’t need to modify it anyway.
Step 08: Preview the Scroll Tabs Widget
Come to the preview page and check if the widget is working fine or not. You can see that the widget works well on our end.
Thus, you can create vertical scrolling tabs in WordPress with Elementor.
Final Takeaways!
Vertical scrolling tabs are a smart way to keep a web page neat while sharing a lot of information. They let visitors find what they need without jumping to new pages. After following the steps above, you can easily design these tabs with Elementor and HappyAddons Pro.
This gives your site a modern look and improves how users explore your content. However, while creating this section, keep a few best practices in mind. Use clear titles for each tab so users know what to expect. Make sure text, images, and videos are light so the page loads fast.
Check the design on different screen sizes and adjust spacing for mobile users. Keep colors and fonts consistent with your site’s style so the tabs blend naturally with the rest of the design. These small details help create a smooth, professional experience for every visitor.