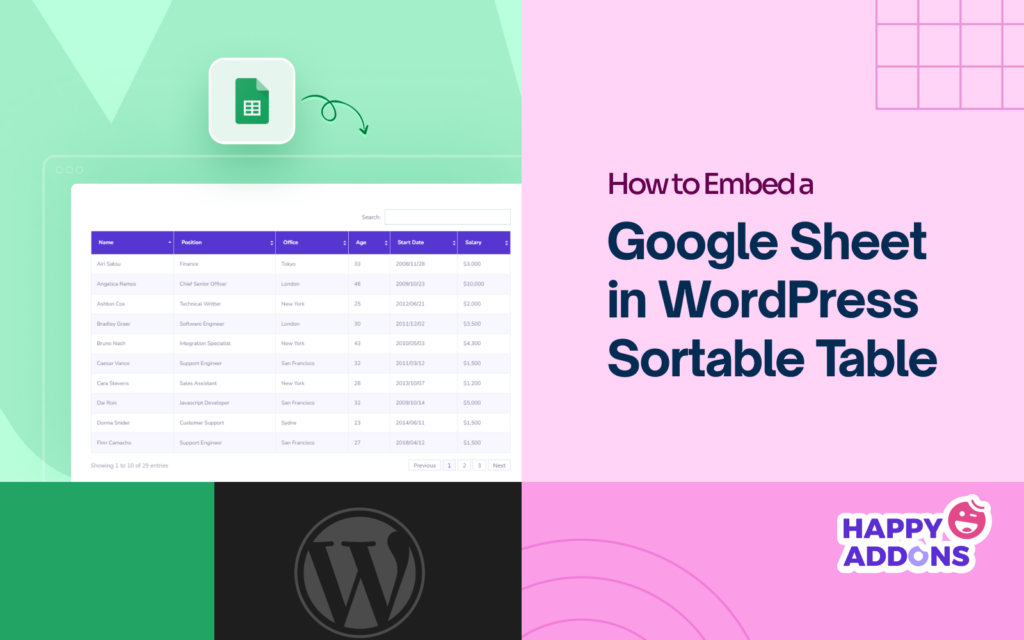

Google Sheets is a free and web-based application that allows you to create, edit, and collaborate on spreadsheets online in real-time. Numerous people who are using WordPress today often look for options to embed Google Sheets into WordPress and create a sortable table.
A sortable table allows users to organize its content by changing the order of its rows and columns. For example, in the case of a sortable pricing table, you can rearrange its order from lowest to highest or vice versa. This feature is extremely helpful to let users research and compare information without having to scroll and explore every single cell on the table.
Elementor is one of the best and feature-rich page builder plugins. It covers powerful widgets to create stunning web pages. Using this plugin, you can display your Google Sheets on WordPress. In this post, we’ll show you how to embed a Google Sheet in a WordPress Table and make it sortable.
Why You Should Create a Sortable Table: Key Benefits
Before beginning the tutorial, let’s have a few more minutes to explore why you should create a sortable table and its key benefits. Take a look at them below.
- Easy to Filter Data
With a sortable table, users can quickly filter and organize information based on what they need. For example, sorting the table rows/columns alphabetically or prices from low to high can help them complete their research quickly.
- Extremely Time Saving
Instead of scrolling, as users can explore the long data tables just by sorting, it can save a lot of time. So this type of table is great, especially when dealing with a detailed or complex information.
- Looks More Clean
Sortable tables organize content neatly as rows and columns are organized in a particular order, alphabetically or numerically. This makes the table look clean and more professional.
- More Engaging
As this type of table provides multiple options for users to re-order its rows, columns, and data, users find it more engaging.
- Good for Large Data Set
Often, you may have to create hundreds of rows and dozens of columns to show up a large data set. This may overwhelm users. Sortable tables could save users in this case.
How to Embed a Google Sheet in a WordPress Table and Make it Sortable
To begin the tutorial, you must have the following plugins installed and activated on your site. HappyAddons is a well-known addon for the Elementor plugin. Although Elementor itself is a vast tool, it lacks several essential widgets and features for web design.
Once they are installed and activated on your site, you can start following the steps explained in the below tutorial.
Step 01: Open a Page with Elementor Canvas
Open a post or page with the Elementor Canvas where you want to create the sortable table.

Step 02: Drag and Drop the Advanced Data Table Widget
Type Advanced Data Table in the search box. Once the widget appears, drag and drop it to the editor.

You’ll see the Advanced Data Table widget is added to the editor.

Step 03: Add Data to the Table from the Google Sheet
Expand the Data Table section. From next to Table Type, select the Google Sheet option.

Now, to display your Google Sheet data as a table in WordPress with Elementor, you must add Google API Key, Google Sheet ID, and Google Sheets Range in the respective fields, as marked in the image below.

# Get Your Google API Key
Click here, Google API key, to visit the page where you will get the key.
Then, click the three-line icon > Credentials > Create Credentials.

A list will open up. Click the option API key.

A pop-up will open up with the key. Copy the key.

Come to your Elementor canvas. Paste the Google API key to the respective box on the left side as marked in the image below.

# Get Google Sheet ID
There are three parts in the link.
- The first part – https://docs.google.com/spreadsheets/d/
- The second part – /13nierdo5sylj9fwUdWOmLbQoDZ4xeRe2ezYm1BiAqJg/
- The third part – /edit?gid=0#gid=0
This second part is actually the sheet ID. Copy it.

In the same way, paste the Google Sheet ID to the respective box and the your sheets range to the other box.
The table will appear instantly.

Note: No worries if the table isn’t displayed. Come to the Remove Cache option by scrolling down the sidebar section. Turn on and off it. Hope the table will appear.

Besides, when the table is displayed, you’ll see the sorting option is enabled on the top row of the table. By clicking this option, you can alter information by re-ordering rows of the table.

Step 04: Change the Alignment of the Table Content
Under the Data Table section, you’ll see two alignment options – Head Alignment and Row Alignment. Using them, you can change the alignment of the table content. Do it.
You can see that we have centrally aligned the content.

Step 05: Configure the Table Settings
You may display a search box, pagination, and how many rows you want to display per page. To do this, expand the Settings section. Toggle on to enable the following options:
- Enable Search
- Enable Pagination
- Enable Entries
You’ll see the Entries and Search Box appear on top and the Pagination below the table.

Step 06: Use a Preset (Optional)
Presets are readymade templates with saved settings. If you are short on time, you can instantly prepare your table using any preset. HappyAddons provides four presets for the Advanced Data Table widget.
To do this, expand the Presets section. Click on any option you like. You’ll see the style is applied over your table.

Step 07: Stylize the Table
You can further customize the padding, border radius, border type, border color, and more options to make your table look attractive. You can customize each part of the table content.
# Stylize the Common Options
Go to Style tab > Common. From this section, you can stylize the search box, pagination, and entries.

Let’s first stylize the search box. You can see that we have changed the border color and input background color. If required, you can customize the padding and border radius as well.

Scrolling down, come to the Pagination option. Make the necessary changes you want. We have slightly increased the space between and changed the border radius.

The last few options under the Common section are reserved for customizing the Entries. You can see that we have changed the colors of the Entries options.

# Stylize the Table Head
Next, expand the Table Head section. You can change the stylization of the top row of the table. You can see that we have changed its color, increased the font size, and selected a different color for the sorting option.

# Stylize the Table Row
In the same way, expand the Table Row section. You can change padding, background color, text color, font type, and other options as shown in the above steps. Hope you can do them alone yourself.

Step 08: Make the Table Mobile Responsive
Finally, to make sure your table looks equally good on all device types, you must optimize its layout separately for each device.
To do this, click the Responsive Mode at the bottom of the Elementor panel. A top bar will appear on the Elementor canvas, where you will get options to change the canvas into different screen sizes.
Your customizations in the Style tab will be saved only for that particular device type. Thus, you can make the table mobile-responsive.

Step 09: Preview the Table
Now, come to the frontend of the post/page. Check if the table works perfectly or not. Hope it will work fine on your end.
Conclusion
Hope you enjoyed this tutorial. So, from now on, it won’t be any way difficult for you to display large content from Google Sheets on your WordPress site. If you are new to WordPress and have no idea about Elementor, you should spend at least a few hours exploring this tool.
No matter if you are a no-code user. Elementor alone is enough to let you design your entire website yourself without taking help from any professional. Not only this. By harnessing the power of the plugin, you can create conversion-centric websites that bring you leads and revenue.
We have already covered many tutorials on how to design different aspects of a website with the Elementor plugin. Please visit our blog archive page to explore them and increase your knowledge base.