

Creating a website with Elementor is now one of the fastest and most user-friendly procedures. In case you did not know, Elementor is a WordPress-oriented plugin that lets you build amazing web pages in an easier way with full control. If you are already using Elementor, then you can crank up its functionality even more with the Happy Addons.
Currently, tabbed content has been an essential element and a trending design concept to give an appealing appearance and excellent experience to your visitors. Here, I will show you the easiest way to create tabbed content in Elementor with Happyaddons.
Why You Need to Use Tabbed Content
Building tabbed content is not just creating a few boxes where you can add texts, actually, it’s more than that. The performance of your site depends on easier usability.
Through tabbed content, you can create as many tabs as you need and customize it as well. Besides that, you can add-
- Contact Form
- Effects
- Video
- Images
- Gifs
- Form & many more
4 Easy Steps to Build Tabbed Content Successfully!
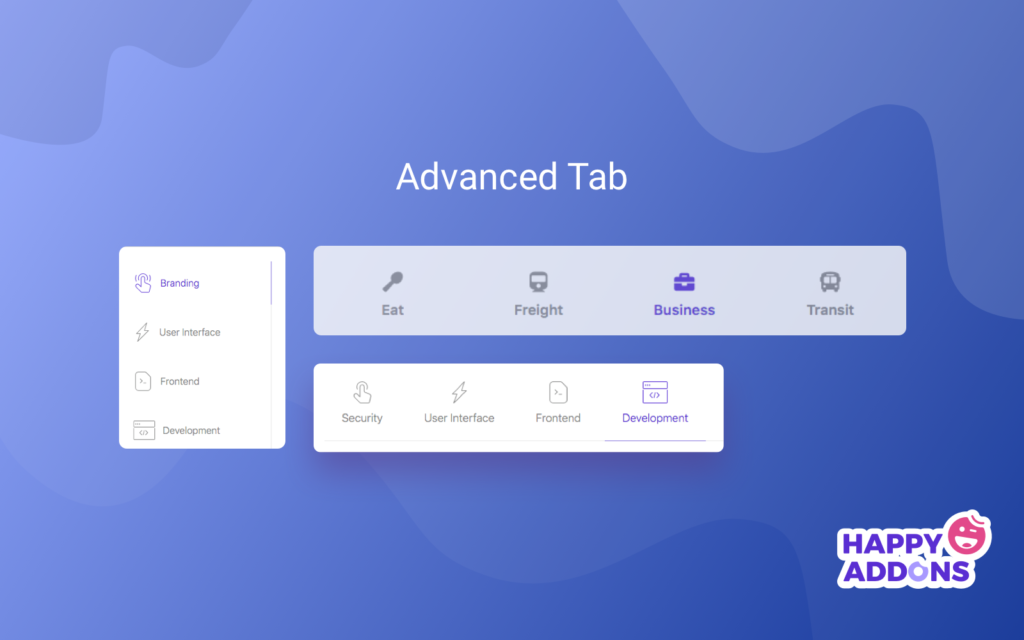
The Advanced Tab widget lets you add a tabbed section anywhere on your Elementor site. It allows you to represent a large amount of information concisely within a small arena.
However, we’re going to show how you can easily create tabbed content. To create effective tabbed content you have to avail at least the Starter plan of HappyAddons. Before jumping to the tutorial, let’s see what you need as prerequisites:
Requirements
- WordPress
- Elementor
- HappyAddons
- HappyAddons Pro
Using the Elementor page builder plugin, anyone can create a website. It allows you to build designs such as drag and drop features, unlimited addons, sliders, headers, Elementor library, etc.
I am assuming that you have a HappyAddons Pro version on your website. Go to your Elementor site and start editing the page with Elementor. If you have activated the HappyAddons Pro, you will be able to see all the widgets on the left side.
Step 1
Select the Advanced Tab widget from the menu bar on the left-hand side of your screen, then drag and drop it in the selected area.

Step 2
You will get a window with the basic setting options under the Content tab. It will give you two options to customize your tab’s attributes and set the position on the left-hand side and a default tab section on the right-hand side canvas.

By clicking on each custom tab you can modify the attributes of the widget. Now, hit on the Tabs to add/delete tabs.

You can also customize tab title, box content, icon, media files, etc., by clicking on a specific tab.

From the Options menu, you can edit the position and alignment of Tab Title, Tab icon, and Tab Content.
Step 3
Now, by clicking on Style Tab you can customize the text color & shadow, typography, margin, padding, border, spacing, size and many more for Tab Title, Tab icon, and Tab Content.

Hit on the Tab Title to set horizontal and vertical margins, padding, border style, test decoration, and background type.

Click on the Tab Icon to modify the spacing and size of the icon.
Now, click on Tab Content to edit border style, typography, color, and background type to add your own taste.

Step 4
If you want to add motion effects, Happy Effects, background or make the page responsive, click on ‘Advanced’ to explore those options. This ‘Advanced’ tab is a default feature of Elementor. Give a read to this document to know more about advanced features and its uses.

Finally, after completing all the customization, click on ‘Publish’ to see your work live.

HappyAddons can minimize your time by enriching your website look. The most amazing part of this plugin is all the widgets and features are customizable according to your choice and preference.
Wrapping Up
If you have created tabbed content successfully, then congratulations! If not, then start checking the steps again. If you get stuck with any problem while following the above procedures, don’t hesitate to drop a line below.
Have a great day!


