As an online business owner, you may need to share your company’s successive information, such as services, service quality, proficiency, or customer reviews, on your website accurately. These kinds of stuff on your website would not only increase reliability but also create trust among customers. Unfortunately, most online marketers fail to represent their skills globally, and this results in losing potential customers. So, you should learn how to add a skill bar or represent your business’s progress properly on the web.
Research shows about 75% of people prefer to watch proficiency bar or a progress bar before taking any service from a company
Medium
In today’s post, we’ll show you how to add a skill bar using Happy Addons Skill Bar Widget with a few clicks. Yes, a Skill Bar widget will not only reduce your costs, time, and complications but also improve your website’s look. But before going into the details, let’s introduce the Skill Bar widget at a glance.
Introducing Happy Addons Skill Bar Widget
Well, in the WordPress ecosystem, you may find tons of plugins to customize your website. They’re pretty good at giving you that kind of support. But when it’s about flexibility and comfort, then you must opt for the best one. And our pick for today is Happy Addons.
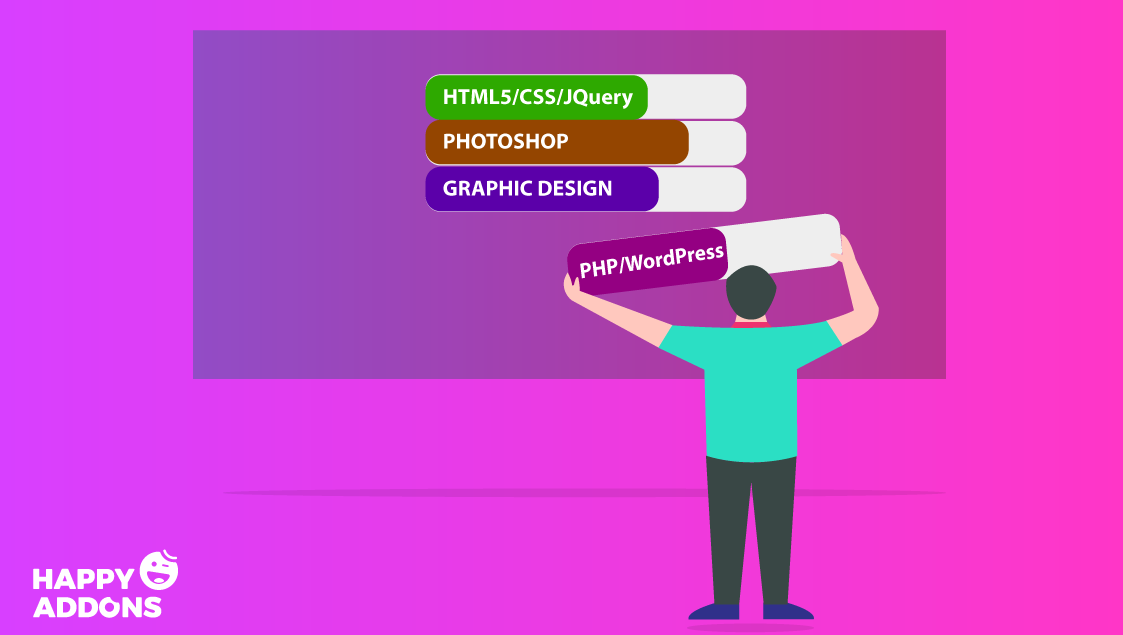
Skill Bar Widget is a core feature (free) of Happy Addons. In other words, the Skill Bar widget is an imperative building block to demonstrate user skills, task percentage, required tools, and other expertise information in different ways.
So this widget can be very fruitful to you for the following reasons:
- Inbuilt designed Presets
- Slim shape thinner line progress bar
- Single color thin progress bar with the title inside the bard
- Multicolor thin progress bar with the title inside the bard
- And more that you would need
These are the main functionalities of this Widget. In the next section, we’ll be going to show you how you can implement this widget on your website.
So, let’s get started:
Add a Progress, Percentage, or Proficiency Bar Using the HappyAddons Skill Bar Widget
Adding the skill bars widget on the website is a very easy task. If you’re a regular Elementor user, then you can do it in a few minutes. For your better understanding, we’ll provide an easy way so that you can employ it on your website. Let’s see the requirements that you’ll need for this tutorial:
Requirements for Implementing the Skill Bar Widget
- WordPress
- Elementor
- Happy Addons (free)
Skill Bars Widget consists of four different designs. So we’ll show how you can deploy this feature. Let’s assume that you have completed all the requirements.
Design One: Adding Thin Lines with Percentage
After installing both Elementor and Happy Addons, create a page and then open it with Elementor. Then, you’ll get a default white canvas. And you can add widgets.
To do that, just type ‘Skill Bars’, then it’ll automatically come up, and you just need to drag it to the marked area.
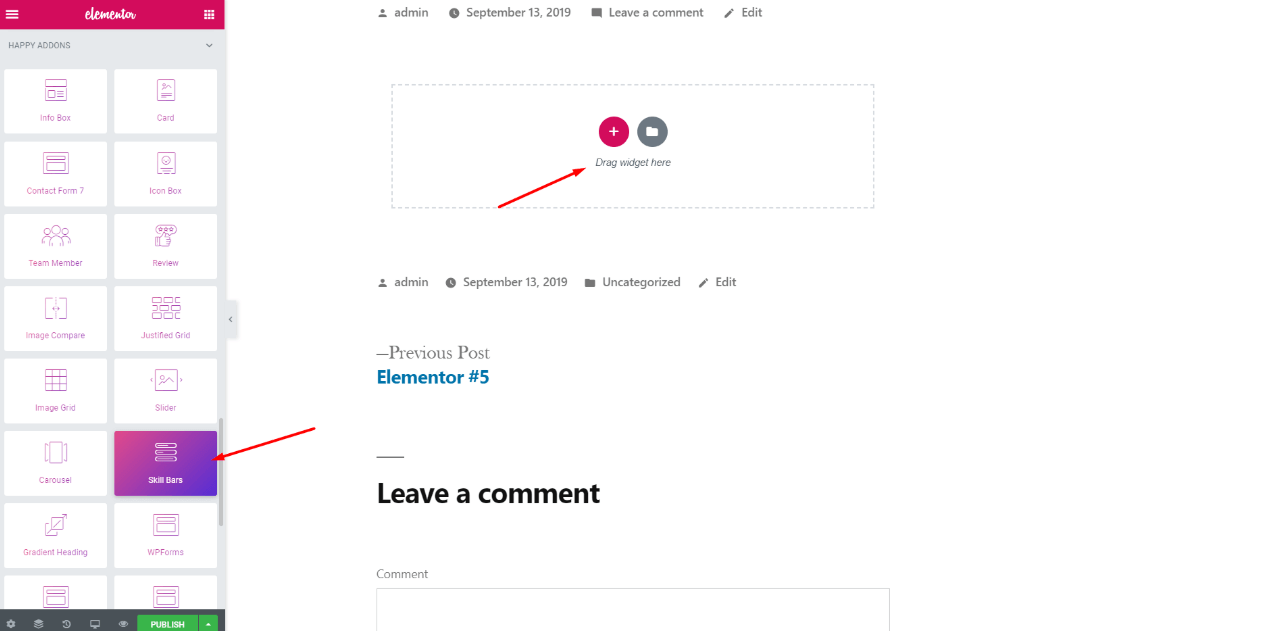
Then, you’ll see all the settings of ‘Skill Bars’ widget. For example, Content, Style, and Advanced. Besides you’ll get two more important options one is the ‘Preset’ and the other is ‘Skills’
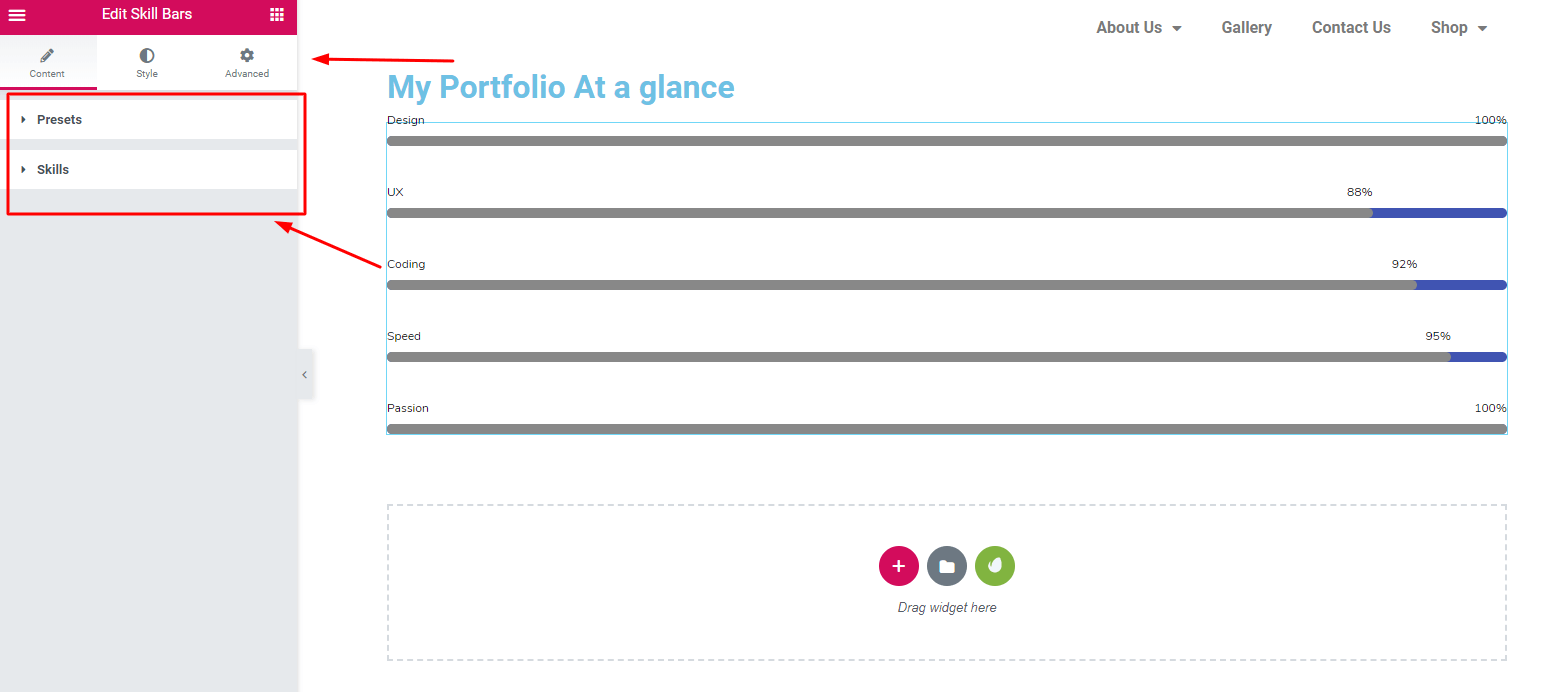
To stylize the ‘Skill Bars’ widget click on the ‘Preset’ option. Then Select the design one.
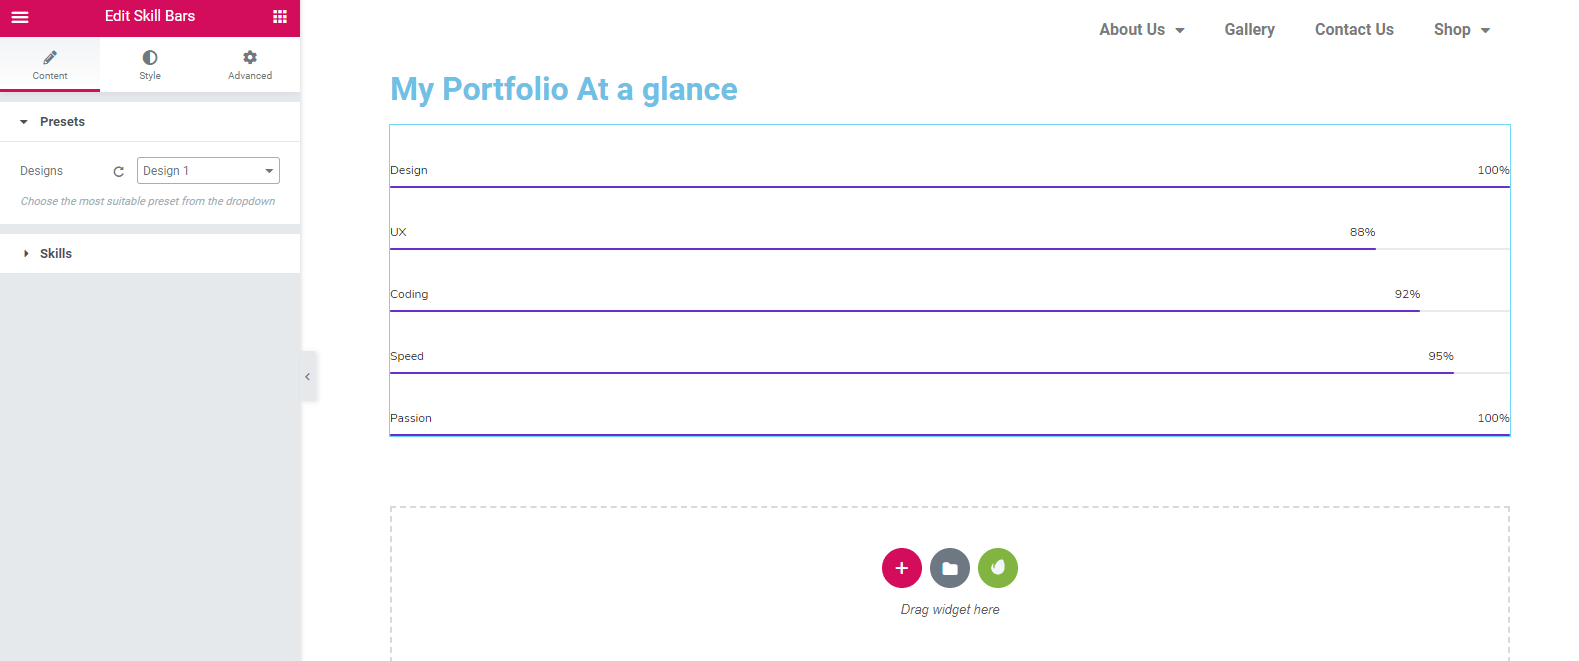
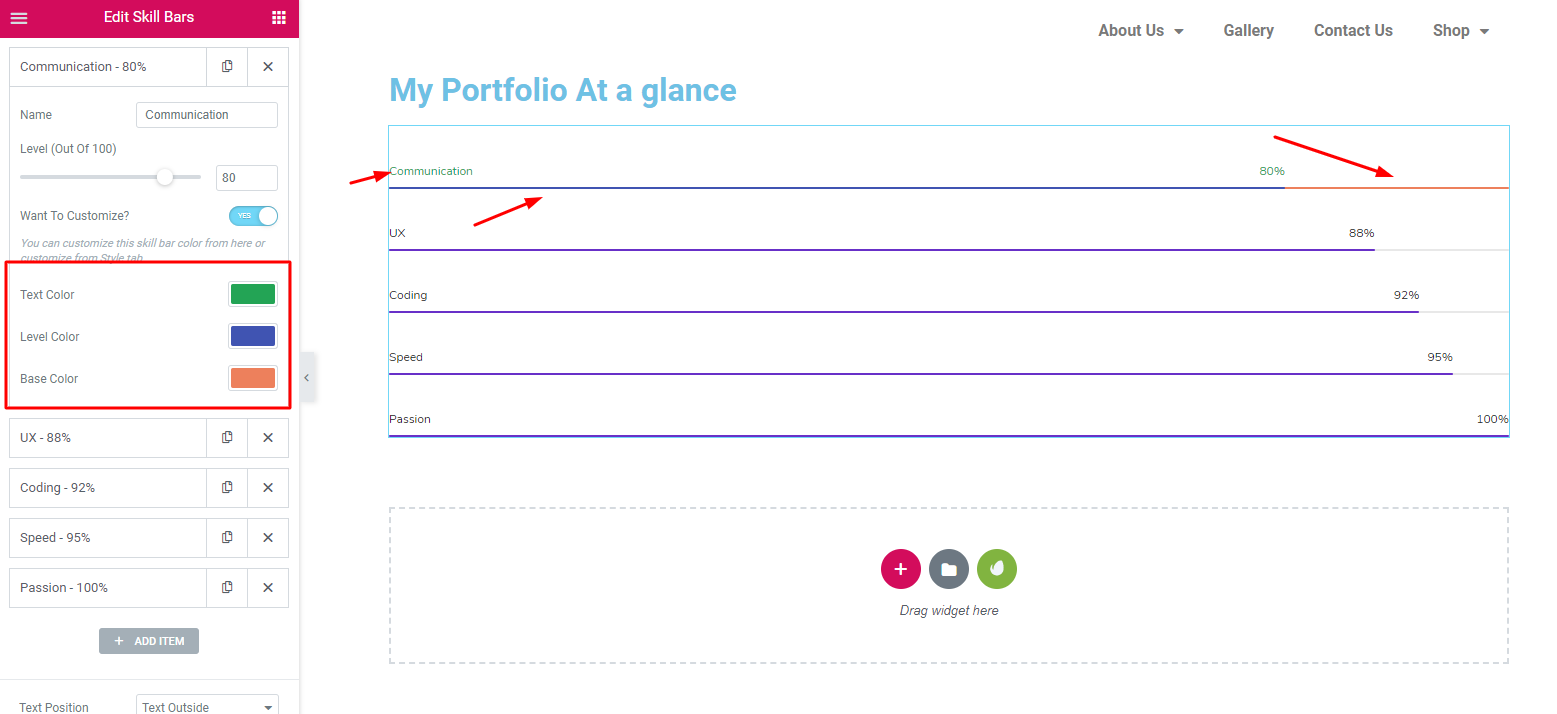
Here you can easily edit each and every bar you want. For example, text color, bar color, and base, etc.
Next, you can resize the ‘Bars’ according to your taste. And you can do it from the ‘Style’ option. Like height, space, border, and box-shadow.
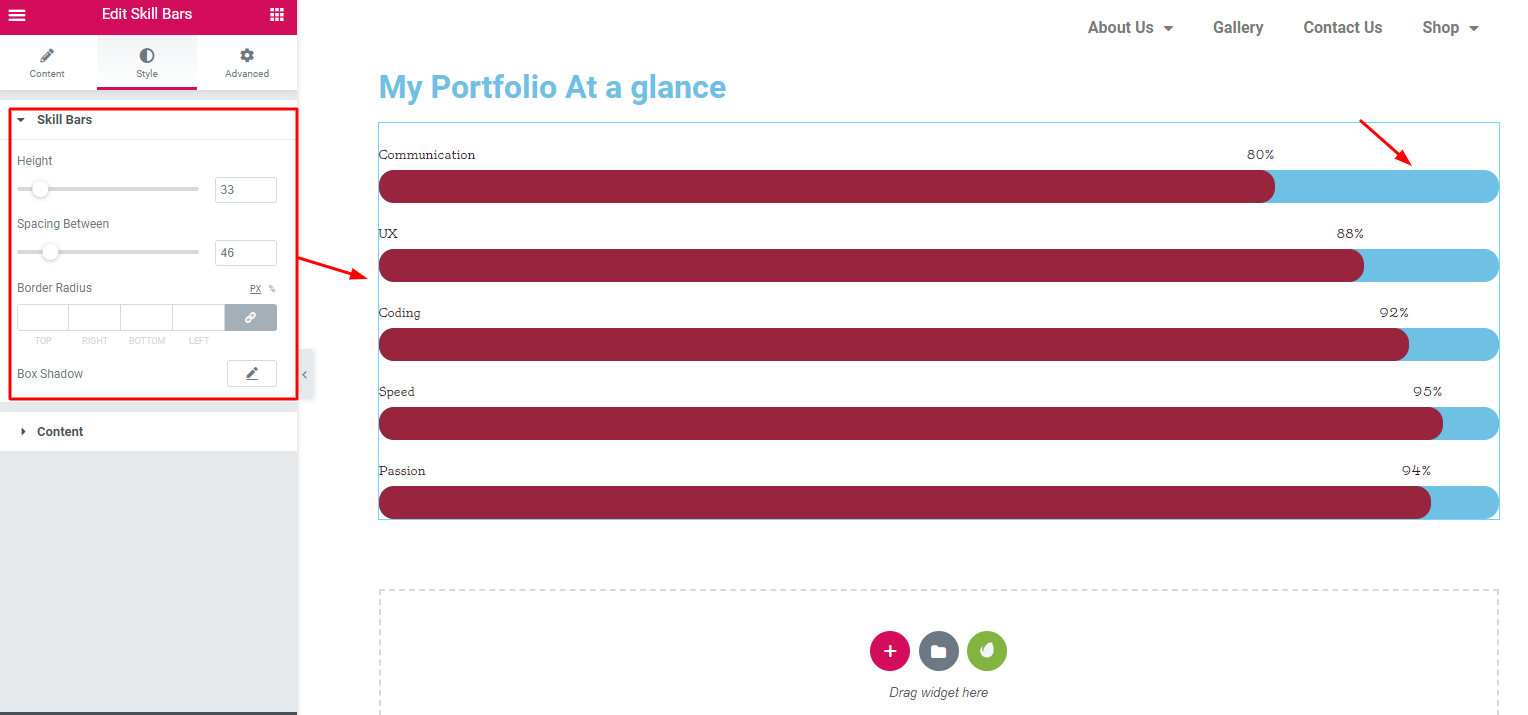
From here, you can also colorize bars, base bars colors, and more.
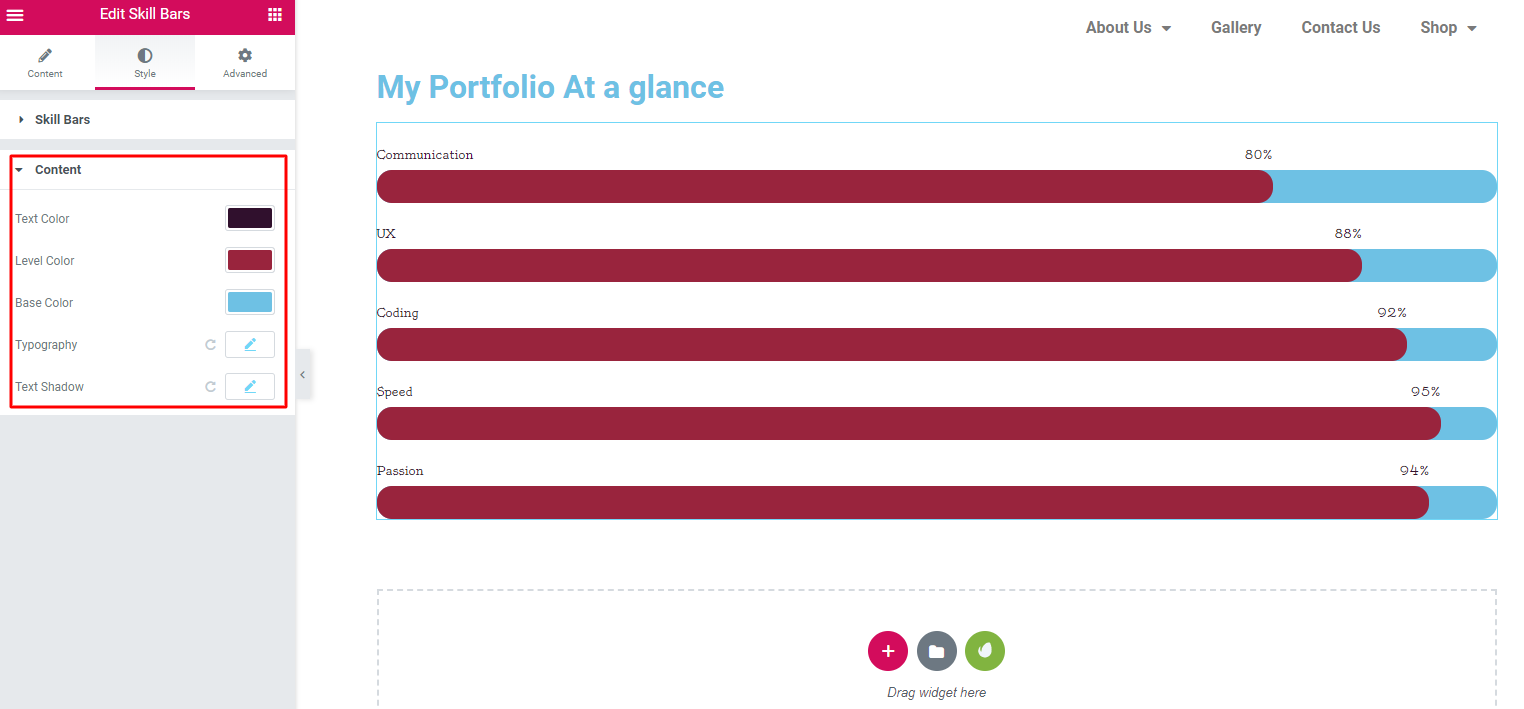
# Final Preview
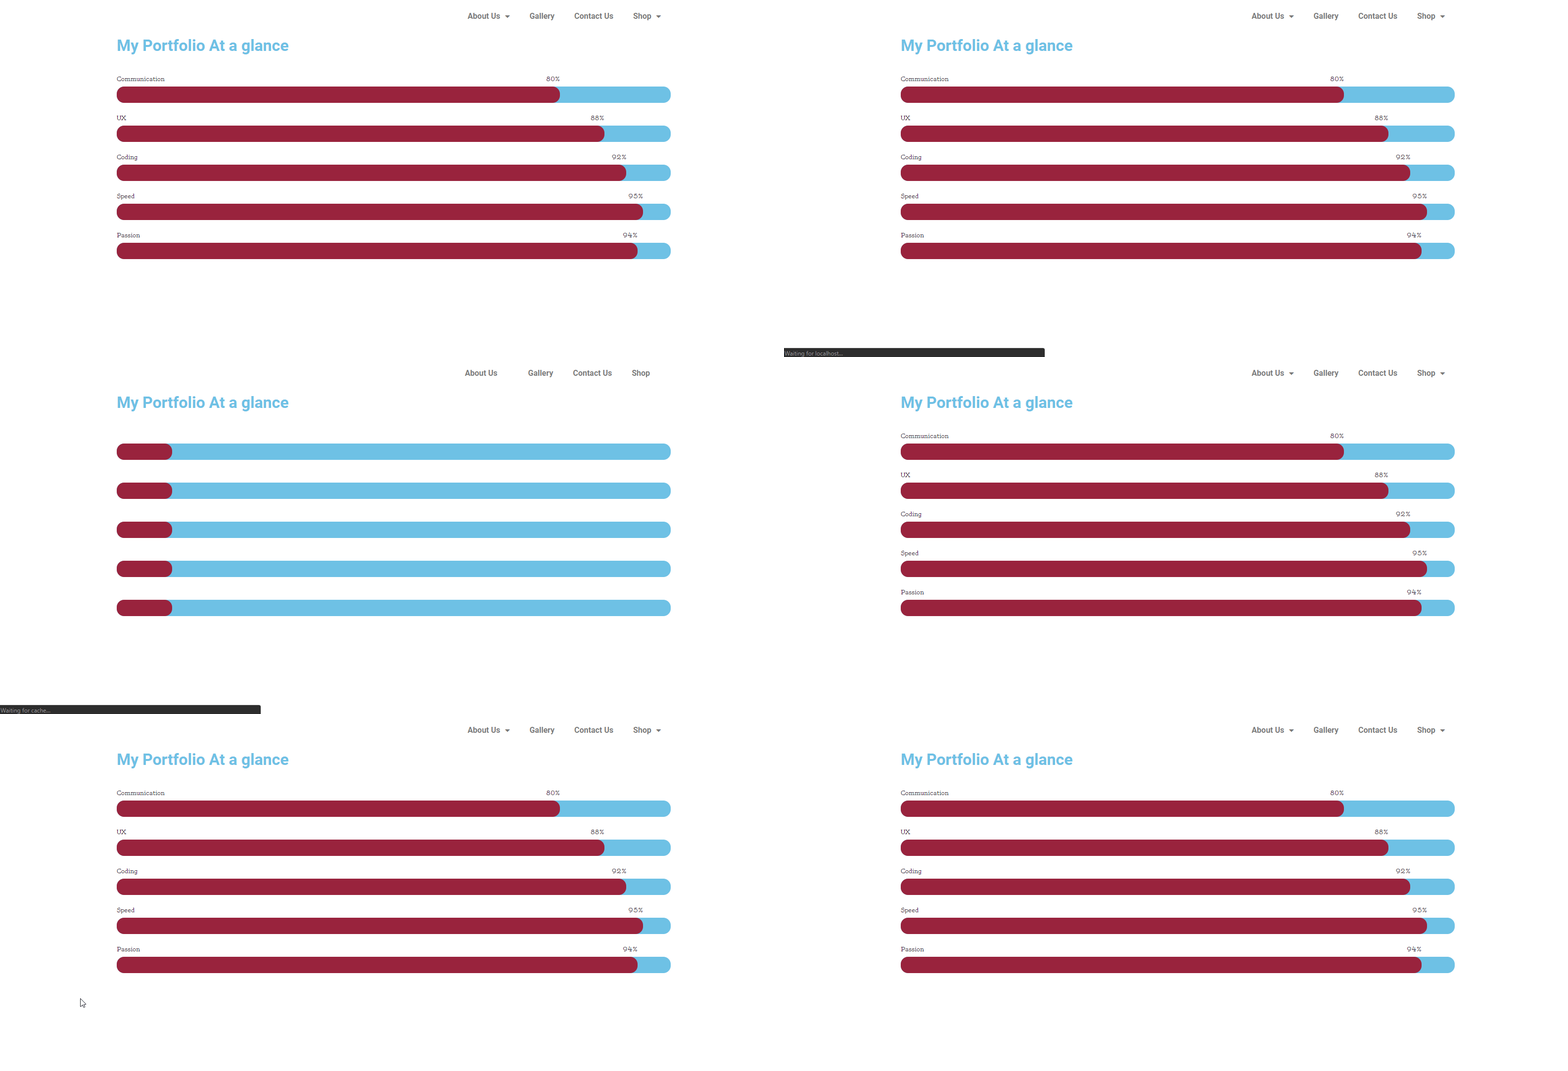
Design Two: Bars with Different Sizes and Colors
Applying other designs on the ‘Bars’ is the same for all. Therefore, we are showing a live preview directly. So you can apply the same customization process to all.
# Final Preview
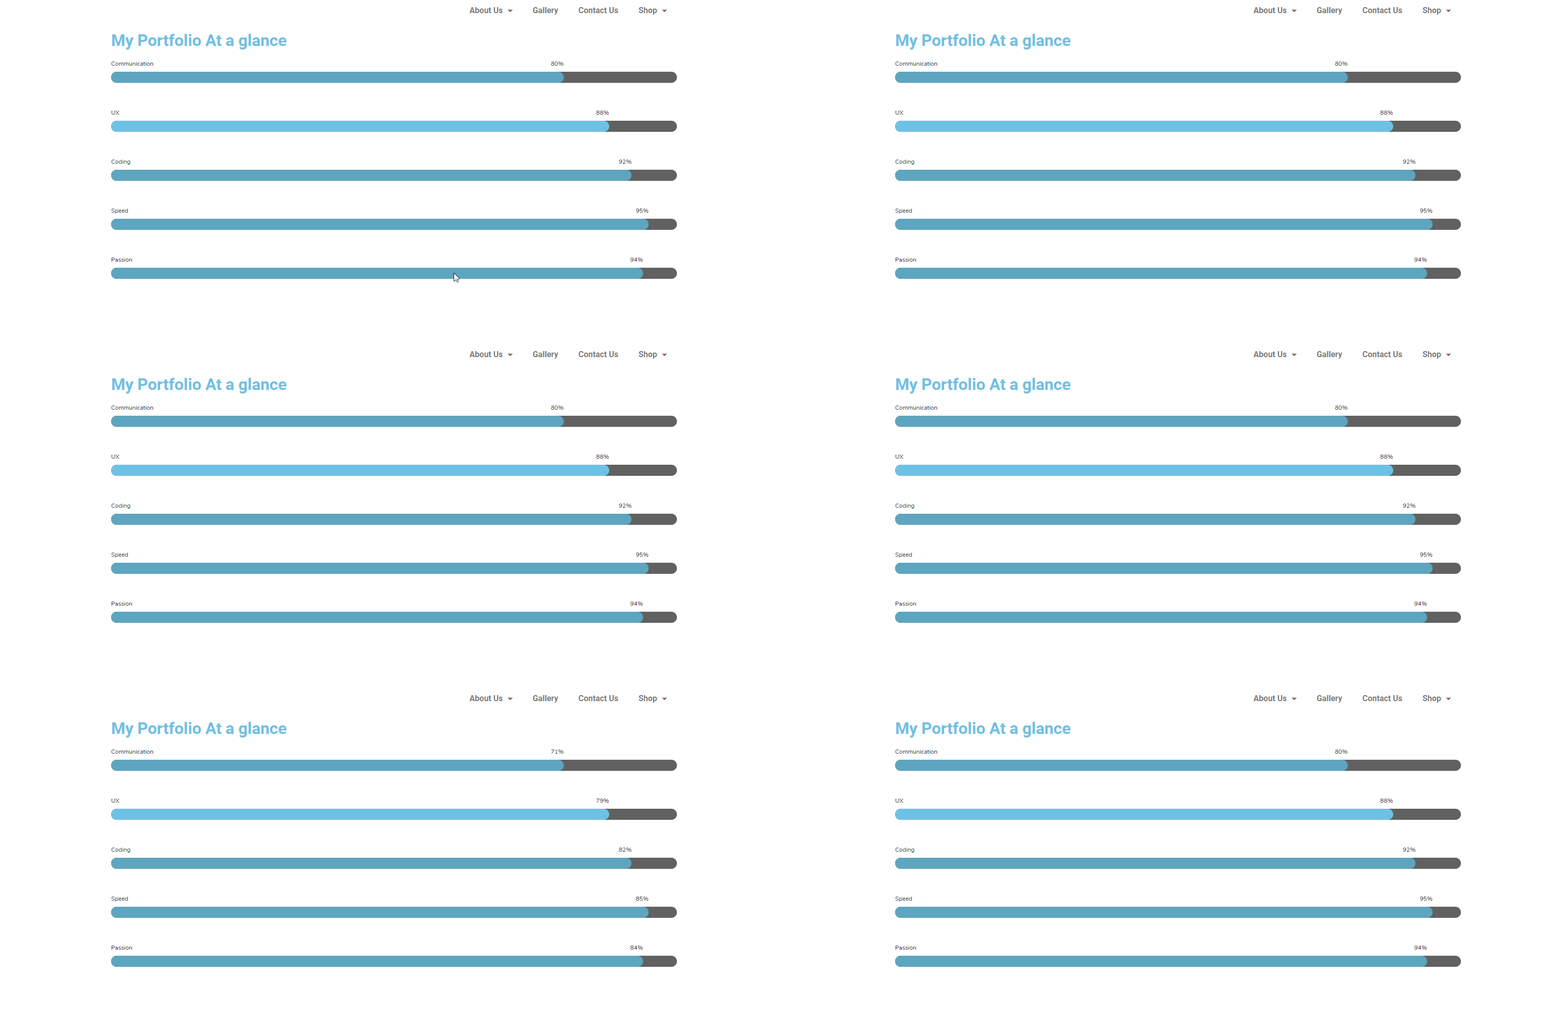
Design Three: Same Color and Text Inside The Bar
To apply this design, just select design 3 from the ‘Preset’ option. Then, follow the same process. Here, you can see that ‘Text’ is in the ‘Bars’. That’s it. Check the screenshot below:
# Final Preview
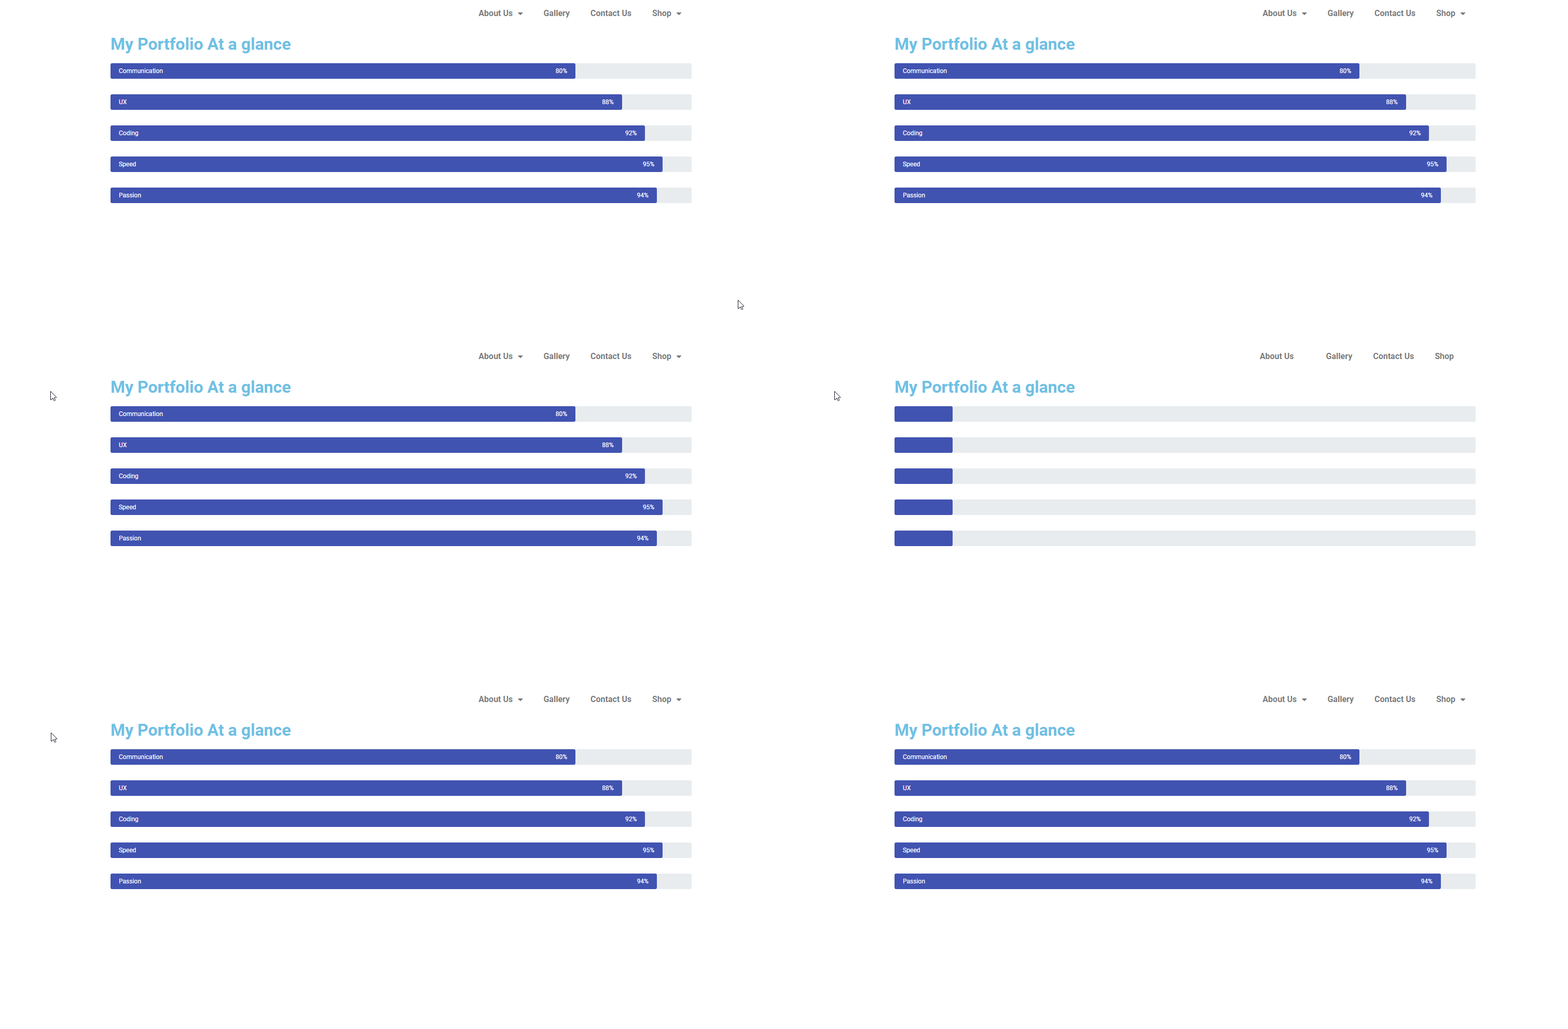
Design Four: Multiple Colors and Text Inside the Bar
Like the previous process, select design 4 from the ‘Preset’, and the rest of the settings are the same. In design 4, you’ll get multiple colors with text inside the bars. Check the screenshot below:
# Final Preview
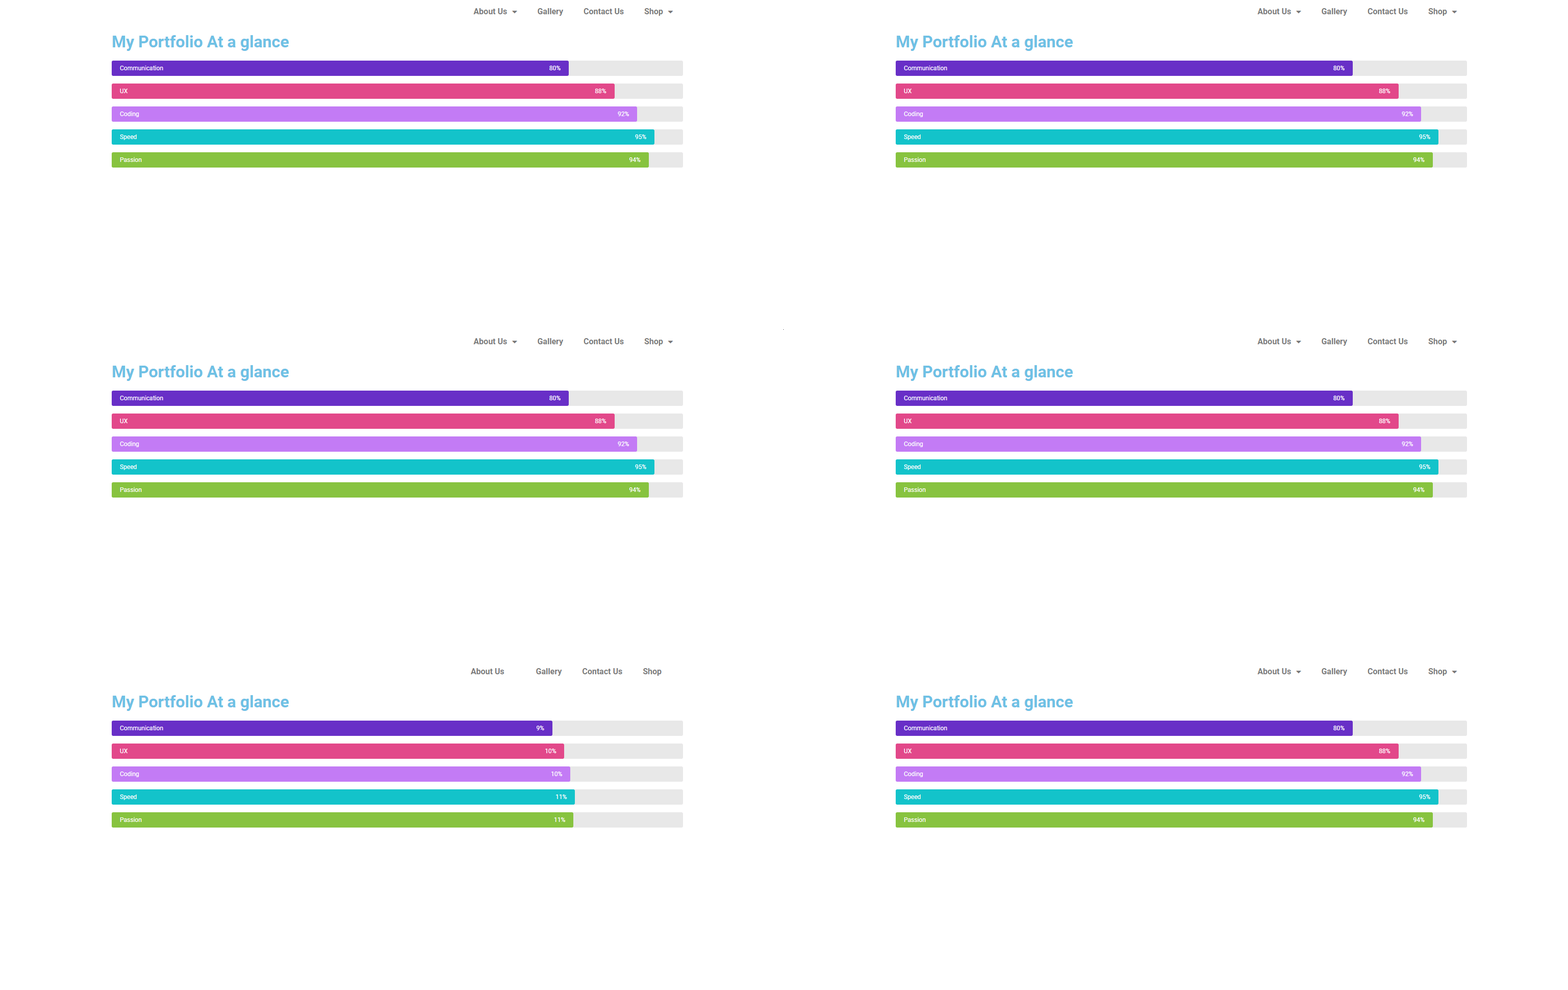
So these are the fundamental designs of ‘Skill Bars’ widget. It’s very easy to apply and also unique in style. Therefore, you can utilize this feature on your website by the above-mentioned steps.
Ready to Make A Decision?
Making a wise decision will not only help you to get success but also take your business up to the mark. As a marketer or online business owner, you must take proper initiative at the right time. Otherwise, there is a high chance of losing potential customers.
Therefore, a website with a prominent look will speed up your success in online business. Anyway, we tried our best to show an easy way so that you can employ it without any hassles.
So if you have any queries or problems regarding this tutorial on HappyAddons, feel free to ask us in the comment section.

