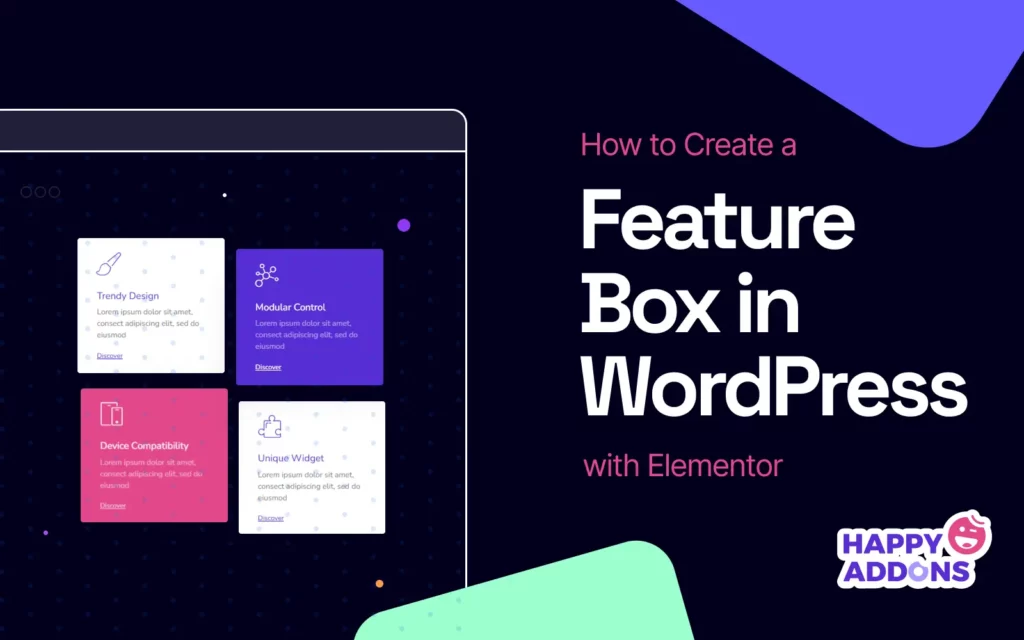

A feature box is a highlighted section on a webpage by which you can draw users’ attention to content like special offers, benefits, services, or calls to action. It is designed to stand out visually and make it easy for visitors to view your important messages at first glance clearly.
Creating eye-catching feature boxes isn’t difficult today. Elementor is a powerful and well-known drag-and-drop page builder plugin that has made website design easier. Even those who once did not know coding can now design stylish web pages with Elementor.
It gives you full creative control over layout, colors, icons, images, animations, and more. So, in this article, we’ll cover a step-by-step tutorial on how to create a feature box in WordPress with the Elementor plugin. Hope you’ll enjoy it. Get started!
Why Should You Consider Creating Feature Boxes?
Feature boxes have the power to shape how visitors will interact with your website content by truly hooking their attention. Take a quick look at why you should consider creating feature boxes on your website.
- Highlight Key Features
Feature boxes are perfect for drawing attention to the most important features of your offering. This could be your products, services, or packages. Instead of detailing your product page-wide, feature boxes help visually separate the key features and present them in instantly noticeable ways.
- Communicate Values
With captivating feature boxes, you can let your audiences know what makes your brands/products stand out. It gives you a space to communicate your core values to online audiences in a clean and direct way. This builds trust and connects your visitors on a deeper level.
- Create a Consistent Layout
You may need to create multiple feature boxes across your site. Elementor simply allows you to duplicate the feature boxes as many times as you want. Thus, it ensures consistency and rhythm throughout the website. After they are duplicated, you just have to modify the content in them.
- Strengthen Brand Identity
Feature boxes offer a great opportunity to reinforce your brand identity. You can align them with your brand’s colors, fonts, and icon styles to maintain visual harmony. This subtle repetition helps your brand feel more cohesive and memorable.
- Improve Content Readability
Long paragraphs can overwhelm readers. But with feature boxes, you break up content into small pieces that are easy to comprehend. They can make your content more scannable. This enables visitors to quickly understand your message without spending a lot of time exploring large content blocks.
Pre-Requirements to Create a Feature Box
Before we jump into the tutorial, there are several prerequisites you must ensure in advance. Make sure the following plugins are installed and activated on your site.
Why HappyAddons?
A key reason why Elementor is so popular today is that it has a great collection of powerful addons. Each of them comes with many additional features and widgets to further extend the power of the core Elementor plugin. HappyAddons is such an addon.
HappyAddons has 130+ feature-rich widgets, 28+ exciting features, 100+ pre-designed templates, and a theme builder. Hope you know that the free Elementor version doesn’t offer many advanced features and widgets. But if you are really for a comprehensive free option, HappyAddons could be a smart pick.
HappyAddons’ free version offers 70+ widgets and 20+ features, and lots of pre-designed templates. So, you can create stunning feature boxes with the free version of HappyAddons. This is why we’ll use it in this tutorial.
How to Create a Feature Box in WordPress: Step-by-Step Tutorial
Hope the plugins mentioned above are installed and activated on your site. It’s now time to begin the tutorial. Follow us.
Step 01: Open a Post or Page with the Elementor Canvas
Open the post or page where you want to create the feature box.

Step 02: Select a Column Layout
Select a column layout as you want. For this tutorial, we’ll select the three-column layout.

Step 03: Drag and Drop the Suitable Widget to the Canvas
As already said, HappyAddons offers many feature-rich widgets that you can use to create the feature box. Among them, the three best widgets are Icon Box, Info Box, and Card. You can use any widget. But for the tutorial, we’ll use the Info Box widget.
Find the Info Box widget on the Elementor panel. Drag and drop it over a suitable column on the canvas.

You’ll see the Info Box widget has been added to the Elementor Canvas.

Explore how to embed Google Sheets into WordPress table and make it sortable.
Step 04: Select a Preset for the Info Box Widget
A preset is a pre-designed layout with saved settings and customizations. Once you select a preset, its entire settings and stylizations will be applied to the widget to give it a pre-defined appearance. When you are short on time, using presets can remarkably save you time.
Most of the HappyAddons widgets include several presets. For example, the Info Box widget has twelve presets. Just select the preset you want.
Note: If you want to build the feature from scratch, you can avoid using presets. But for the tutorial, we’ll use a preset.

Step 05: Add an Icon/Image to the Feature Box
Adding an icon to the feature box can help users and visitors visualize the particular feature that your product offers.
Expand the Icon/Image section. Click the icon under the Media Type. It will open up the icon library.

You can find your desired icon by scrolling through the library or typing a keyword in the search box. Once you find the icon, select it, and click the insert button at the bottom.
You’ll see the icon is added to the feature box, as we have done.
Learn how to add a flip box in WordPress.
Step 06: Add a Title and a Description to the Feature Box
Adding a concise title and a description to the feature box is a must. This can instantly provide a brief idea about the feature to the users.
Expand the Title & Description section. Write your desired title and description into the respective boxes under the section. You’ll see the changes appear in the feature box on the Elementor Canvas. Finally, centrally align the title and description.

Step 07: Configure the Button Settings
In the same way, expand the Button section. You’ll be allowed to write a new copy for the button and add a destination link to it. Do the changes as required.

Step 08: Stylize the Feature Box
Come to the Styles tab. You’ll get options to customize each single element within the feature box from the tab. You can

# Stylize Icon/Image
Expand the Icon/Image section. You can customize the icon size, spacing, padding, margin, border type, and its radius.

Scrolling down a bit below, you’ll get the option to change the color of the feature icon. Do these changes yourself as required.
# Stylize Title & Description
Now, expand the Title & Description section. From there, you can change the typography, text color, and spacing between the texts.

# Stylize Feature Button
In the same way, expand the Button section. Then, change its typography, padding, and other necessary settings as you want.

Step 09: Add a Background Color to the Entire Feature Box
Adding a suitable background color to the feature box can make it look more beautiful and help highlight the content on it.
Select the entire widget by clicking the pencil icon on it. Go to the Advanced tab > Background section.

Click the brush icon next to the Background Type option. Select a color you like. The color will instantly be applied to the feature box.

Step 10: Duplicate the Feature Box
Now, you may want to create multiple feature boxes to cover all the features your product has. The best way to do this is by using the Duplicate option that comes with Elementor.
Right-click the Container icon to select the entire feature box.

A list will open up. Click the Duplicate option on the list.

In the same way, duplicate the feature box as many times as you want. You can see that we have duplicated it to create three feature boxes with the same appearance and stylization.
Now, you have to remove the blank boxes from the layout.

In the same way, right-click the container icon of the blank box. Then, select the Delete option on the list. Do the same for deleting all the blank boxes.

You can see that we have deleted all the blank boxes from the layout.

# Edit Content on the Feature Boxes
Once the feature boxes are perfectly duplicated, you can modify the content in them to present different feature information in each box.

Step 11: Make the Feature Boxes Mobile-Responsive
Unless you make your feature boxes mobile-responsive, they will break or get messy when the site is visited from small-screen devices. Elementor provides a way to make your pages mobile-responsive.
Click the Responsive Mode at the bottom of the Elementor panel. This will add a top bar on the canvas from where you can switch to explore how the page looks on different screen sizes.
If their layouts don’t look good on a specific screen size, you can change their stylizations from the Style tab until they fit for that respective screen size.
The changes you make will be saved only for that particular screen type. Thus, you can make any of your designs mobile-responsive using the Elementor plugin.

Step 12: Preview the Feature Boxes
Come to the frontend of the page and check if the feature box looks good and its button is working or not. Hope it will work fine on your end.

To Sum Up!
Hope you enjoyed this tutorial. Feature boxes today are no longer just simple web elements you can overlook. If you can design and place them well, they can create a long-lasting impression about your products and services in customers’ minds. So, there are several factors you must consider when designing feature boxes.
Ensure a clean layout with enough white space so that each feature box and its content can be perfectly distinguished. Use the same icon style, font family, and color palette across all feature boxes to maintain visual harmony. And last but not least, don’t forget to make your designs mobile-responsive.