

Businesses that depend largely on customers from specific regions need local SEO to reach their target audiences. People today love to use Google to search for products, services, stores, and businesses close to their locations. Even Google itself helps customers with this.
As a result, those who perfectly optimize their websites for local SEO gain greater visibility in organic search results. Integrating Google Maps is a proven way to enhance local SEO performance. Not only does it provide users with straightforward navigation, but it also helps search engines better understand the geographical relevance.
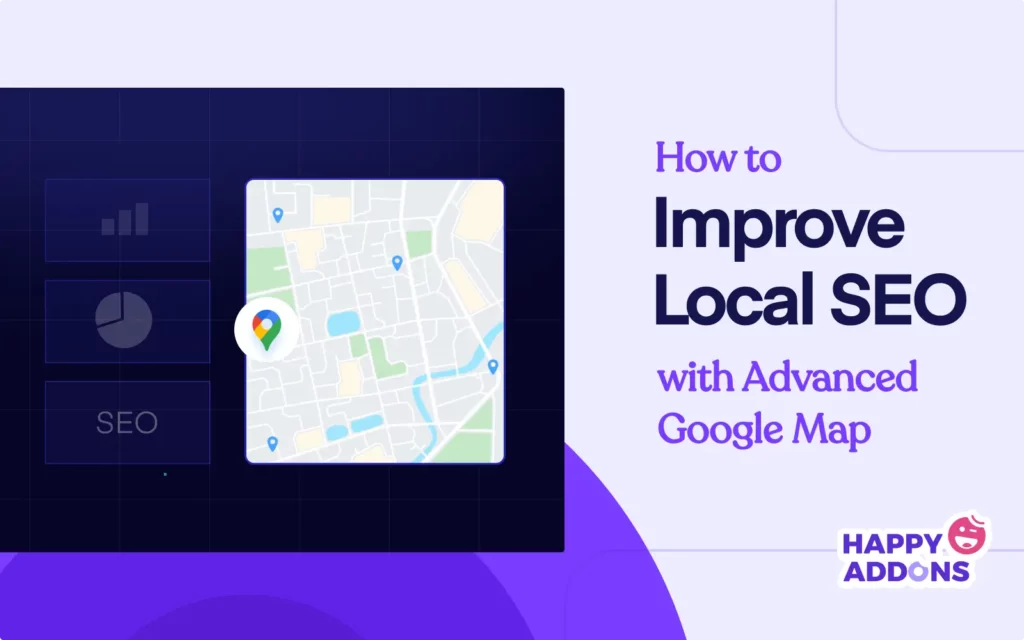
In this article, we’ll cover a detailed guide on how to improve local SEO and integrate Google Maps into your website. Let’s get started right away!
What Is Local SEO?
Local SEO refers to the process of optimizing a website in such a way that improves its online visibility and ranking in local search engine results. It enables a website to appear in Google Local Pack, Maps listings, and organic search results when people search for products/services close to their location.
Factors like Google My Business (GMB), local keywords, online reviews, and NAP (Name, Address, Phone Number) play a crucial role in this case. The better you can optimize them, the more your local ranking score improves.
Local SEO is highly important for location-based businesses like restaurants, retail stores, shopping malls, gymnasiums, medical clinics, service providers, etc. Once your website is perfectly optimized with local SEO, targeted audiences can easily find your products and become customers.
Check common SEO mistakes and how to overcome them.
How to Improve Local SEO Ranking on Google

There is no single or straightforward method to improve local SEO ranking on Google. You need to focus on multiple steps and factors to effectively optimize your website for local SEO and get the maximum results. Let’s explore them in the discussion below.
1. Create and Optimize a Google Business Profile
The Google Business Profile (GBP) was previously known as Google My Business (GMB). It’s a free tool that helps business owners manage their online presence well across Google Maps and the search engine. Creating and optimizing GBP is one of the most crucial steps for local SEO. It can directly affect your ranking in Google’s Local Pack, Maps, and organic search results.
If you don’t have an account yet, go to Google Business Profile and get your business listed on this platform. You might be asked to verify your ownership via email verification, phone call, or postcard. Things you need to do while creating a Google Business Profile are:

Step 01: Provide Accurate Business Information
You have to fill in the necessary fields with your business name (Madrid Cafe, Hollywood Fashion, etc.), select a category, business address (name, local address, phone number), service area (street, city, village), business hour, and website.
Step 02: Add High-Quality Graphics
Search engines like Google always love high-quality graphical content. So, upload high-resolution images of your store, products, catalog, interior, logo, short video clips, and testimonials as much as possible.
If any distractions appear in your visuals, you can easily remove object from photo tools to keep the focus on your products or brand. This ensures your images look clean, professional, and more engaging for customers.
Step 03: Keep Your Profile Active with Regular Updates
The more you update the Google Business Profile, the more likely it is to be ranked. So, it’s better to regularly post updates, offers, events, and blog links in your GBP to keep the profile fresh. You can post new products/services, special discounts/promotions, and upcoming events.
Step 04: Monitor Insights and Performance
To sustainably grow your business, monitoring its performance through Google Business Profile is mandatory. The GBP offers performance insights like search queries, customer actions, and photo views. Monitor and analyze their performances for strategy build-up.
2. Collect Good Reviews from Happy Customers

Google treats customer reviews as a vital element in local SEO. Because they determine the ranking order of local search results. So, consistently collecting positive feedback can build credibility and trustworthiness that can help show your business in Google’s Local Pack.
But how to collect good reviews? Gently request satisfied customers to share their feedback through personal conversations. You can even send automated email reminders. WeMail is a great WordPress email marketing plugin that allows you to quickly design and send emails in bulk.
3. Embed Google Maps with Accurate Business Location
When you show your business location on your website using Google Maps, it strengthens local SEO. Because it helps visitors easily locate and reach your business. Besides, Google loves to reward businesses that provide clear location information. There are many ways to add Google Maps to your website today.
If your website is built on WordPress, it will take you only a few minutes to do this. We’ll cover a detailed tutorial on how to embed Google Maps on WordPress later in the post. So, keep reading it to the end.
4. Use Location-Based Keywords in Map Descriptions
Including location-based keywords in map descriptions enables Google to link your business to particular geographic locations. For example, you can use keywords like city and neighborhood names in your Google Business Profile description. This can improve your website’s ranking in search engine results.
You can also add additional LSI keywords that describe your business, like affordable products, organic foods, sugar-free drinks, etc.
5. Highlight Multiple Locations and Service Areas
If your business has branches in multiple locations, you can define it in Google as well. By showcasing numerous locations with service areas, you can help Google show your business throughout multiple geographic areas. Thus, you can attract more customers and drive sales.
To do this, create separate location pages on your website for each area you serve. Add unique content and description with localized search terms, keywords, and a Google map. Also, don’t forget to incorporate the reviews and testimonials relevant to the specific locations.

6. Create Content Based on Local News Stories or Events
Local SEO improves when you create content around community news and events. This makes your website more relevant to local search queries. Google loves to promote fresh new content that is locally relevant. So, publish content around the local events, community activities, and industry updates.
For example, a restaurant may publish articles on food festivals, a gymnasium can write news on health issues, and a sporting club may talk about upcoming marathons.
7. Add Local Business Schema to Your Website
A business schema is a type of structured data markup that helps Google understand the key details, like names, local addresses, phone numbers, product/service types, etc., of the business. Incorporating the local business schema into your website can remarkably improve the local SEO score.
You should use JSON-LD markup according to Google’s recommendations to implement Local Business Schema. Also, ensure all attributes correspond with your Google Business Profile.
8. Ensure the Map Is Crawlable by Search Engines
When search engines can crawl the Google map embedded in your website, Google will be able to recognize and index your business location, which leads to better local SEO rankings. So, to ensure this, don’t use any iframes or restricted access. Also, make sure that the map isn’t blocked by robots.txt. Add text-based location details alongside the embedded map.
9. Participate in the Local Community
When you participate in local community activities, your business gains stronger local visibility and improved SEO through local backlinks and community engagement. Business visibility grows through event sponsorship and collaborations with local businesses, as well as participation in community initiatives and neighborhood event,s both online and offline.
How to Add Google Maps to WordPress

So far, we have discussed the steps and guides on how to improve local SEO in WordPress. Now, in this section, we’ll cover a short tutorial on how to add Google Maps to WordPress websites. As we already said, adding Google Maps can be a great help in this regard; you’ll find this tutorial very helpful.
Pre-requisites for the tutorial
We’ll cover this tutorial using the Elementor and HappyAddons plugins. If you have been using WordPress for at least a few days, you must have ideas about them. Elementor is a powerful page builder plugin that allows you to design an entire website from scratch without any coding. HappyAddons is a renowned addon with many additional resources for the Elementor plugin.
Install and activate the plugins on your website by clicking the links attached below.
Once they are ready on your site, start following the steps described below.
Step 01: Set Credentials for Google Maps
To display Google Maps on your website, you first need its API key. To get it, come to the backend. Navigate to HappyAddons > Credentials > Google Maps.
Then, click the Get API Key option.

You’ll be asked to create a project in Google Cloud Console. Then, enable Google Maps and get its API key. Copy-paste the API keys into the box and save the changes.

Step 02: Come to Elementor Canvas and Add the Advanced Google Map
Open a post or page where you want to add the Google Maps. Then, click the plus (+) icon on the editor and select a column structure. This will create a space where you’ll create Google Maps.

Find the Advanced Google Map widget by typing its name in the search box on the Elementor panel. Once the widget appears, drag and drop it into the area you created just a while ago.

You’ll see that the Advanced Google Map has been added to the canvas.

Step 03: Find a Location for the Map
You have to use Latitude and Longitude to add a location to Google Maps. To get them, go to the Content tab. Expand the General settings option.
You’ll get the Latitude and Longitude options.

Step 04: Get a Latitude and Longitude
Go to Google Maps. Find a location by typing its name in the search box. You can even manually move the location icon on the map to get a precise location.
You’ll get the latitude and longitude codes on the URL. The first part is for latitude and the second one is for longitude. You can see them as marked in the image below.
Copy-paste the latitude and longitude codes into the respective places on the Elementor panel.

Step 05: Add a Polyline to the Google Map
If your business has branches in multiple locations, you can draw a line connecting them. To do this, select Polyline from the Google Map Type option.

# Set Locations for the Polyline
Expand the Coordinate Settings option. For each location, you’ll see a tab there. Using the tabs, you can set latitudes and longitudes to create locations on the map and then connect them through a polyline.

Now, in the same way, you can create a polygon on Google Maps using the Polygon option from the Google Map Type.

# Show Routes on the Google Map
In the same way, by selecting the Routes option from the Google Map Type, you can showcase the routes between location points on the Google Map. Hope you can do it yourself.

Step 06: Select a Map Settings
Map Settings allow users to adjust how the map should be displayed and its functions. There are four types of Map Settings. They are Road Map, Satellite, Terrain, and Hybrid.
Let’s check how they look in the GIF added below. Select the Map Settings you like.

Hope you can explore the other options and configure them yourself. Do it.
Step 07: Stylize the Map
Come to the Style tab. You’ll get six options. They are Map, Marker title, Marker description, Legend title, Legend, and Legend items.

This will make the blog post so long if we start explaining all these options. It’s better if you kindly visit this documentation on the Advanced Google Maps.
Step 08: Preview the Google Map
When all the customizations are done, go to the preview page and check if the Google Map works well or not. You can see that it’s working well on our end.
Note: You don’t need to add multiple Google Maps to your web page. We have created multiple ones only to show you how they look.

Hope you enjoyed this tutorial.
Supercharge Your Local SEO with Google Maps
Indeed, using Advanced Google Maps can exceptionally enhance your business visibility and level up your local SEO score. By properly utilizing an optimized map, location-based keywords in its description, location business schema, and NAP consistency, you can strengthen your local search presence.
Don’t forget to enable your map to be crawlable by search engines. Otherwise, all your efforts will go in vain. Besides, check and make sure the map works well on mobile devices because over 50% of traffic on various websites today comes from mobile users.
If you love this blog post and have enjoyed this tutorial, don’t forget to let us know through the comment box. Also, you can chat with our support team if you face any problems with the HappyAddons plugin.


