

Are you looking for how to add a Search Bar in WordPress? Follow this tutorial to know about why your website should have a search bar and different ways to display that search bar on your website.
There are a number of elements that you need to consider in order to make your user experience remarkable on your website. Including an interactive “Search Bar” is one of them. Since it allows your visitors to find their desired queries faster.
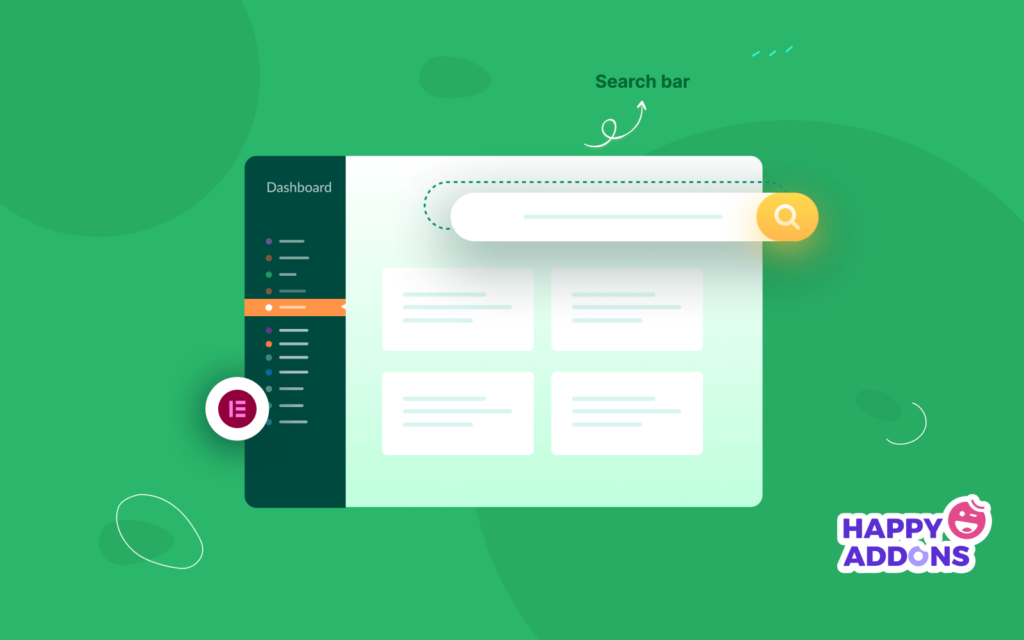
There could be several ways to add a Search Bar to your WordPress site. Today we’ll show you 6 methods to do it with ease-
- Method 1: Adding A Search Bar From the Widget Panel
- Method 2: Adding A Search Bar Widget Using Elementor
- Method 3: Manually Add A Search Box to Your Website
- Method 4: Adding A Search Bar Using Third-Party Plugins
- Method 5: Add A Search Bar Using Block Themes
- Method 6: Add a Ajax Powered Live Search
Let’s get started:
Why You Need A Search Bar On Your Website
A search function is a part of a website design strategy that provides users with an easy way to find content. User can input their search query by simply writing specific words and phrases. And the backend functionality will fetch all the related information available on the website and show it to the searcher.

You may think having intuitive navigation is enough to make your user journey simpler. Well, seamless navigation is crucial to your website’s success. But including a search bar is also important to give quick service to your visitors.
According to research, if a website offers a search feature, 59 percent of visitors will take advantage of it.
Here are some benefits of having a search feature on your website-
1. Ease Quick Navigation
A search bar on a website allows visitors to quickly find out specific information. They don’t have to navigate through menus or all pages. This is especially helpful for websites with tons of content, making the navigation process easy and upholding user experience.
2. Save Valuable User Time
Having a search bar on your website can eliminate the need for users to manually explore various pages and sections. This can save valuable user time and provide an efficient way to locate information. This can also decrease frustration and enhance user convenience.
3. Reduce Bounce Rate
Integrating a search bar provides a practical and feasible way to increase user engagement and lengthen visit durations. This can contribute a lot to user engagement, reducing the bounce rate.
4. Improve Conversion Rate
If you have an eCommerce site, including a search bar can help customers quickly find and explore their desired products and services. If they feel interested, they can take actions like making a purchase, signing up, and subscribing.
5. Understand User Intent
You can track the queries and phrases people use to search for information on your site. Based on these, you can understand what people want from you. Later, you can incorporate these phrases associated with products and categories so people can relate them to their needs.
How to Add A Search Bar in WordPress – 6 Easy Methods
Below are six simple yet effective methods to add a search bar to your WordPress site-
Method 1: Adding WordPress Search Bar From Widgets Panel
This is the easiest and fastest way to include the search bar on your site. Follow the below steps-
Step1: Login to the admin area of your WordPress website and go to the Appearance → Widgets. Here, you’ll find different areas to place your Search bar.

Step 2: Suppose, you want to add your search bar to the Default Sidebar. Now click on the arrow from the right corner and expand the Default Sidebar.
Next, click on the plus button “+“. It appears with the available block type you can select from.

Then, look for the search widget and include the widget by simply clicking on it.

Step 3: Here, you get the search bar for your website. You have the flexibility to change the title of the search bar and other styles too.

Finally, go to your site and you’ll see the Search widget on the sidebar.

Method 2: Adding Search Bar Widget Using Elementor
Elementor is the most popular WordPress page builder with an easy drag and drop option. Elementor gives you 400+ pre-designed templates & blocks and a wide range of helpful widgets to design your dream website in minutes.
Below we’ll show you how to add a search bar in WordPress with Elementor-
Let’s assume you have successfully installed Elementor and do all the basic configurations. If in case you are new to Elementor, check this Elementor guide for getting a smooth web development experience.
Step 1: Drag & Drop Search Widget
First, go to your WordPress Dashboard and click on Add New Page or go to the page you want to add the search bar. If you create a new page then add a title to the page. Next, click on the blue button called “Edit with Elementor“. It takes you to the Elementor Interface right away
Once you get into the Editor, search for the Search Form widget inside the side panel search bar. Then drag and drop the widget into the interface.

After adding the widget, you’ll get a Search Bar like the screenshot below:

Now customize it according to your way. For example, you can add a title, change its size & color, align it, and a custom link to it. Also, you have the flexibility to modify the button as well.
Step 2: Design Your Search bar
Using the Style tab you can design your search bar considering your theme color pallet, website color scheme, audience preferences, etc. Here we change the search text, modify the color, apply border shadow as well as customize the button style.

Step 3: Give Your Design a Unique Touch
For further customization click on the Advanced tab. Here, you’ll find a bunch of customization options to adjust the margin, padding, position, and others. If you are familiar with CSS coding then you can add your own CSS Code snippet right from there.
Furthermore, you can extend the advanced functionalities by getting a third-party Elementor Addons like Happy Addons.
Method 3: Manually Add A Search Box to Your Website
For this method, you’ll need a bit of technical knowledge. So, you can get full control of customization and styling.
- Go to the header.php or sidebar.php file (where you want to include the search button).
- Simply add this function <?php get_search_form(); ?> in your code. It will call the search form from your searchform.php template. No problem if there is no searchform.php file. It will create one by default.
- Now, go to your homepage and you’ll see the Search box in the side menu (if you’ve added the function in sidebar.php) or in the upper panel (if you’ve added the function in header.php).

- If you want to change the style of this box, open the style.css file and modify the search-form position, size or styling according to your need.

Method 4: Add A Search Bar to Your WordPress Website Using Third-Party Plugins
Apart from all these methods, you can include a search bar on your WordPress website with the help of a third-party plugin. To do this, go to WordPress Dashboard → Plugins → Add new. Then, look for the best search plugins that will help you include a functional search box for your website.
Install and activate the plugin on your site and do the further configuration. This method is also an automated process for adding a search box.
Also, learn how to install WordPress plugins the right way.
Method 5: Add A Search Bar Using Block Themes
Block-based WordPress themes are powered by Gutenberg block editor. This type of theme allows you to personalize every single part of your website.
You can directly add a search bar block to your website header with the power of the editor. We’ll now use the Twenty Twenty Three theme to explain the process of how to add a search bar using the block editor.
Step 01: Go to Appearance Editor
Get into your WordPress dashboard. Navigate to Appearance > Editor. This will take you to the editing page of the theme installed on your site.

The search bar is a navigational part. So, click on the Navigation option on the page.

Step 02: Enable the Editing Option
You’ll see a pencil icon on the page. You need to click on the icon to enable the editing option.

Step 03: Find and Add the Search Bar
Hit the Plus (+) icon. It will open up the Gutenberg editor. Type search on the box. It will bring up the search icon below. Take your cursor and press on it.

You’ll see the search bar added to your website. Next, you can change its position and customize its stylization. Hope you can do it yourself.

Method 6: Add a Ajax Powered Live Search
The Ajax search bar is a dynamic search feature. It uses the Ajax (Asynchronous JavaScript and XML) technology to show all the possible search results when users type related queries or keywords on the search bar.
This enables users to find out the necessary content without requiring to load the entire web pages. You can enable the Ajax technology on your search bar, whether through coding or using a plugin. We’ll explain the process using a plugin.
Step 01: Install and Activate the SearchWP Live Ajax Search Plugin
Go to Plugins > Add New. Type SearchWP Live Ajax Search in the search box. Install and activate it once the plugin appears below.

Step 02: Preview Ajax on the Frontend
You don’t need to do any more configuration. Once the plugin is activated, the Ajax technology will automatically be added and enabled to your site.
Go to your website frontend. Type any query or keyword in the search box. You’ll see related result suggestions below the box.

Best WordPress Search Plugins To Look At
The default search feature in WordPress may fail to provide enough customization opportunities and accurate results. Using a plugin can help you out of that and add advanced functionalities to your website. Take a look at some best WordPress search plugins.
1. SearchWP Live AJAX Search
SearchWP Live AJAX Search is a simple WordPress plugin for adding the Ajax search functionality to your website. It automatically integrates with WordPress without any coding. The plugin also supports custom fields, PDFs, and text documents from media files.
2. Ivory Search
The Ivory Search plugin allows you to create unlimited search forms and add them to your desired posts or pages using shortcodes. Each form can help restrict and configure searchable content. Once you create a form, it generates a shortcode.
3. Advanced Woo Search
WooCommerce websites usually have hundreds of products. Using an Ajax-powered search bar can help users quickly get their desired product page. Advanced Woo Search plugin has all these features needed to level up the search functionality of your site.
Final Words
The WordPress search bar can improve your site navigation and help you convert more leads to your loyal customers. After going through this blog, you should have all the knowledge you need to get started.
In a nutshell, WordPress is quite easy to use and customize. Here, we’ve discussed six different methods of adding a search bar here. You can edit your theme’s existing search box, add a new one from the dashboard, or you can easily design it using Elementor.
Do you still have any questions about how to add a search bar in WordPress? Let us know in the comments and we’ll do our best to help!


