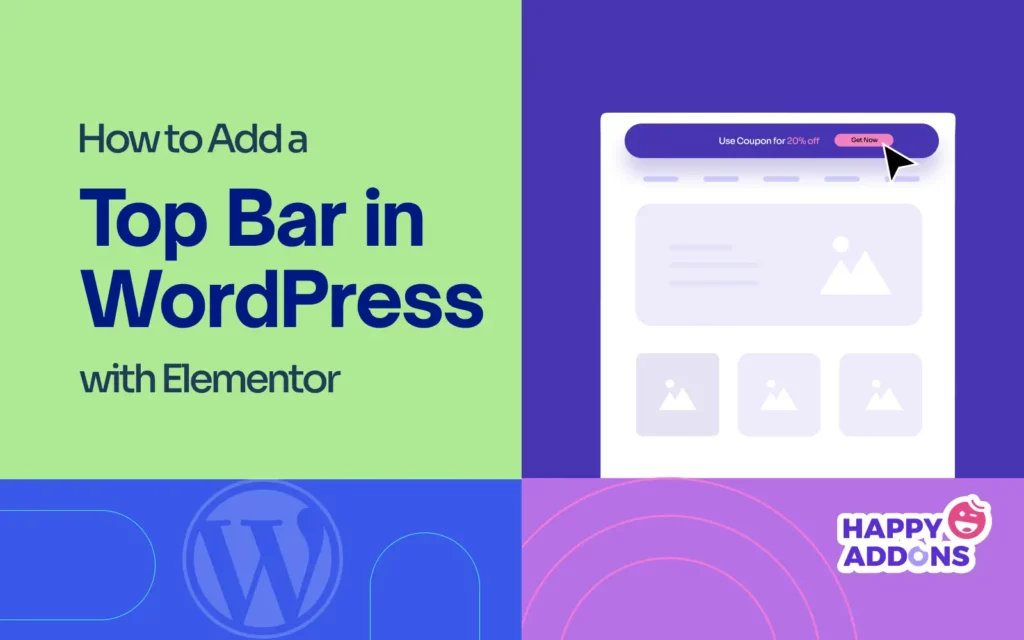

A top bar provides an effective way to highlight important messages, promotions, and call to action on WordPress. It is positioned at the top of the web page with the aim of grabbing visitors’ attention without hampering the browsing experience of the users.
A well-designed top bar can significantly boost conversions as it can instantly grab visitors’ attention and guide them toward actions like signing up for newsletters, grabbing limited-time offers, and exploring new content. It works as a persistent reminder without disturbing users.
Adding top bars to WordPress is very simple with Elementor. In this article, we’ll cover a step-by-step guide on how to add a top bar in WordPress with Elementor. Stay with us till the end.
What Is a Top Bar?
A top bar is a narrow horizontal section displayed at the top of a website above the main header. Unlike pop-ups or banners, it’s used to exhibit contact details, link descriptions, important announcements, promotional offers, and messages. You can enhance user engagement by extensive customizations, like colors, fonts, and brand-specific buttons.
The top bar isn’t always displayed at the top of a website 24/7. Instead, it’s usually shown up during the campaign periods for promotional purposes. It is defined by different names depending on its use cases. We’ll discuss it in the following section. Keep reading.
What Is the Top Bar Called on a Website?
As said just a minute ago, the top bar on a website is defined by different names based on its purpose and functionality. Take a look at some common terms used for the top bar, which are listed below.
- Announcement Bar – Used to share announcements, event notifications, and important updates.
- Notification Bar – Displays limited-time offers, system maintenance news, and urgent messages.
- Promo Bar – Highlights special promotions, exclusive discounts, and campaigns to boost sales.
- Info Bar – Exhibits contact numbers, shopping details, local addresses, and business hours.
- Sticky Bar – Stays fixed at the top of the website even when users scroll posts and pages.
- Floating Bar – Moves along when you scroll posts and pages to ensure a noticeable presence.
How to Add a Top Bar in WordPress with Elementor
The theoretical part is over. Now, we’ll cover the tutorial part in this section, explaining a step-by-step guide on how to add a top bar in WordPress using Elementor.
Pre-requisite: Install Elementor or HappyAddons
To create a top bar on the entire website, you must have access to the Elementor Theme Builder, which is a premium feature. If you want to use the premium version of the plugin and are looking for a free option, you must try the HappyAddons plugin.
HappyAddons is actually an addon to the Elementor plugin with many free features that are normally premium in Elementor. For example, HappyAddons also has a Theme Builder, which is quite similar to Elementor, but it’s completely free to use.
So, in this section, we’ll use the HappyAddons plugin to explain the tutorial. Install and activate the following plugins on your site.
Once they are installed and activated on your site, start following the tutorial explained below. We’ll show you how to create a top bar on WordPress like the one you can see in the image below.

Step 01: Go to HappyAddons Theme Builder
Navigate to HappyAddons > Theme Builder. Like the Elementor plugin, you can create a header, footer, blog post template, and archive page with the theme builder of the HappyAddons plugin.

Step 02: Go to the Header Section
As the top bar is displayed on top of the web header, you have to customize it from the header section. So, open the header with the Edit with Elementor option.

Learn how to create off-canvas content in Elementor.
Step 03: Add a New Container Above the Header
Hovering your cursor on the header will show the plus (+) icon. Clicking this icon will allow you to add a new container to the above header. Do it.
Step 04: Customize the Top Bar and Add Content to It
You must add a contrasting color to the background of the top bar. To do this, click the six-dotted icon on the container > go to the Style tab > find the Color option > select a color.

Add the Text Editor widget to the top bar section. This will allow you to add text content to the section.

Under the Text Editor on the right sidebar, you can write your desired text content that will be displayed on the top bar in real time.

From the below-marked option under the Text Editor section, you can change the color and boldness of the text you have added to the top bar.
You can even add spaces between the words and underline certain words. We have done this to our text for this tutorial. You can see them below.

HappyAddons allows you to add particle effects to the background of the top bar. The Happy Particle effect is a visual animation technique where small, glowing particles move dynamically on a webpage, creating a lively and engaging user experience.
To add this, navigate to Style > Happy Particle Effects. After that, toggle on to enable particle background.
Next, you can choose a particle style, particle color, opacity, number of particles, particle size, and move speed. Hope you can do them yourself.

We have added a short clip so you can check how the Happy Particle feature works. This really makes the top bar so good to look.
Expand the Border section. You can set a border width and a color as you want. However, we think that adding a border isn’t important for the top bar. So, you can avoid it.

Now, expand the Shape Divider section. The Shape Divider option allows you to add customizable and dynamic shapes at the top or bottom of sections.
However, this option also isn’t important for the top bar. So, it’s better you avoid it. But if you feel like adding this feature to the top bar, you can do it.

Here’s a guide on how to create an infographic web page with Elementor.
Step 05: Configure Advanced Settings for the Top Bar
Finally, come to the Advanced tab. You’ll get numerous options here to customize the margin, padding, alignment, order, position, height, motion effect, responsive, and more. Do the needful customizations yourself.

Step 06: Hide the Top Bar on a Device Type
You may hide the top bar on any respective device you want. For example, we want to hide the top bar on the Tablet devices. To do this, expand the Responsive section. Then, toggle off the option of the device mode in which you want to hide the top bar.

Step 07: Make the Top Bar Mobile Responsive
Click the Responsive Mode option on the footer of the Elementor Panel. Then, select the Mobile Portrait mode.
You can see that the top bar content appears in three lines and is not perfectly aligned, unlike how you see it in desktop mode.
To make the text look good for the screen size, do the customizations you need by staying on the mobile portrait mode.

We have aligned the texts centrally. Doesn’t it look better now? You can further customize it in any way you want.

Step 08: Publish/Update the Changes
When all the customizations are done, click the Publish/Update button at the bottom of the Elementor panel to preserve all the changes.

Explore how to create a lightbox in WordPress with Elementor.
Step 09: Preview the Top Bar on the Website
Now, come to the frontend of your website. You’ll see the top bar is displayed well on top your site.
Thus, you can easily create a top bar on WordPress using the Elementor plugin for free.
Final Thoughts
Hope you enjoyed this tutorial. But to get the best from the top bar, there are several key things you must follow carefully. Focus on maintaining a clean and visually appealing design that aligns with your website’s branding. Choose contrasting colors for readability, use clear and concise text, and keep the message relevant to your audience.
Additionally, optimize for mobile responsiveness so the top bar remains functional across all devices without obstructing the user experience. Avoid overloading the top bar with too much information, as it can overwhelm visitors. If using animations or effects, keep them subtle to maintain professionalism.
If you still have any confusion or queries in mind, let us know about them through the comment box below.