
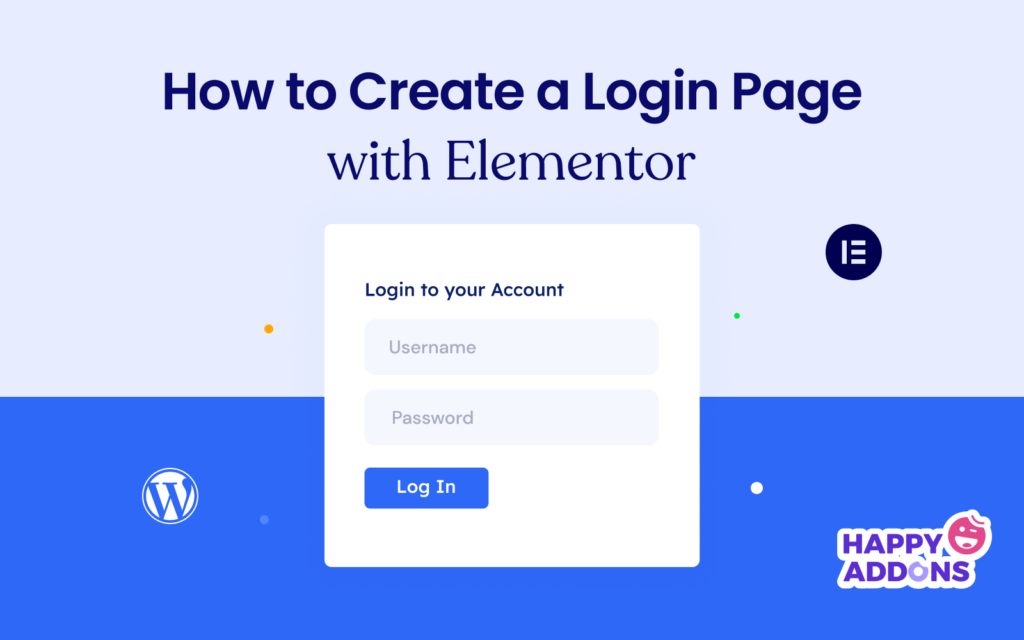

Creating a custom login page on WordPress can be a powerful way to increase user experience. While WordPress offers a default login page, it may not align with your website branding due to its ordinary look. Creating a custom login page will allow you to add various flavors and stylizations to the page.
Elementor is a wonderful drag-and-drop page builder plugin by which you can create custom login pages on WordPress just like fun. If you are already familiar with Elementor, that’s great. And no problem at all if you are new to the plugin.
This article will explain a detailed guide on how to create a login page on WordPress with Elementor. Before that, we’ll cover a short discussion on the limitations of a default login page and why you may consider creating a custom one. Let’s get started!
What is a Custom Login Page in WordPress?
A custom login page is a unique and personalized login interface that replaces the default login page provided by WordPress. It shows more visually appealing and branded elements to users who try to log into their WordPress website. Now, look at the default WordPress login page from the image below.
It typically includes a default form with fields for username and password, along with a standard WordPress logo. Although the page is well-functional, it lacks customization options. It may not align with the overall design and branding of the respective website.

On the other hand, custom login pages allow website owners to upgrade their brand identity and design aesthetics. It offers the flexibility to customize various elements like color, fonts, logos, backgrounds, and icons to make the interface more unique.
Besides, you can add some security features like CAPTCHA to prevent bot users from logging in.
Why Should You Use Elementor to Create a Custom Login Page?
One of the biggest reasons to choose Elementor is its extreme design flexibility, which allows you to create any page you want. Plus, it has a separate Login widget. Once you drag and drop the widget, a login interface will instantly be created with the required fields, like username and password.
After that, you can customize the fields, add new elements, change colors, and upgrade necessary features. Below is a list of some other things you can do with Elementor on the login page.
- Personalize the fields: username, email, and password, including their labels
- Customize the login button, changing its text, size, style, and alignment
- Specify the page where users will be redirected after logging in
- Edit the forget-password and remember me options
- Make the page perfectly responsive for all devices
- Integrate relevant plugins to the page
How to Create a Login Page on WordPress with Elementor
The Login is a premium widget of the Elementor plugin. You must have the premium version of the plugin installed on your site along with its free version. You’ll get the plugins from the links below.
Once you have the plugins installed and activated, jump into the tutorial section.
Step 01: Open the Login Page with Elementor
Get into your WordPress dashboard. Create a new page after navigating to Pages > Add New. We have created a page with the name Login. After that, press the button Edit with Elementor. This will open the page on Elementor Canvas.

Step 02: Define Your Desired Structure on the Canvas
Once the page is opened with Elementor, you’ll see many unnecessary content on the page, including the header and footer. To remove the unnecessary content, go to Settings > Page Layout > Elementor Full Width. This will remove all the content on the page except the header and footer.

Press the Plus (+) icon on the page. This will allow you to select a suitable column structure for the page. You can see in the image below we have selected a one-column structure(layout) for the section. We’ll place the Login widget on it.

Step 03: Create a Suitable Layout Using the Flexbox Container
Drag and drop the Flexbox container on the column. A Flexbox container is one of the easiest ways to create desired layout with extreme flexibility. You can even place flexbox containers within a flexbox, creating a parent-child relationship.

This present flexbox will be our parent container. We’ll place some more blocks into it to create a layout. Before that, we need to define the direction. Expand the Container section. Select the Right arrow next to the Direction option.

Drag and drop the Container widget to add more flexboxes within the parent container. We have added three flexboxes to create a three-column layout. You can resize their sizes manually. No problem!

Step 04: Drag and Drop the Login Widget
Type Login in the search box on the Elementor panel. Once the Login widget appears below, drag and drop it into the suitable column on the Elementor canvas.

If you feel that the login form is too close to the header and footer, no worries. You can create spaces between them by using the Spacer widget.
Drag and drop the Spacer widget within the parent flexbox but up of the three child columns that we added just a while ago. Similarly, add another Spacer widget to the bottom of the child columns. Spaces will be created automatically.

Step 05: Customize and Stylize the Login Form
Select the Login form by clicking the pencil icon on the top-right corner of the form. This will enable the Content, Style, and Advanced tab on the Elementor panel. You can customize the respective elements and options of the login form using these tabs.

# Explore the Content Tab
Expand the Form Fields option under the Content tab. You may decide to show/hide labels of the form by toggling on/off the Label option.
If you want to resize the form boxes, click the dropdown icon next to the Input Size. The dropdown list includes the options – Extra Small, Small, Medium, Large, and Extra Large.

Expand the Button option. You’ll get options to customize Text, Size, and Alignment. The Button Size option will allow you to choose between Extra Small, Small, Medium, Large, and Extra Large.

Expand the Advanced Options tab. You’ll find options to Redirect pages. Copy-paste your desired pages on the Redirect After Login and Redirect After Logout boxes. After that, you can change the labels.

# Explore the Style Tab
Jump into the Style tab afterward. Next, expand the Form option. You can add space between the button and boxes on the Login form using Row Gap.

Expand the Label option. You can customize the spacing between labels on the form, including the label text color and typography.

Next, come to the Fields section. You’ll be allowed to stylize the placeholder typography, border color, border width, and border-radius. Customize them as you want.

Expand the Button option. You’ll get all the options to stylize the button on the form. You can change its typography, background color, hover effect, border radius, and text padding.

Similarly, explore the Logged in Message option and Advanced tab on the Elementor panel. It won’t require much labor and time.
Step 06: Add Extra Content and Stylization If Necessary
If you are bored with the white background, you can its color by applying any specific color code or any image. Take a look at how to apply a background color.
Select the entire parent flexbox by clicking the six-dotted icon on top. Go to the Style tab and expand the Background section. To add a background color, use the option next to Color pointed in the below image.

From the Image option, you can add an image as the background to the form. Elementor Pro has already integrated the AI Image generator. You can use this option as well to create image based on prompts and add it as a background afterwards.

Step 07: Make the Login Page Responsive
Press the Responsive Mode option on the bottom of the Elementor panel. A topbar will appear on the Elementor canvas with an option to switch the page between different screen sizes – Desktop, Tablet, and Mobile Phone.
Check if your page is working well on all the screen sizes. If it has issues with any particular device, resize the hight and width of the boxes and button, including the typography. The customization you apply to the page for a particular device will be presereved exclusive for it.

Step 08: Publish and Preview the Page
Hope your design is ready. Hit the PUBLISH/UPDATE button on the bottom of the Elementor panel. The design will be live.

# Preview the Login Page
You can see the page is Working fine at our end. Try log into your website using the valid username/email address and password.

# Problem
But you may face a problem on this page. If you mistakenly type the wrong password, you’ll be taken to the default WordPress login page. You’ll be asked to type your email address on the default page for password recover. You may feel disgusted with it.
However, this problem has a solution as well. No matter how many times you type the wrong password, you’ll stay on the customized page. You need to install a plugin to fix the problem.

Bonus Point: How to Fix Custom Login Form Issues on WordPress
Go to the WordPress dashboard. Navigate to Plugins > Add New. Type Frontend Reset Password in the search box. Install and activate the plugin.

Go to Pages > Add New. Create a new page. We have set Password Reset as the name for the page. Publish it. You don’t need to add any content to the page.

Now, navigate to Settings > Frontend Reset Password > Settings. Copy the shortcode [reset_password] we have marked on the image.
After that, hit the dropdown list pointed out in the below image and select Password Reset. This option has come to the list after you created the Password Reset page just a while ago.
Come down to the end of the page and hit the Save Changes button. If you miss to save changes, the updated configuration won’t work.

Paste the shortcode on the Password Reset page and Update it at the end. Now, go to the Login page again and press the Forget/Lost Password option. Hopefully, the page will stay same.

FAQ on How to Create a Login Page on WordPress with Elementor
Although this has been a long tutorial post, we hope you haven’t felt bored. Actually, it’s difficult to cover comprehensive topics within limited words. However, if you are still fresh, here is an FAQ section, answering some most frequently found questions online.
-
Is it possible to add an image of animation to the login page?
Yes, you can add images to the login page using the default Image widget. Plus, you can add Lottie animation using the Shortcode and Lottie widget of Elementor. Here’s how to add Lottie animation in Elementor.
-
Can I add a custom message or instruction to the login page?
Yes, you can add a custom message or instruction to the login page using the Text widget or enabling the Tooltip feature.
-
Can I create a contact form using Elementor?
Yes, Elementor currently has a Form widget by which you can create different types of forms on your website. Here’s how to integrate the Elementor Form with the weMail email marketing solution.
Conclusion
Creating a secure and good-looking login page is crucial for maintaining integrity and trustworthiness online. If you are a professional developer and developing websites for clients, creating such a custom login page can help you create an appeal in their minds.
After watching this tutorial, hope you realize creating a custom login page with Elementor is not a difficult task. It will be our pleaser if you find this article helpful. Comment your review below, including if you have any questions regarding Elementor and WordPress.


