

Content platforms like Netflix, Bloomberg, MasterClass, and Coursera have been booming for the past few years. Have you any idea how much revenue they make each year? As per many reliable sources, they respectively made $31.6 bn, $11.6 bn, $94.9 mn, and $528 mn in 2022.
And they all are some prominent examples of membership websites. If you are a content creator, you can also create a membership website and launch your business in no time. This article will provide a top-to-bottom guide on how to create a membership site with WordPress. But be clear, Elementor can’t create a membership website. You need a robust plugin like MemberPress for that.
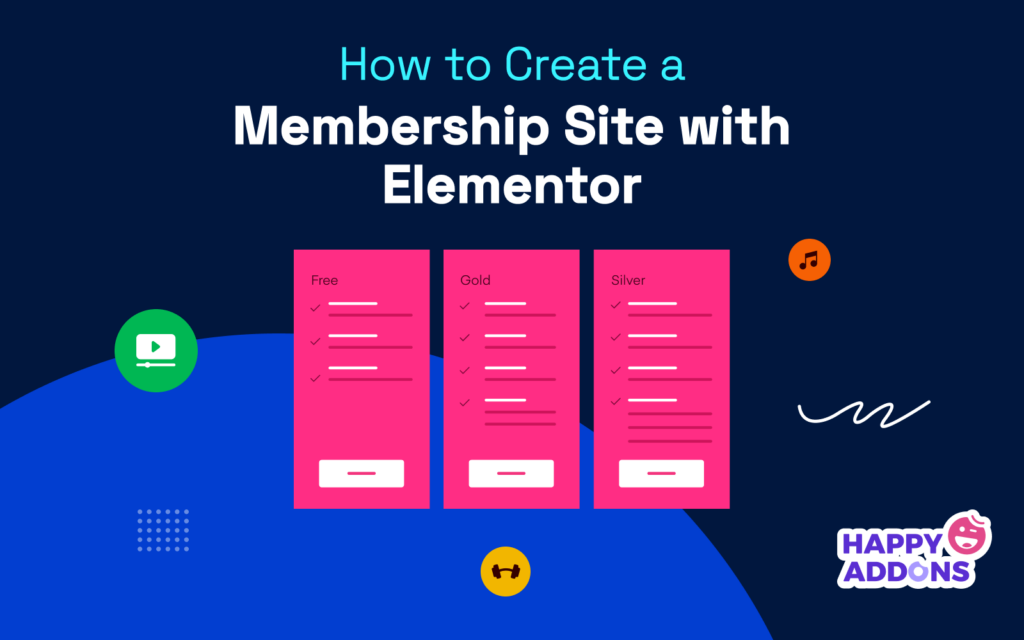
Elementor and HappyAddons help you design pages for the website. Indeed, the MemberPress plugin will generate some default pages. But with Elementor, you can give them a stunning look and make them stand out in the competition. We’ll talk about the full process in this article.
What is a Membership Website?
A membership website is a type of website that allows users to view content or enjoy services in exchange for a fee. They offer premium content like educational courses, tutorials, digital products, webinars, news archives, coaching, etc.
Some membership sites offer access or a trial period based on several conditions. Once the trial period ends, they must upgrade to a premium plan to continue accessing the premium content. There are different types of pricing models followed in membership websites. Such as:
- Freemium
- One-time fee
- Recurring subscription
- Pay-per content
- Tired pricing
Who Can Start a Membership Website?

Membership websites mostly sell digital products, streaming shows, and educational content. If you have the ability to create valuable content like this that has market demand can start a membership. So, you can choose any niche where you have interests and expertise. For example:
- Video streaming
- Arts and photography
- Tech blogging
- Business Consultancy
- Music streaming
- Fitness training
- Skill development courses
- Linguistic coaching
Benefits of Membership Website
Starting a membership website can reach you numerous benefits, both financially and non-financially. Below are some points worth mentioning of them.
1. Earn Money and Make a Living
According to a 2021 report by MemberPress, 49.12% of membership guys made six figures in a year. 5.26% were making seven figures. It could be you as well if you can create demanding content.
2. Build a Community
Once your site has lots of audiences and grows as a community, you can allow other brands to promote their products on your platform in exchange for a commission.
3. Establish a Trusted Source of Information
As membership sites automatically get a good amount of traffic and sell original products, search engines give them domain authority. It makes them a reliable source of information.
4. Higher Engagement and Retention
Customers will likely subscribe to your platform for fresh new items if you can create successively good content. It can boost higher engagement, retention, and money.
Want to allow your visitors to submit quality content on your WordPress site? Here is the easiest way to make your WordPress Frontend Post Submission easier.
Step-by-Step Guide on How to Create a Membership Site with Elementor
Hope your domain hosting is ready and WordPress is installed on your cPanel. Next, install and activate the plugins on your website mentioned below.
Once these plugins are installed, follow the parts and steps described below.
Step 01: Set Up the Payment Method
- Navigate to MemberPress > Setting > Payments.
- Click on Add a Payment Method.

- You’ll get a section opened.
- Next to Gateway, you’ll get a dropdown list of multiple payment options.
- Select the one you want
- You may give it a name as you wish.
- For example, if you select Stripe, you may name it ‘Pay with Credit Card’.
- Finally, click the button of the payment method you selected.

- It will redirect you to a MemberPress page.
- Log in with your credentials.

- Add your Stripe account and click the Continue button.

- You’ll see the Stripe account got connected to your membership website.
- You can connect other payment methods to your site this way.

Step 02: Create Membership Plans
- Go to MemberPress > Memberships.
- Click on Add New. It will open up the below page on your screen.
- Give a name to your membership plan.
- Look right at Membership Terms.
- Set Price, Billing Type, and Interval.
- If you want to add a trial period, tick marks the Trial Period checkbox.
- You’ll get options to add Trial Duration and Number of Trial Attempts.
- Finally, hit the Publish button scrolling down the page a bit.

- In the same way, create another membership plan by clicking Add New.
- Hit the Publish button at the end, scrolling down a bit again.

Step 03: Add and Publish Post Content to the Membership Site
You can upload almost any type of post content to your membership website. For example, news articles, food recipes, academic problem solutions, etc.
- If they are Post Content, create and publish them from the Posts option.
- Make sure to add Tags to specify which ones will be paid and which are free.
- This will help make our tasks easier later on.

# Embed these Posts on a Page
Why do you need pages? If your website covers post content on multiple topics, you can present them separately using pages. Let’s see how to do it.
- Go to Pages > Add new.
- Give the page a name.
- Click on Edit with Elementor.

- Type Post Grid in the search box.
- You’ll get the widget below. Drag and drop it on the Elementor Canvas.

- By default, only three posts per page will be displayed.
- From the Post Per Page, specify the number of posts you want to display on this page.
- We have specified ten posts.

Note: Do you remember you created News and Video Tutorial content from the Posts option? All types of content will be displayed on the Elementor Canvas by default. As this page is only for News Archives, you have to specify only the News content.
- Go to Layout > Badge Taxonomy.
- Select Categories.
- Then, navigate to Query > Include By box.
- Select Terms.
- Add News Archive on the Terms box.
You’ll see only the News content appearing on the screen.
- Now, from Content > Layout and Style options, you can modify the layout, font style, space between elements, and others to create a wonderful page appearance.
- We aren’t showing you the process in detail as it will take a long time. Hope you can do it yourself.

- Once you are done, you need to check if the page is perfectly mobile-responsive.
- Click on the Responsive Mode from the footer of the Elementor Panel.
- Check if its layout is equally perfect for desktop, tablet, and mobile.
- If there is any problem, please edit the layout as you want. But on our end, the page is perfect.
- When all the editing is done, click the PUBLISH/UPDATE button from the footer of the Elementor Panel.
Step 04: Add and Publish Video Tutorials to the Membership Site
You may add and publish video tutorials from the post section too. But it may conflict with the post content. This is why better to create pages for publishing video content. However, if you want to publish a series of tutorials, you can create child pages for each video and get them under a parent page.
- Go to the Pages section.
- You can see a page names Video Tutorials already on the list.
- We’ll use it as the parent page for the newly created child pages.

- Click on Add New.
- Give this page a name (make sure the name resembles your video tutorial).
- Add the parent page name on the PARENT PAGE section.
- Hit the Publish button.
Note: Now, you can upload your video tutorial using the Gutenberg Block Editor or the Elementor. Let’s do it using Elementor. Hit the Edit with Elementor button.

- You’ll get the Elementor Canvas open.
- Find the Video Widget.
- Drag and drop it on the canvas.

- Select Self-Hosted to upload the video from Media Files or your drive.
- Upload your video from the Choose File option.
- Define the Start Time (optional).
- From Video Options, enable Autoplay, Play on Mobile, and others.

- You may add a title using the Heading widget above the video content.
- You may also add the Text Editor widget to summarize the video below it briefly.
- Once you are done, hit the PUBLISH/UPDATE button.
- In the same way, keep creating other pages.
- Come to the Page section.
- You’ll see the child page below the parent page.

Finally, you have to embed all these child pages on the parent page. You may use Elementor to design this page. But for now, we’ll use the WordPress block editor to do it.

Step 05: Add Course Content to the Membership Website
MemberPress has exciting features to let you handle the Course Content. To do that:
- Go to MemberPress > Courses.
- Install and Activate the MemberPress Course Add-on.
- Hope you can do it yourself.

*** Special Note: MemberPress offers you many other add-ons. Go to MemberPress > Addons and choose the ones you need to power up your site.

- Once the course addon is enabled, go to MemberPress > Courses.
- Click Add New and include as many courses as you want.
- Don’t forget to add Course Tags.

Step 06: Add Rules
Rules will make the free content to be explored by anyone and premium posts for pro users only. Let’s see how to add rules to different types of content we created just a while ago. Go to MemberPress > Rules > Add New.

# Add Rules to Post Content (News Archive)
- Select All Content Tagged.
- Type the tag (Paid) you used to define premium posts.
- Select Memberships.
- Hit the Save Rule button at the end.
See the video below for a quick demonstration.
# Add Rules to Video Content (Video Tutorials)
- Click Add New from the top.
- Select Child Pages of.
- Type the parent page name (Video Tutorials).
- Select Memberships.
- Hit the Save Rule button at the end.
See the image below.

# Add Rules to Course Content (Video Tutorials)
- Click Add New from the top.
- Select Courses with Course Tag.
- Type the tag (pro-course).
- Select Memberships.
- Hit the Save Rule button at the end.

Step 07: Create a Group of Membership Plans to Build a Pricing Page
- Go to MemberPress > Groups > Add New.
- Give it a name (Starter and Advanced).

- Scroll down a bit.
- Add membership plans by clicking the plus (+) icon.
- Select a theme you want.
- Hit the Publish button from the top-right side.
Note: There are many other options around. Hope you can explore them yourself.

- Scroll back to the top.
- You’ll get the pricing page link.
- Clicking it will take you to the page. So, click it.

But this pricing page won’t be good-looking. You might be looking for ways to customize it and add more content. This process is super easy too.
Step 08: Customize the Pricing Table
From the Group and MemberPress pricing plans, you can customize this page by adding new content. The attached video below demonstrates the process.
Once your editing is done, go to the pricing page and refresh it. You’ll see the changes. Have a look at the image of the pricing page below.

Click the SIGN-UP button to check if your set rules work perfectly on your content. MemberPress is honestly a big plugin. It has too many features and options to add to your membership website. It will be difficult to explain everything about this plugin in this blog post.
We have tried to introduce you to this amazing MemberPress plugin and how to create a basic membership website. Hope you can explore other features of this plugin and add them to your site that you find convenient.
For further guidance, you can check this YouTube tutorial on how to create a membership site with WordPress.
Why Should You Use HappyAddons?
You’ll automatically find lots of features and widgets in Elementor. A question may arise – what’s the need for HappyAddons?
HappyAddons is a powerful add-on to the Elementor plugin. The number of amazing features that its Lite version offers is beyond imagination. For example, its Lite version comes with a theme builder by which you can create headers, footers, single post templates, and archive pages at zero cost.
Besides, its premium version includes lots of exclusive widgets that can further power up your Elementor website. So, if you ever feel the kits, widgets, and features of Elementor aren’t enough, HappyAddons could be a handy option.
FAQ on How to Create a Membership Site
Creating a membership website can be easy, time-saving, and profiteering if you have enough information at hand from the beginning. Let’s have a look at some most frequently asked questions related to the topic of how to create a membership site.
-
How much does it cost to create a membership website?
The approximate costs involved in creating a membership website are:
Domain $6-40$ (based on Domain type)
Hosting $10-$150+ (based on hosting plan)
MemberPress $349-$799 (based on subscription plan)
Extra plugins $35-$100+ (based on plugins)
———————————————–
Total from anywhere between $400 to $1089+ -
What features must a membership site have?
1. Multiple membership levels
2. Free trial period, discounts, and coupons
3. Mobile-friendliness
4. Multiple payment systems
5. Customer management analytic
6. Easy to send newsletters
7. Intuitive signup and login process
8. Handy header and footer to find all pages -
What types of content can a membership site offer?
1. Text-based content
2. Video tutorials
3. Downloadable PDFs
4. Live online classes
5. Recorded webinars
6. Audiobooks
7. Quizzes and surveys -
What best payment methods can I use on a membership site?
1. Stripe
2. PayPal
3. Braintree
4. Authorize.net
5. Gumroad -
How to handle subscription cancellations and refunds on the membership site?
There are several approaches you can follow.
1. Offer a 7/14/30-day refund policy without any questions.
2. Offer a 7/14/30-day refund policy but ask reasons why customers want a refund.
3. Offer a partial refund policy.
Final Takeaways About Membership Websites
Finally, though creating a membership website may require you to invest some upfront costs and time, it can be highly rewarding. With the right strategies in mind and executing them properly, you can convert your membership site into a profitable venture.
Apart from monetization, if you want to build a sustainable online forum or community, membership sites can help you a lot. With MemberPress and Elementor plugins, you can design and launch your membership websites right away.
Hope this article has been able to explain the process to you conveniently. Please comment below if you still have any further queries unanswered. And also get connected to us through our Facebook and Twitter channels.
Subscribe to our newsletter
Get latest news & updates on Elementor
[yikes-mailchimp form=”1″]


2 Responses
good
Thanks Ayesha for stopping by and shared your thoughts.
Regards,
Gobinda