

A well-designed blog page or post list helps to grab users’ attention quickly. That’s why your post list needs to be good-looking and easy to navigate.
Creating a post list in your Elementor website is not difficult any more.
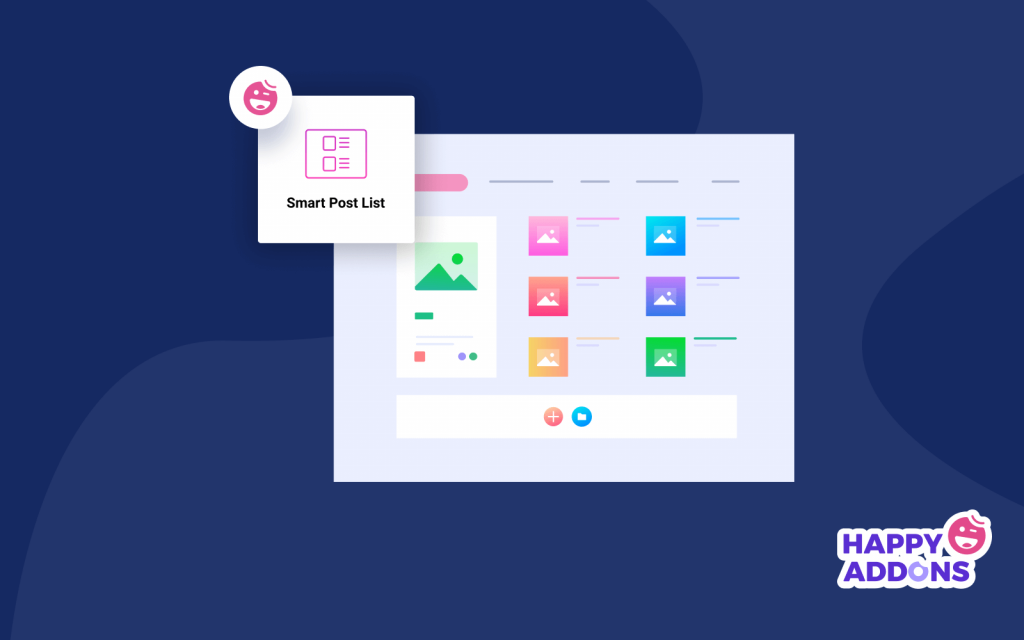
Now you can efficiently make a beautiful blog post list using the Happy Addons Pro ‘Smart Post List’ widget. This advanced post widget comes with tons of customization options and predesigned demos so that you can display your website articles in a more decent way, with ease!
Let’s see how this cool widget works.
How To Use HappyAddons’ Smart Post List Widget Following 3 Easy Steps
In this part, we’ll show you how to use the Happy Addons’ Smart Post List widget on your Elementor website for making a marvelous blog page.
Pre-requisites:
To use the stunning widget, you need the following plugins on your website:
- Elementor (Free)
- Happy Addons (Free)
- Happy Addons Pro
If you are a newbie check this guide- How To Use Elementor To Build Your Website With Ease.
First Step: Add Smart Post List Widget to Your Web Page
First, find & select the ‘Smart Post List‘ widget in the left side menu. Then, drag and drop it onto the selected area.

Second Step: Set & Customize Post Content
After adding the widget, it’s time to set and customize the post content in your own style. In the Content section, you’ll get all the necessary settings. Here are the settings you’ll find –
- Layout
- Top Bar
- Featured Post
- List Post
- Query
- Wrapper Link

Let’s explore each content settings one by one.
Layout
Here in Content->Layout, you’ll get 4 different settings. Such as.
- Column: Using the Column, you can define the number of columns of the post section. There are 3 columns available in the dropdown list Column 1, Column 2, and Column 3. You can use based on your need. Here, we have used three Columns.
- Show Top Bar: According to your need, you can also turn On & Off the Show To Bar.
- First Post Featured: If you do not want to show First Post as a Featured post, you can turn off the First Post Featured option.
- Featured Post Column: With setting, you can define the Featured Post Column. There are two columns available in the dropdown list Column 1 and Column 2.
Here, we’ve decided to display our featured post in 2 columns that’s why we’ve selected the Column 2 option. And now our list post will show the list in a single column like the image below.

Top Bar
After activating the Top Bar, you will get all the essential Top Bar settings here. To make your Top Bar more stunning you can use these options.
- Title: You can write the Top Bar Title like Trending Articles, Recent Posts, Popular Posts, Editor’s Choice, and more.
- Title Tag: Able to select the Tag H1-H6 and Div of the Title.
- Navigation: You can also turn On & Off the Navigation.
- Show Filter: If you don’t want to show the filter option, you can turn off it here.
- Filter Style: You can also set the Filter Style in two different forms Inline and Dropdown.
- Filter Terms: Even you able to add the terms for the filter.
Here, we’ve selected the Filter Style Inline and post Categories as our Filter Terms.

Note: Terms are items in a taxonomy. The available taxonomies are Categories, Tags, Formats, and custom taxonomies. Select terms for selected filter items. By default, it will show all taxonomy under selected post types in the query settings.
Featured Post
There are many easy-to-use settings that will help you a lot to customize the Featured Post settings. They are.
- Style: In the style element, you can set your content style in two different ways Content Inside and Content Outside. If you select the Content Outside style, your post content will appear below the feature image. Here, we’ve selected Content Inside as the style.
- Image Size: Here, you can set your featured Image Size.
- Badge: You are able to turn On & Off the post Badge.
- Badge Taxonomy: You can also select the Badge Taxonomy like Tags and Categories.
- Title: You are able to disable the featured post Title. Title Tag: Based on your need, you can define the Title Tag.
- Active Meta: Also set your post Active Meta elements like Date, Author, Comments, etc.
- Author Icon: You can add the Author Icon here.
- Date Icon: You can add the Date Icon.
- Comment Icon: Also can add the Comment Icon.
- Excerpt Length: You are able to set the Excerpt Length.
- Alignment: You can also define the right content Alignment Top, Middle, and Bottom.

List Post
Like the Featured Post settings, you can also set your List Post content. These are the options available to customize the List Post.
- Title Tag
- Image
- Image Size
- Active Meta
- Author Icon
- Date Icon
- Alignment

Query
In this section, you can add the post list using Query. Here are the options that’ll help you to set the right post query.
- Post Type: You can choose a Post Type from the three types like Posts, Pages, and Manual Selection.
- INCLUDE & EXCLUDE: You are able to INCLUDE & EXCLUDE the post according to your choice. Include By: Here, we’ve included all the posts by Author.
- Authors: You can also add the Author name.
- Date: You can choose different dated posts based on your need like Past Day, Past Week, Past Month, Past Quarter, Past Year, and Custom.
- Order By: You’re able to display posts Order By Author, Comment Count, Date, ID, Menu Order, Random, and Title.
- Order: You can also select Order like ASC & DESC. Ignore Sticky Posts: If you want, you can ignore the Sticky Post by clicking the On & Off switcher.
- Featured Image: You can also turn On & Off the Featured Image of your post.

Third Step: Style The Post List
In style, you’ll get all the necessary styling settings to customize the post list. You can easily go through each and every option and design it in your own way. Here are the settings that will help you to redesign the Elementor post list.
- Layout
- Topbar
- Topbar Title
- Topbar Filter
- Topbar Navigation
- Featured Post
- Badge
- List Post

Check out the current preview of our post list.

Bonus: Try Live Copy Features To Use Pre-designed Templates of Smart Post List
The ‘Smart Post List’ is pro widgets of Happy Addons. In our pro version, you will get an exclusive feature named ‘Live Copy‘. With this advanced feature, you easily copy any of our premade designs and can paste them on your Elementor website. Consequently, you can save valuable time and get some stunning designs built by our expert designer.
Let’s use the premade design of Happy Addons’ post list.
Copy The Demo
To do this, you need to go to the demo page of the Smart Post List widget. Here, you’ll get 10 amazing demos of the post list. Just choose a suitable design based on your need.
Then click the Live Copy button to copy the demo. Here, we’ve copied the Design 2 demo.

Enable Live Copy Feature & Paste The Copied Demo
After copying the demo design, you have to go to the Elementor editor in your backend. Here, you need to add a new section for pasting the demo.

Then you need to enable the Live copy feature on the newly created section. To enable the feature, you can follow the below guides.
- First, click on the Edit Section
- Second, go to the Advanced section and click on the Happy Features
- Third, Enable Live Copy feature

Finally, right-click the Edit Section and click the X Paste or Live Paste button for pasting the demo.

Final Preview The New Smart Post List
After doing all the tasks, the final preview of the Live Copy demo will appear something like this.

You will also be able to customize the new live copy demo in your own style.
That’s it! Now, you know how to use the widget and create a stunning post list for your website.
Ready to Use Smart Post List Widget for Creating Your Post List?
In this blog, we’ve shown you how you can design a stunning post list on your Elementor website using the Happy Addons’ Smart Post List widget. We’ve also covered that how the Live Copy features can save your valuable time. And some possible reasons for using the post list widget in your Elementor website.
If you like this handy guide, share it on your social channel. It will help others to learn. And don’t forget to subscribe to our newsletter. It’s Free!


2 Responses
Wonderful! Your blog was absolutely fantastic! Large amount of great information which is often attractive some and the other way. Thanks.
Thanks for your comment. Stay with us.