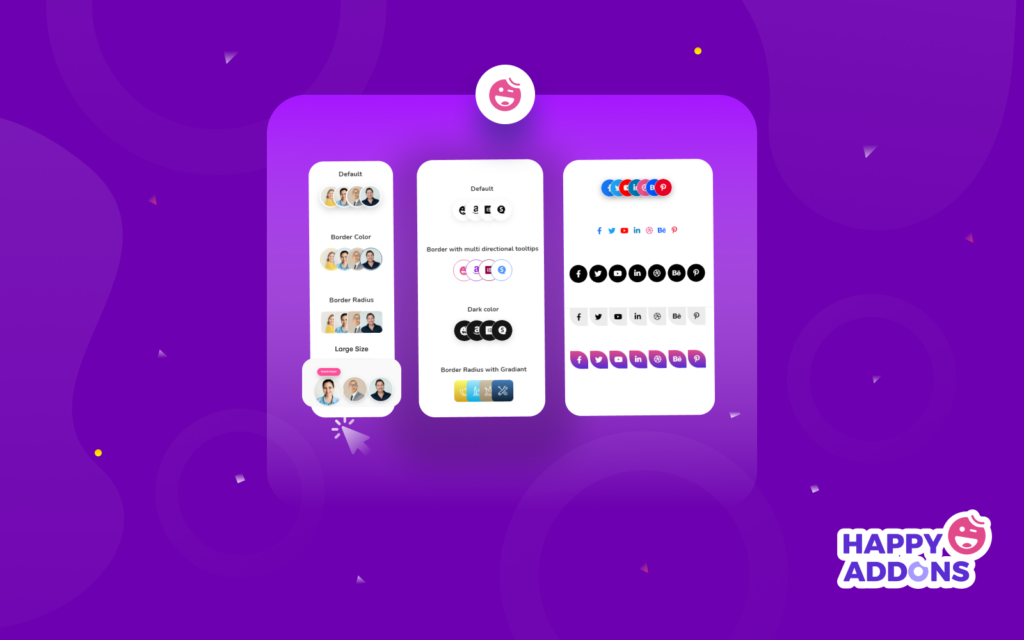
Have you noticed the fancy image stack groups on websites nowadays? Then you are not alone. Because of the beautiful representation of multiple images that gives any website a modern look, image stack groups have become increasingly popular during recent times.
This elegant design suits nicely with the home page, about page, or even in a conversion-focused landing page. So, if you would like to display your images beautifully and easily, the image stack group is certainly a great choice. Especially if you are using Elementor, Happy Addons makes it terrifically easy for you to add such an image group.
This is a user-friendly and interactive step-by-step tutorial on how to build an image stack group so that you can easily create image stacks by yourself.
Let’s get started!
Happy Addons’ Image Stack Group Widget At A Glance
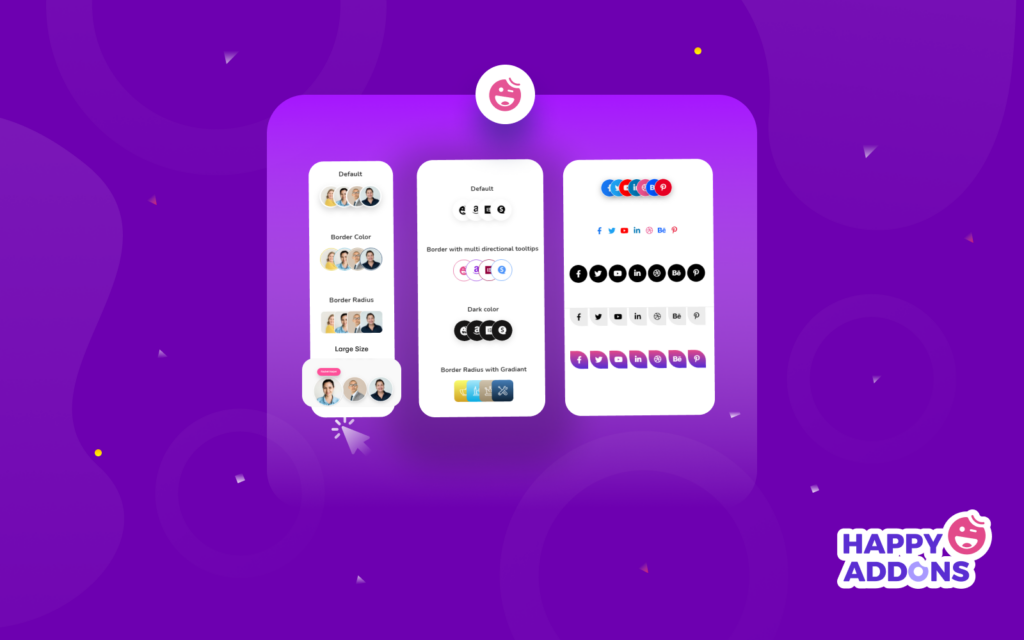
If you want to make your website images more appealing to your visitor, Try Happy Addon’s new Image Stack Group widget. With this exclusive free widget, you can easily make stacked group images within Elementor.
It is hard to display your website images in a stack group, even if you use Elementor’s drag and drop editor. You must add custom CSS and JavaScript code to design this type of element in Elementor. It takes a lot of valuable time to finish the whole design. You may even need to hire a developer to complete the design properly.
But if you use the Happy Addons widget, you can simply do this kind of interactive image design in less than a minute without paying a penny. You can display the images of your team members, social channels, and other images/icons in a more organized way.
How To Use Image Stack Group Widget To Create Image Group
In this part of our article, we are going to show you how to use the Image Stack Group widget to make a stunning image group.
You need to have the following plugins on your website before we start:
- Elementor (Free)
- Happy Addons (Free)
If you are new to Elementor follow this handy guide and learn How To Use Elementor (Step By Step Guide For Beginners).
Step 1: Add Image Stack Group Widget
First, you need to add the widget to the suitable place of your website. Here, we’ll showcase our social accounts in our website footer area using this advanced tool.
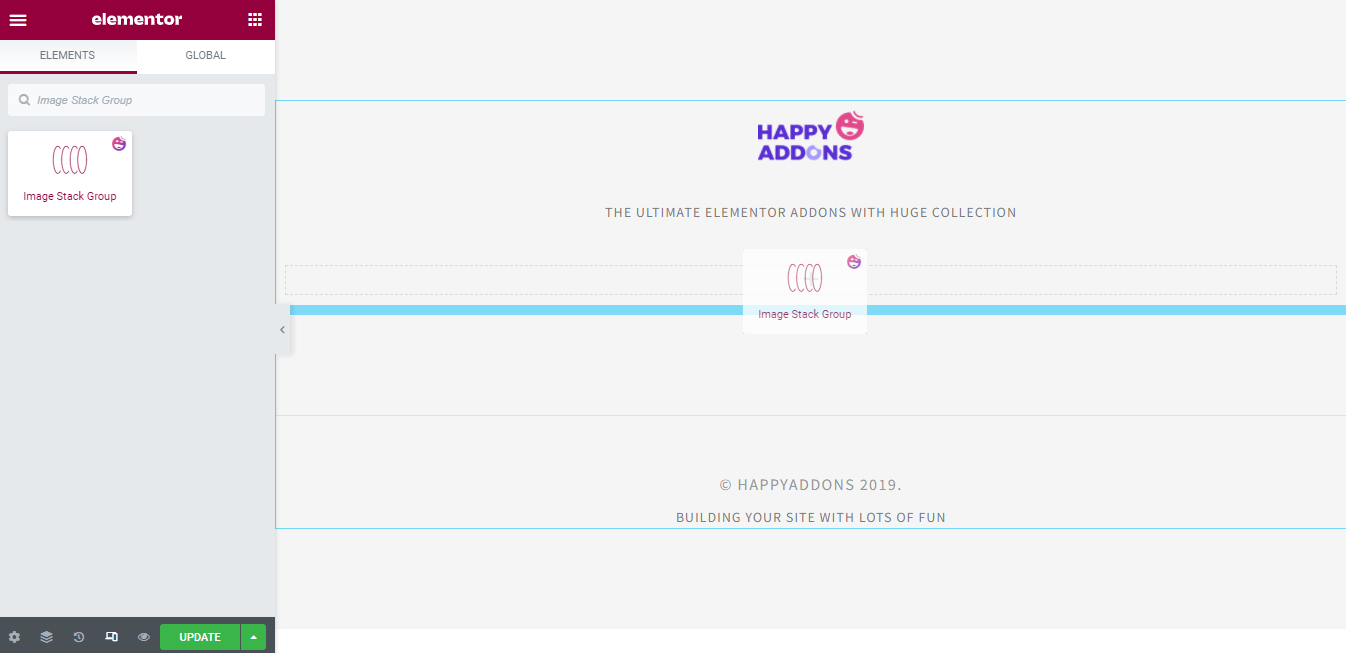
You can type ‘image stack group’ into the search field then drag & drop it into the right place on the site.
Step 2: Manage Conetnt
Here, we’ll manage the content of the widget.
Add Items & Set Their Alignment
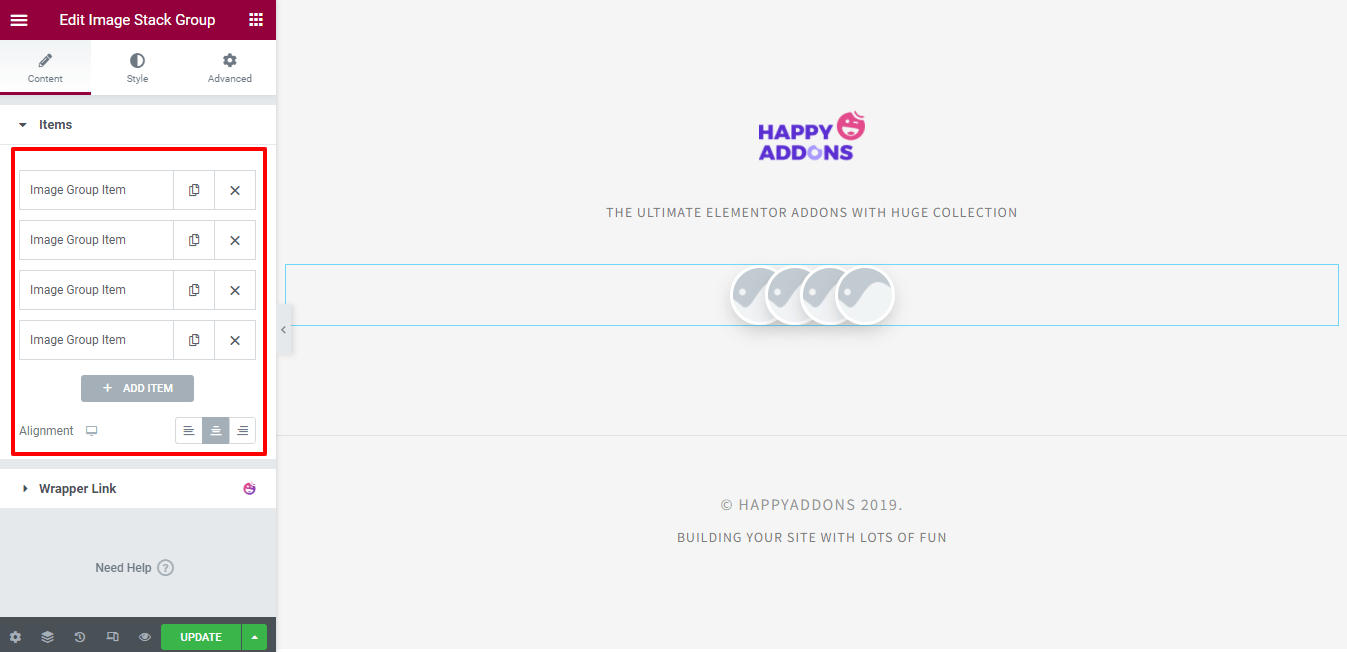
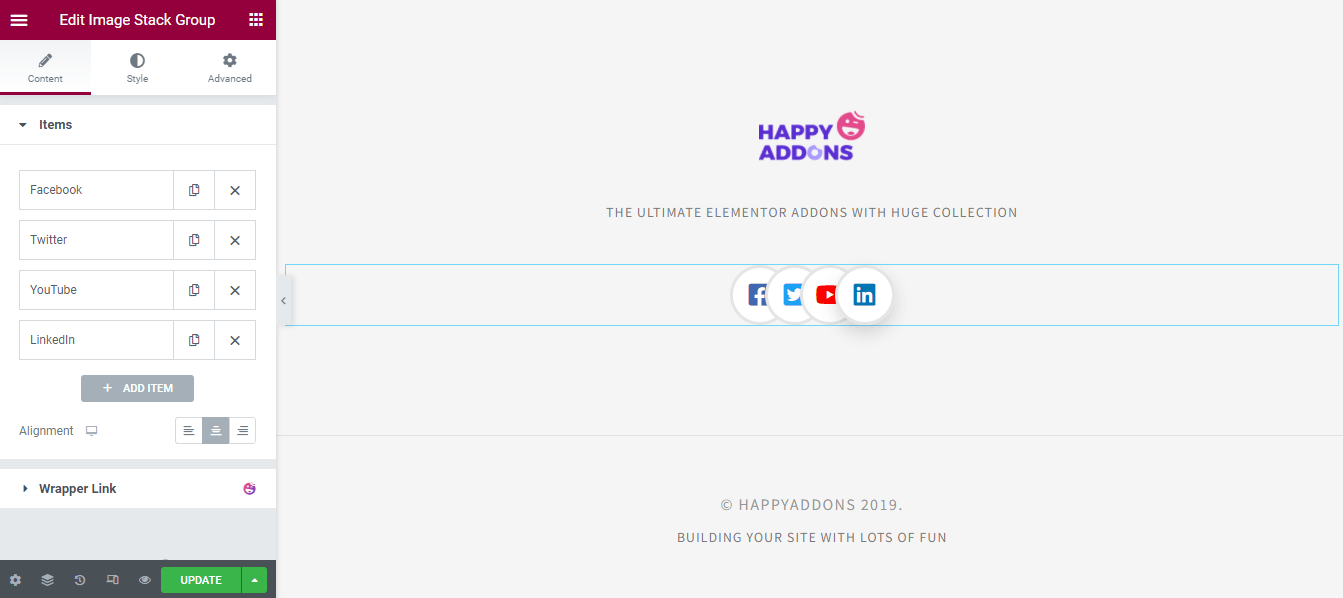
After adding the widget, you see the interface like the below image. In the Content > Items, you can Add and Remove items. Also, you can Copy an item.
You can able to set the Alignment of the entire content.
Add Images/Icons To The Item
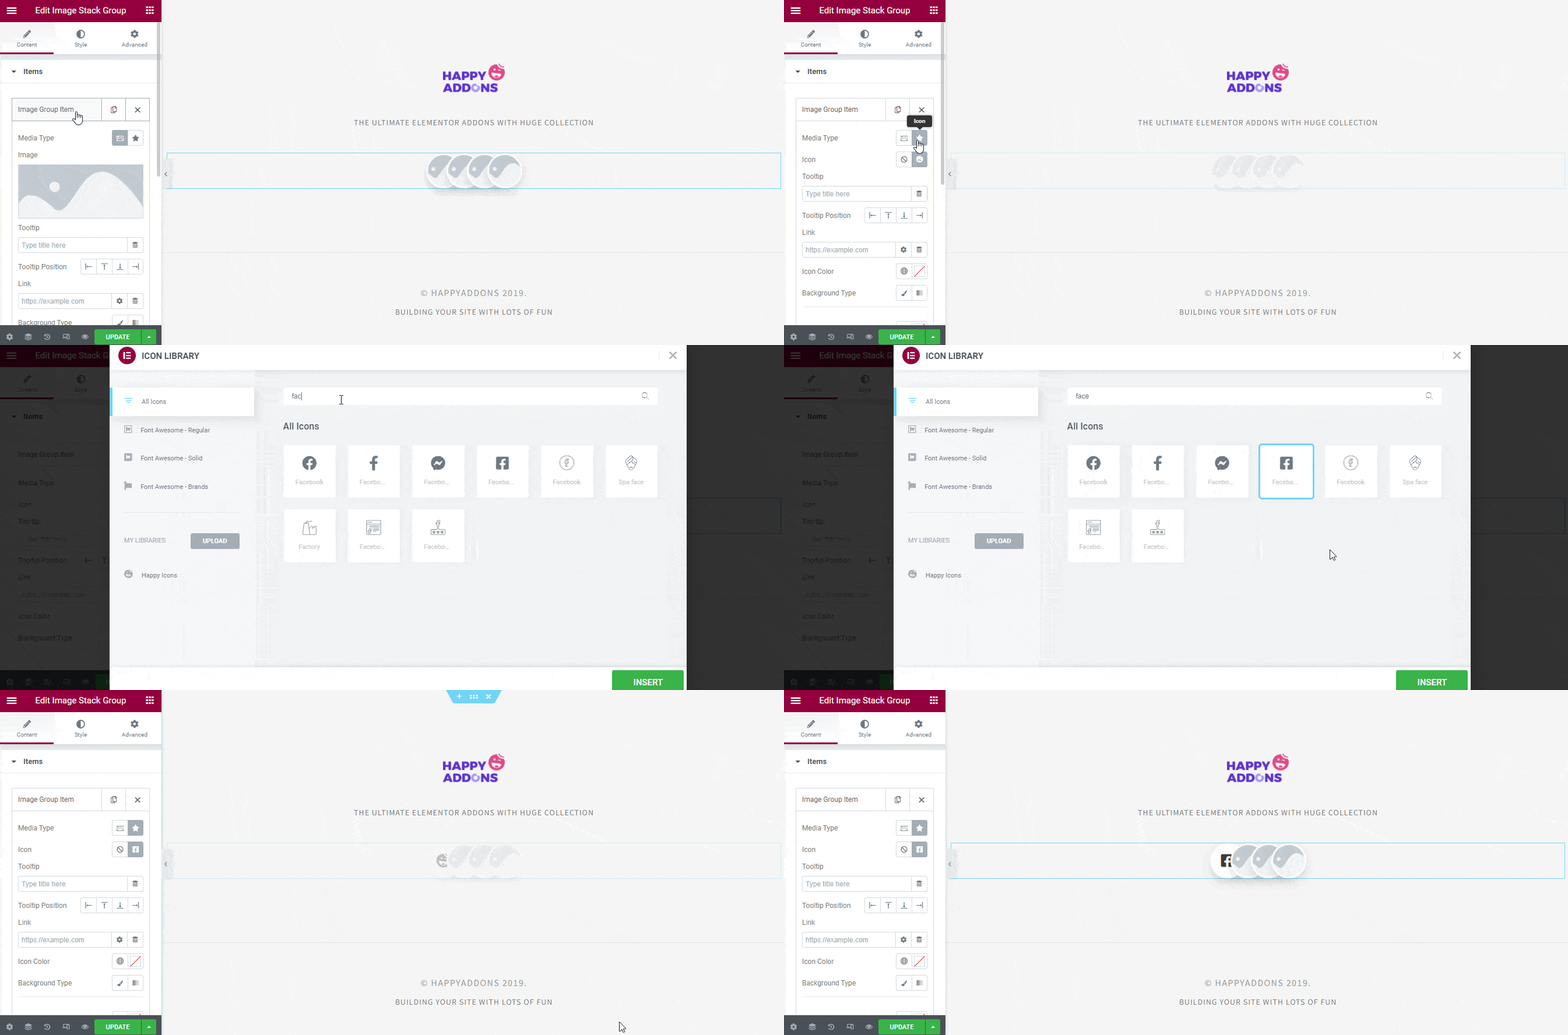
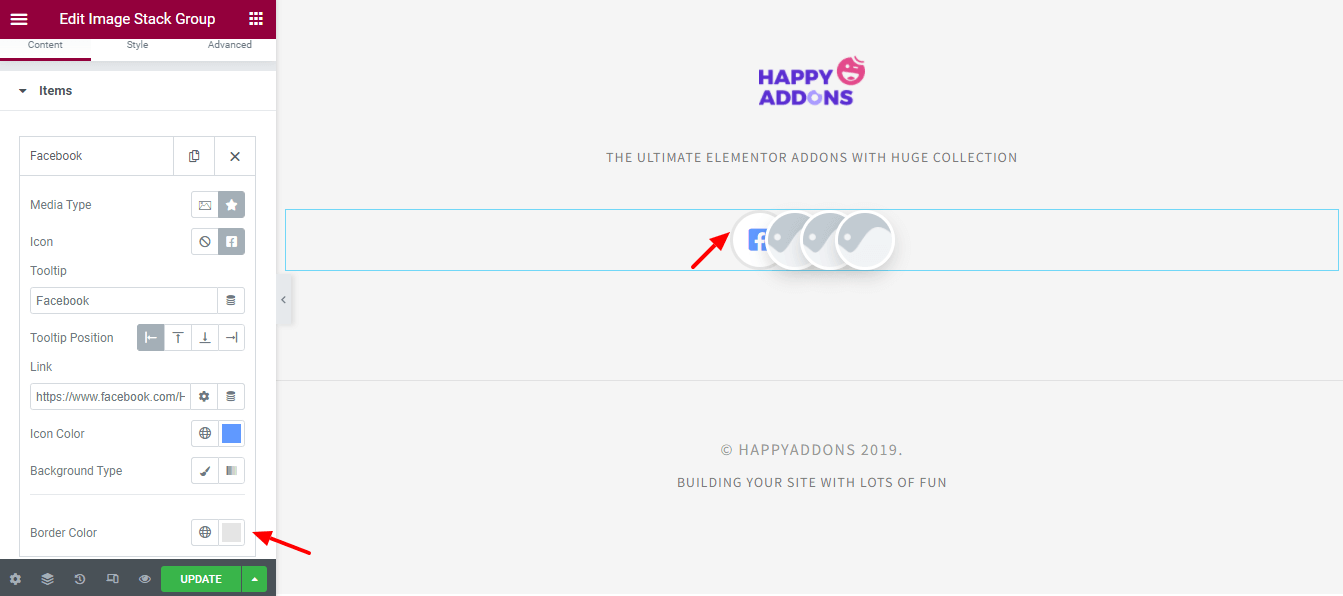
You need to open an individual item to add the content. Click the item first then choose your Media Type. You can use an image or icon. Here, we’ll display our social accounts using icons. Follow this image below for adding an icon.
Add Tooltip & Set Position
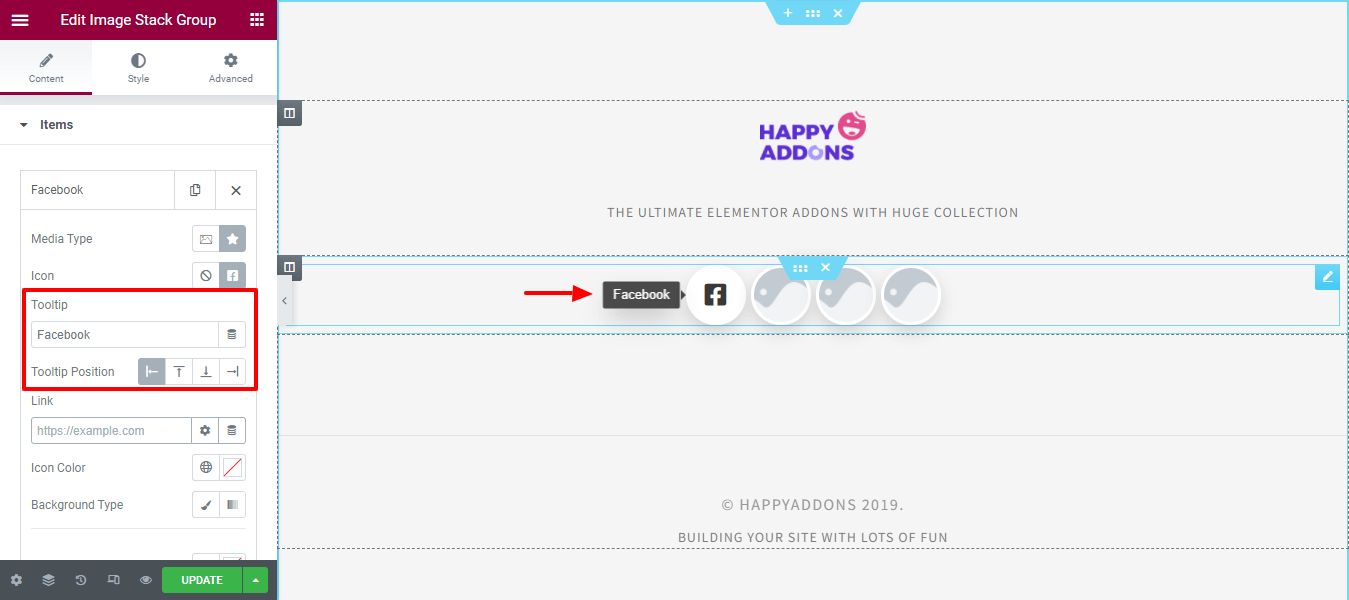
You can write a Tooltip for the icon and set the Position of the tooltip.
Insert Link & Change Icon Color
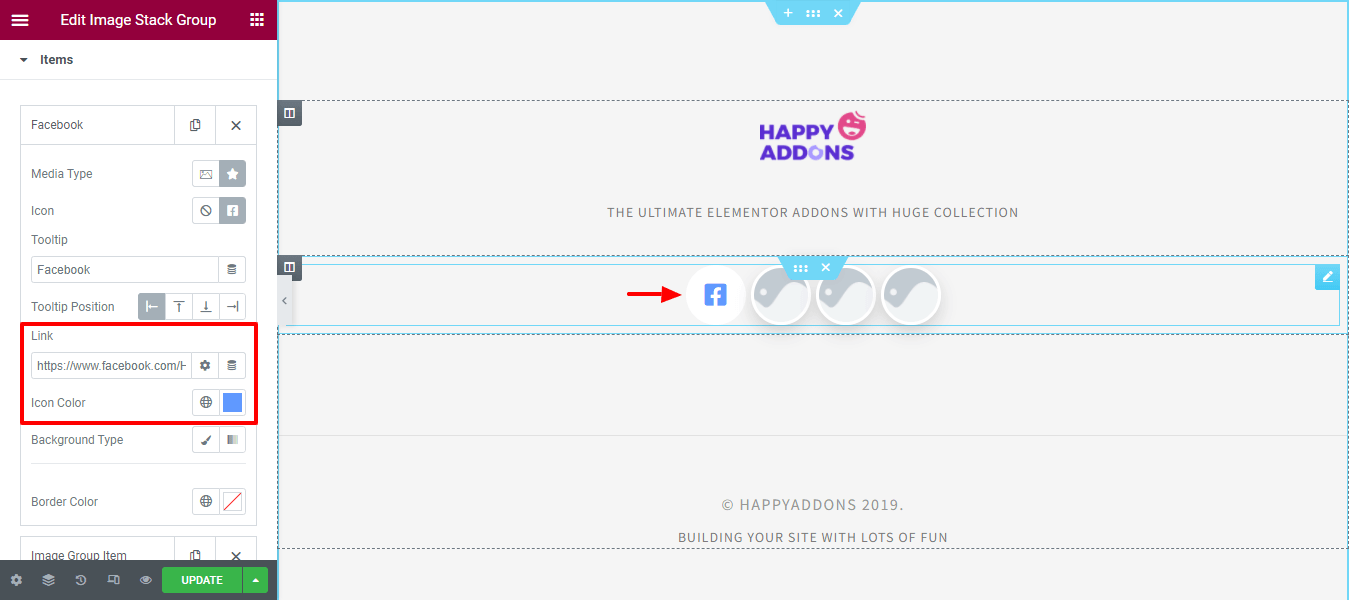
You are able to insert a link and change the color of the icon. Follow the image below to do so.
Change Background & Border Color
Choose the Background Type as Classic and Gradient according to your need. Here, we have set the default Background Color and changed the Border Color.
Step 3: Add Other Items
After adding an individual item’s content, we have also added three more items and their content following the above process.
Step 4: Customize the Design
Let’s customize the design using the style options.
Style Images/Icons
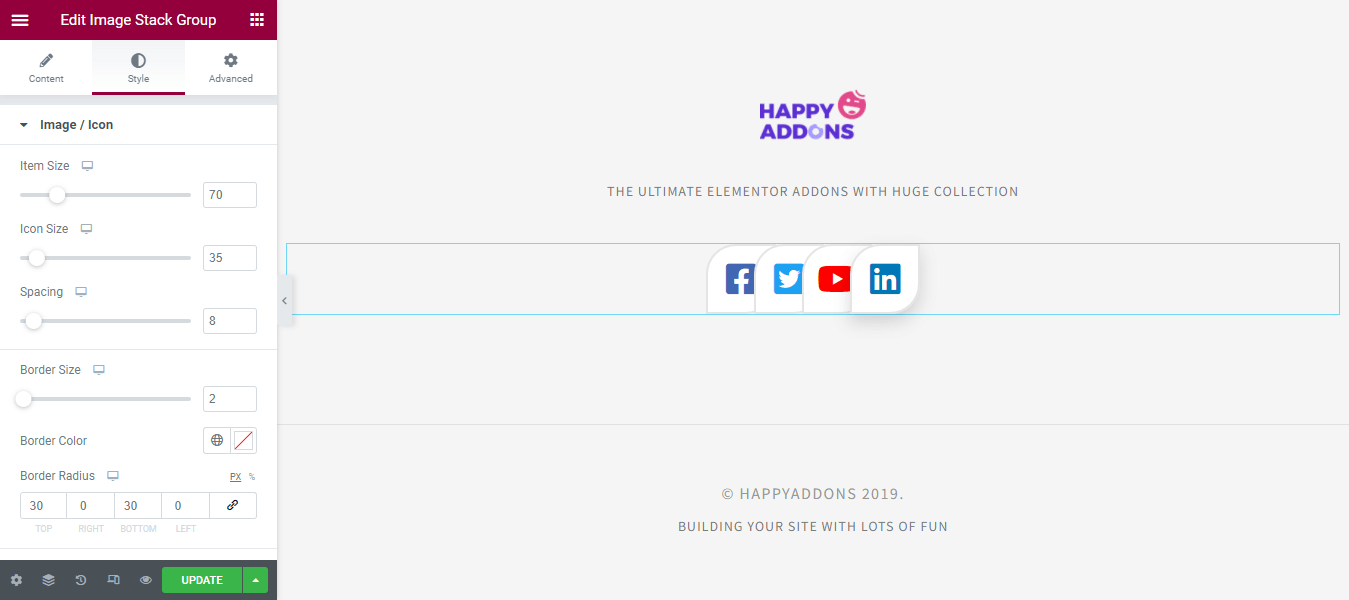
In the Style > Image/Icon, you can customize the image/icon design in your own way. Here you can set the Item Size, Icon Size, Spacing, Border Size, Border Color, and Border Radius based on your design purposes. You can also define the global Icon Color, Background Type, and Box Shadow.
Style Tooltip
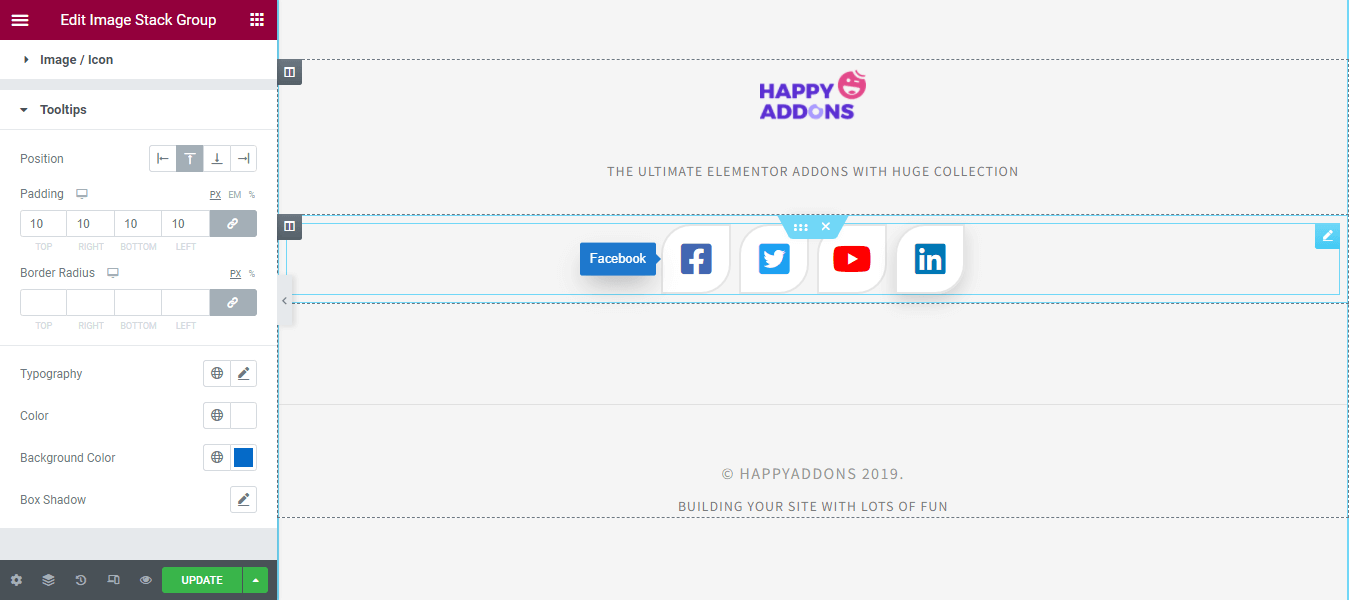
You are able to style the Tooltip here in the style area. Here, you can set the global Tooltip’ Position. Also, you can add Padding and Border Radius to the tooltip. And set the Typography, Color, Background Color, and Box Shadow of the tooltip.
Step 5: Check Preview of the Design
After customizing the design, you can see the final output of the Image Stack Group. Our preview looks like the below-animated image, which is just how we wanted it.
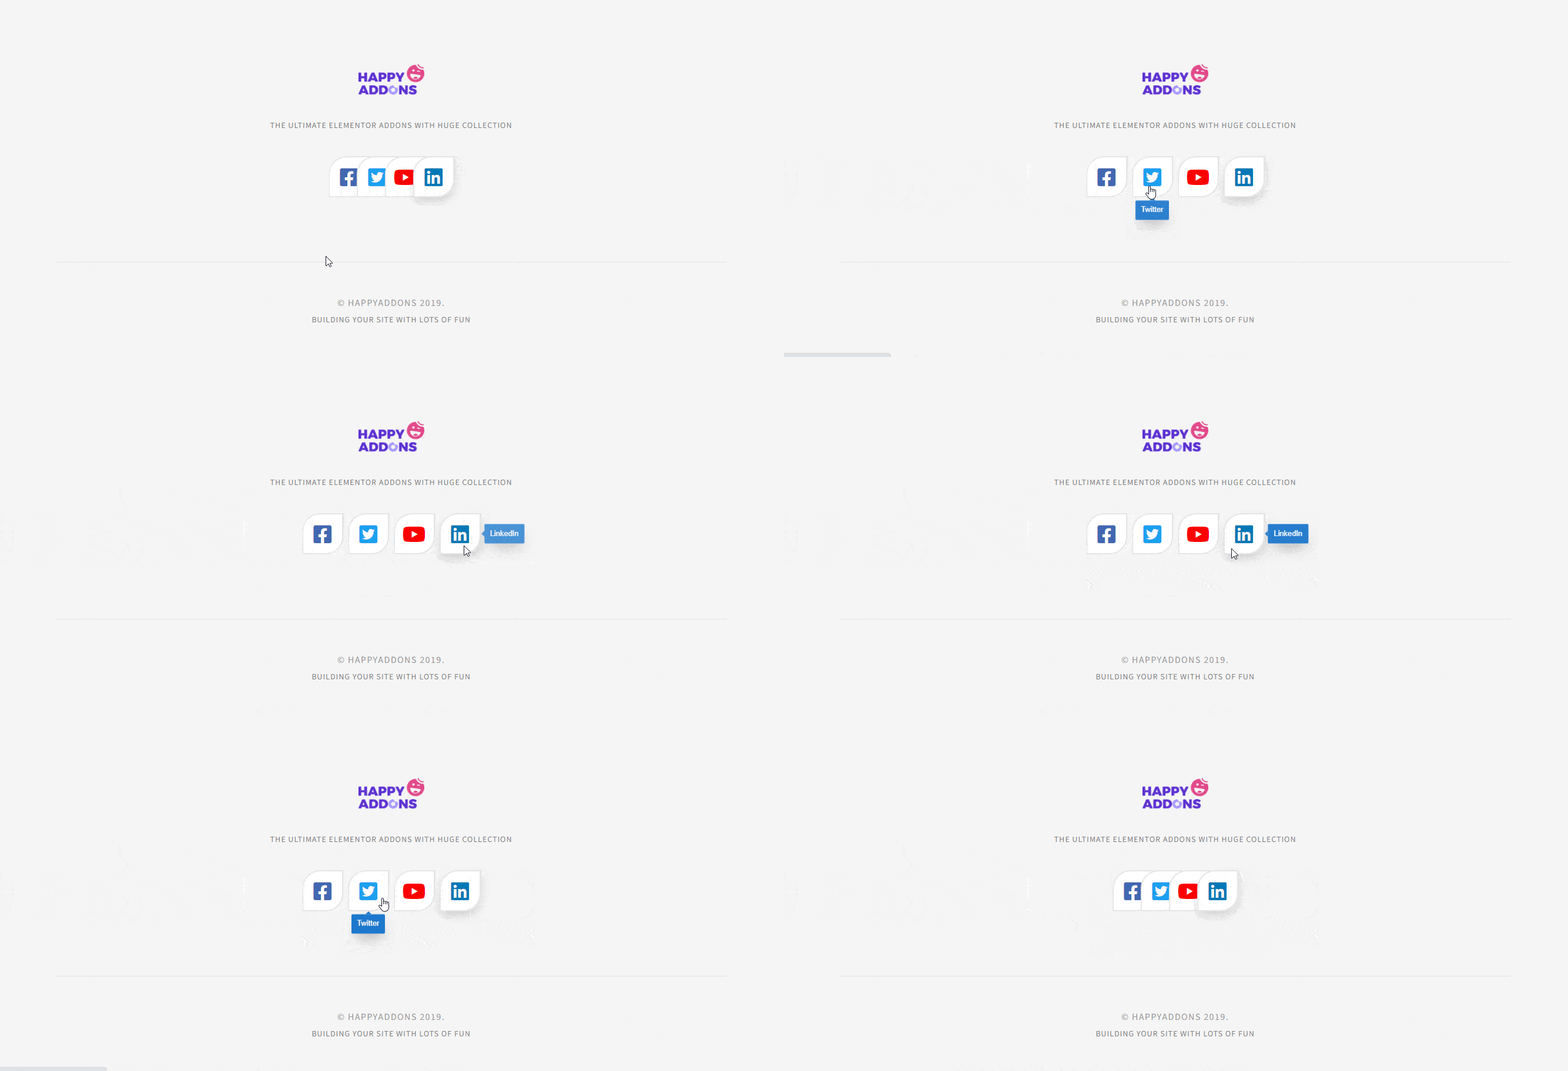
Read the full documentation of the Image Stack Group Widget.
You can also watch this handy video tutorial of the Image Stack Group widget.
Some More Happy Addons Image Widgets That You Can Use
Here are some other advanced image-related widgets that you may also use to decorate your website.
Image Compare (Free)
Looking for a handy tool to compare an image within a before and after slide. Try the new Image Compare widget from Happy Addons. With this free widget, you can showcase your website images in from of before & after slides for better comparison.
Check the Documentation of Image Compare widget.
Image Accordion (Free)
Happy Addons’ Image Accordion widget lets you design beautiful accordions using images for your Elementor website. It comes with a number of beautiful designs that are easy to use and fully customizable. Let’s try this useful widget now.
Check the Documentation of Image Accordion widget to learn how to use it.
Image Grid (Free)
Want to show your website images in a grid layout in Elementor? Check out the Image Grid widget of Happy Addons. This tool allows you to design an interactive image grid in minutes. You can use this widget to create an image gallery, portfolio, and more.
Read the Documentation of Image Grid widget and learn how to use it the right way.
Image Hover Effect (Free)
Image Hover Effect is also an amazing widget that lets you add hover effects to your website images. It comes with 20+ stunning hover effects that are easy to implement. Check out this free tool to make your image more lucrative.

Read the documentation of the Image Hover Effect widget.
Scrolling Image (Pro)
If you want to showcase your clients’ logos, team members, and other images in horizontal and vertical style, you can use the Happy Addons’ Scrolling Image widget. This easy-to-use tool comes with several designs that are fully flexible. Try this now and make your website more engaging.
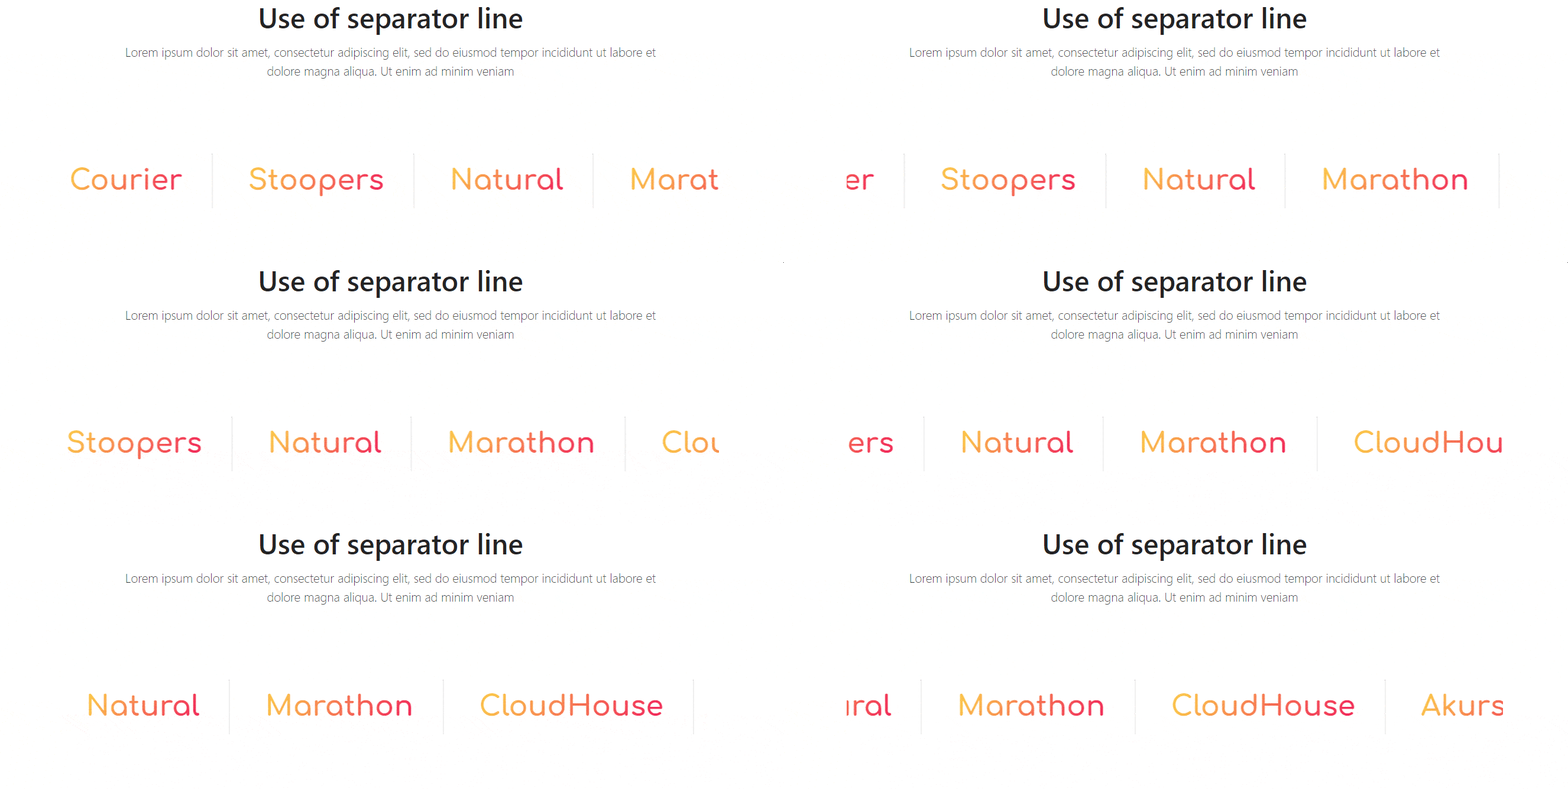
Follow the full documentation of the Scrolling Image widget.
Single Image Scroll (Pro)
Want to present a long image to your Elemntor website and look for the right tool to do so? Check out Happy Addons’ new Single Image Scroll widget that lets you display big-size pictures in different styles.
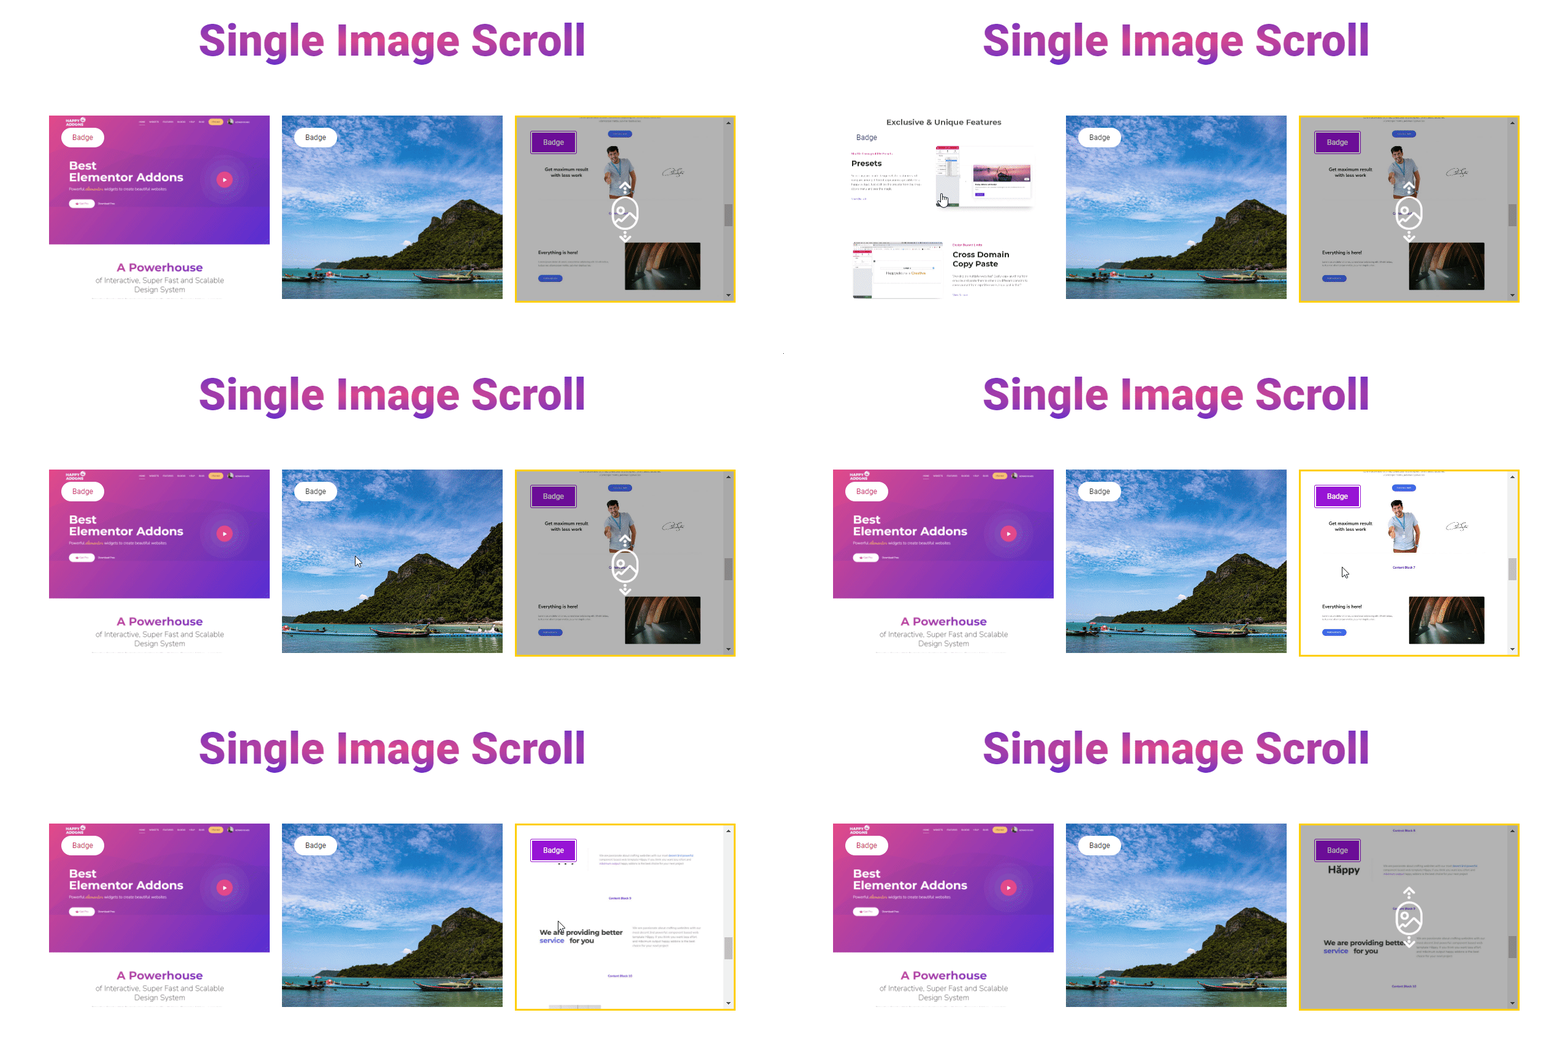
Check out the documentation of the Single Image Scroll widget.
Conclusion
Perfect use of images makes your website more interactive and user-friendly. That’s why you should use the right tool to manage your website images.
In this blog, we’ve discussed the Image Stack Group widget and how to use it properly. We have also introduced some other useful Happy Addons image-related widgets that you can also use to decorate your website.
If you have any questions regarding this blog, you can write to us in the below comment box. And don’t forget to share this post to your social channels and join our newsletter to get more handy tutorials regarding WordPress and Elementor.
Subscribe to our newsletter
Get latest news & updates on Elementor

