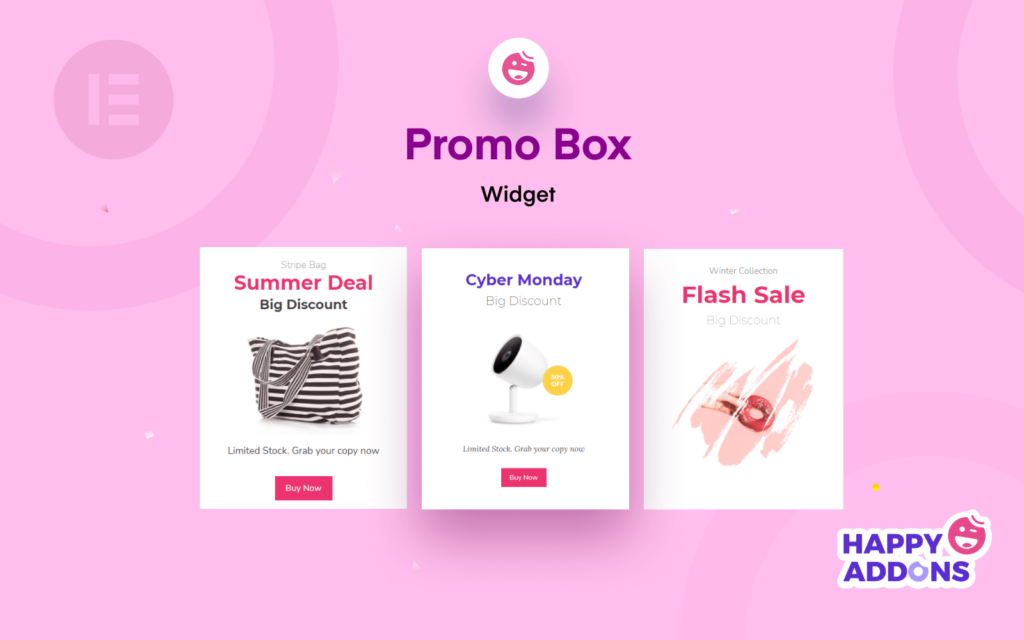
Promo box serves as a call-to-action feature for promoting eCommerce store products, showing special services, grabbing users’ attention to provide information, and more. As this web element assists different purposes, that’s why the usage of promo boxes on the websites is increasing day-to-day.
54% of consumers feel rewarded when they are getting an exclusive offer on a product.
GlobeNewswire
But the question is how to create a promo box the right way if you are running an Elementor website. You can do it from scratch because Elementor doesn’t offer a promo box widget. To solve these particular issues, you can take the help of other Elementor addons like Happy Addons.
With Happy Addons, you get a Promo Box widget to design and customize your website promo boxes.
In this blog, you are going to learn how to design promo boxes for your Elementor-powered website. Before we go, let’s understand why you need custom promo boxes.
Let’s get started.
Why Need Custom Promo Boxes for Elementor Site
Elementor is the leading page builder plugin for WordPress. You can easily design any type of website and web elements using its drag & drop features. But sometimes, you need more flexibility to create a custom design.
For example, you want to design a promo box for promoting products or services on your Elementor site. But Elementor does not offer a promo box widget for you to design this element. You have to create this manually, which is very difficult and time-consuming.
But if you use the Happy Addons Promo Box widget, you can simply create a promo box in minutes. Happy Addons also offers premade designs that will help you create more effective designs.
Here are some reasons why you should use promo box on your site,
- Promote Digital Products or Services
- Offer Special Deals
- Add Email Opt-In Forms
- Offer Downloadable Version of Your eBook
- Display the Important Pages or Posts on Your Website
- Promote a Paid Membership to Your Site
- Show Social Profile and More
How To Use Elementor (Step By Step Guide For Beginners)
How To Use Happy Addons’ Promo Box Widget to Customize Elementor Website
Like the other Happy Addons widgets, the Promo Box widget comes with advanced features and easy-to-use customization options that allow you to make a stunning promo box design.
You need to have the following plugins on your website before we start.
- Elementor (Free)
- Happy Addons (Free)
- Happy Addons Pro
Make sure you’ve installed and activated the Happy Addons Free & Premium version.
Now in the following part of our blog, you’ll learn how to design a promo box using the Happy Addons.
We are going to show you the complete process in just 4 easy steps.
1- Add Promo Box Widget
First, you need to add the Happy Addons Promo Box widget to your website. You can find the widget from the Elementor widgets area.
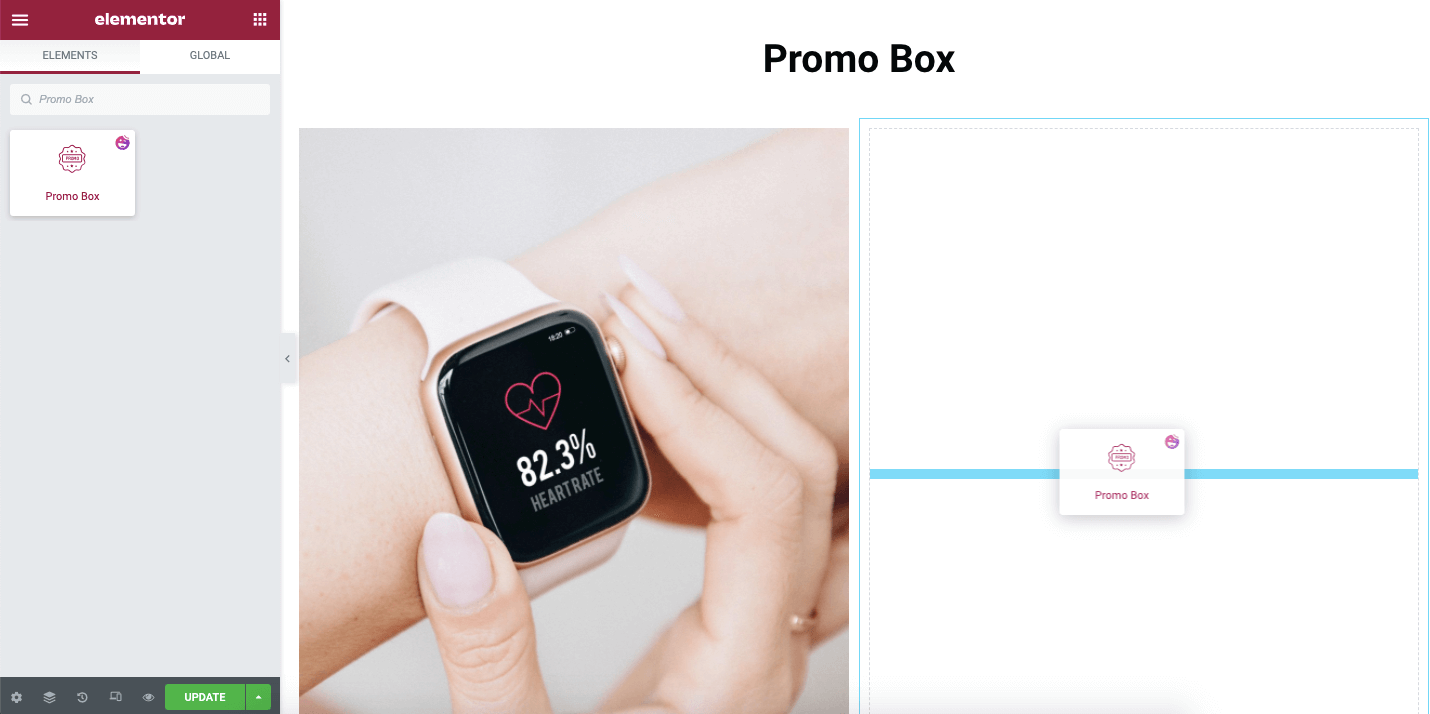
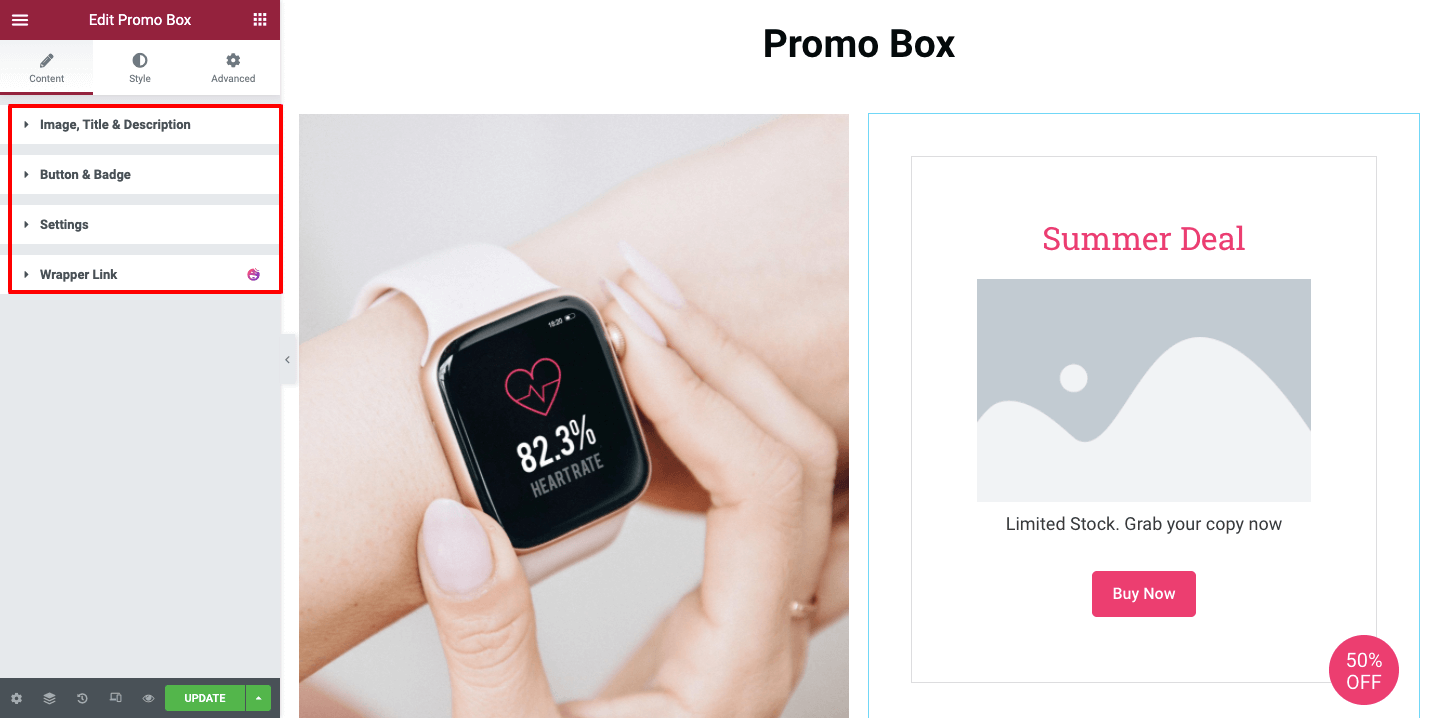
After adding the widget, you’ll get the content items of the Promo Box. You can manage Images, Titles, Button, Badge, and other necessary settings here in the content area.
2- Attach Image to the Promo Box
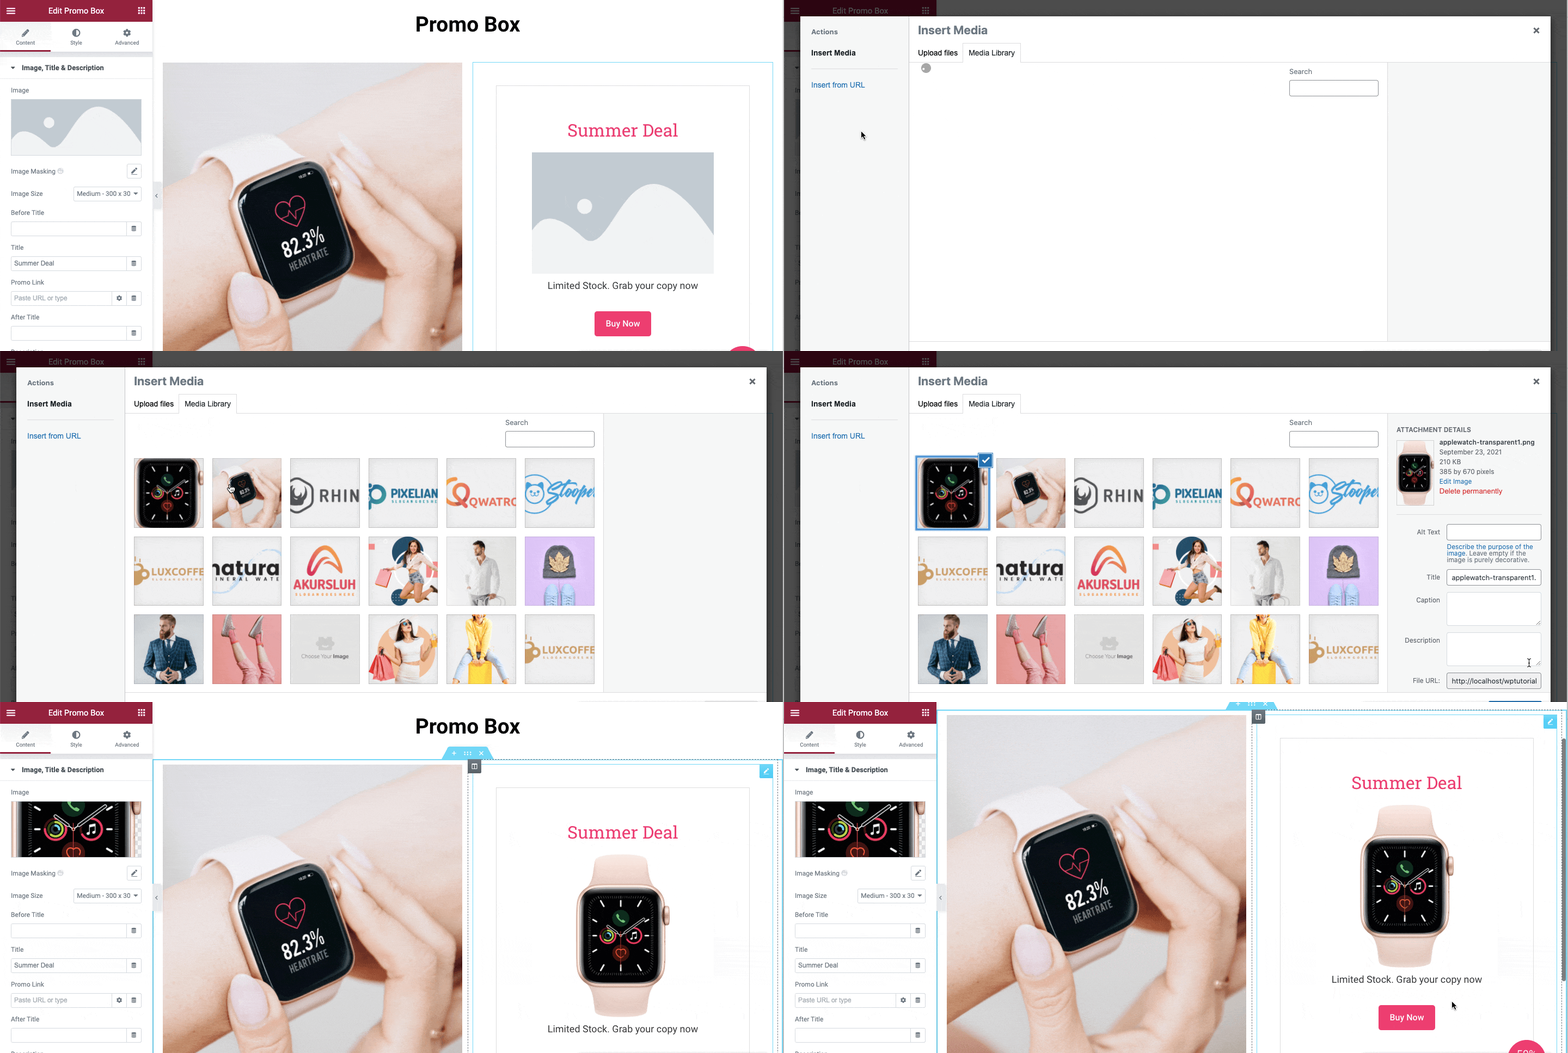
It’s essential to add a promotional image to your Promo Box. Open the Content->Image, Title & Description. Then click the Images for adding an image. Make sure that your image should be optimized and clean.
3- Write Suitable Promo Box Title
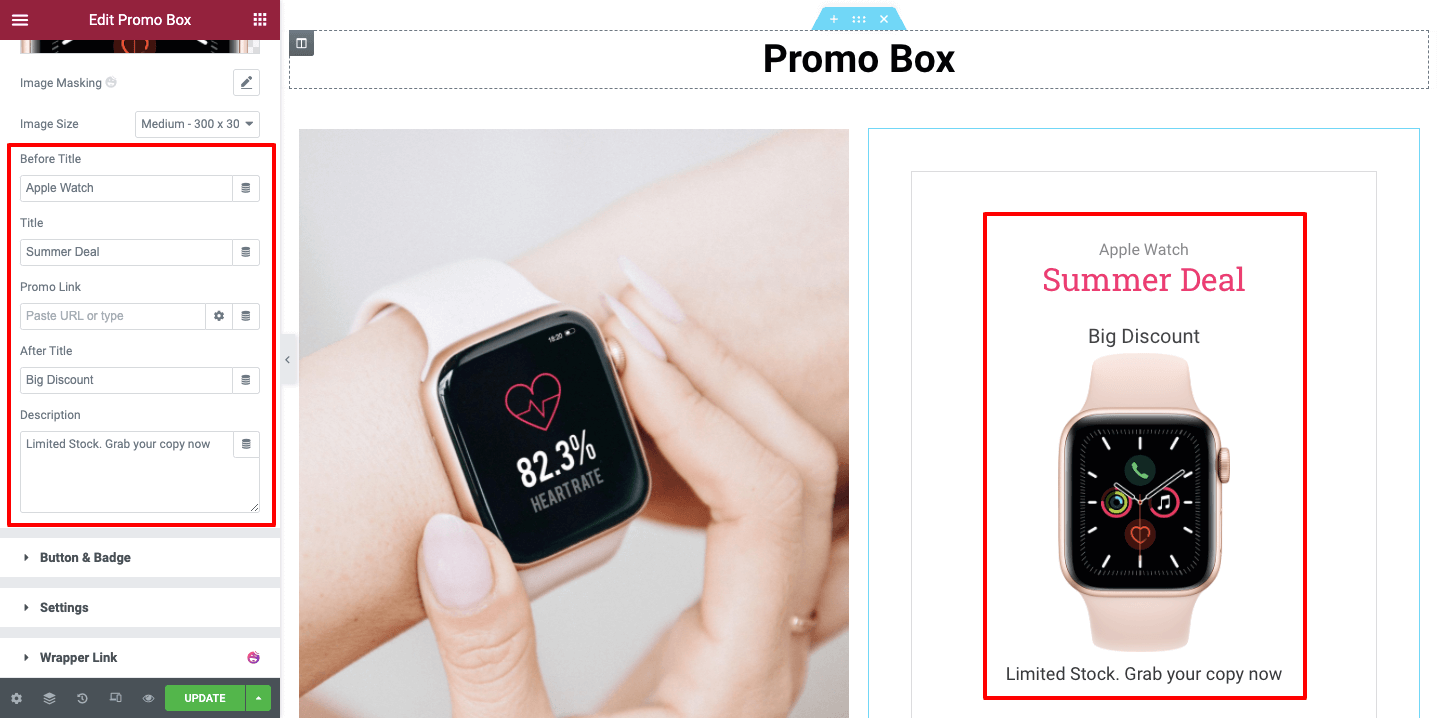
You can also write a Before Title that will show just before the main tile. Add the main Title and be able to insert a Promo Link. Also, write an After Title that will display below the main title and an informative Description to describe the promotion.
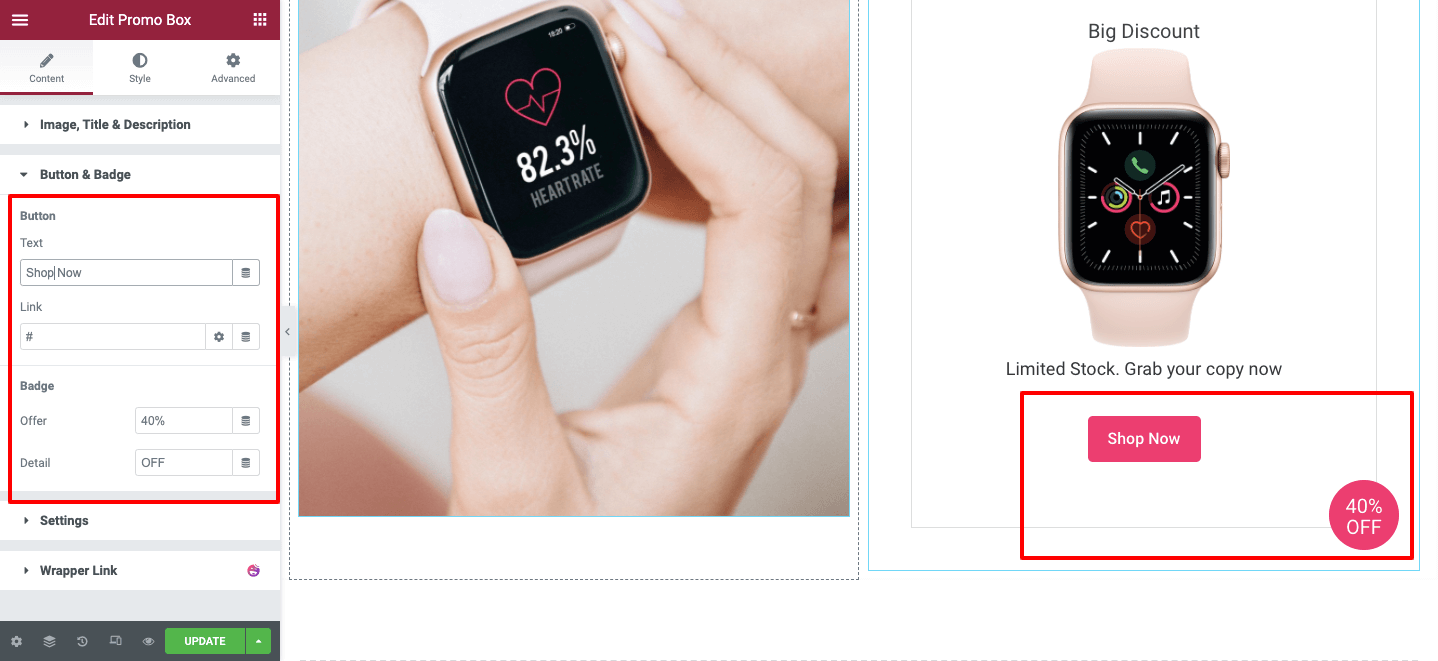
4- Manage Buttons & Badges
You can customize the default button and badge content in this area. You can add a button text and links as well as set the offer detail. You see that we’ve offered 40% off.
5- Customize The Settings
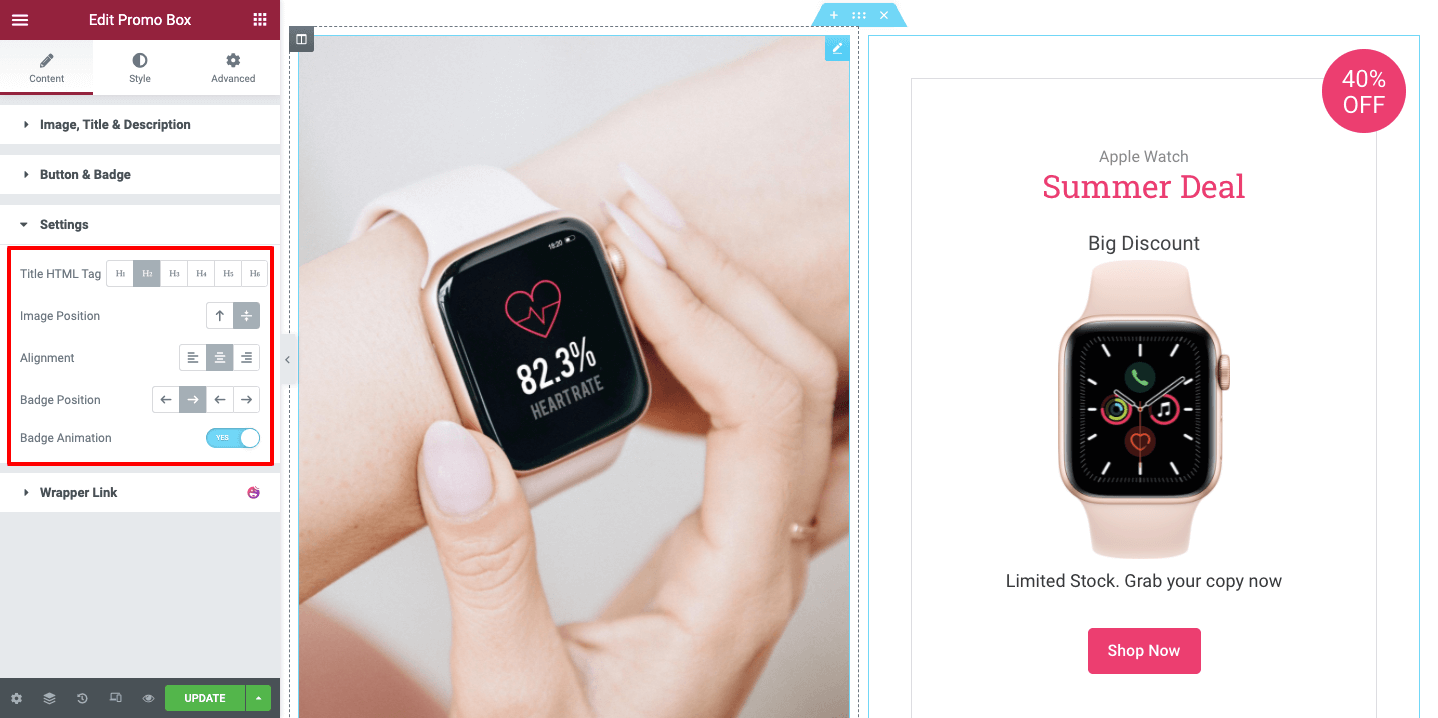
The Settings option allows you to control the entire Promo Box like Title HTML Tag, Image Position, content Alignment, and Badge Position. Here, we’ve set the title as H2 tag and the image position center. We’ve also aligned the promo box position center and set the badge position top-right.
If you want to active the Badge Animation, you just need to switch on the badge animation.
6- Customize Your Pomo Box Design
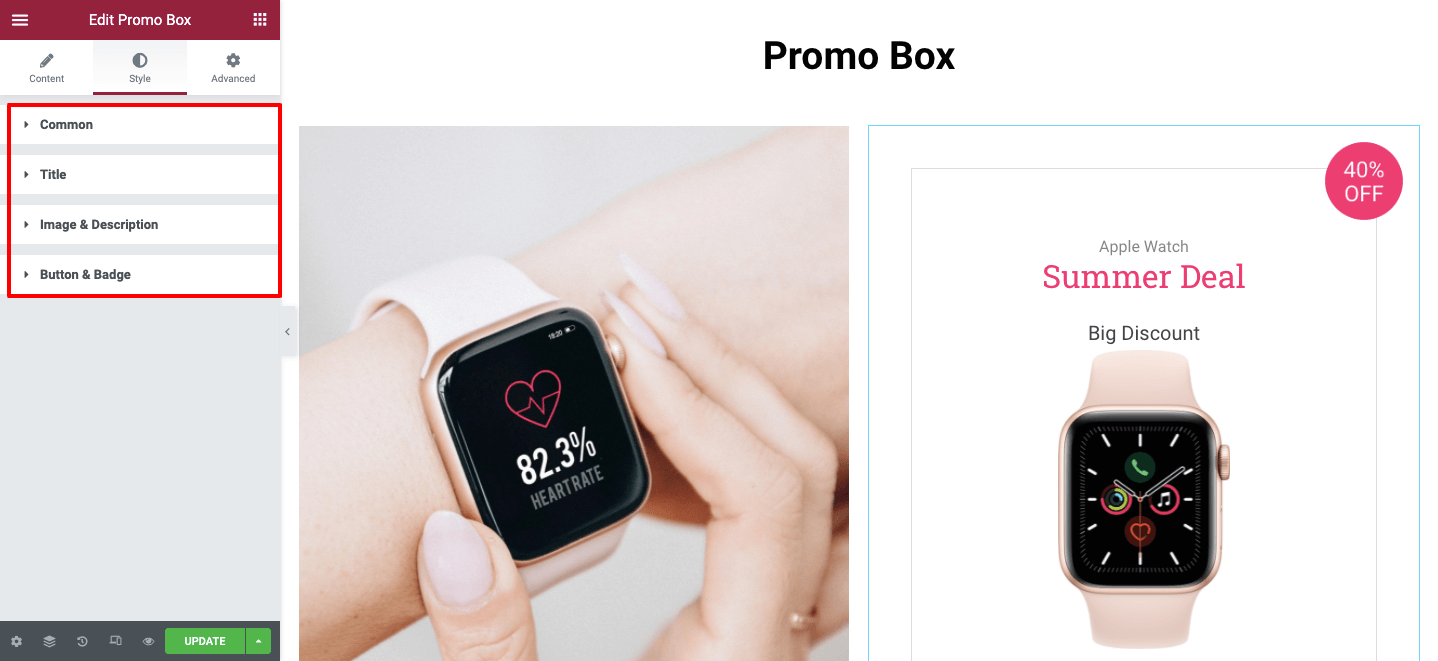
In the Style section, you’ll get the essential designing option to customize the Pomo Box.
Common: The common style option allows you to manage the Background of the promo box, border style, inner & outer spacing, and more.
Title: You can customize different titles in your own way by going to the Style–>Title area.
Image & Description: Like the title, you are able to redesign the description and image of the widget.
Button & Badge: This style option allows you to make a catchy design of the button and badge.
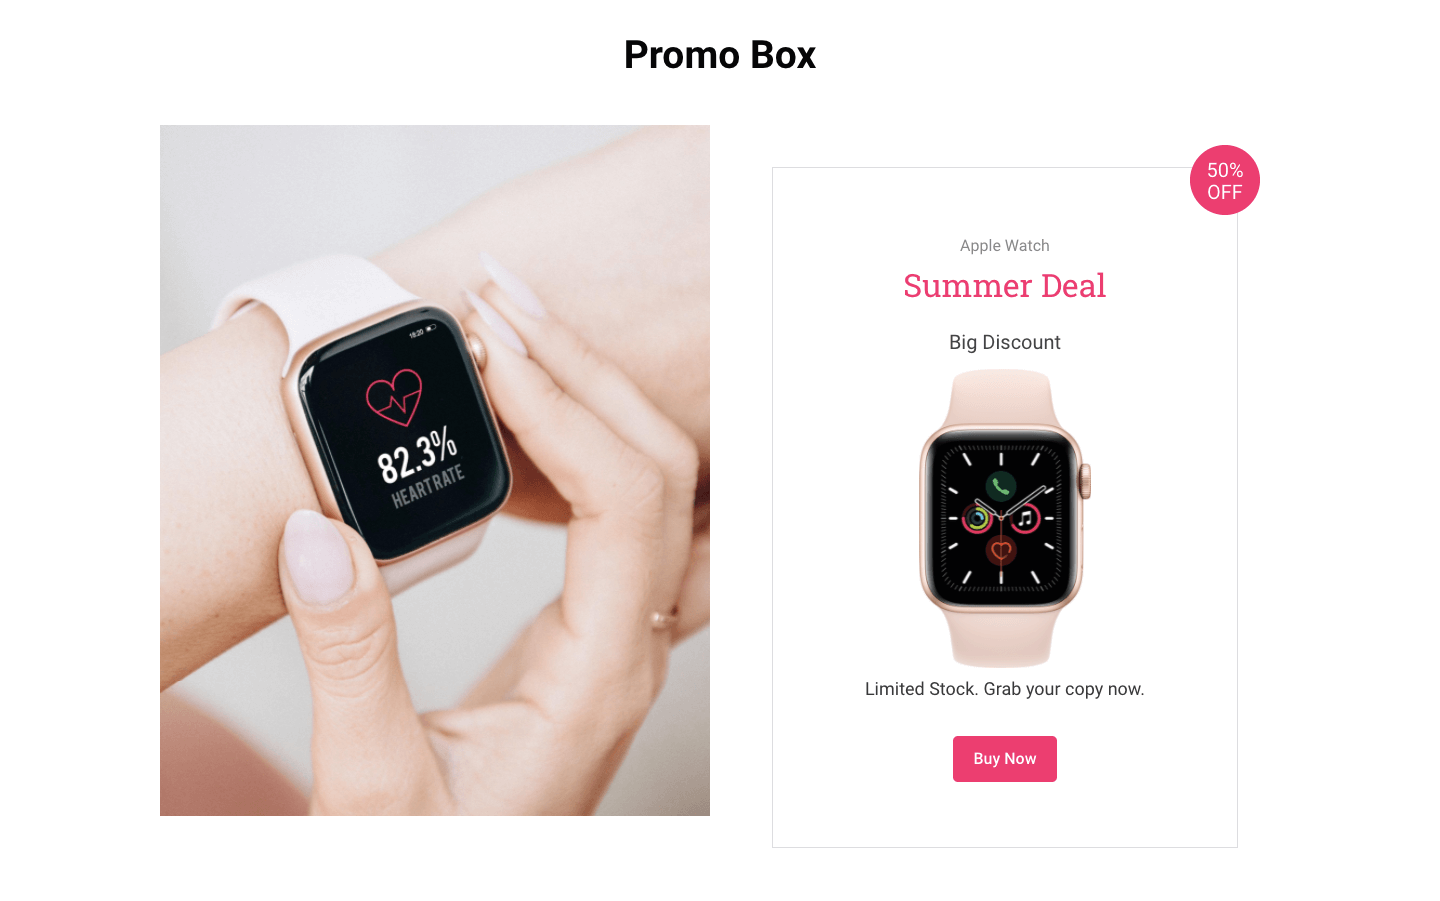
Final Output of Our Promo Box Design
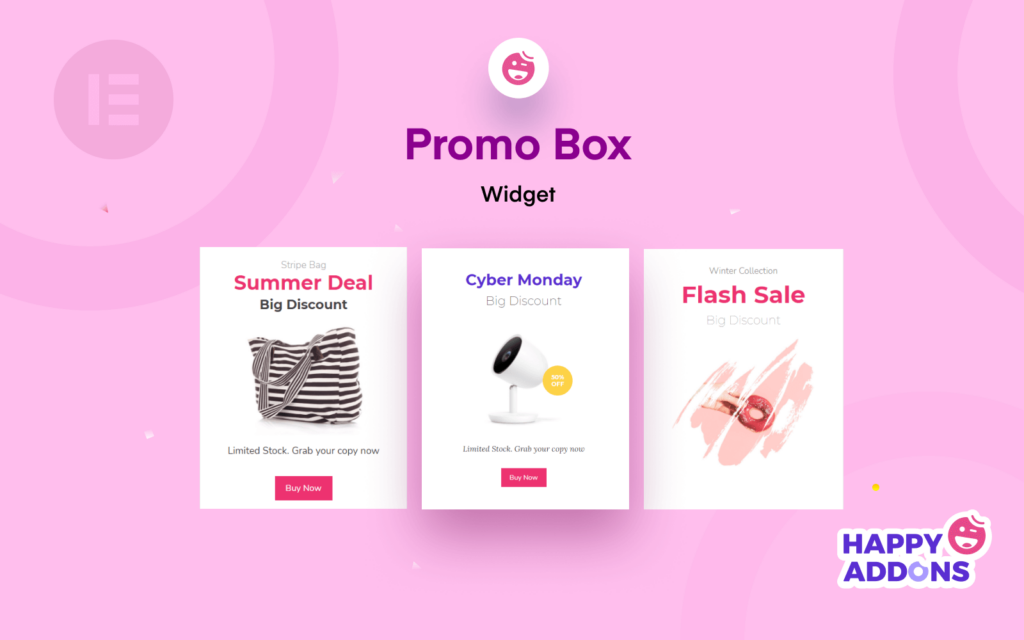
This is the final output of our Promo Box.
You can also check out the step-by-step documentation.
Or check out the below video tutorial on Promo Box.
Are You Ready to Design Your Promo Box?
Adding a promo box to your eCommerce website can be a smart way to product promotion. It helps your customers find and purchase their desired products at a discounted price. However, you can also use the promo box on your website for different purposes according to your needs.
In this tutorial blog, we’ve shown how to design a promo box using the Happy Addons widget. We also have discussed why you need custom promo boxes for your eCommerce site for better product promotion.
If you have any queries regarding this blog or want to talk about topics related to Elementor or HappyAddons, you can write us using the comment box below.
And don’t forget to join our newsletter to get new exclusive articles. It’s FREE!

