
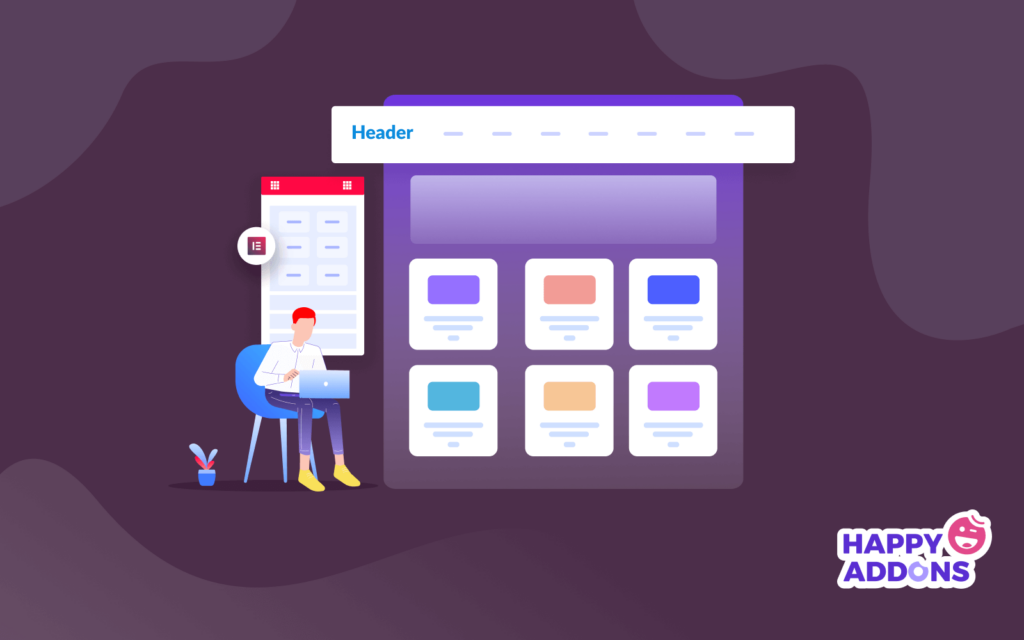

A header section is a focal part of your website. Users start navigating with this part after they enter the website. Visitors may not get the interest to browse your site smoothly with a complex structure. That’s why you need to keep your header section simple and adjustable to your website.
94% of people say web design is the reason they mistrust a website.
Brendan Hufford, SEO Director
Creating a good-looking header is also a vital task. With Elementor, you can compose your own design, redesign, and give suitable structure without any technical expertise.
In this tutorial, we’ll show you an easy process to design a custom Elementor header for your WordPress site.
Let’s dive in-
How to Create and Customize Elementor Header

In this part of our blog, we are going to show you how can you create and customize the Elementor header in two simple ways.
1. Create Headers Using Elementor’s Theme Builder
2. Create and Customize Elementor Header From Scratch Using Elementor Widget
You’ll need the Elementor Nav Menu widget and pre-made Header Block to work with Header design. Also, you need to consider the following things before you start designing your site’s Header.
- Elementor (Free)
- Elementor Pro
Do make sure you have installed and activated both the FREE & Premium version of Elementor.
First Way: Create Headers Using Elementor’s Theme Builder
The Theme Builder Feature is the easiest way to create a header with Elementor. It’s a core feature of Elementor and totally easy to apply.
To do that, navigate Template->Theme Builder->Header. Here, you’ll get the different options to create a template. Second, click the top Add New button or the Add New Header button to create your first header template and wait for the next screen.

After a while, you can see a modal popup like the image below. Here, you need to select the Template Type-> Header and write the proper name of your template. Then click the Create Template button for saving the template.

Finally, you’ll see the Elementor Library with premade Blocks & Pages. Here, you need to choose a suitable Header Block and Install it on your website.

Second Way: Create and Customize Elementor Header From Scratch Using Elementor Widget
It’s time to show the second way of creating a header for your Elementor site. It’s true the first method saves your time a lot. But the second method will give you more freedom while designing. Because you can design the entire element from scratch.
Let’s go for it.
Step One: Add Site Logo Widget
Pick up three columns first. As a part of your header, you need a Logo, search bar, and social buttons in some cases. You can get all these elements in the Elementor widget gallery.
To add a site logo, select the widget and paste it on your canvas.
Now customize it according to your way. Let’s say you can change its size, align it, add a caption and a custom link to it.
You can also stylize the Logo Widget. To do that tap on the Style button. You can find the related options for certain customization. Such as width, height, opacity, CSS filters, border type, and many more.
Step Two: Add Nav Menu Widget
Now the main part comes in adding Nav Menu Widget. It’s a pro feature of Elementor. You have to upgrade your package from FREE to Pro.
To add the Nav menu widget, you’ll need to consider certain things.
- Add essential pages to your website
- Create a menu from Appearance>Menu area
- Add required pages to your menu
- And lastly save the menu

Once you’re done with adding the essential pages and creating a menu, navigate to your Elementor design canvas. After that pick the Nav Menu widget from the Elementor widget gallery and paste it on the marked area.

Immediately, the content customizing options will appear. Go through each part and experience the best design pattern that you want to use. Such as menu layouts, alignment, pointer, animation, and more. You can also decide how your menu looks like on mobile devices.

This widget has three types of layouts Horizontal, Vertical, and Dropdown. Choose the best one that fits you.

Similarly, you can stylize the widget by tapping on the Style button. So change the Typography, Text Color, and other styling settings you like.

Change the color pattern that matches your site design. To do that click on the Text & Pointer Hover Color and experiment with different designs.

Apart from adding the generalized designs, you can also do more with the Advanced settings. Such as margin, padding, Z-index, CSS ID, motions, animations, etc.

Step Three: Add Search Form Widget or Social Share Button Widget
Most websites use both these features on the header portion. Either you can add a Search Form Widget or a Social Share Button.
Search the widget and drag it to the marked area.

You can change its Skin such as Minimal, Classic & Full Widget in the Content area. Also, add a placeholder and resize the form.

Go to the Style section and make necessary changes for styling the form based on your overall header color pattern. Such as item size, text color, background color, border color, box-shadow, border size, and more.

The advanced section is right there for you to add more advanced and lucrative features. You can adjust margin, padding, add Z-index, CSS, motion feature, and so on.

Once you’re done with the design, you can check its responsiveness on Tablet and Mobile.

Quick guide: How To Make A Website Mobile Friendly
Final Preview of Elementor Header
After applying all the designs and features here is how it would look-

However, if you want to make your header section more satisfying and stunning, you can get help from this tutorial to apply all the settings step-by-step.
Also Read: How To Customize Elementor Nav Menu & Elementor Portfolio Widget (Tutorial)
Create Large-scale Menus Like Puma, Adidas, Dribbble, weDevs Using Happy Addons’ Happy Mega Menu Widget
Happy Addons recently launched the Happy Mega Menu widget that allows you to create not only the typical WordPress navigation menu but also you are able to create large-scale menus like Puma, Adidas, Dribbble, weDevs, InVision, and more.
You can add badges and custom icons to your website menu items. Also, you can add premade templates to the menu and make it more attractive for your users.
However, you can watch this video tutorial to learn how to create a Dribbble like mega menu using the Happy Mega Menu widget.
Conclusion
It’s important to keep simple navigation on the website so that users can browse your site effortlessly. A great user experience can boost performance and helps users to find their preferred content. Also, it will add value to your web content yet improve overall SEO performance.
So the decision is in your hand. You can follow both ways that we have shared above. We recommend you follow the most suitable one.
Using the Elementor Nav menu, and the Happy Mega Menu Widget, you could easily create your desired design like Elementor Header and other website design materials.
However, in case you have any confusion regarding the post, you can put all your queries in the comment section. We’ll be glad to give you the best problem-solving tips anytime.
We’ve already covered a bunch of trendy & interesting articles about Elementor.
If you eagerly want to get all of these, you can subscribe to the Happy Addons newsletter.


2 Responses
Informative and well written. Got some really valuable info, especially like the part of creating a mega menu using Happy Mega Menu. I have tried this widget from Happy Addons and found it very easy to use and helpful to create a mega menus.
Thanks for your comment. Stay with us by joining our newsletter.