
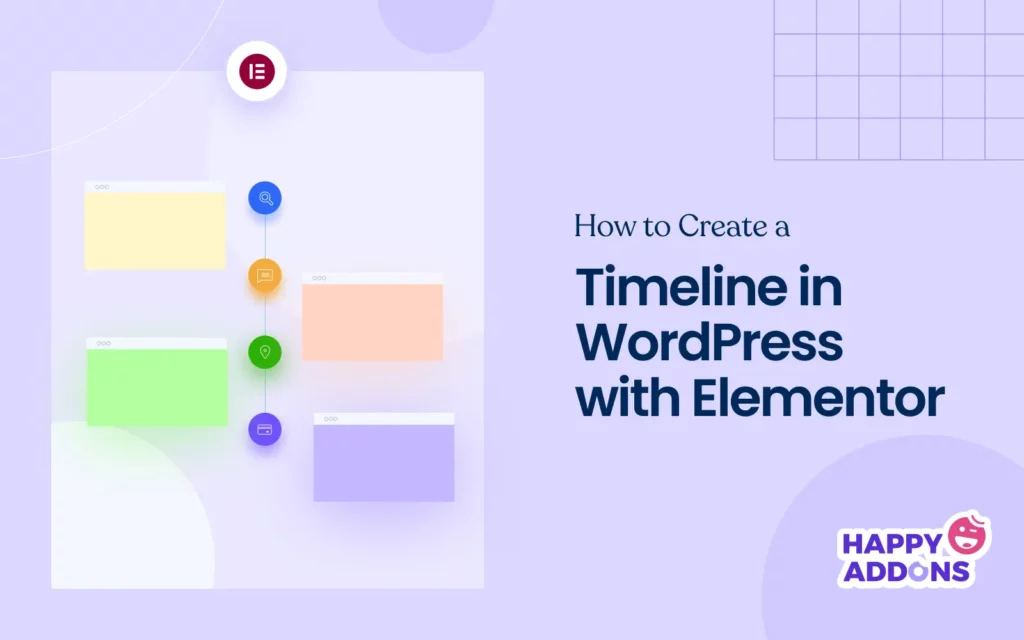

Timelines provide a visual way to display events, milestones, or steps in a chronological order. They help present information in a linear flow that makes it easier for visitors and users to understand the sequence of events or processes. Using them, you can showcase your company’s journey, a project roadmap, or a personal story with clarity.
Adding a timeline to WordPress can enhance user experience by making content more engaging and easier to follow. This is why using timelines has become a trend on many websites. Elementor is such a user-friendly plugin that you can use to create and add timelines to your WordPress posts and pages with an extreme level of customization.
In this article, we’ll show you a step-by-step guide on how to create a timeline in WordPress with Elementor. Before that, we’ll cover a few theoretical parts regarding today’s topic.
Types of Timelines and Their Use Cases

There are two types of timelines – horizontal and vertical. Each one has specific use cases that add value to a website differently. Let’s explore them and their use cases in the discussion below.
1. Vertical Timeline
A vertical timeline displays events and information from top to bottom, usually along the left or center of the page. It’s a scroll-friendly format that works seamlessly on both desktop and mobile devices. As users scroll down the page, they follow the chronological order in a clean and readable layout.
Use Cases for Vertical Timelines:
- Company history or growth journey
- Resume or career highlights
- Blog post series or article progression
- Step-by-step process explanations
- Product development milestones
2. Horizontal Timeline
A horizontal timeline displays events from left to right, following a side-scrolling or sliding format. It’s typically used where space is wider than it is tall. This format is best for shorter timelines or when you want to show just a few important events in a wide, easy-to-see layout.
Use Cases for Horizontal Timelines:
- Project roadmaps or planning stages
- Event schedules
- Marketing campaigns or product launches
- Portfolio presentations
- Educational timelines or historical overviews
How to Create a Timeline in WordPress with Elementor
As already said, Elementor is a drag-and-drop page builder plugin. But the sad news is that it doesn’t include any widget to create timelines. However, the plugin has lots of addons by which you can expand the functionalities of the core Elementor plugin.
HappyAddons is one of them. It comes with 130+ widgets and 22+ features that can overcome many shortcomings of Elementor. So, by installing the HappyAddons plugin, you can enable more design features on your site. In many cases, you won’t even need Elementor Pro if you have HappyAddons.
Let’s now explore how to create timelines in WordPress with Elementor and HappyAddons.
How to Create a Horizontal Timeline in WordPress
Hope you already know what the horizontal timeline is. HappyAddons has a horizontal timeline widget, which is completely free to use. So, you need the following plugins to be installed and activated first on your website.
Once you have the plugins installed and activated on your site, start following the steps explained in the tutorial below.
Step 01: Create a Section on the Elementor Canvas
Open a post or page with Elementor. Create a section with your desired flexbox column-structure to create a timeline.

Step 02: Add the Horizontal Timeline Widget to the Canvas
Find the Horizontal Timeline widget on the Elementor panel. Once you find it, drag-and-drop the widget to the canvas.

You’ll see the Horizontal Timeline widget has been added to the canvas with a default layout.

Step 03: Select a Preset for the Widget
A preset is a predefined design style or layout that you can instantly apply to a widget for quick customization. If you don’t want to design the widget from scratch, you can select a preset. The Horizontal Timeline widget comes with six presets.
Select a preset you like for the widget.

Step 04: Add Content to the Horizontal Timeline Widget
Expand the Timeline section. Here, you’ll get options to add content to the widget. By default, you’ll get four tabs. Click any tab to expand it. This will open up many fields where you can place and add your desired information.

Once a tab is expanded, you can add event date, icon, image, image resolution, title, and description to the respective tab.

You can see that we have added content to the respective section of the Horizontal Widget.

In the same way, add content to all timeline tabs. You can see that we have done it in the image attached below.

To add more tabs to the widget, click the + Add Item button under the Timeline tab.

Step 05: Configure Settings for the Horizontal Timeline Widget
Once the content part is done, expand the Settings section under the Content tab. You can configure Title HTML tab, content alignment, hide content arrow, enable lightbox, animation speed, number of slides to show, icon, and more.
These are so easy to configure. We hope you can do them alone yourself.

Step 06: Stylize the Horizontal Timeline Widget
To stylize the widget, go to the Style tab on the Elementor panel.

First, expand the Timeline section.
You’ll get options to customize the line thickness, line color, date spacing, date typography, color, icon, border radius, border type, border width, background color, etc.
Explore them and do the necessary customizations required.

You can see that we have made some changes to the horizontal timeline.

Then, expand the Arrows section. From here, you can customize the arrow icons, their positions, sizes, border width, radius, and more.
In the same way, expand the Content section of the Style tab. You can customize the border radius, padding, space between contents, border type, border width, color, shadow, typography, and more of the widget.
Do the needful changes.

Step 07: Preview the Horizontal Timeline Widget
Go to the preview page and check if everything works fine or not. You can see that our demo horizontal timeline is working fine without any glitches.
How to Create a Vertical Timeline in WordPress
While HappyAddons allows you to create a horizontal timeline for free, you have to upgrade to the premium version of the plugin to create a vertical timeline. So, make sure the following plugins are available on your site.
Once they are available on your site, start following the tutorial explained below.
Step 01: Drag-and-Drop the Timeline Widget to the Elementor Canvas
Type Timeline in the search box. Select the Timeline widget other than the Horizontal Timeline. Drag-and-drop it on the Elementor Canvas.

A vertical timeline will be created on the canvas with a default layout.

Step 02: Select a Preset for the Vertical Timeline Widget
Hope you already know what a preset is, as we have already discussed it above. Select a preset if you don’t want to design the vertical timeline from scratch.

Step 03: Add Content to the Vertical Timeline
Expand the Timeline section. By default, you will see two tabs. Expand any tab by clicking on it as we showed you above.

Hope you don’t need to talk much here. Because you can add almost the same type of content to the verticle timeline as you could do in the case of horizontal timeline.
You can add an icon, change the icon type, define time, set a title, add an image, etc., for each timeline section. Do the neeful things yourself.

Complete adding content to the timeline. You can even add more items to the timeline by clicking the + Add Item as shown above.

Step 04: Configure Settings for the Vertical Timeline Widget
Expand the Settings section. You can configure whether to show the date, time, content arrow, and scrolling tree. You can also change the title tag, icon box alignment, tree alignment, and background color.
Do the neeful settings yourself. But to us, the default alignment looks good. So, we’ll stick to it for the tutorial.

Step 05: Stylize the Vertical Timeline Widget
Come to the Style tab on the Elementor panel. You can customize all types of content and visual elements on the widget from this tab.

First, expand the Content Box. You can customize the typography, color, arrow color, background type, border type, and border width from here. Do this.

In the same way, expand the Icon Box section. You can change the width, height, box space, and other options related to the icons on the widget from here. If you are satisfied with the default stylization, don’t touch anything.
Stylize the Title of the widget if it feels necessary. You can see that we have changed our typography.

In the same way, customize the appearance of the Time & Date. We have changed its color, weight, and typography.

Finally, expand the button section. You can stylize its background color, copy typography, and others.

Step 06: Preview the Vertical Timeline Widget
Come to the preview page and check if the verticle timeline works fine or not. Do it by scrolling the widget. We hope it will work fine on your end as ours.
Thus, you can create different types of timeline sections on your website to wonderfully present various content.
Things You Can Do More with HappyAddons
HappyAddons is honestly a comprehensive plugin. You are sure to fall in love with this plugin just after using it for once. Take a look at the following things that you can do with the plugin.

a. Use a Free Theme Builder
Elementor also has a theme builder. But it’s reserved only for the premium users. But in the case of HappyAddons, it’s completely free to use. Using the HappyAddons theme builder, you can create headers, footers, blog post templates, and archive pages. Check how to create a blog post template with HappyAddons for free.
b. WooCommerce-Friendly
HappyAddons comes with nine powerful WooCommerce-friendly widgets to enhance your eCommerce site. Those widgets are product grid, product carousel, product category grid, product category carousel, single product, mini cart, cart, checkout, and shipping bar.
c. Cross-Domain Copy-Paste
With this feature, you can directly copy the same widgets, sections, and pages from one website to another domain. This can save you valuable time as you don’t always have to start from scratch. The following video explains the cross-domain copy-paste feature of the plugin.
d. Design Creative Content
With its widgets like image hover, animated link, fun factor, image stack group, photo stack, creative button, text scroll, and lord icon, you can create engaging creative content to hook users.
e. Show Statistical Information
Unlike many other Elementor add-ons, this plugin offers several chart widgets by which you can showcase statistical information and create infographic posts and pages. Learn how to create an infographic page with Elementor.
In addition to all these, there are many more things you can do with the HappyAddons plugin.
Final Thoughts!
Creating timelines isn’t a mandatory thing for all websites. But they may become necessary as they could be an ideal option to showcase certain information and content. So, whenever you feel the need to create a timeline, we hope this tutorial post will come to your usage.
If you have loved this post, we request you to let us know through the comment box below. Besides, if you have any queries regarding the HappyAddons plugin, you can leave a message in the chat box. Our live support agent will come to respond to you as soon as possible.
Thanks for being with us till the end. We wish you a happy day ahead.


One Response
Hey Fuad Al Azad,
I have checked your blog and I really liked everything.