A well-designed site also sometimes fails to create a good first impression on your potential customers. In that case, adding testimonials on your website makes it more trustworthy to those who are exploring it for the first time.
Testimonial, along with reviews and ratings will help you to show that you run a legitimate business and therefore a reliable supplier for the services you are offering.
In this article, we will show you how to do testimonial page design easily for your business website in just a few simple steps. Here we’ll use Elementor along with one of its powerful addons – HappyAddons.
Before dive into the deep let’s spot some light over-
What is a Testimonial?

A testimonial is a third party statement that usually comes from your previous or exciting customers who have used your products/services. It tells your potential leads about your product quality, service type, specialty, and many more. So that you can easily convince your interested visitors that you’re worth their trust.
Customer reviews can come in different forms such as- quotes, short videos, customer interviews, case studies, success stories, and many more. These are known as testimonials. Perhaps, quotes are the most common form for website testimonials. Because they’re easy to collect and feel the most relatable to your audience.
How Important are Testimonials on Your Website?
A dedicating web page to customer testimonials is a great way to earn the trust of your visitors. It represents the actual values that you are offering through your products and services. This is because, first and foremost, they’re the evidence that you have a sustainable business and a strong customer base. Also states the reality that it’s not some sort of online scam.
Further, people love to hear from real customers rather than business representatives. Therefore, these testimonials will work like referrals, convincing your visitors that they can rely on your brand undoubtedly.
How to Add Testimonial to Your WordPress Website

Here starts the main tutorial part to design your testimonial page inside Elementor.
These are the pre-requisites to create your testimonial page:
- A WordPress Site
- Elementor (Free)
- HappyAddons (Free)
Let’s assume you have successfully configured your WordPress site and installed all the required plugins including Elementor & HappyAddons. If in case you are new to Elementor, check this Elementor guide to a quick start.
First, navigate to your WordPress Dashboard and click on Add New Page. Now add a title to your new page. After that, click on the blue button named “Edit with Elementor”. It’ll take you to the Elementor Interface right away
Once you get into the Editor, search for the Testimonial widget inside the side panel search bar. Then drag and drop the widget into the interface.
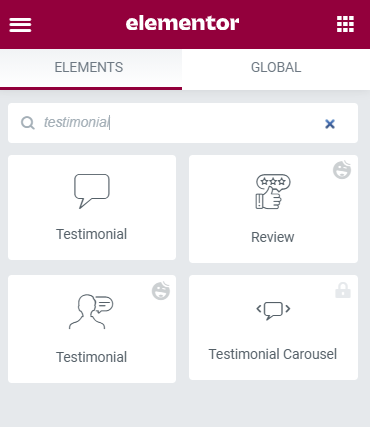
Now let’s start customize the design according to your preference.
Insert Image to Your Testimonial Page Design
Start personalizing your testimonial design by adding an image from the content tab. You have the full flexibility to specify the image size, position, and alignment. Also, you can define a custom size for your image too.
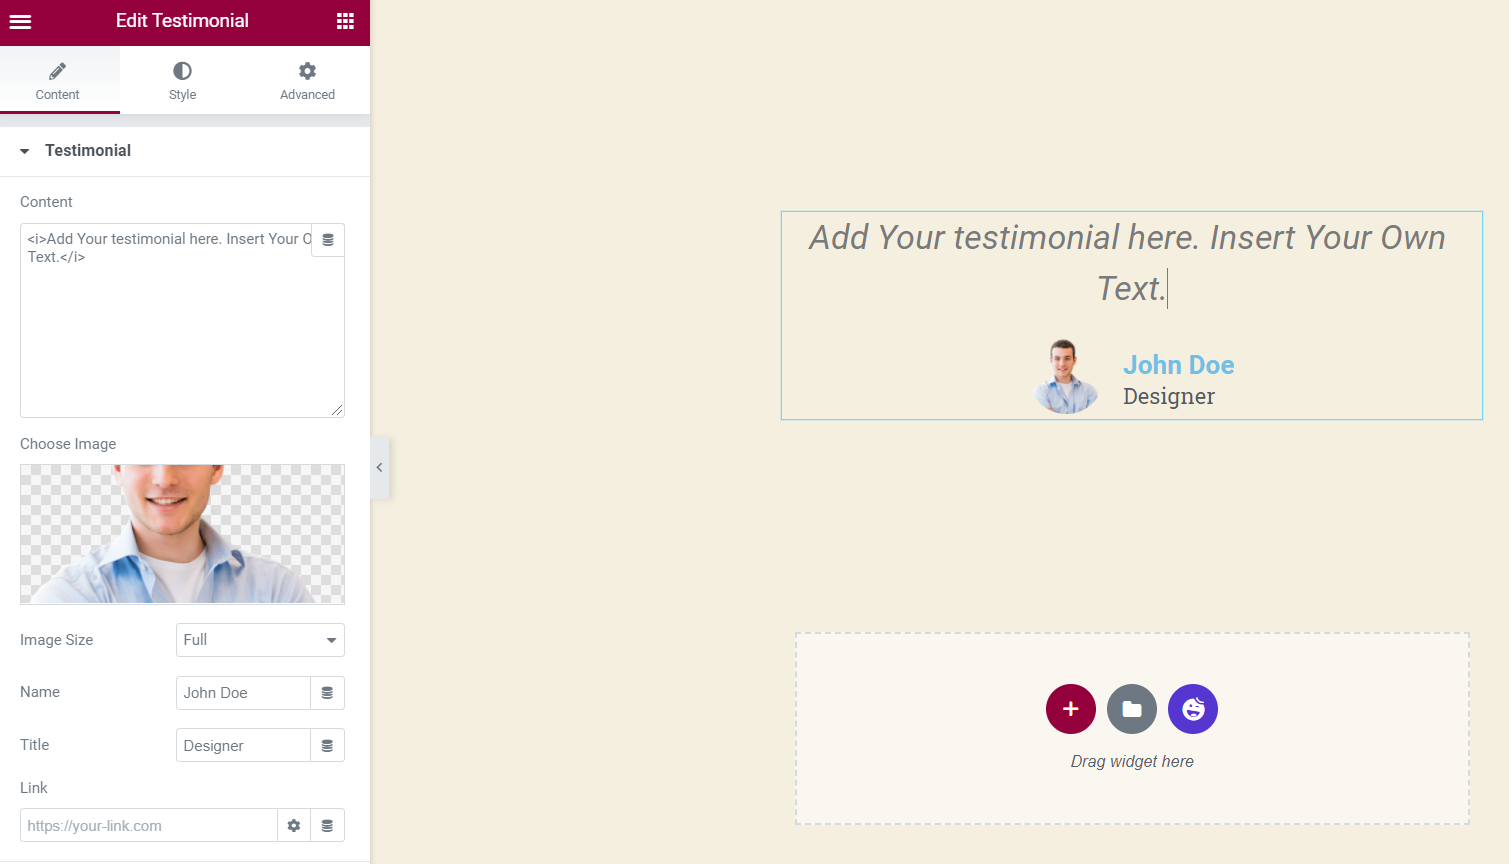
Inside Content Tab you will find the option to insert Name, Title, and Link as well.
Amplify the Outlook Using Style Tab
After customizing all the content from Content tab now let’s forward to the next step. From style tab you can-
- change text color & typography for testimonial description, name & designation
- modify the image size, define border type, radius, color and many more.
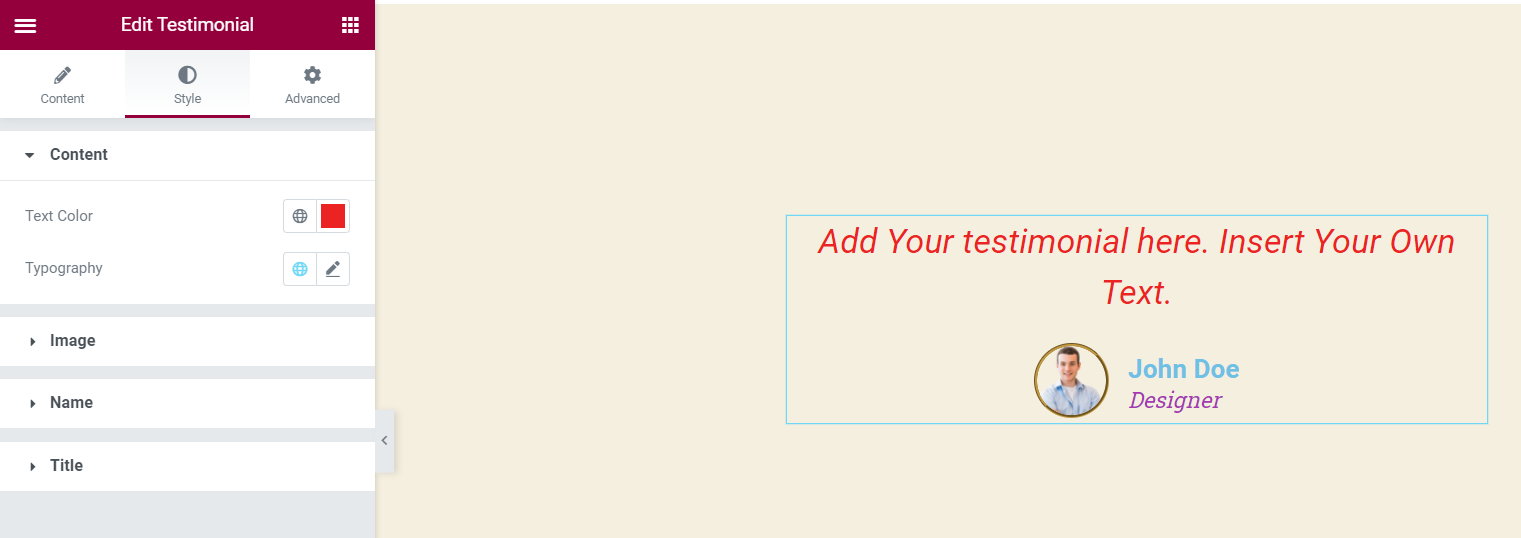
Apply Advanced Features to Your Testimonial Page Design
In the Advanced tab, you’ll get a bunch of customization options to adjust the margin, padding, position, and others. If you are familiar with CSS coding then you can include your own CSS Code snippet straight from there.
Explore More Design Tools with Happy Elementor Addons
You can do your testimonial page design more sophisticatedly using HappyAddons– a feature-rich Elementor addon. It also has a dedicated widget to design your testimonial page in a flash.
However, you’ll find a bunch of beautiful testimonial designs on HappyAddon’s official site. You can use any of these designs on your Elementor site simply copy-paste them. Just because HappyAddons provides you the flexibility to import pre-made designs on your website directly from a large number of HappyAddons demos.

Customize Your Testimonial Page Design with Extreme Ease
Make sure you have successfully installed HappyAddons on your Elementor site. Then activate it like any other WordPress plugins. This requires only a few seconds indeed. Now follow the following steps to design your testimonial section.
Step 1: Drag & Drop Testimonial Widget
First, open a section on your Elementor editor and then search for the Testimonial widget of HappyAddons. And include this element in your design.
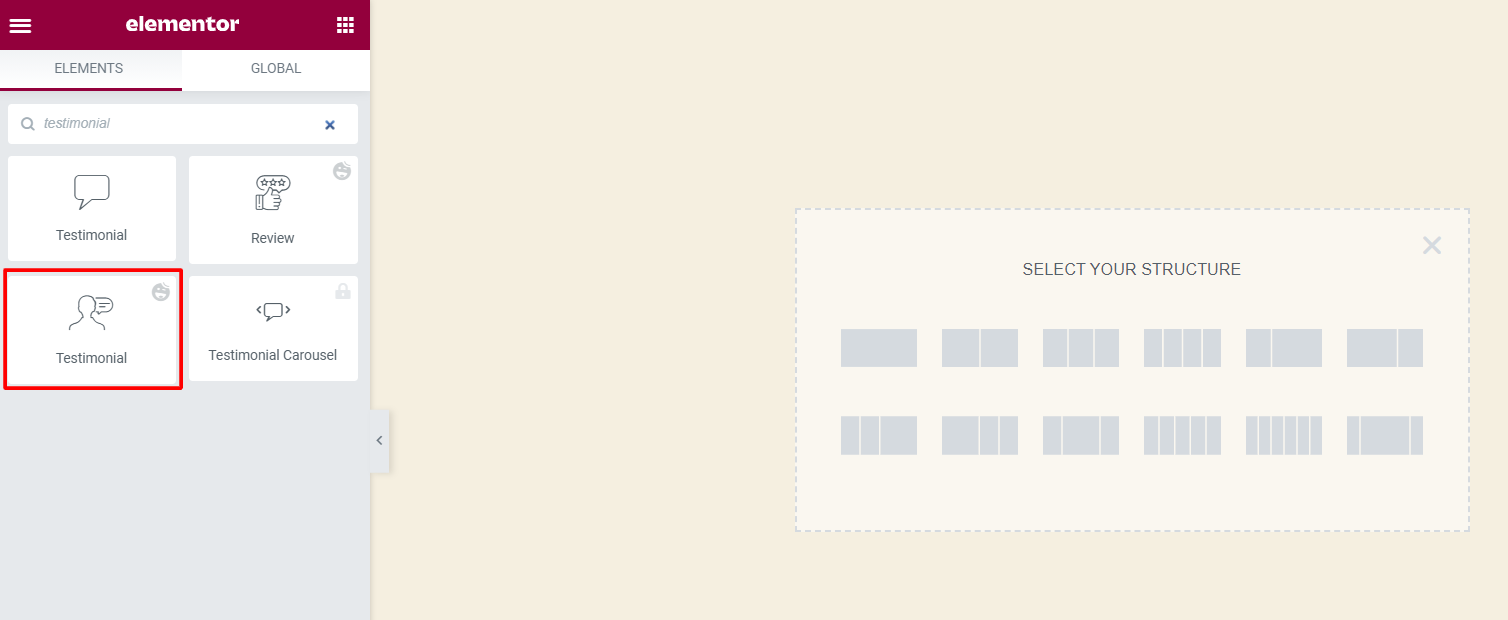
After adding the widget, you’ll get an editing panel like the screenshot below:
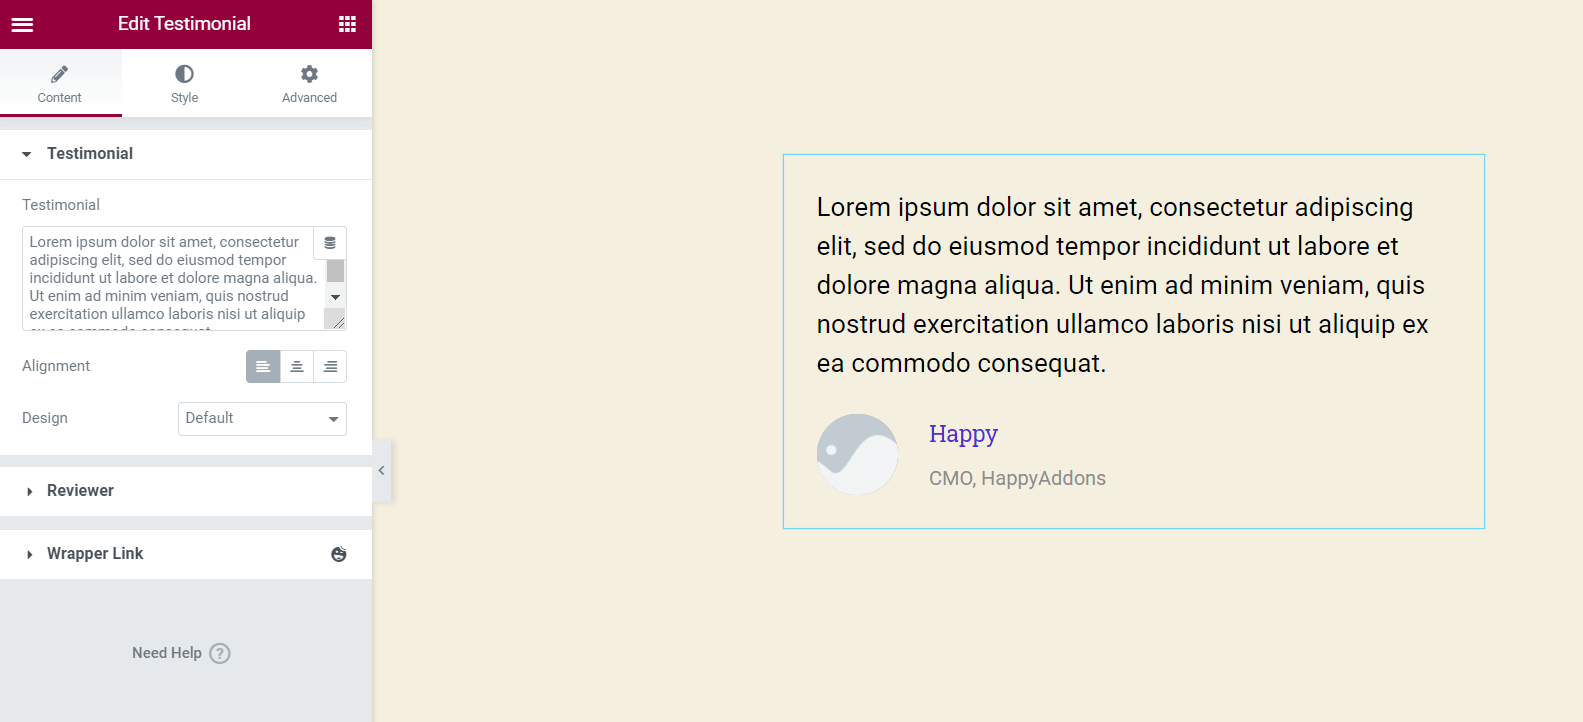
Here you can add image, descriptions and also reviewer name & job title.
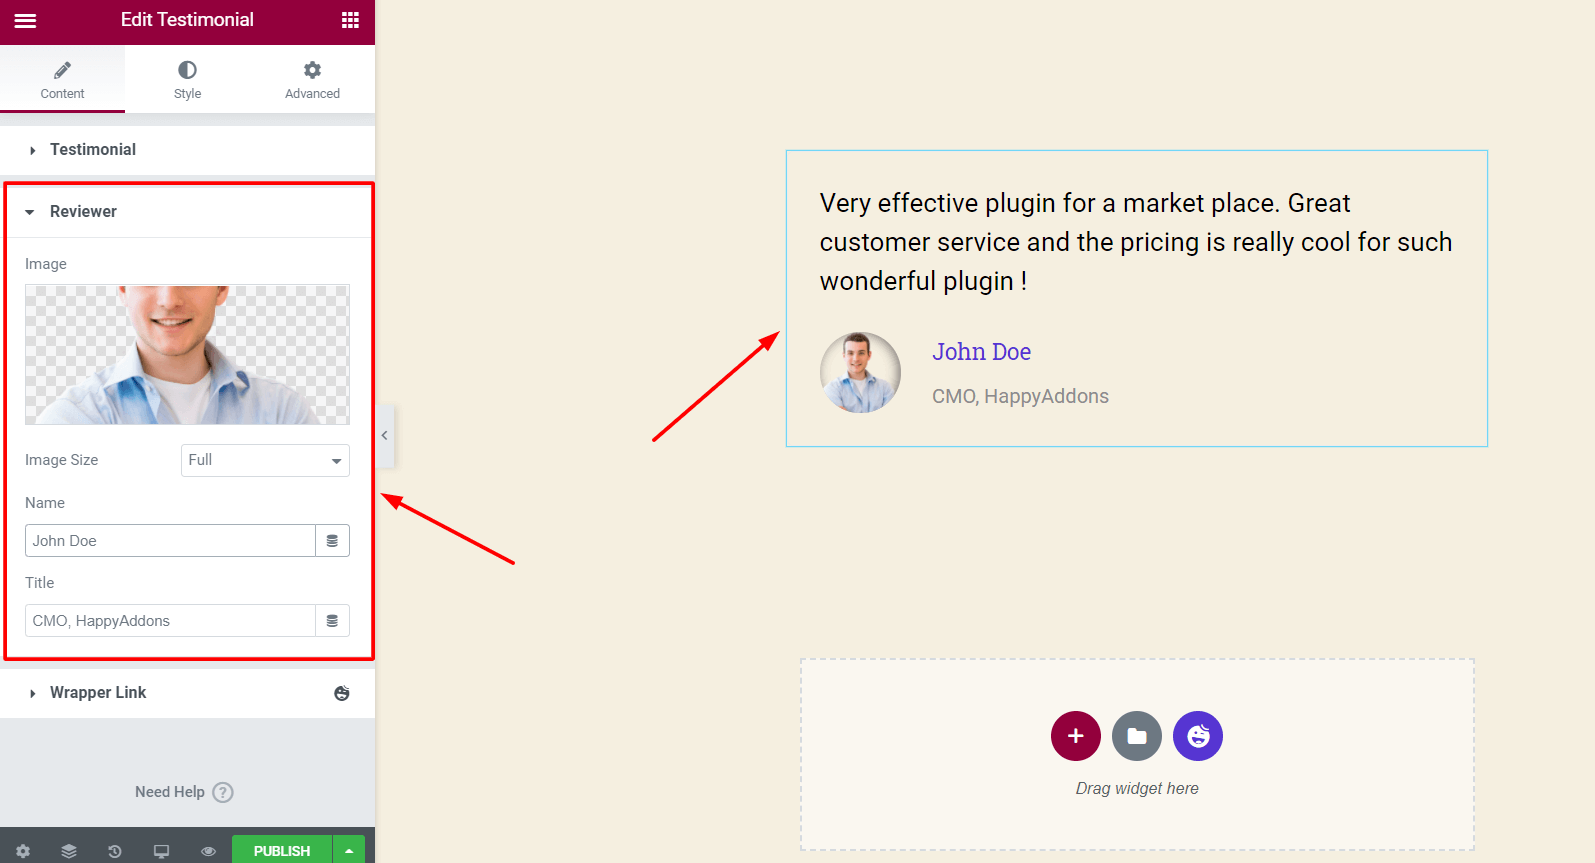
You can also edit images sizes, layout, alignment, and more from the editor panel as well.
Step 2: Design Your ‘Testimonial’ Section
Next, click on the Style tab and start customizing your design in your own way. Here you get the chance to modify everything that you want including border design, image representation, text color, typography, and many more.
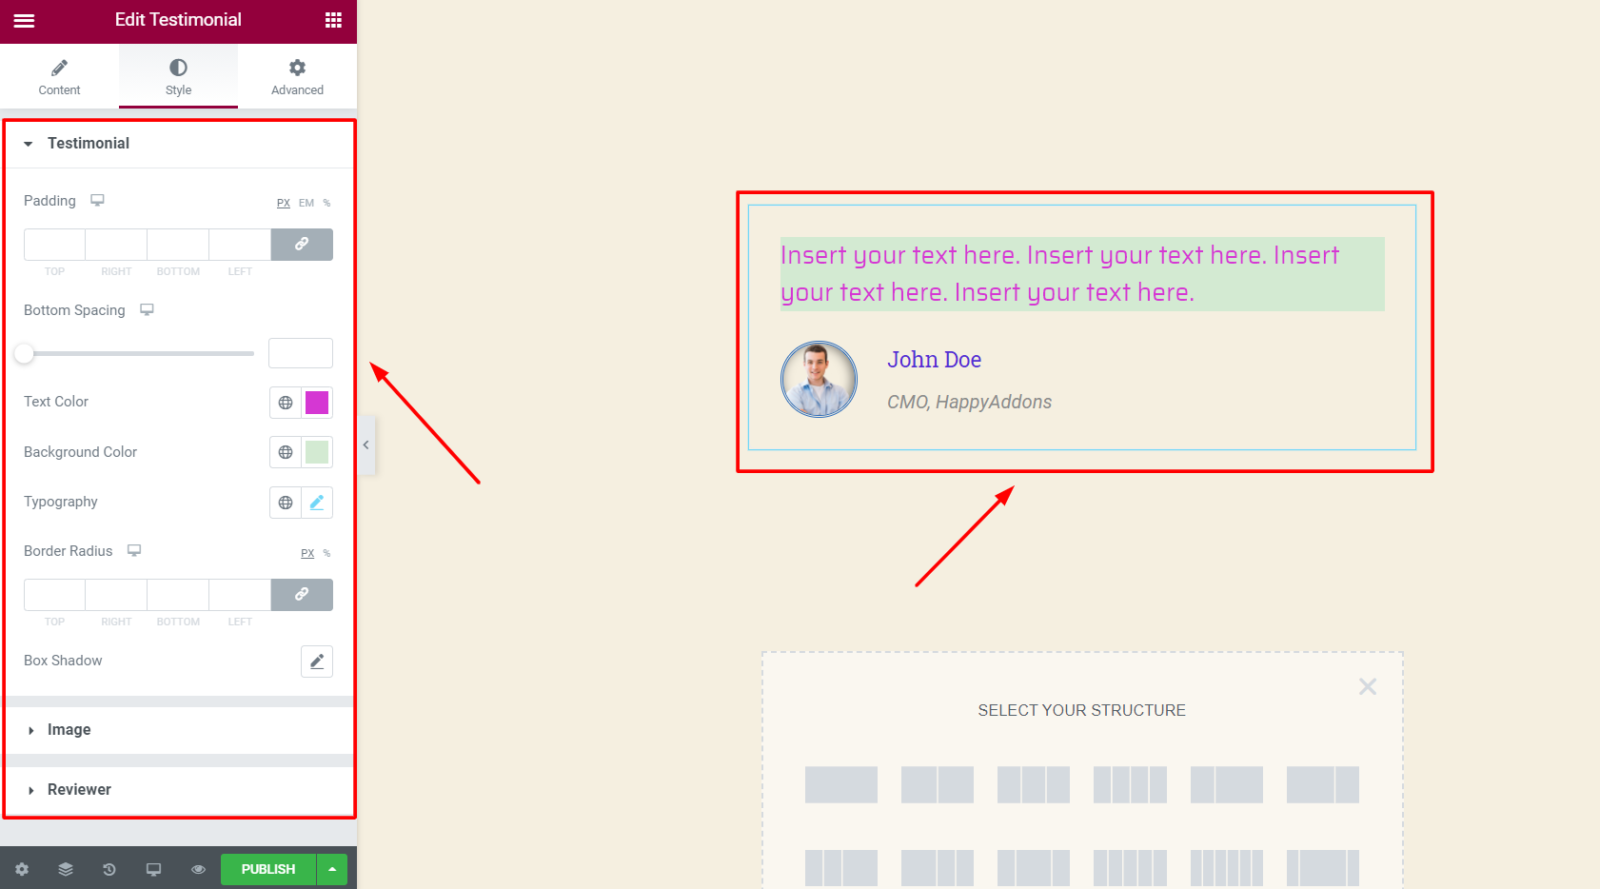
Step 3: Give Your Design a Unique Touch
Now move forward and check the Advanced tab. This advanced section includes a bunch of outstanding features to take your design to the next level.
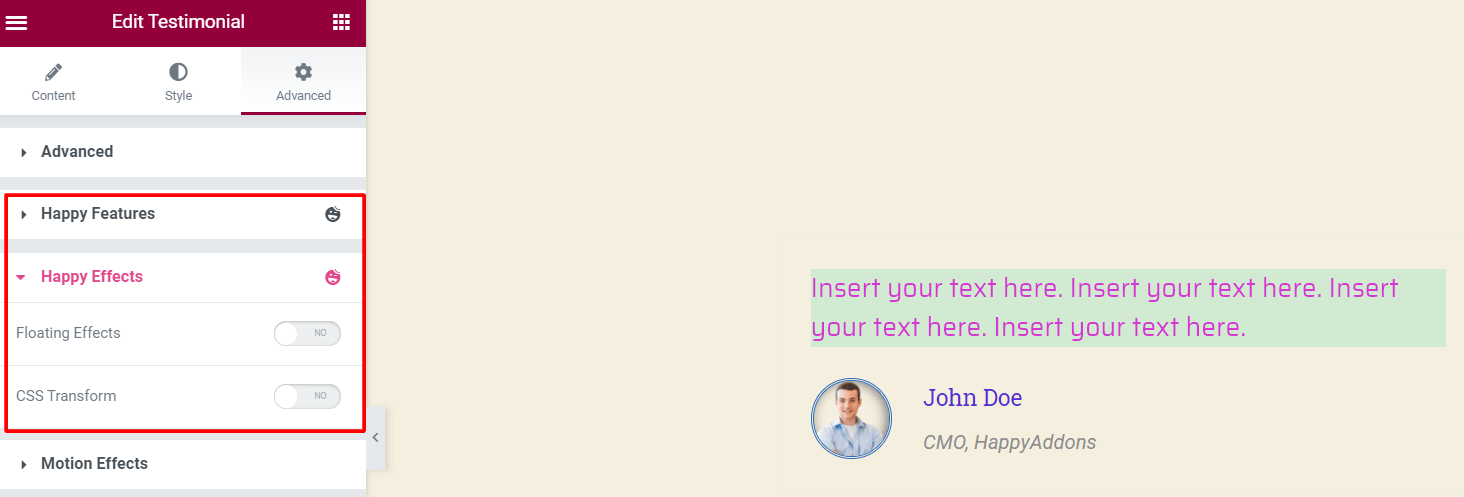
Here you’ll find Happy Features- that allows you to apply display condition on your Elementor widgets. Another amazing feature called Happy Effects. Using this feature you can create stunning animations for any Elementor widget. There is much more to explore.
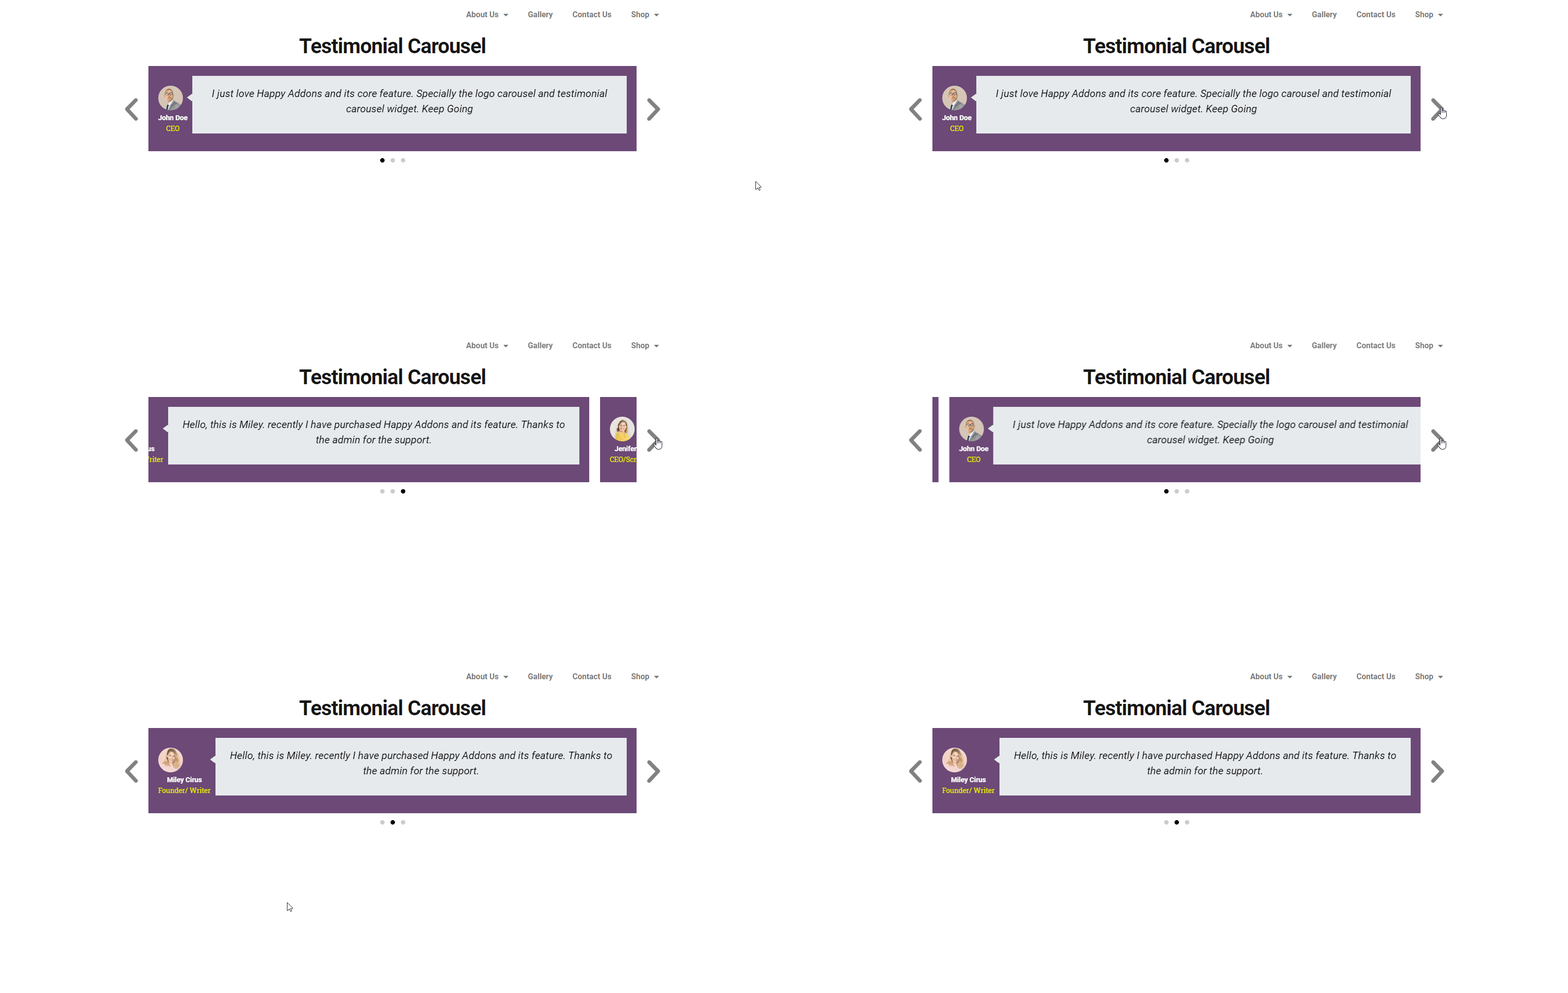
Bonus: Beautify Your Page Design Using Testimonial Carousel (Pro)
Testimonial Carousel gives your design a unique look and makes it stand out of others by displaying the testimonials in a beautiful carousel. You can get this widget in the same way we have mentioned above. And then customize the design as per your requirement using available design tools on the editor panel.
You may also like to read: How To Improve Website Design Using Testimonial Carousel.
Website Testimonial Best Practices & Tips
A customer testimonial is simply an honest review for any business, service, or product. It is overwhelming in building trust in customers and improvement.
Suppose, you are making personal and business websites. Your customer may give a 5-star rating and a message describing why you are the best fit for them. That may influence your visitors to work with you. Also, they can suggest some improvement or their demand through reviews. That would be helpful to plan your next marketing strategy. Therefore, it’s a win-win situation for all!
Type of Website Testimonials

Customer testimonials can appear in many formats, the common patterns are:
Quotation: These testimonials often highlight why you are the best for them and what are the benefits you provide to your customers.
Peer review: Peer review often motivates potential clients about your doings. It manages more engagement with your target clients.
Personal Review: Personal reviews in social media that cost very little time by the user as feedback. The impact is too influencing than imagined. In this social media arena, people put reviews when they are happy with you and show their loyalty.
Influencer testimonial: If any social influencer gives a review, it is magical. The influencer testimonial itself is an advertising and quality proof for your service or product.
Interview: It is tricky. However, when you represent it as a story like the success story of your clients through an interview, it greatly increases your brand reputation. A simple storytelling video or small content can be enough.
Reference: Satisfied people refer to their community about your service or gives a message about the extent of their satisfaction. It impacts future clients. Recommendation influences people’s purchase.
Video testimonial: People only give this testimonial when they are overwhelmed and too much excited about what they get from you. Most people provide a testimonial for business and services related to travel and tourism industries like hotels, natural sites, see beaches, parks, etc.
Tips to Design an Outstanding Web Testimonial Page
- Allow the visitors to use filters in the testimonial pages
- Design the page as simple as possible to receive as many testimonials as possible
- Design to accept social media testimonials
- Use rating (like 5-stars) option for your service with writing options
- Include real images, logo, or people faces
- Use high-quality images
- Try to put the customer photo as good looking as possible
Design Your Testimonial Page in an Appealing Way
Making websites was a little bit complicated even a few years ago. But today it becomes so easy that you can do it all by yourself without hiring a developer. WordPress makes this happened- page builder like Elementor extends this concept more further. It lets you build your dream website in less than 10 minutes.
However, testimonials are proofs of your expertise that you do for your customers and the gratitude they show in return. That’s why its an essential part of your business website. Using Elementor you can design your testimonial page with extreme ease. Further, adding HappyAddons you’ll get full control over your design and acquire limitless design possibilities.
Start design your testimonial page right over there and let us know if you’re getting some confusion. Ask away in the comments!


3 Responses
Is there a way I can ad 5 stars to the testimonial slider testimonies?
Hello Michelle,
Thanks for stopping by. You can add 5 star rating in our review widget, here is the SS: https://ibb.co/Hp5ys92.
Unfortunately we don’t have rating system in testimonial widget. But our review widget is close to testimonial widget with star rating.
Regards,
Gobinda,
Team HappyAddons.