Looking for an advanced tool to create stunning buttons on your Elementor website? Take a look at Happy Addons’ new ‘Creative Button‘ free widget. Using this widget, you can simply design and customize buttons in minutes.
Pre-requisites
To use the Creative Button widget, you need the following plugins:
- Elementor (Free)
- Happy Addons (Free)
How To Use Creative Button
Let’s check out how to use the Creative Button widget and customize it the right way:-
Step 1: Add Creative Button Widget
First of all, you need to find the widget from the Elementor widgets gallery. Then drag and drop it onto the selected area.
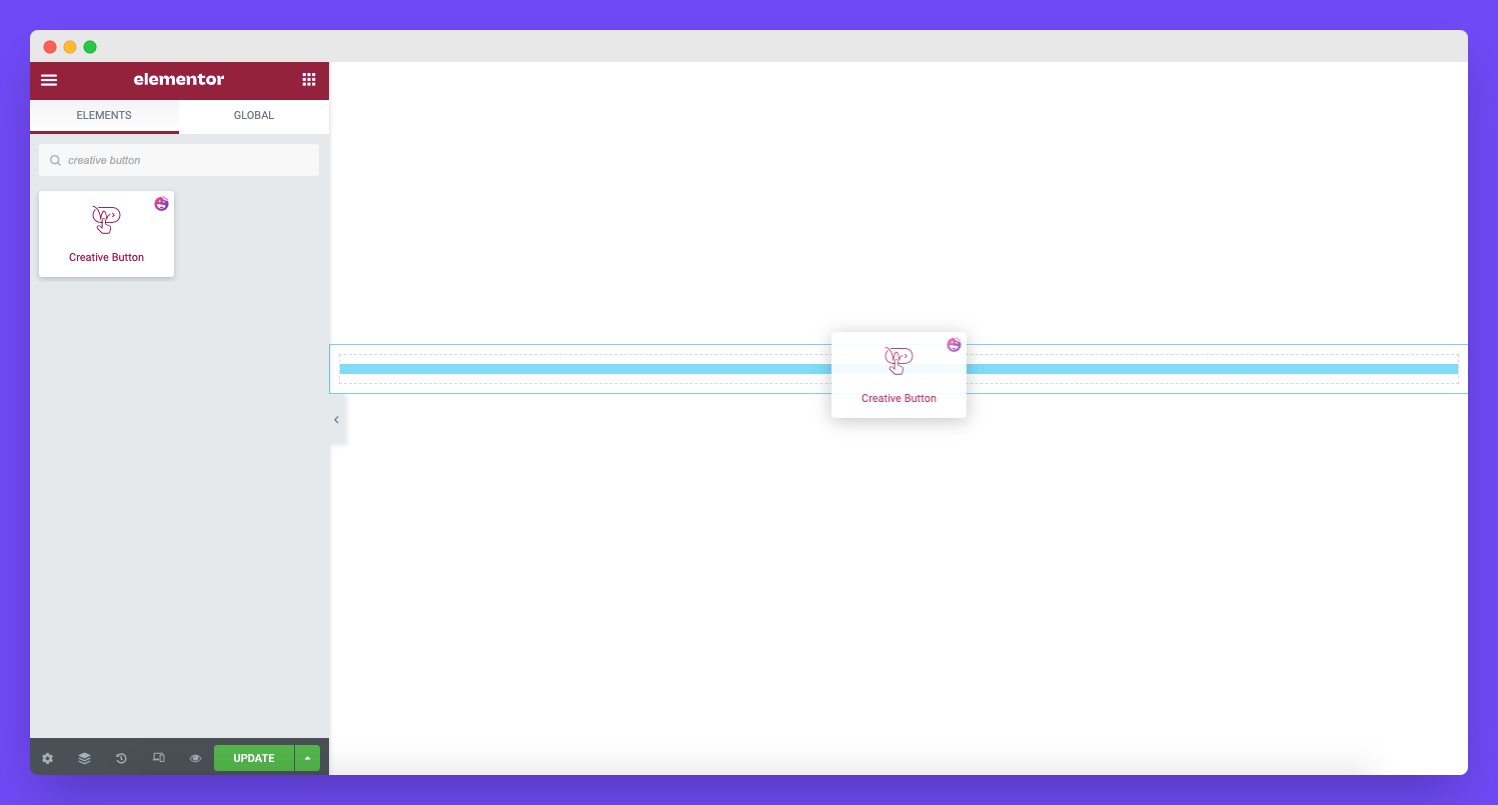
Step 2: Content Settings
In the Content area, you’ll get the necessary options to set your button content. Here are they,
- Style: There are five different styles such as Hermosa, Montino, Iconica, Symbolab, and Estilo that you can use to set your button style.
- Effects: You can also set several Effects according to your button style. There are different effects for every style option.
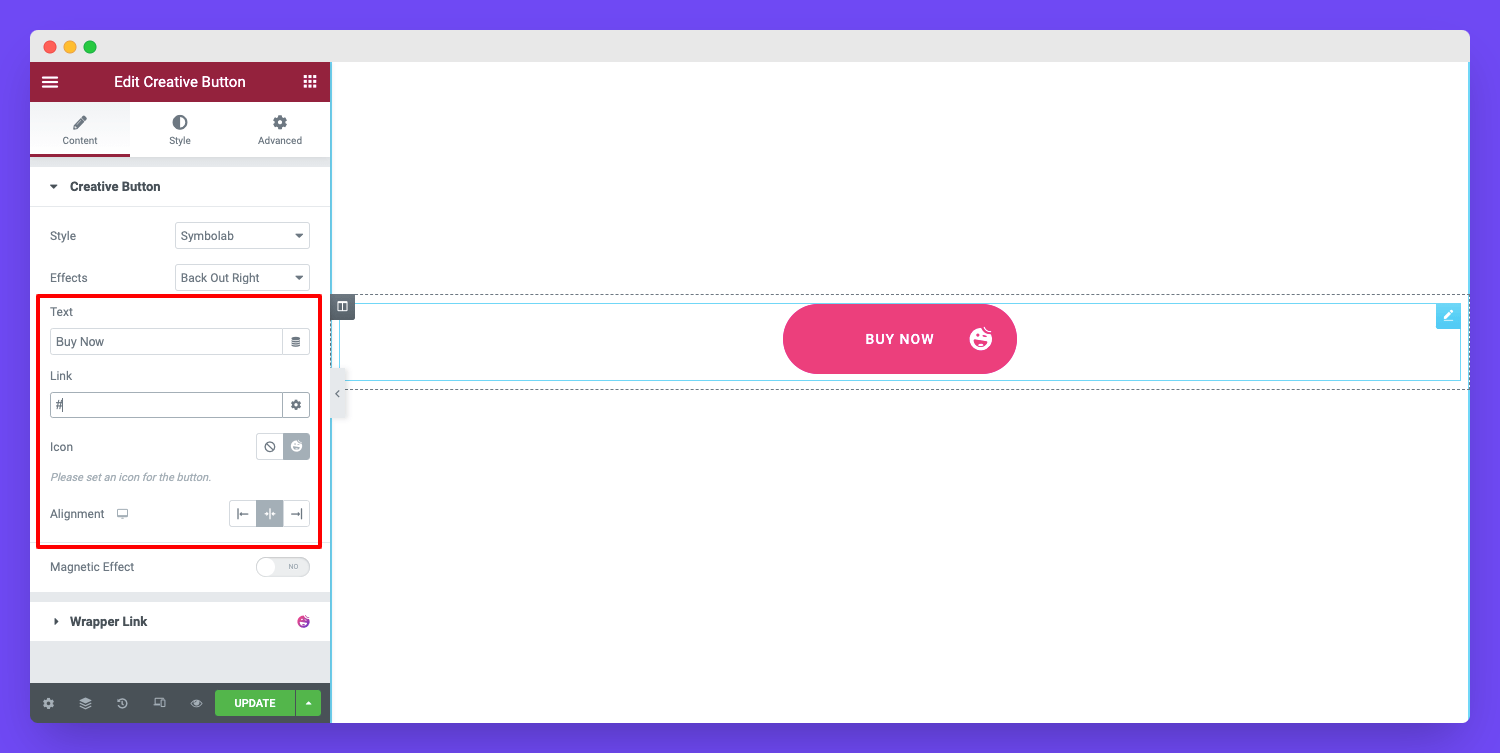
- Text: You can add custom text here.
- Link: You can add the button Link here.
- Icon: If you want to add an Icon to your button, you can easily add through the icon option.
- Alignment: This option allows you to set the button Alignment.
- Magnetic Effect: This option gives you some extra effect to the button that ultimately grab users attention.
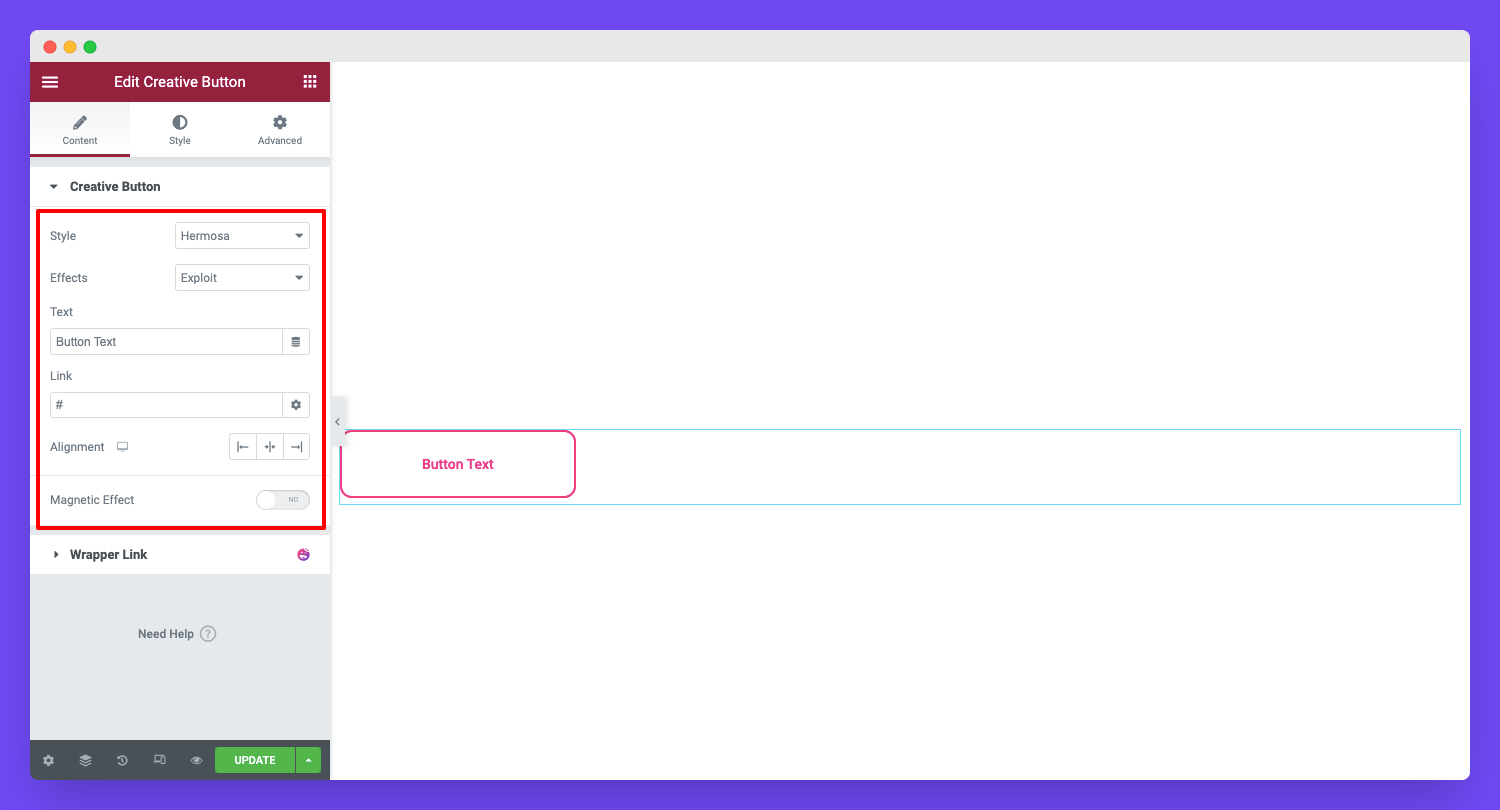
Let’s explore individual Style options in the below segment.
Hermosa
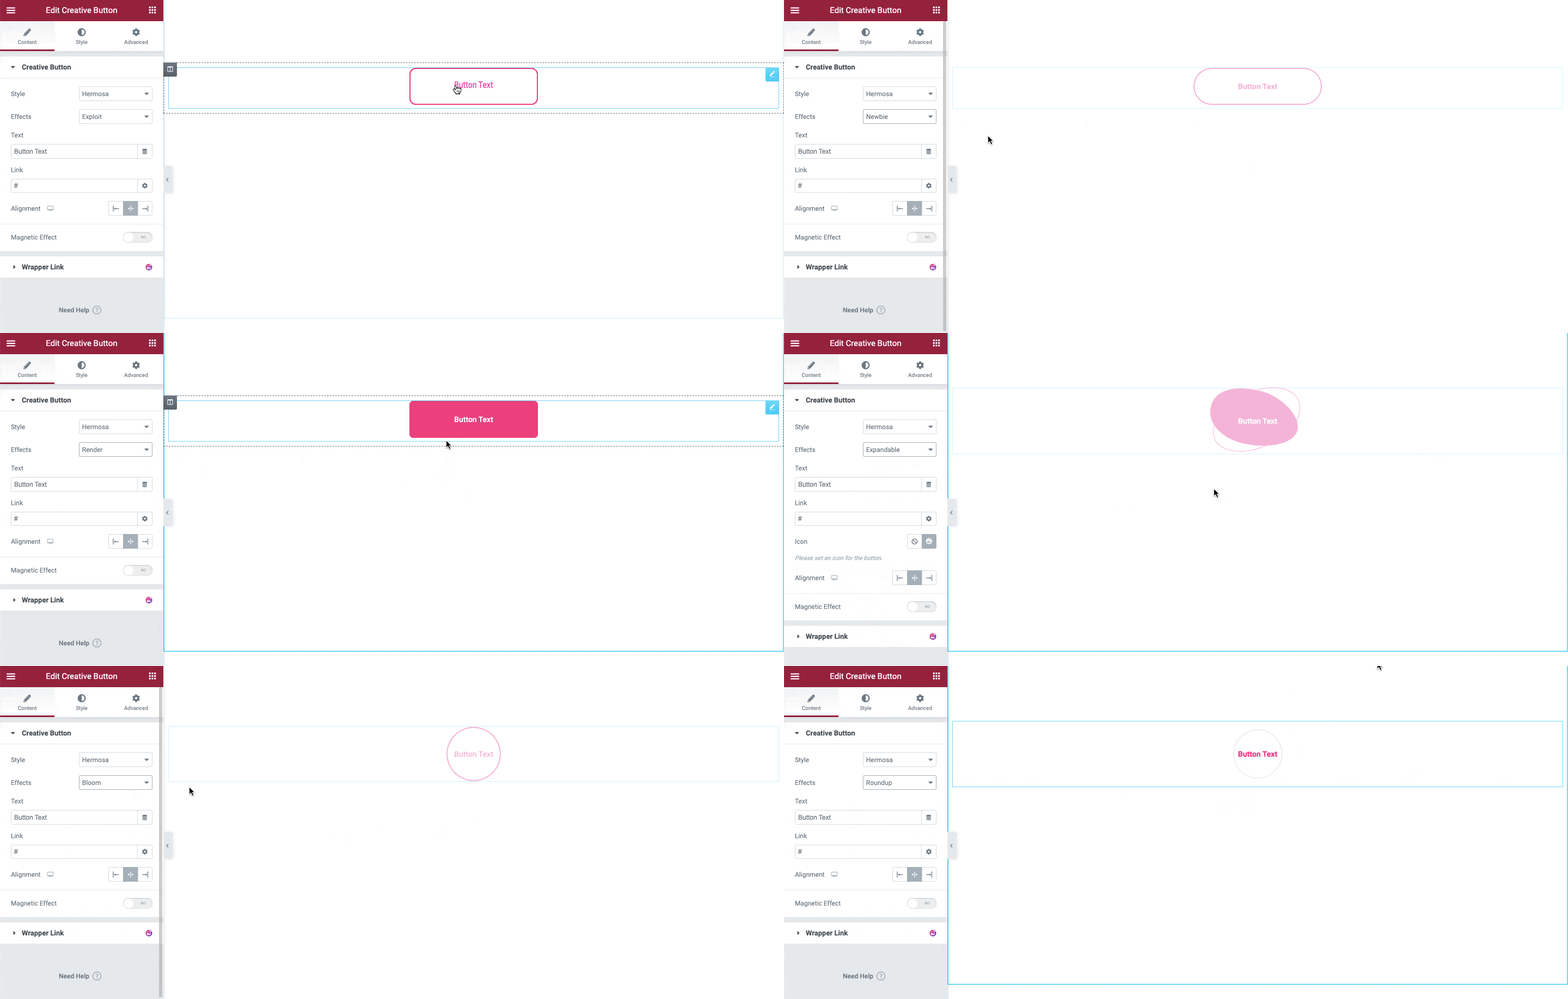
Hermosa Style comes with nine exclusive Effects. You can check the GIF below to see how the button style changes with every effect.
Montino
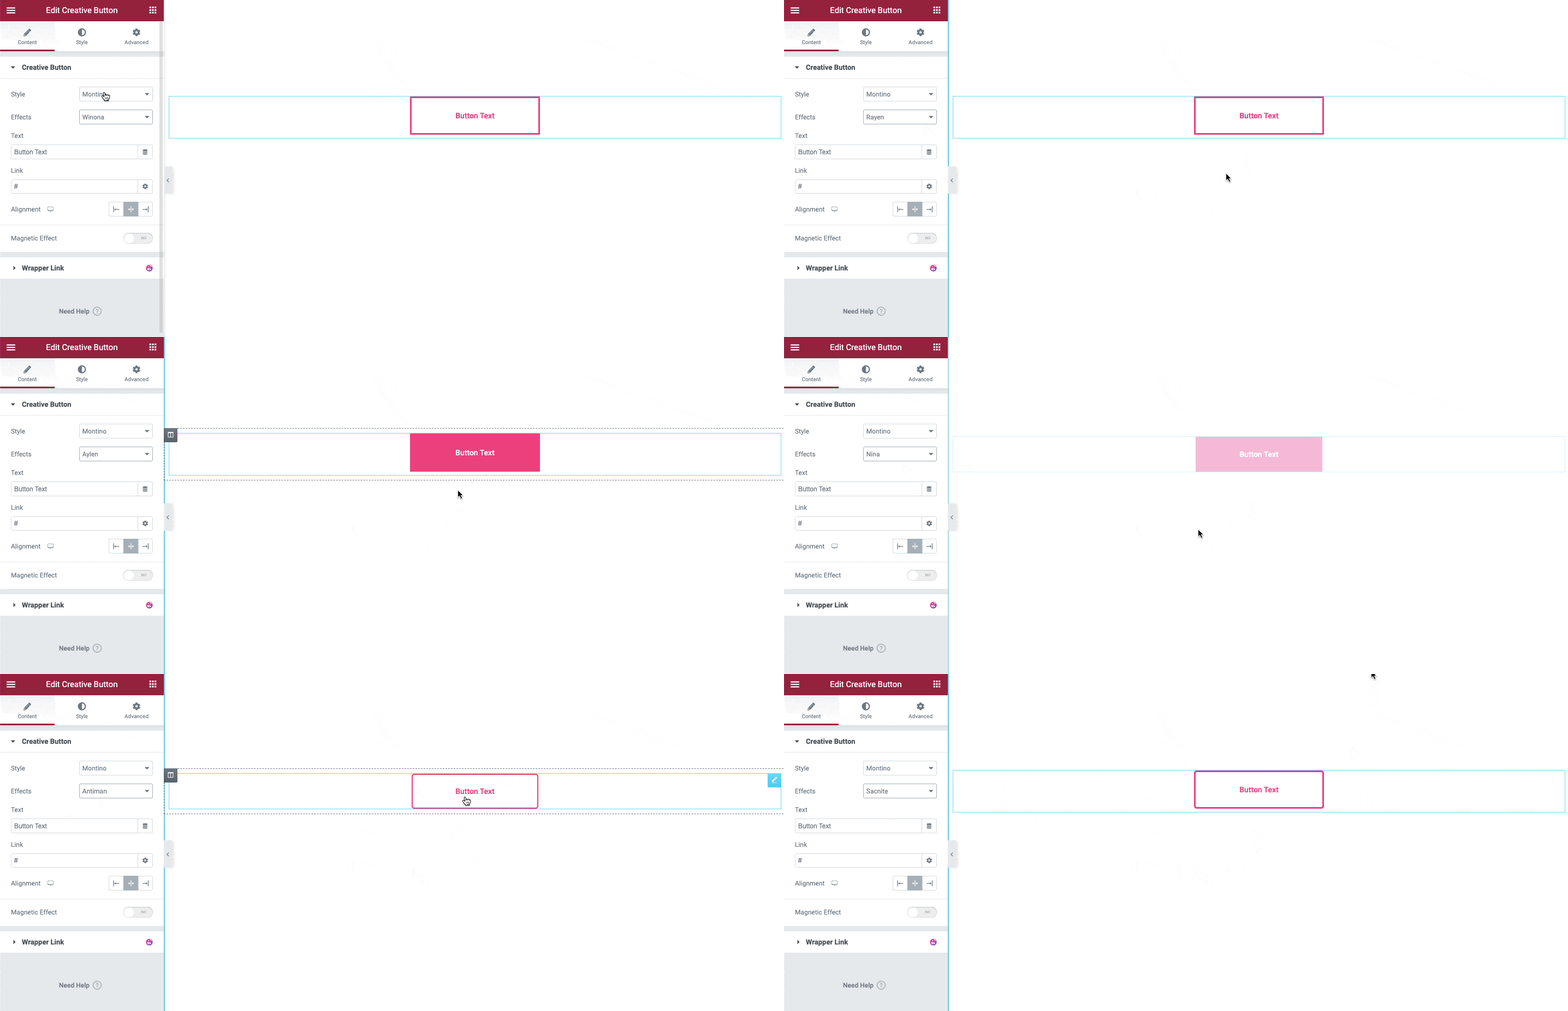
Montino Style offers seven beautiful Effects. You can explore the below GIF to see how the button style works with those effects.
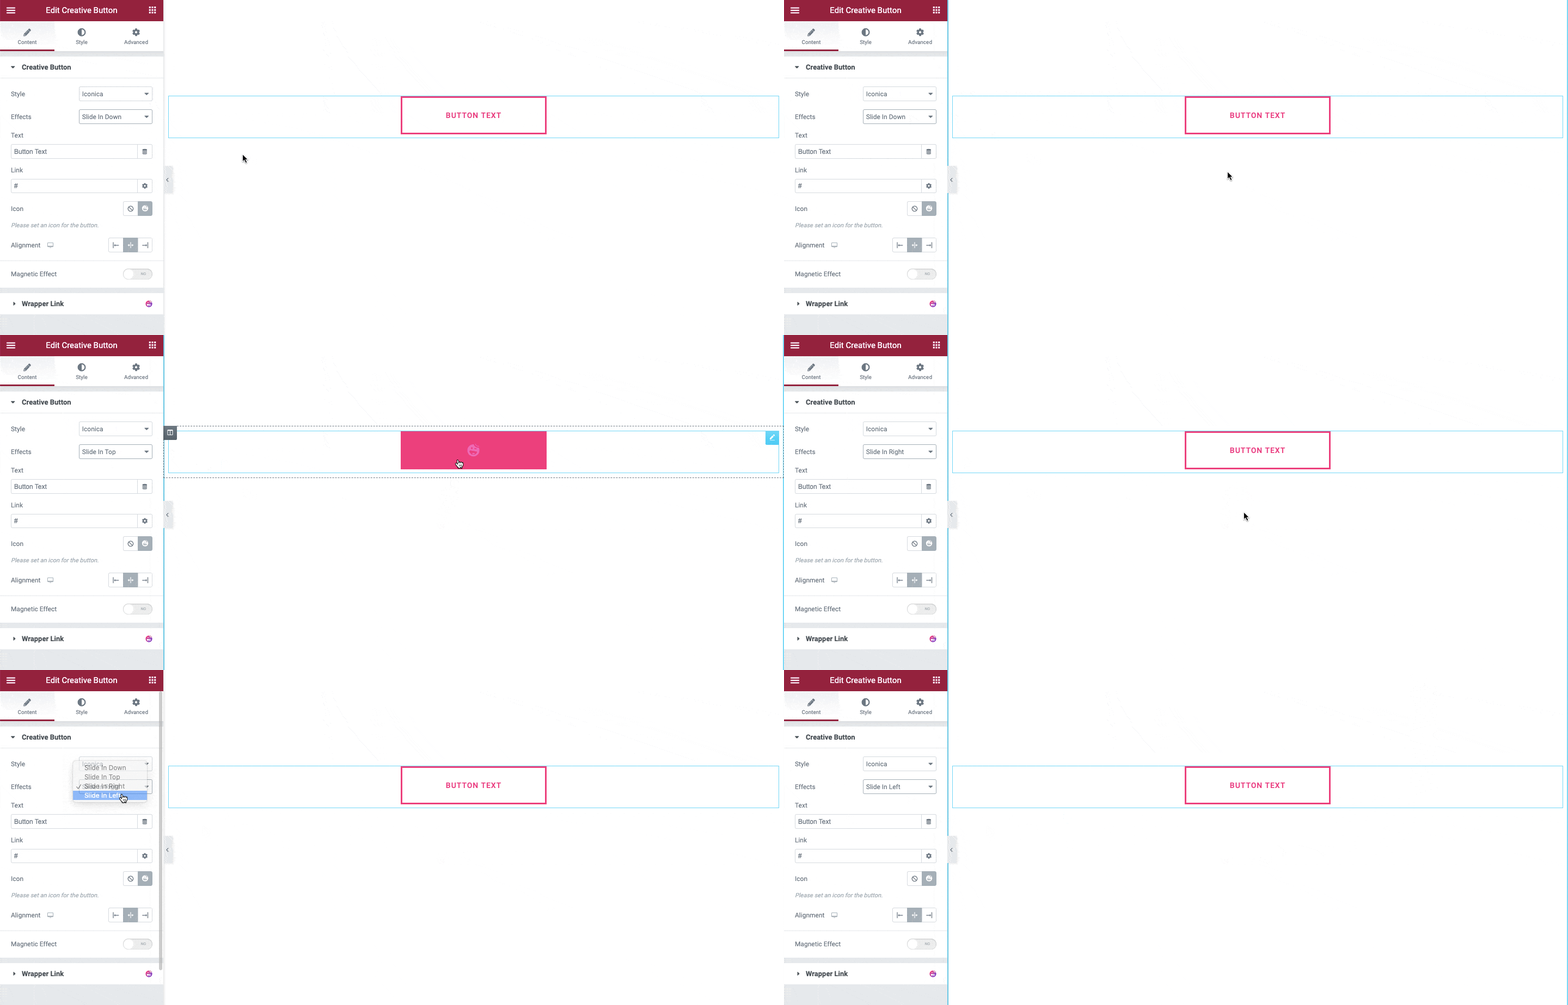
Iconica Style
You will find four amazing Effects for the Iconica button style.
Symbolab
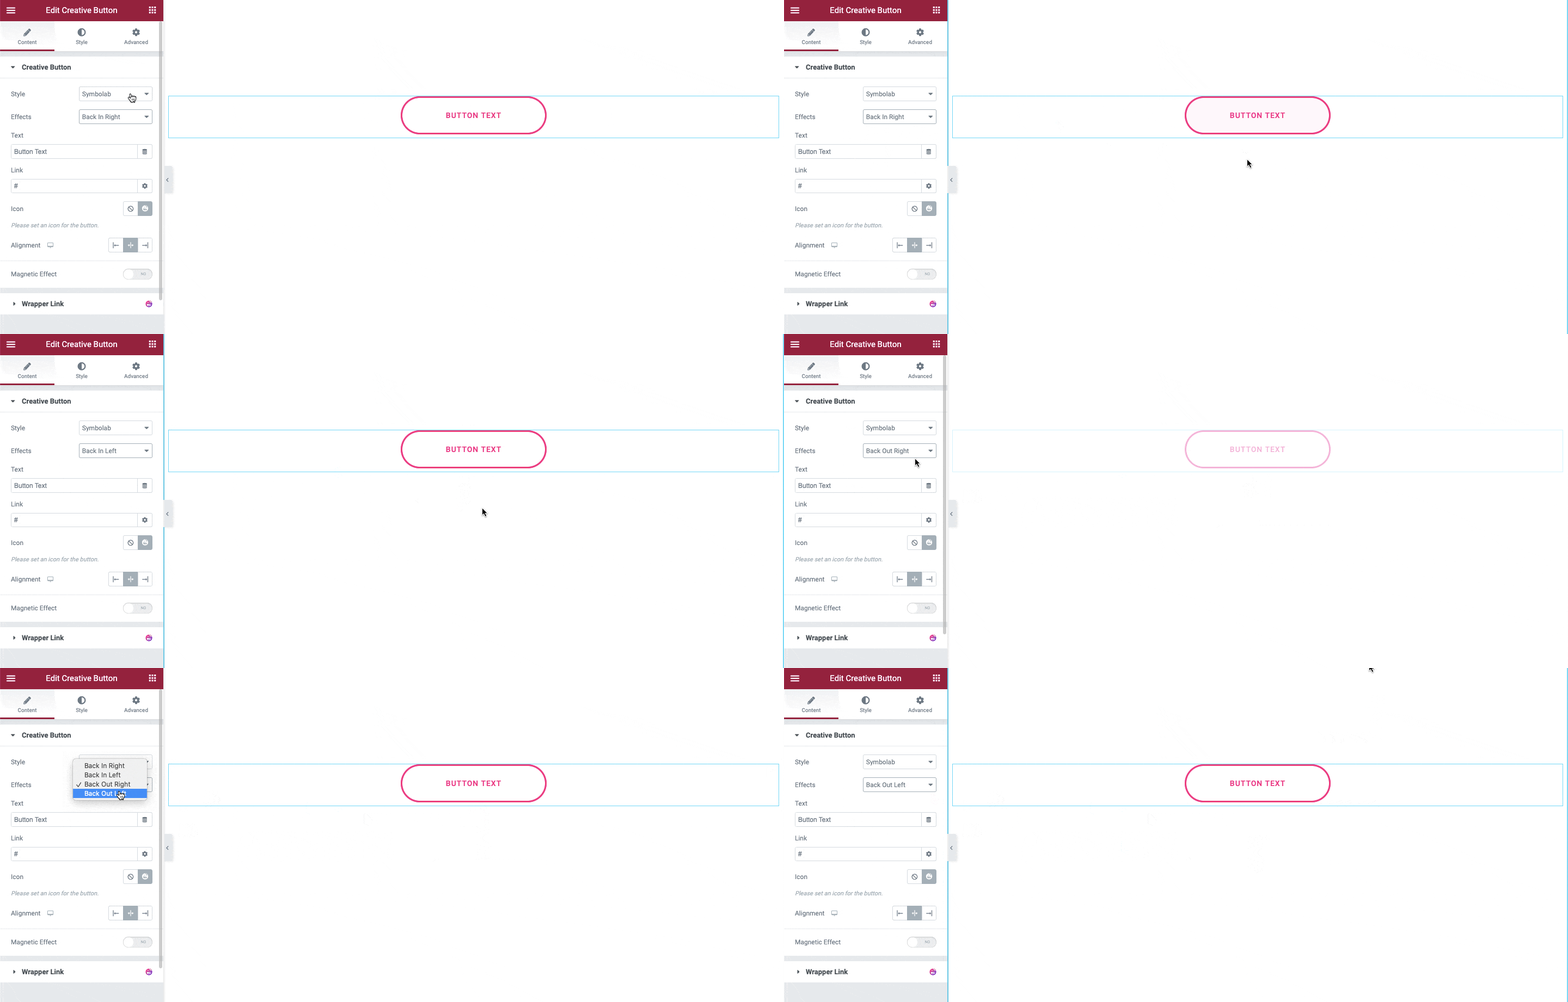
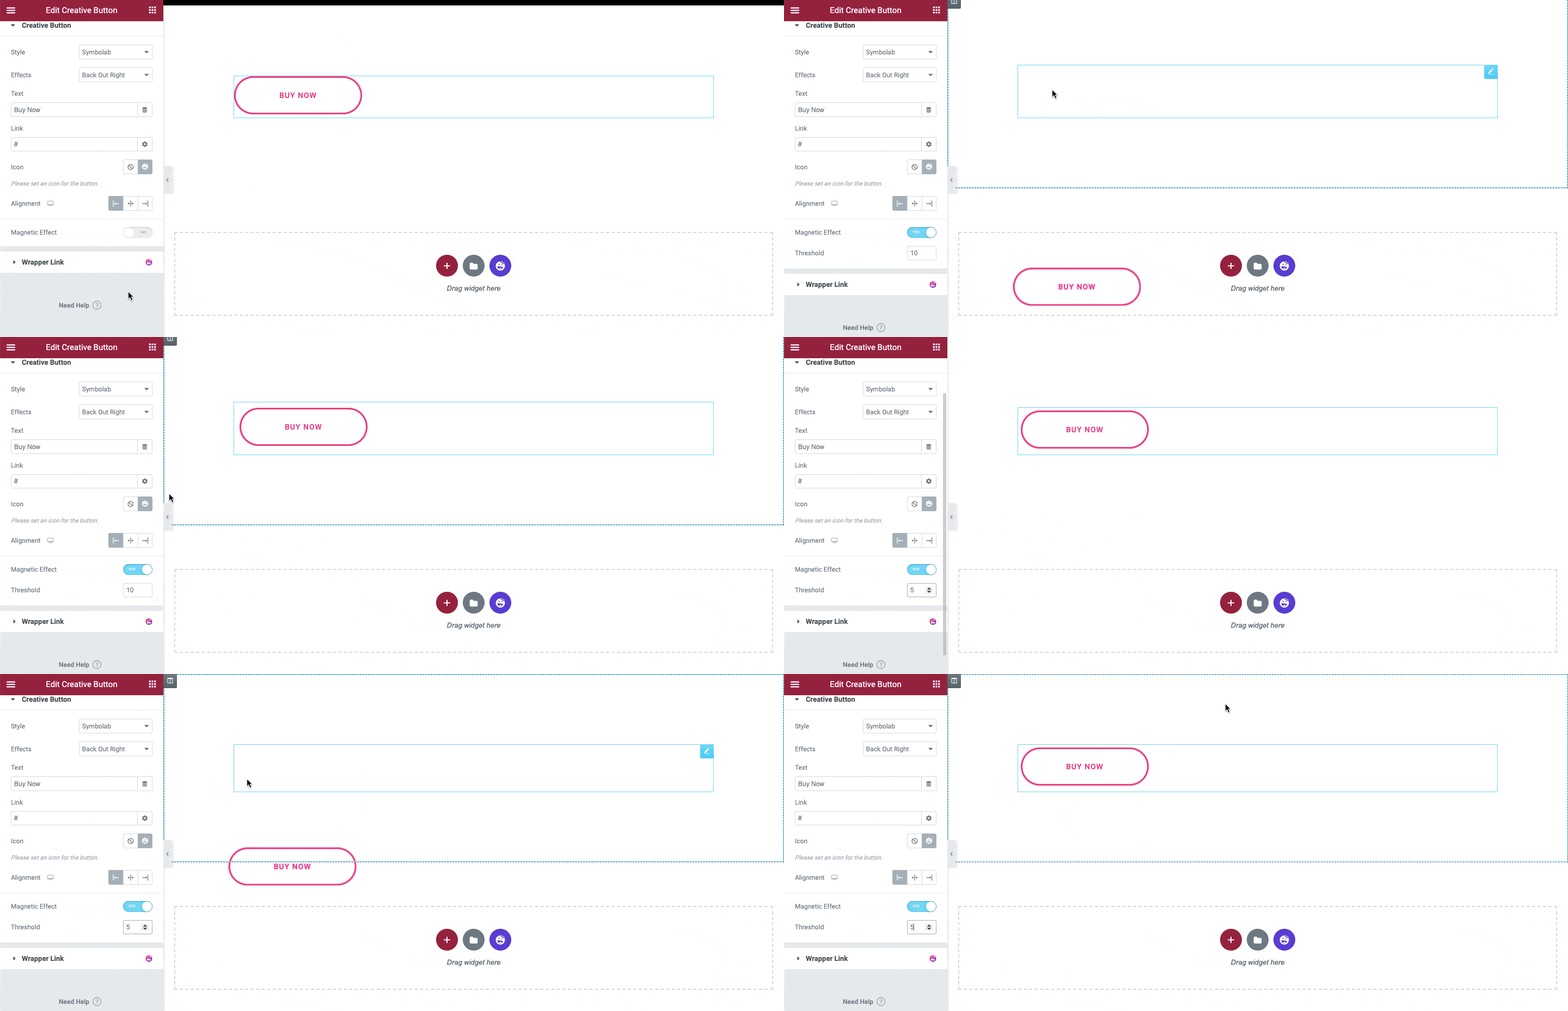
The Symbolab style comes with four catchy effects which you can use to design your attractive button.
Estilo
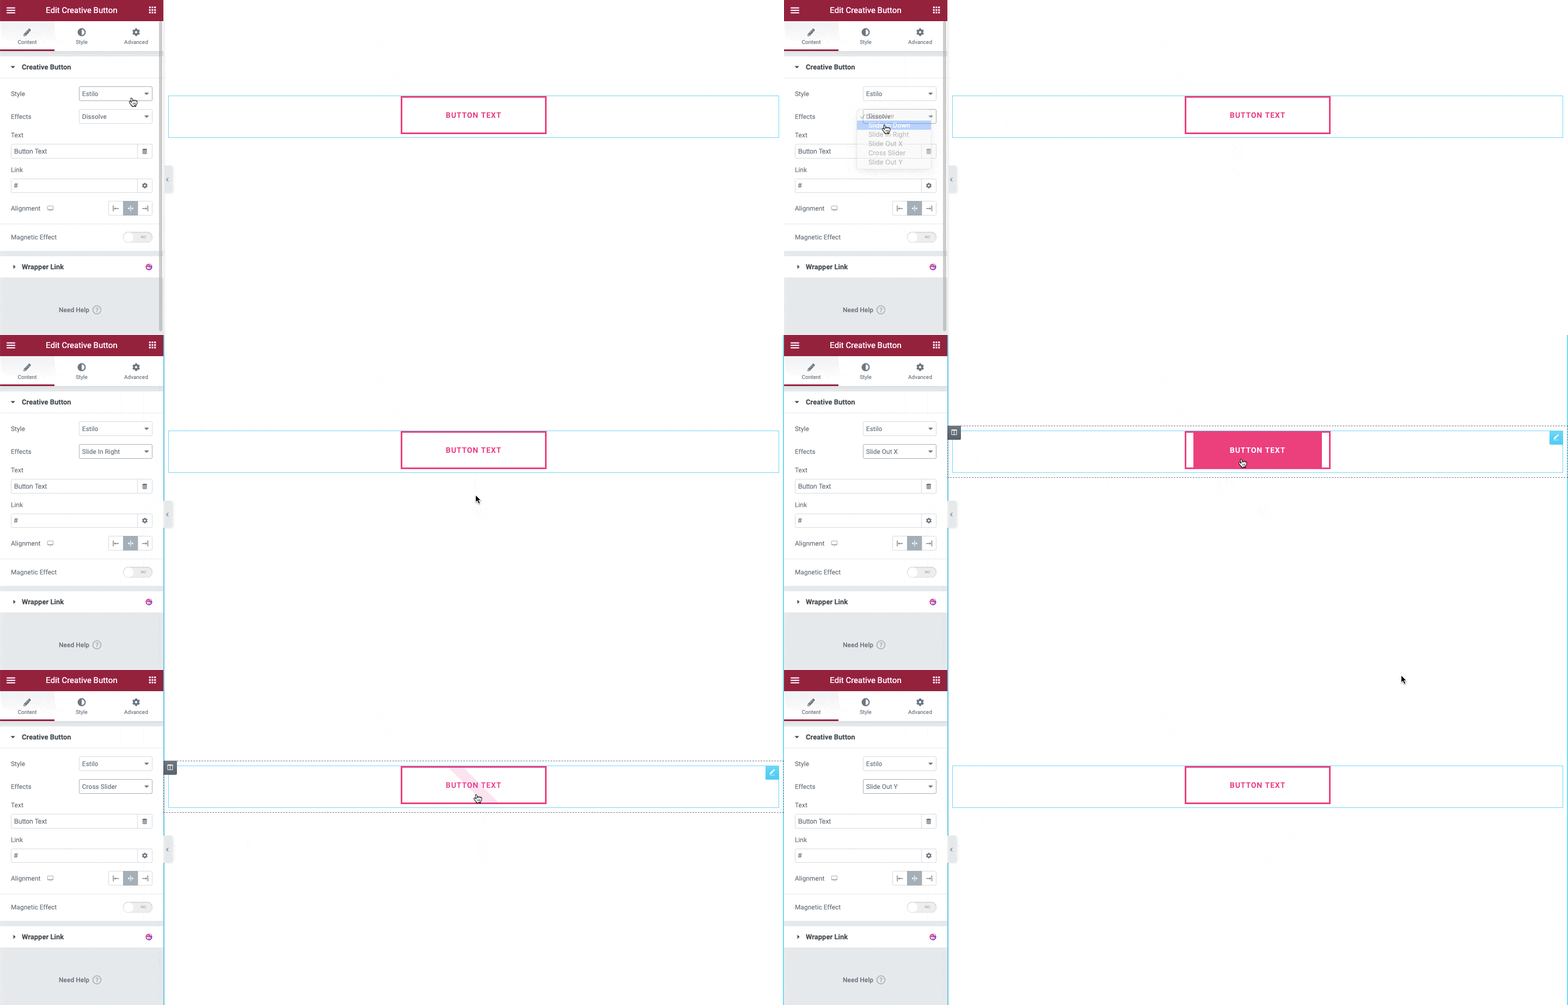
This button style also offers six amazing effects to help you create a custom-designed button.
Add Button Content
You can add your button content such as Text, Link, and Alignment based on your choice.
Enable Magnetic Effect
You can turn on the Magnetic Effect to your button if you want. After activating this option, you need to set the Threshold. Here, we’ve set the Threshold as 5px. That means whenever you hover over the button, it will move and take 5px space around it.
Note: The Magnetic Effect only works on the Hover. And we use the Vanilla JS that ultimately reduces the extra loading time to your server.
Step 3: Common Style
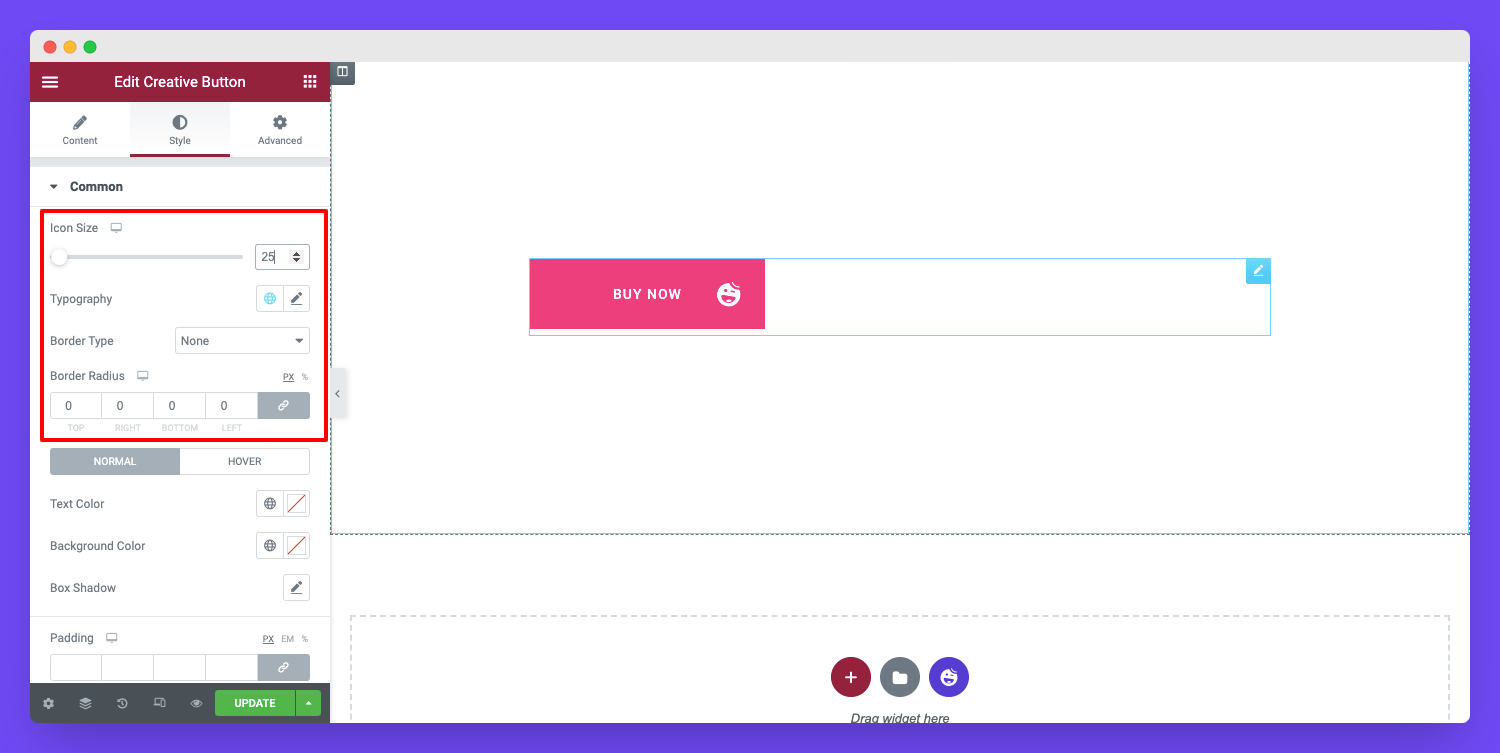
In the Style–>Common area, you can set your button Icon Size, Typography, Border Type, Width, and
Border Radius.
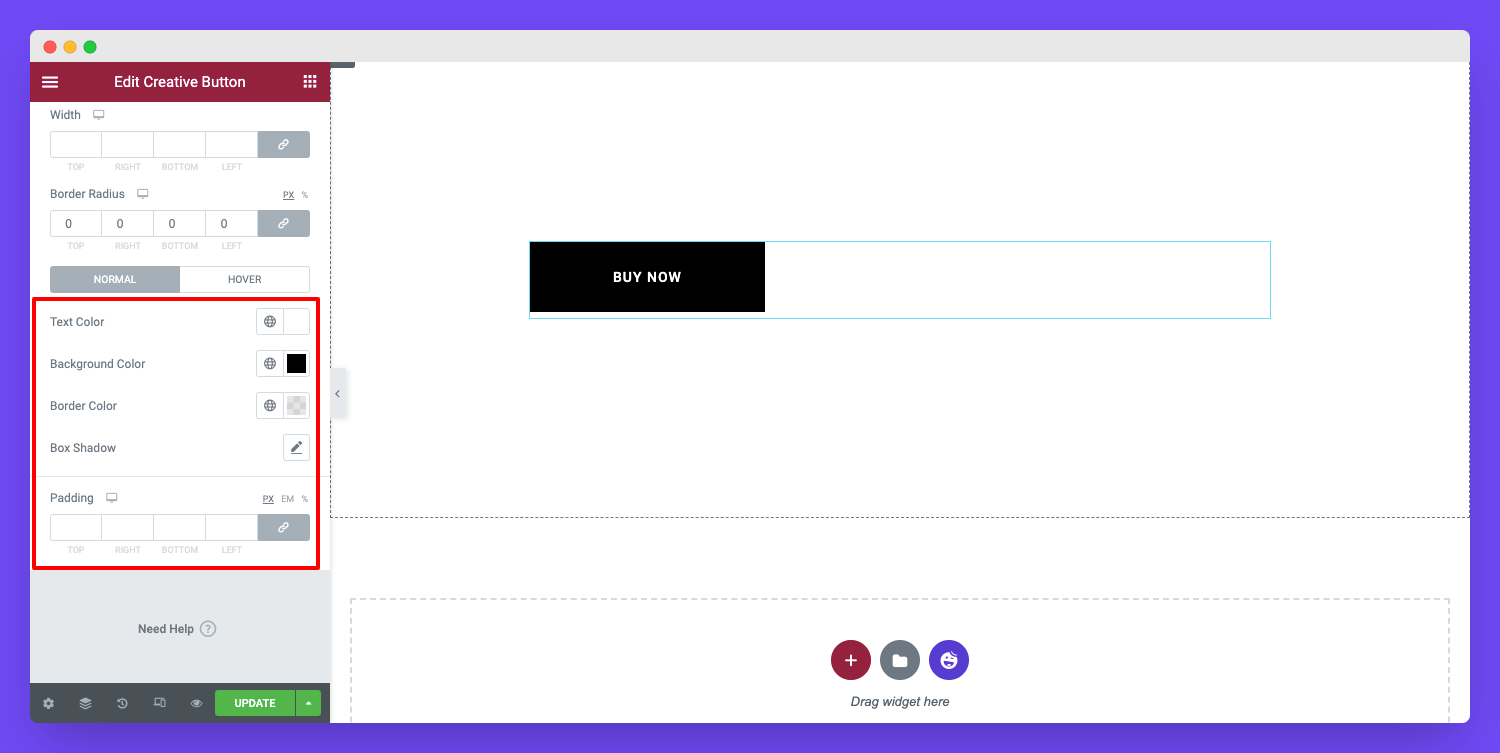
Set Button to Normal Color
You are able to style your button using Text Color, Background Color, Border Color, Box Shadow, and Padding.
Set Button Hover Color
Like the Normal color, you can also set your button Hover‘ Text Color, Background Color, Border Color, and Box Shadow.
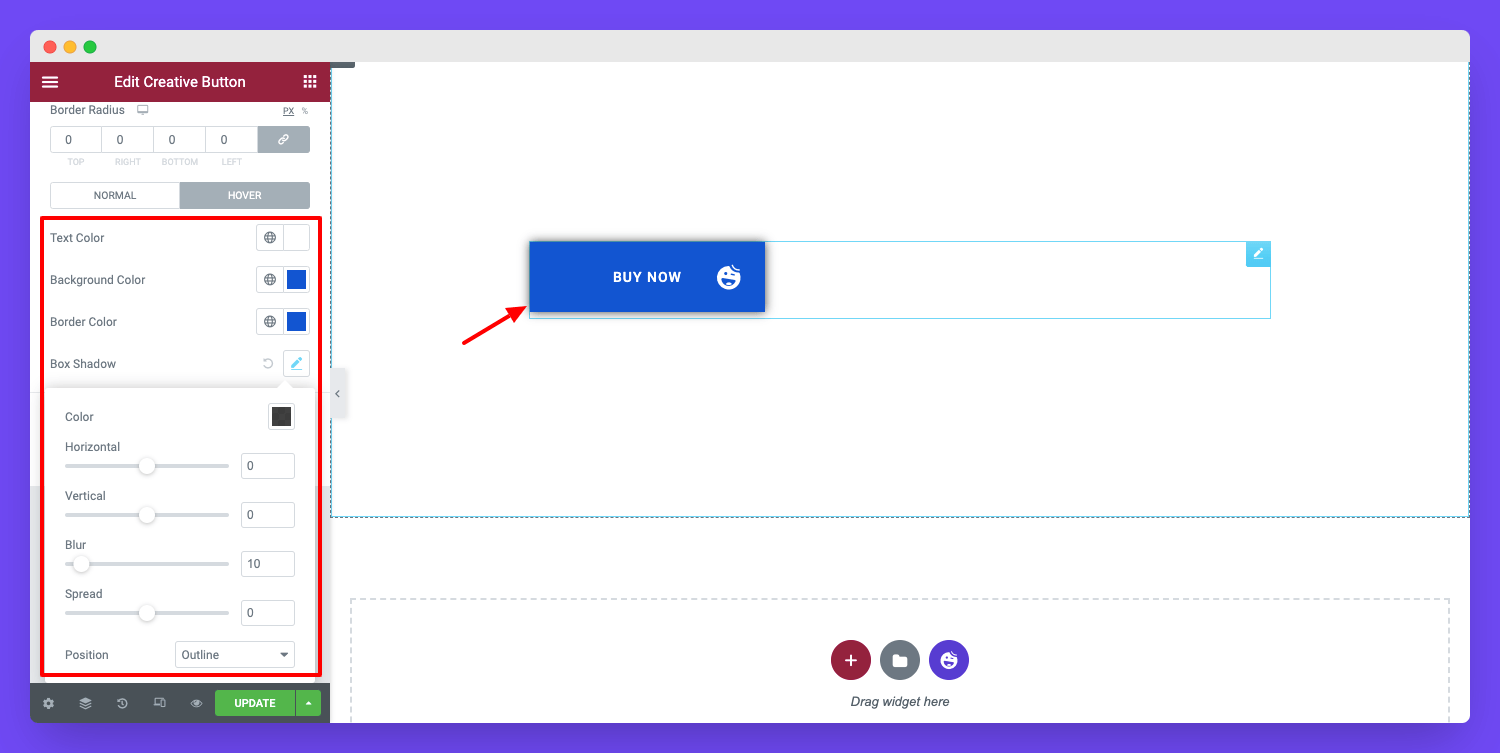
Note: It’s our recommendation to use the Box Shadow single area. If you want to show the box shadow in the normal button then you should not use it in the hover option. Here, we’ve used the box-shadow in the button hover option, not in the normal button.
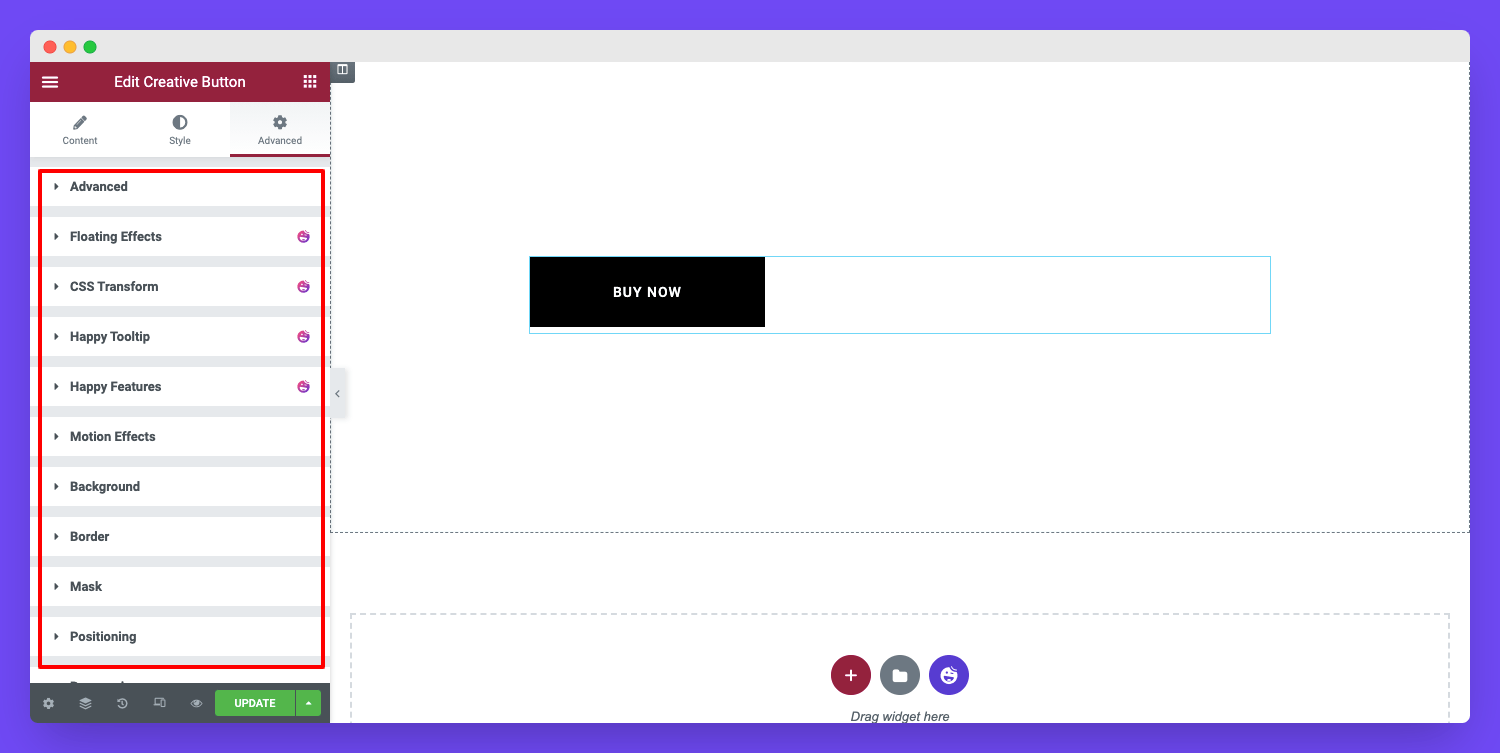
Step 4: Advanced Options
If you want to add motion effects, happy effects, background, or make it responsive and more intriguing, click on ‘Advanced‘ to explore those options. the ‘Advanced‘ is a default feature of Elementor.
Give a read to this Document to know more about advanced features & functions.
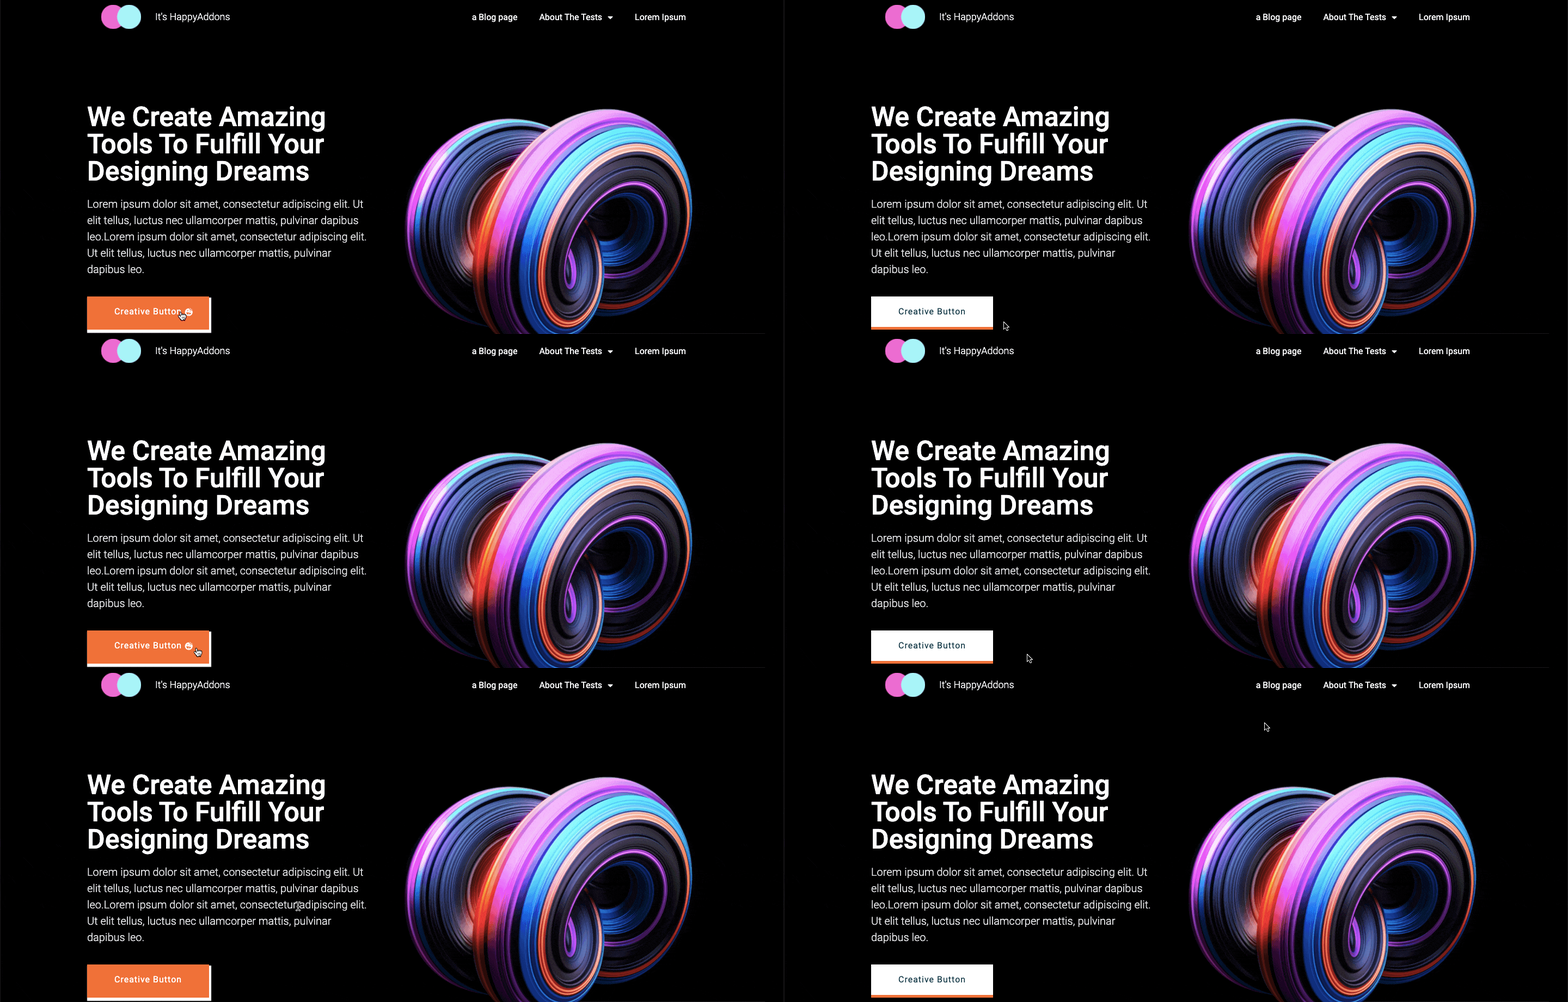
Final Preview
With this amazing widget, you can produce this type of button design on your Elementor website.
That’s it.
