Want to add LordIcon to your Elementor website? Try the Happy Addons’ new LordIcon widget. From now, you add and customize the LordIcon in your own style with this free widget.
How To Use Happy Addons’ LordIcon Widget
Pre-requisites
To use this handy widget, you need to install and activate the following plugins to your website:
- Elementor (Free)
- Happy Addons (Free)
- LordIcon
Let’s get started:
Find & Add LordIcon Widget
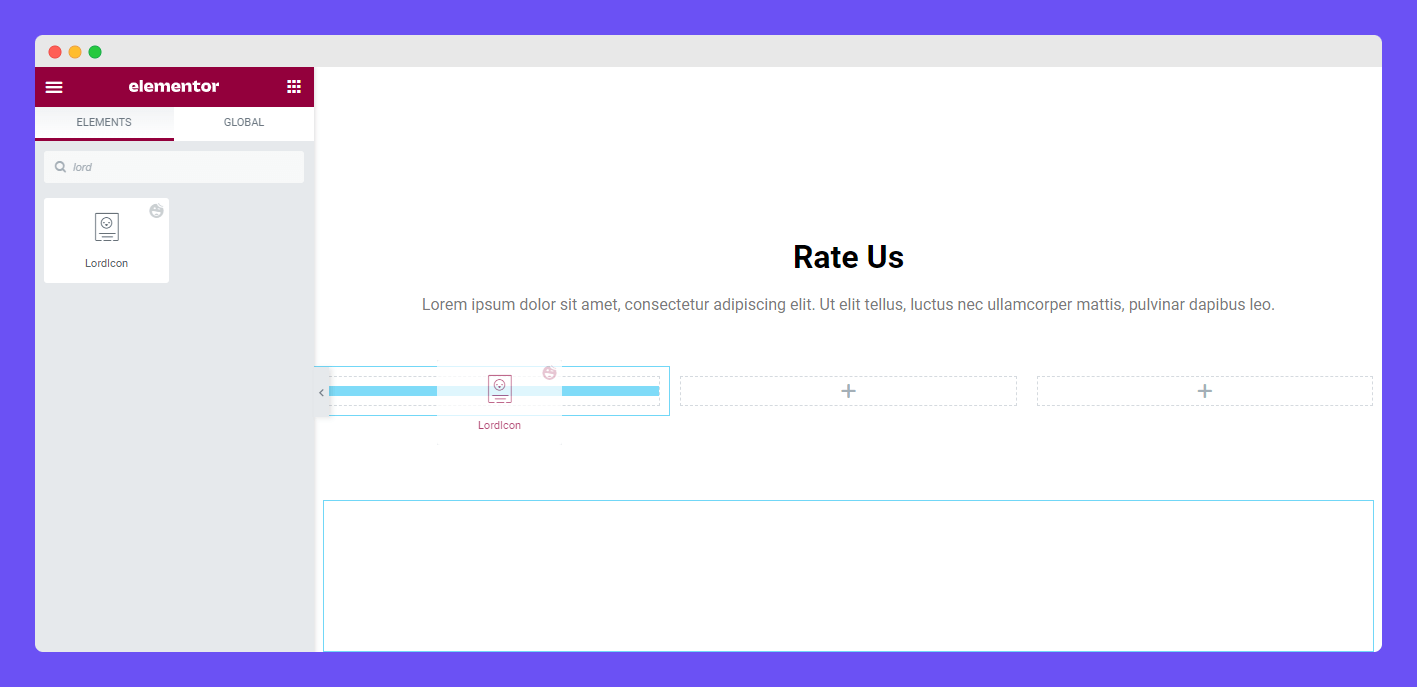
First, you need to search the widget from the Elementor widget gallery. Then select the widget and drag it to the suitable area of your web page.
Content of LordIcon
In the Content area, you’ll get all the necessary options for adding the LordIcon. The options are.
- Icon Method
- Paste CDN
- Animation Trigger
- Target
- Pulse Effect
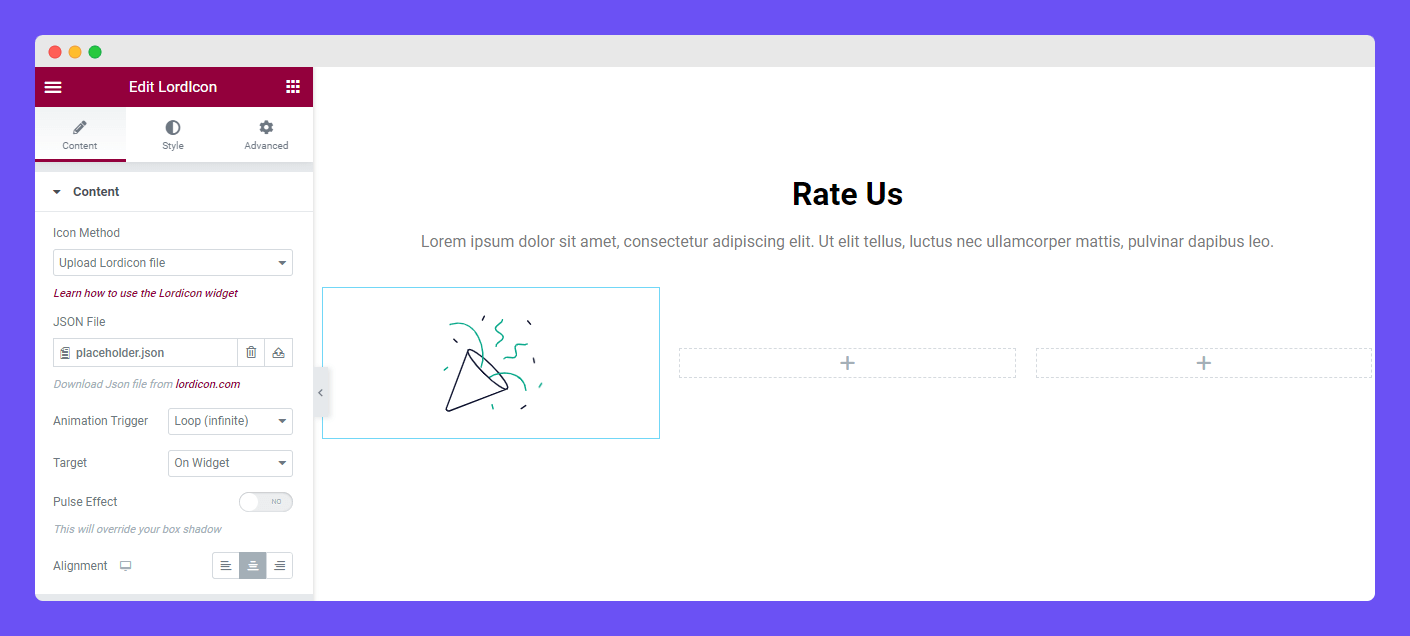
Note: You’ll get a default icon like the above image after adding the widget.
Let’s talk about each option one by one.
Icon Method
There are two types of Icon Methods for adding the icon. You can choose the suitable one based on your need.
Choose Upload LordIcon File as Icon Method
Let’s see how you can upload a LordIcon.
First, go to the LordIcon official website.
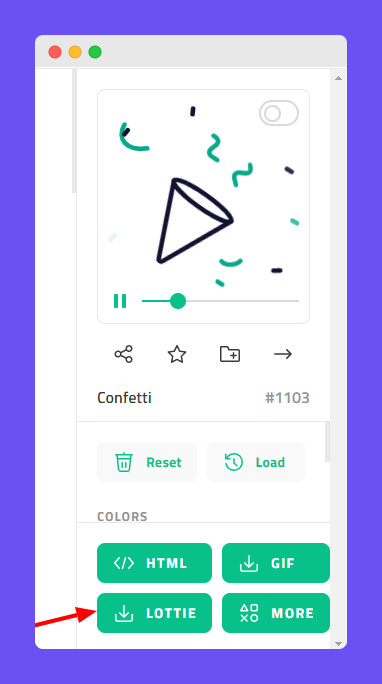
After visiting their website, you need to select the icon that you want to add to your website. Then click the ”LOTTIE” button to download the JSON file.
Second, select the Icon Method->Upload LordIcon File. Finally, upload the downloaded JSON file into the JSON File area.

Select Paste LordIcon URL as Icon Method
Now, it’s time to show you how to add an icon by pasting the LordIcon URL. First, visit the LordIcon website and select the required icon. Now, click on the ”HTML Code” button. Then copy the JSON URL displayed under the ”src”.
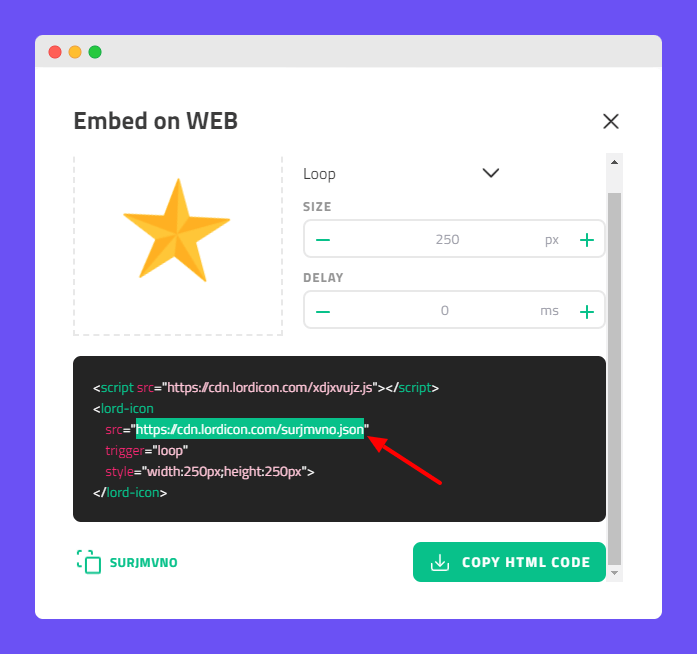
Finally, you need to paste the copied URL into the Paste CDN area.
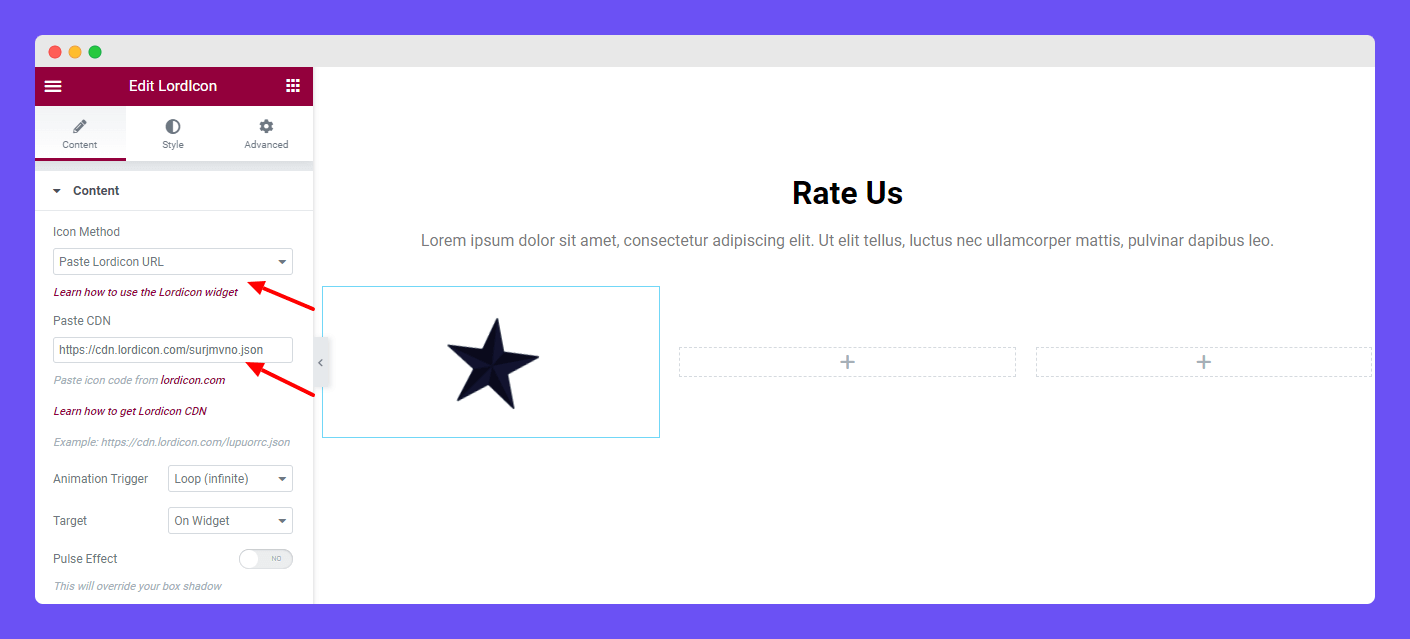
That’s it.
Choose Animation Trigger
The Trigger is the action that is mainly used to animate the icon.
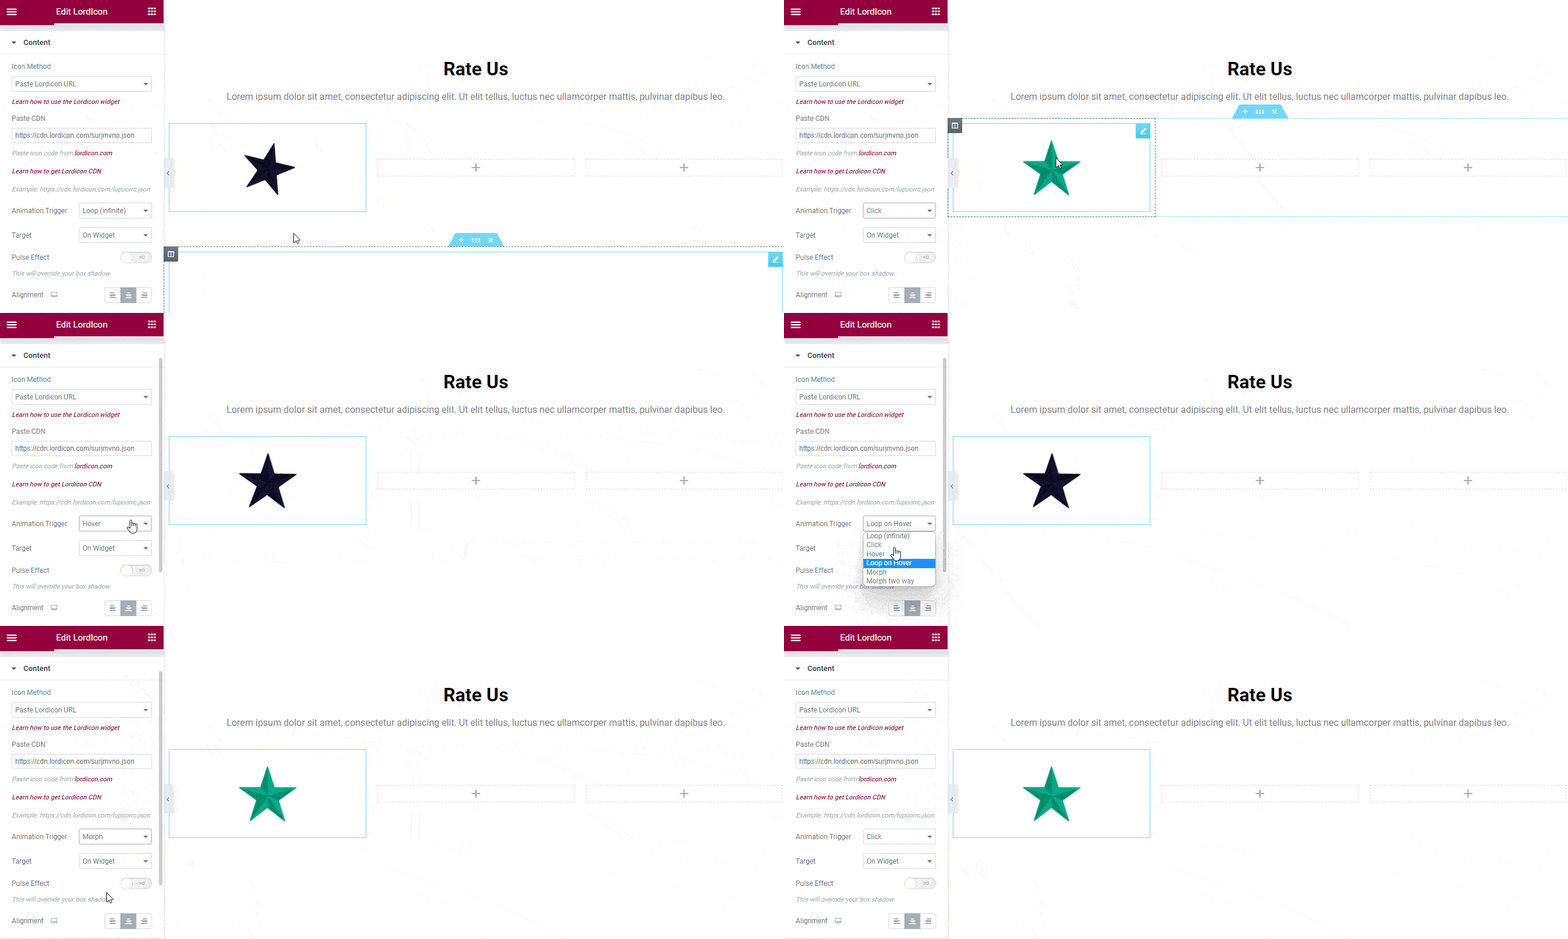
There are six different Animation Triggers available. They are.
- Loop (infinite)
- Click
- Hover
- Loop on Hover
- Morph
- Morph two way
Check this image below to see how these animations work.
Set Target
Target means the area of the trigger. When you mouse hover or click the target area then the icon will animate.
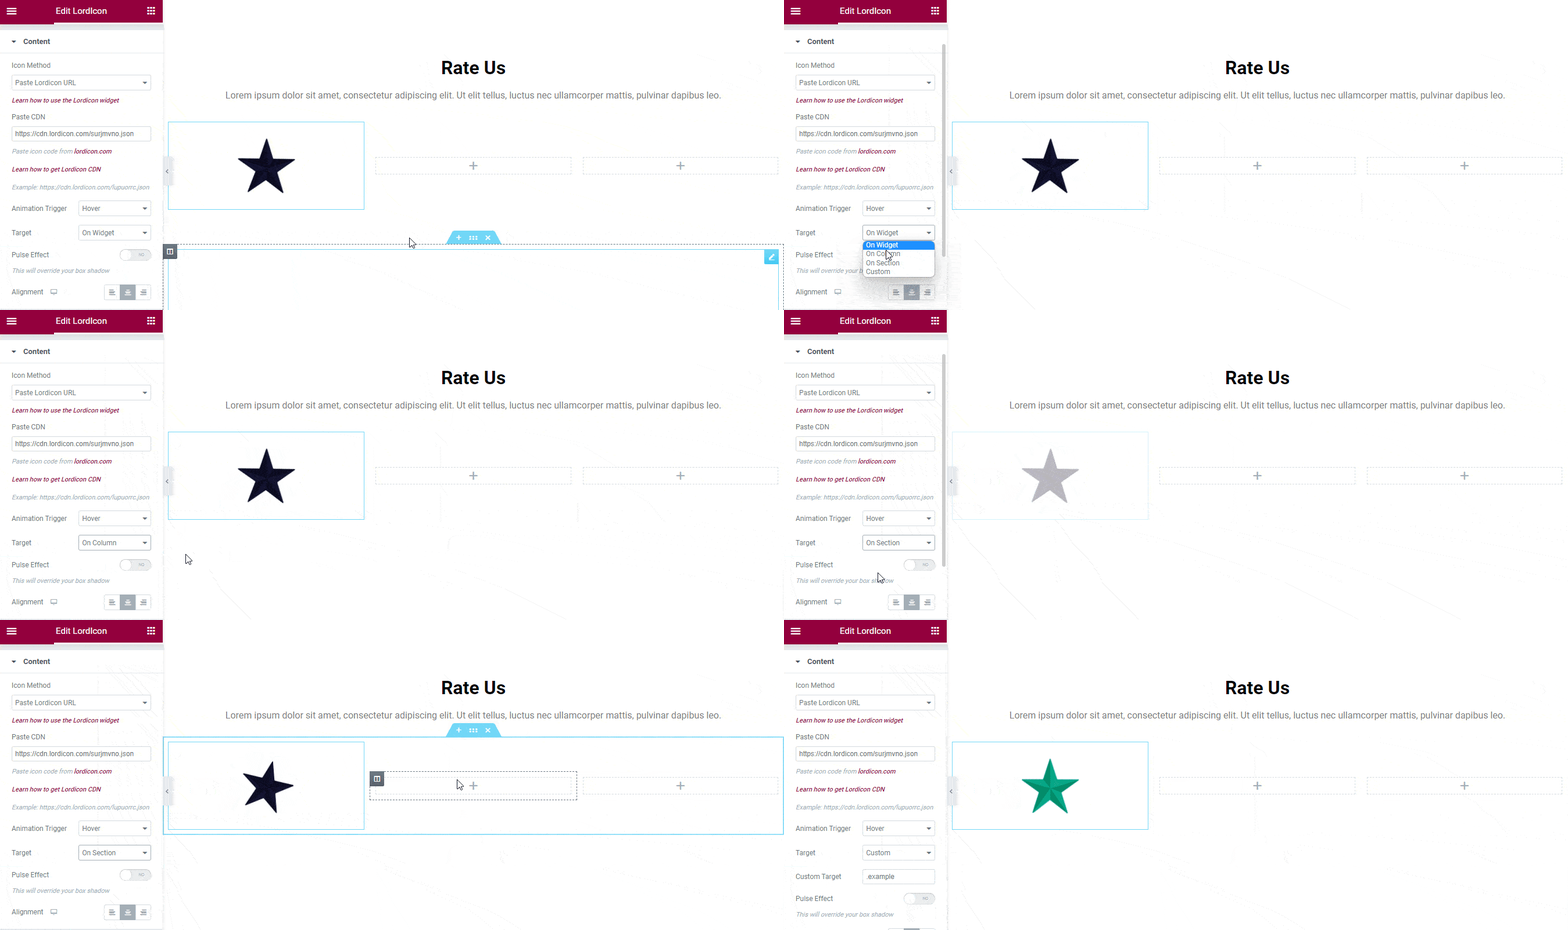
Based on your need, you can set the Target of the icon animation. There are four Target options (On Widget, On Column, On Section, and Custom) that you can use for icon animation.
On Widget: The animation only works when you trigger the Widget.
On Column: Animation starts when you trigger the Column.
On Section: Animation works the entire section when triggered on the Section.
Follow the below example to under the process.
Set Custom Target
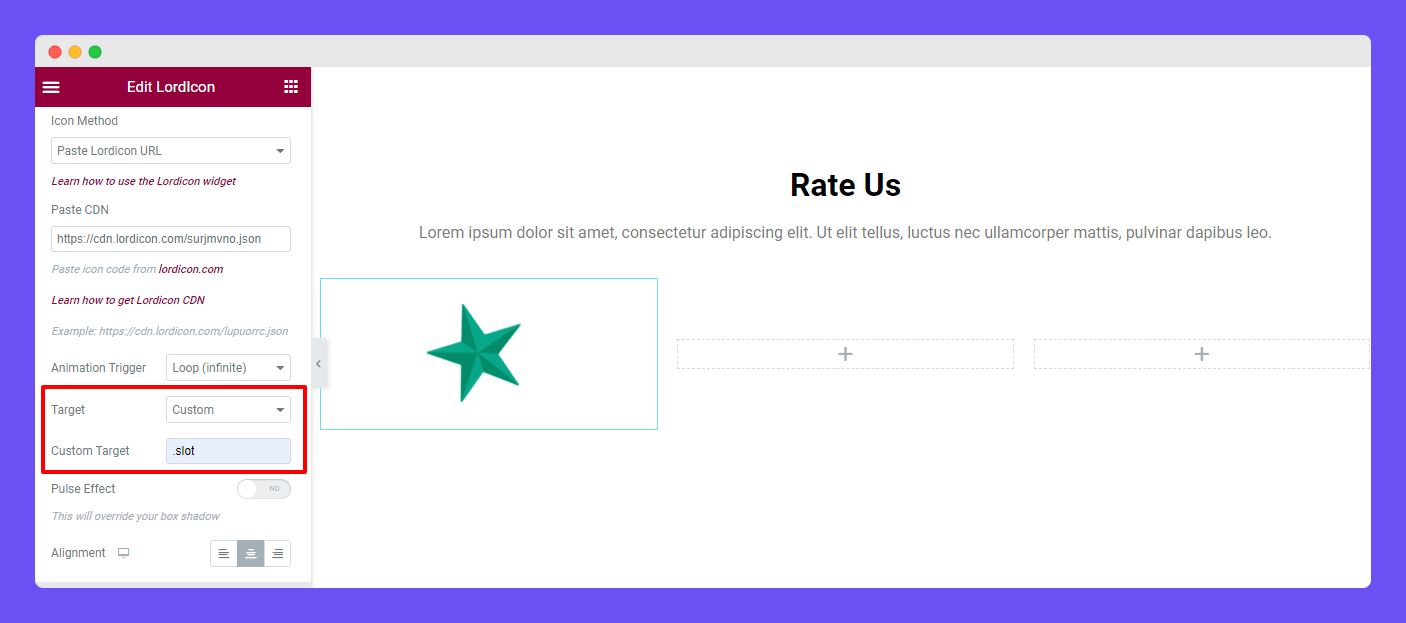
To set the Custom Target, you have to understand the coding. First, you need to inspect the icon element and find its parent ”Class Name”. Then copy the Class Name and paste it into the Target area starting with a ”.” sign like this (.ClassName).
Here, we’ve added the class name (.slot) into the Target area.
Pulse Effect
You can also add Pulse Effect on the icon. First, activate the Pulse Effect option. Then select the right effect Color.
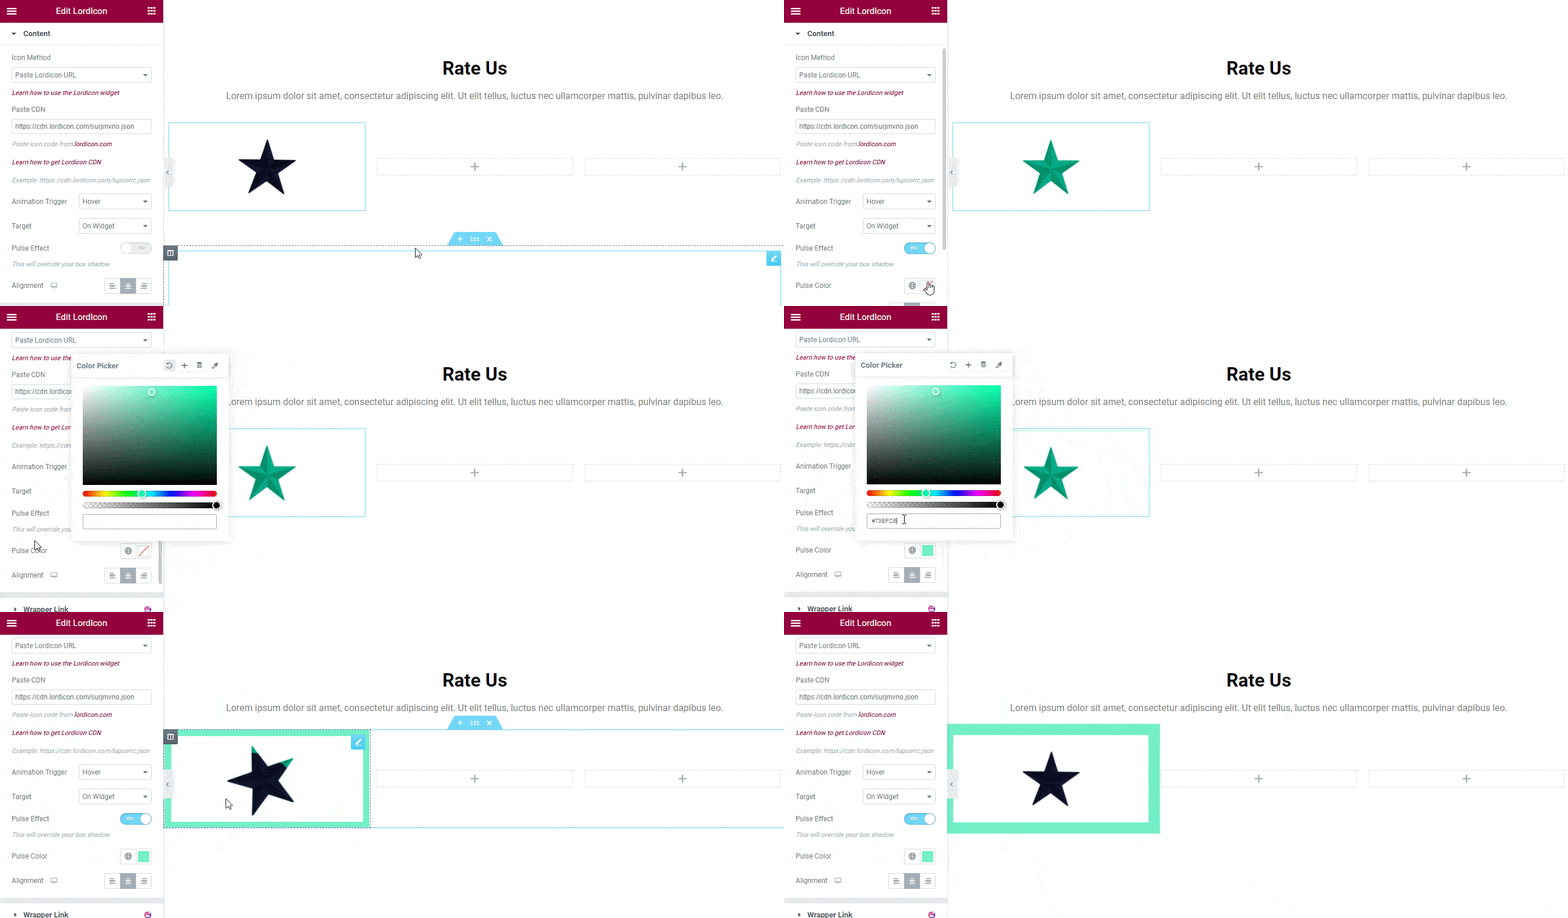
You can also set the Alignment (Left, Center, Right) of the icon in your own way.
Style the Icon
You can change the style of the icon using these styling options.
- Size
- Primary Color
- Secondary Color
- Tertiary Color
- Quaternary Color
- Stroke
- Background Color
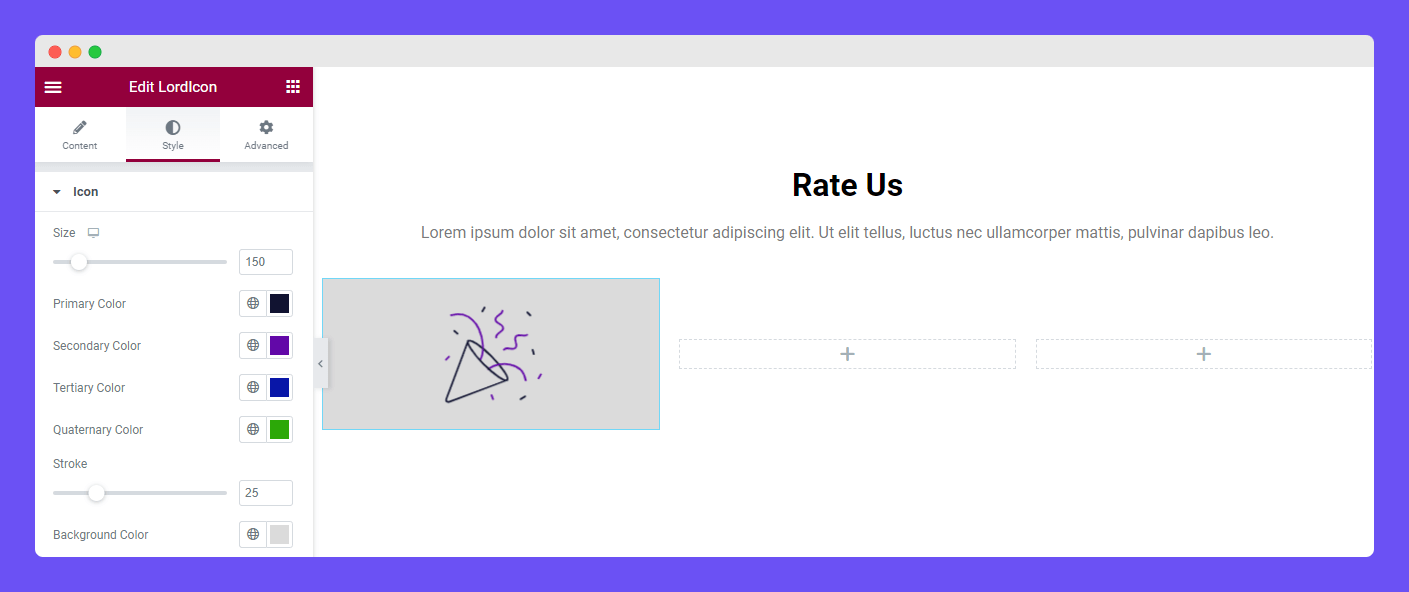
Note: By default, we are supporting 4 color control that you can use to style the icon. If you need more color control, you have to manage it yourself.
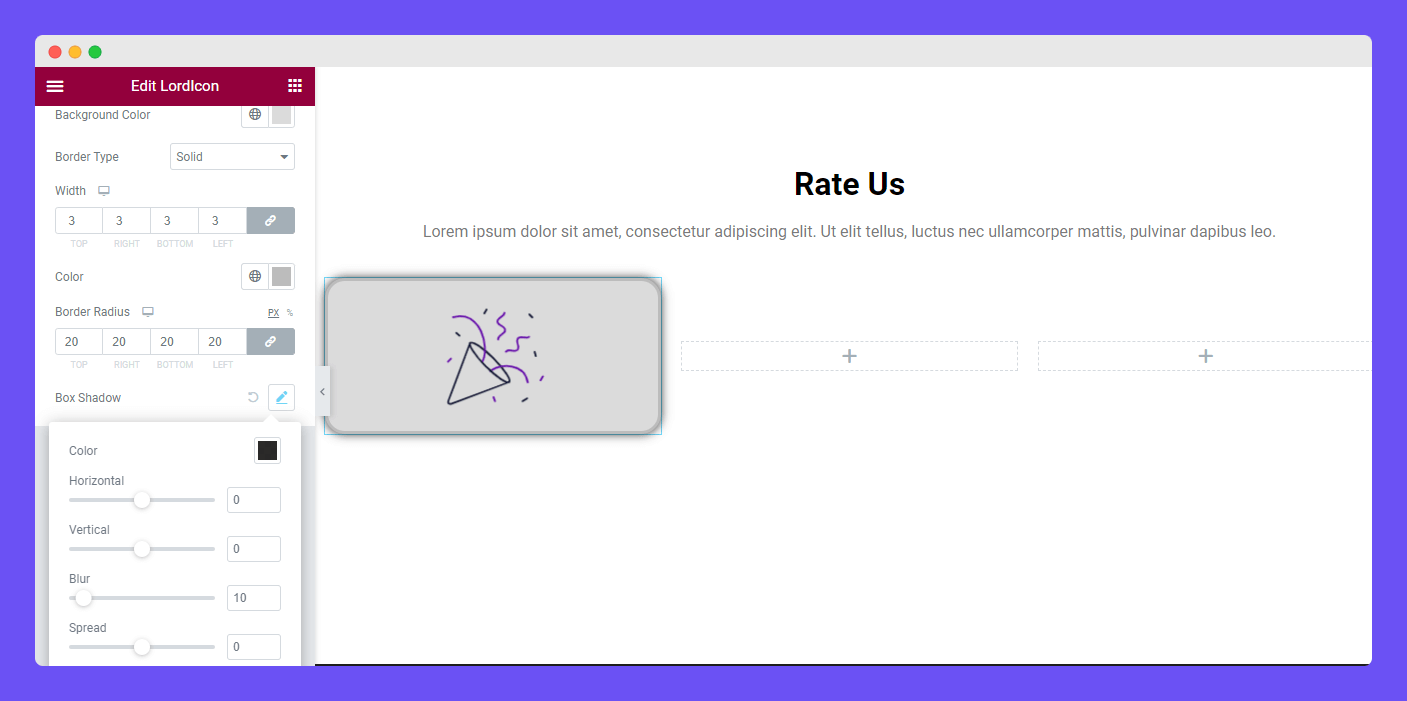
Also, you can add Border, Border Radius, and Box Shadow to decorate your icon.
Advanced Elementor Settings
If you want to add motion effects, happy effects, background, or make it responsive and more intriguing, click on ‘Advanced‘ to explore those options. the ‘Advanced‘ is a default feature of Elementor.
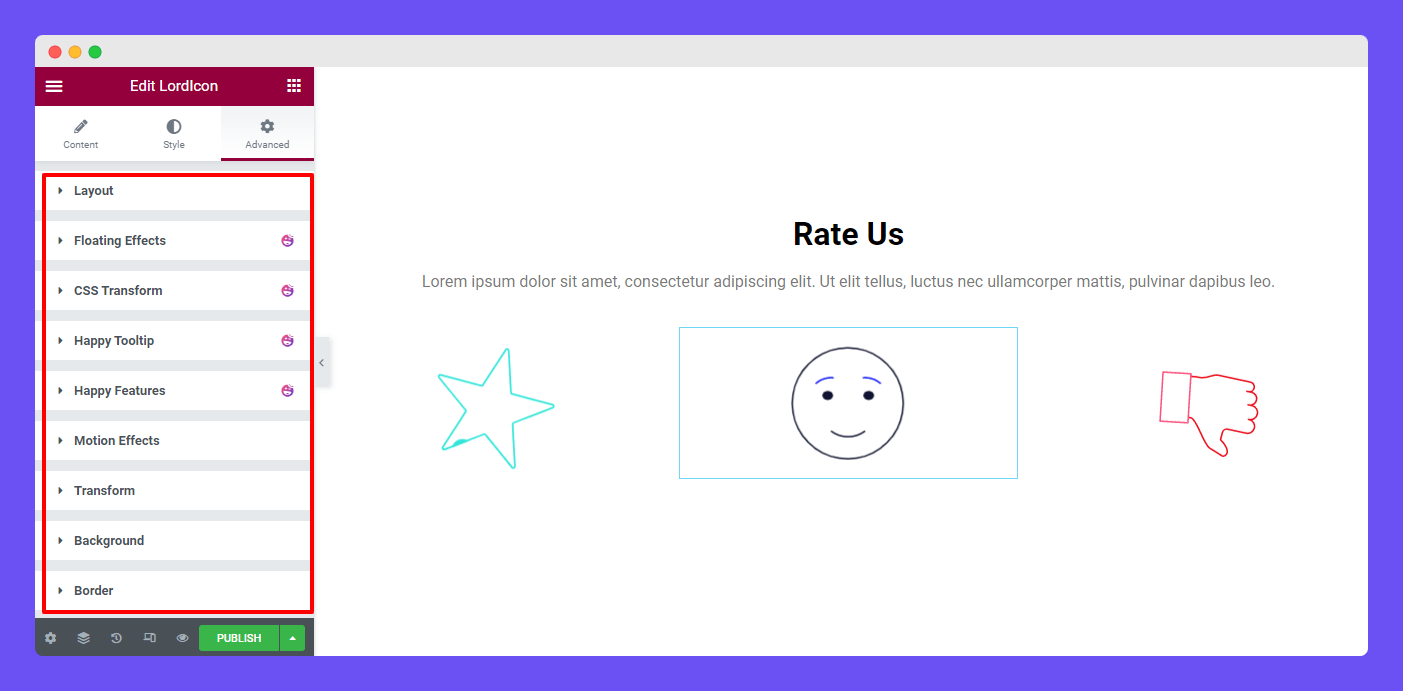
Give a read to this Document to know more about advanced features & functions.
These are the widgets where you can also use the LordIcon widget. Check the documentation.
Final Preview
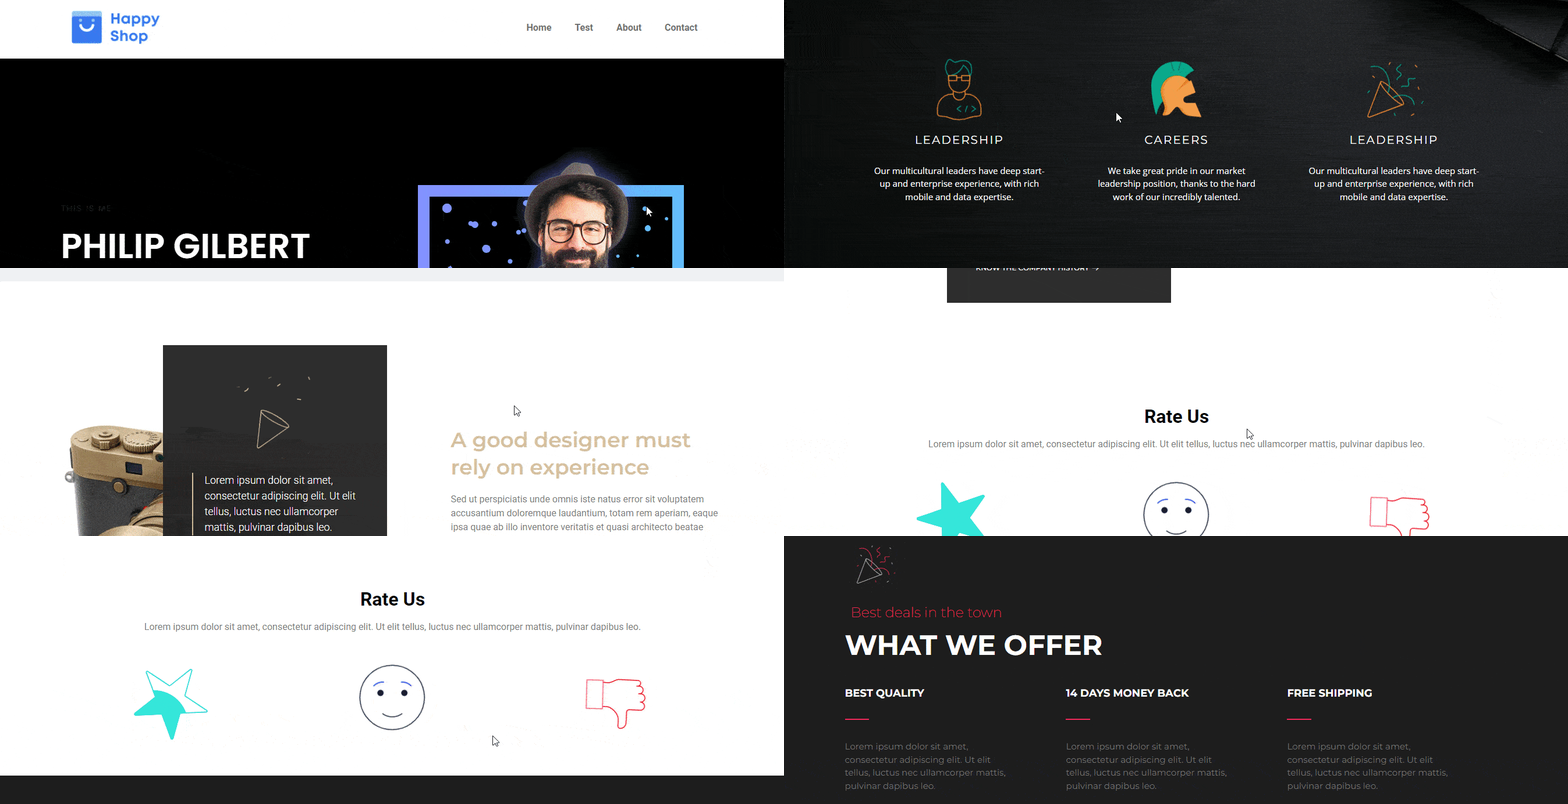
Let’s check out the current design of your webpage.
That’s it.
