How to Use Liquid Hover Image
In this documentation, you will get a detailed overview of how you can use our new unique widget – Liquid Hover Image. This widget can add magnificent effects to the boring before-after images. If the visitor hovers over an image where you have used the Liquid Hover Image they will get after images with amazing transactional effects. And it’s available in the free version of HappyAddons.
Here is an overview of Liquid Hover Image:
Required Plugins for Using Liquid Hove Image Widget
Here are the required plugins:
- Elementor Free
- HappyAddons Free
Getting Started with the Liquid Hover Image Widget of Elementor
To get started search Liquid Hover Image widget name in the widget sidebar panel. Drag and drop to the desired location of your Elementor Editor Panel.
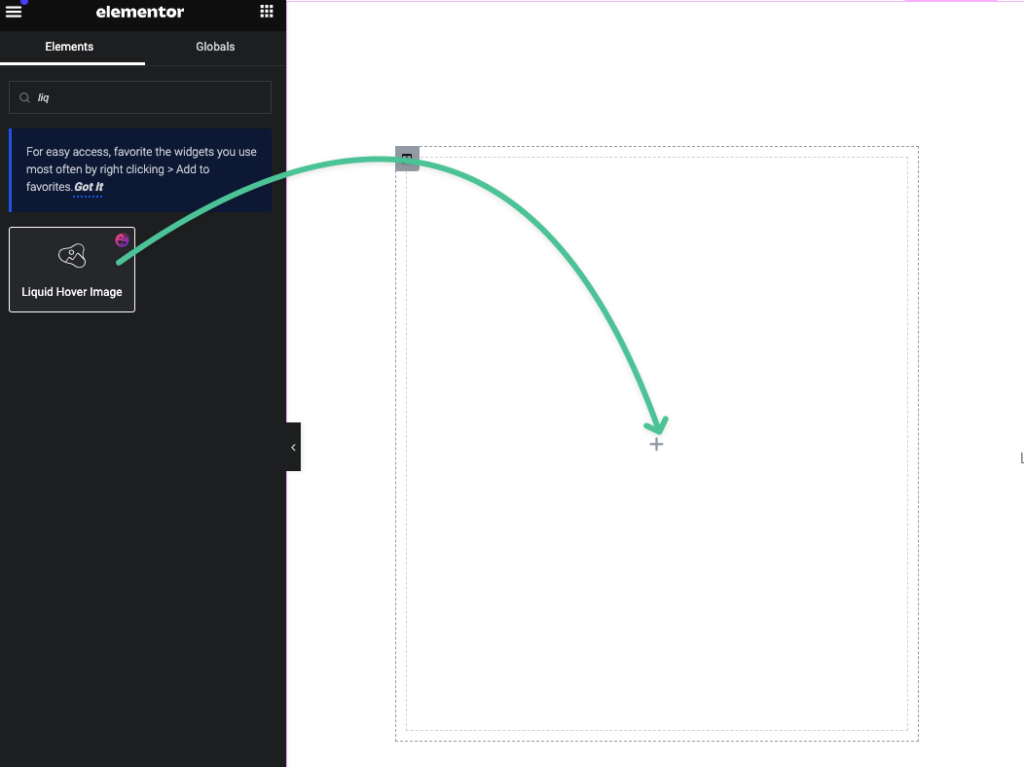
After dragging the widget you will see this view.
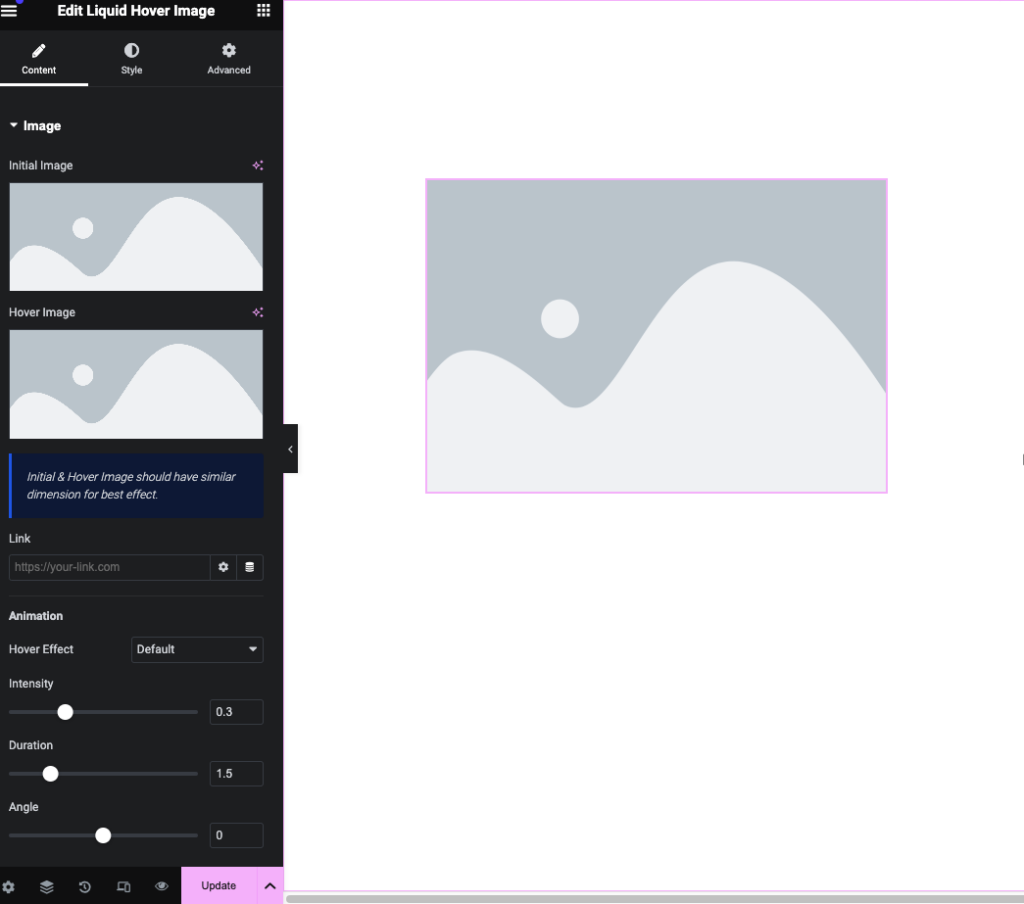
The Initial image will be the main image that will always be on the webpage. And seeing the heading of the hover image we hope you got the idea what you have to do. This will Hover Image will be shown as your hover image. Choose the images as per your need.
Note: It will be better if you set the same dimensional image otherwise it will not reflect a better result.
Adding Link to the Image
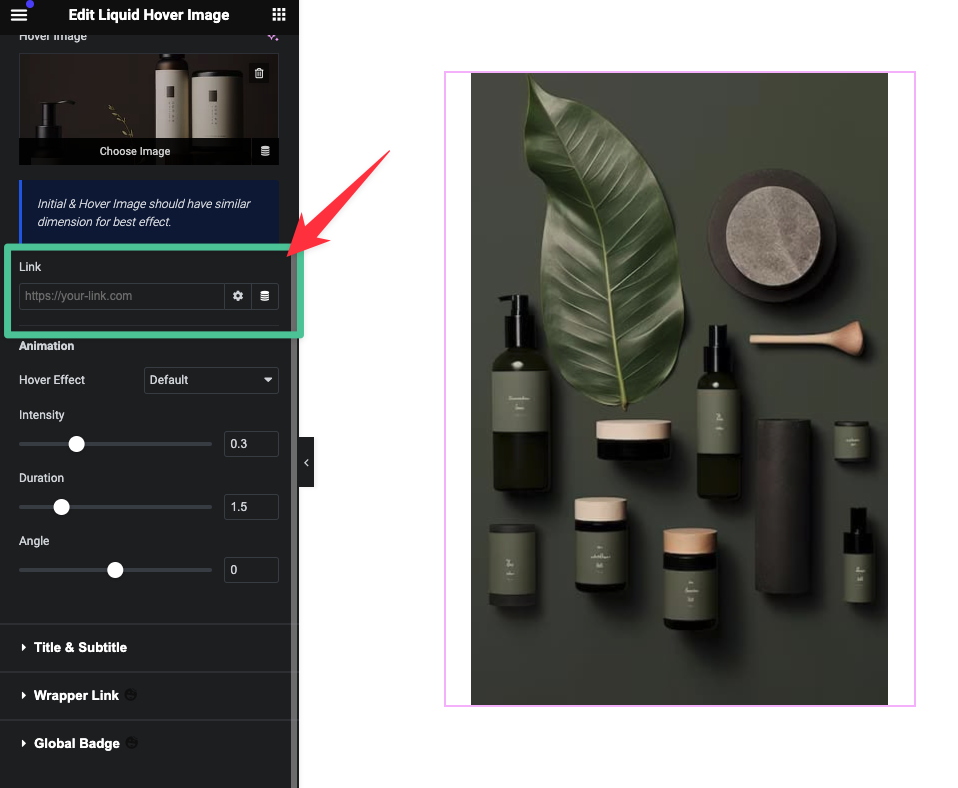
From the Link insertion field, you can hyperlink your images to any link.
Adding Transactional Animation Effects to The Images
We have 11 Hover Effects for you. From the content tab’s Hover Effect’s drop-down menu, you can select your desired one.
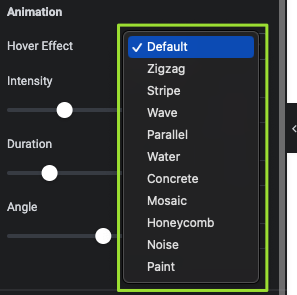
Also, you can adjust the Hover Transactional Effect’s Intensity, Duration, and Angle just dragging the range filters. Set your desired level for your Hover Effect Animation.
Adding Title and Subtitle in The Liquid Hover Image Widget
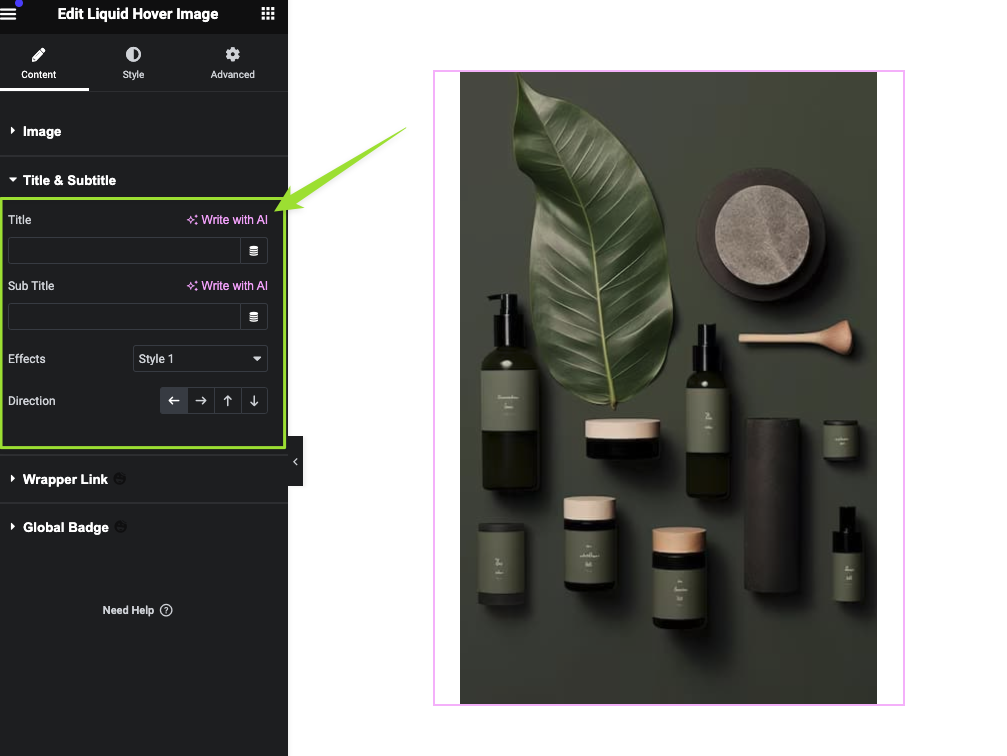
If you want to add a title and subtitle to your images you can easily add them from the title and sub title content panel.
Also, you can set the animation effect to the title and subtitle separately. We have added 6 animation styles.
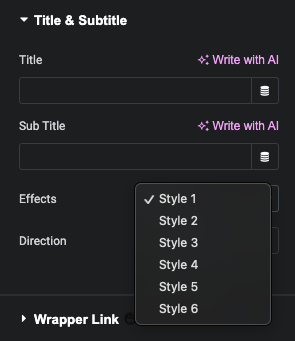
You can set the direction for your titles in the style 1 only.
Here is the overview:
Styling the Liquid Hover Image Widget
Now you get the styling settings overview of the Liquid Hover Image Widget.
Styling the images:
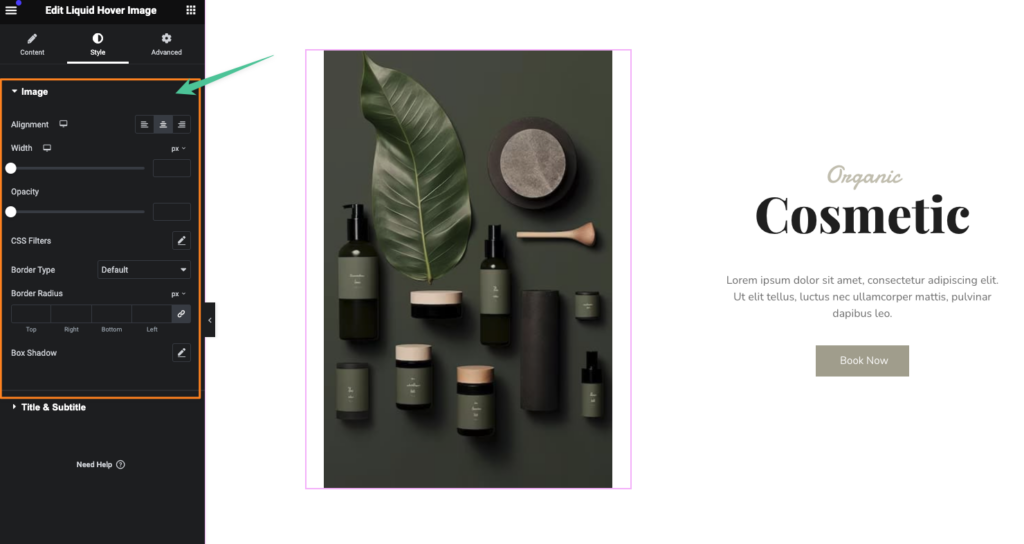
From the Image styling tab, you can set the image alignment, width, opacity, CSS Filter, Border Type and Radius, and Box Shadow.
Styling the Title & Subtitle:
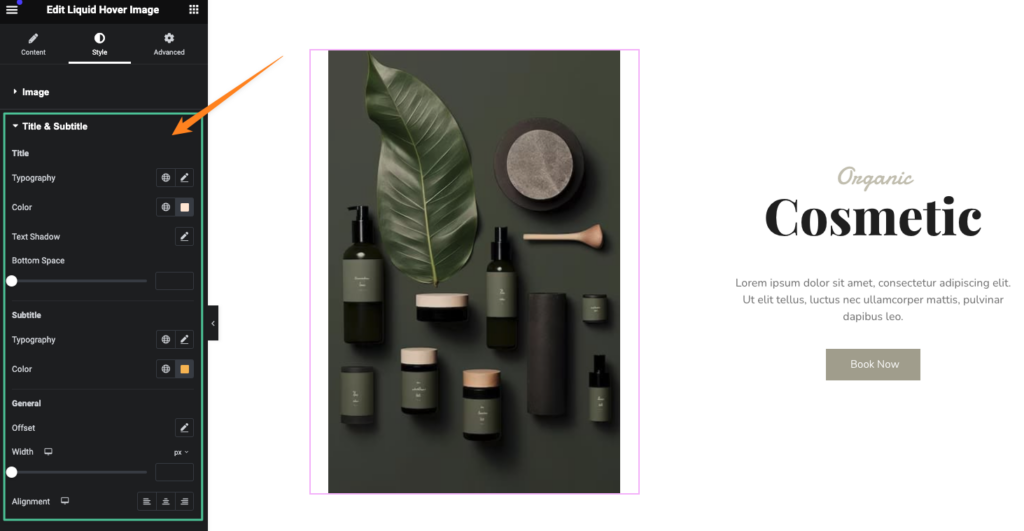
From the Ttitle & Subtitle styling tab, you can set the typography, color, text-shadow, and bottom space for the title.
And for the Subtitle you can set the typography and color.
From the General Styling section, you can set the title and subtitle’s Offset, width, and Alignment.
That’s it.
