How to Install Happy Elementor Addons
Like the other WordPress plugins, you can easily install and activate our Happy Elementor Addons from the WordPress Plugin Directory. But make sure before activating the Happy Addons Plugin you need to active the Elementor Page Builder Plugin first. To install the Happy Addons for Elementor follow the bellow steps,
Step 01:
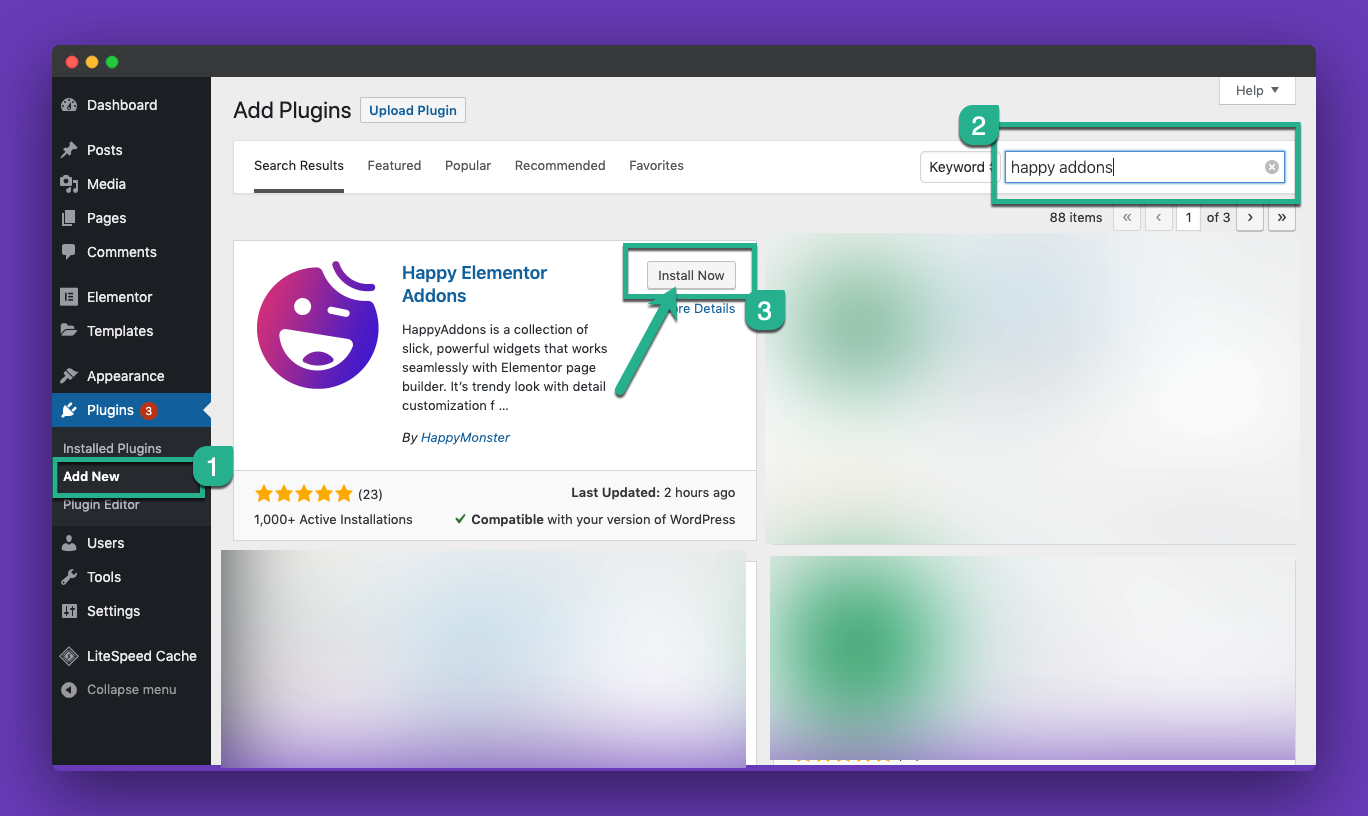
Go to your WordPress dashboard and navigate to wp-admin -> Plugins -> Add New.
Then in the search box type these keywords “happy addons” and click the Install button.
Step 02:
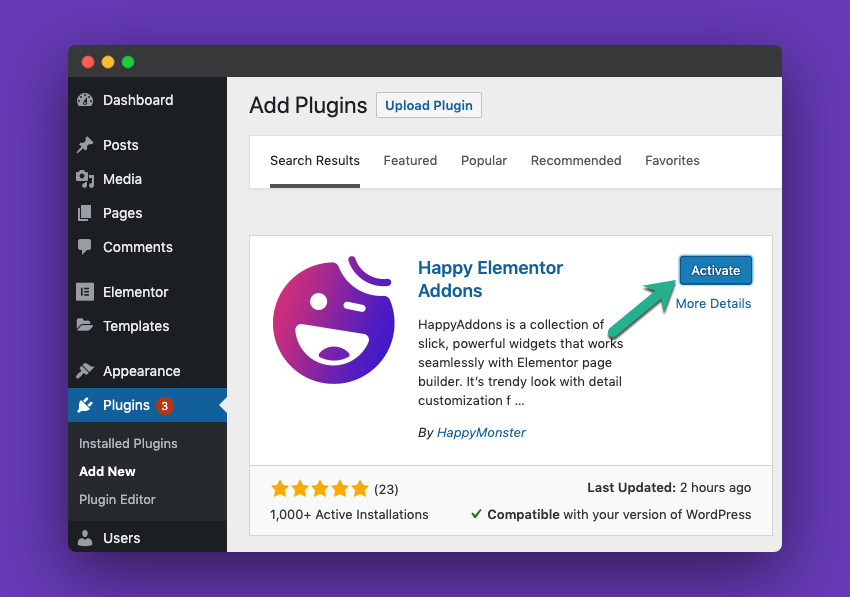
After successful installation, you have to click the “Activate” button to activate the Happy Addons for Elementor.
Step 03:
When you activate the plugin it will redirect to the Happy Addons setup wizard area. While HappyAddons is the fastest Elementor addon out there, you have the chance to make it even faster with the newly introduced setup wizard.
Welcome Area
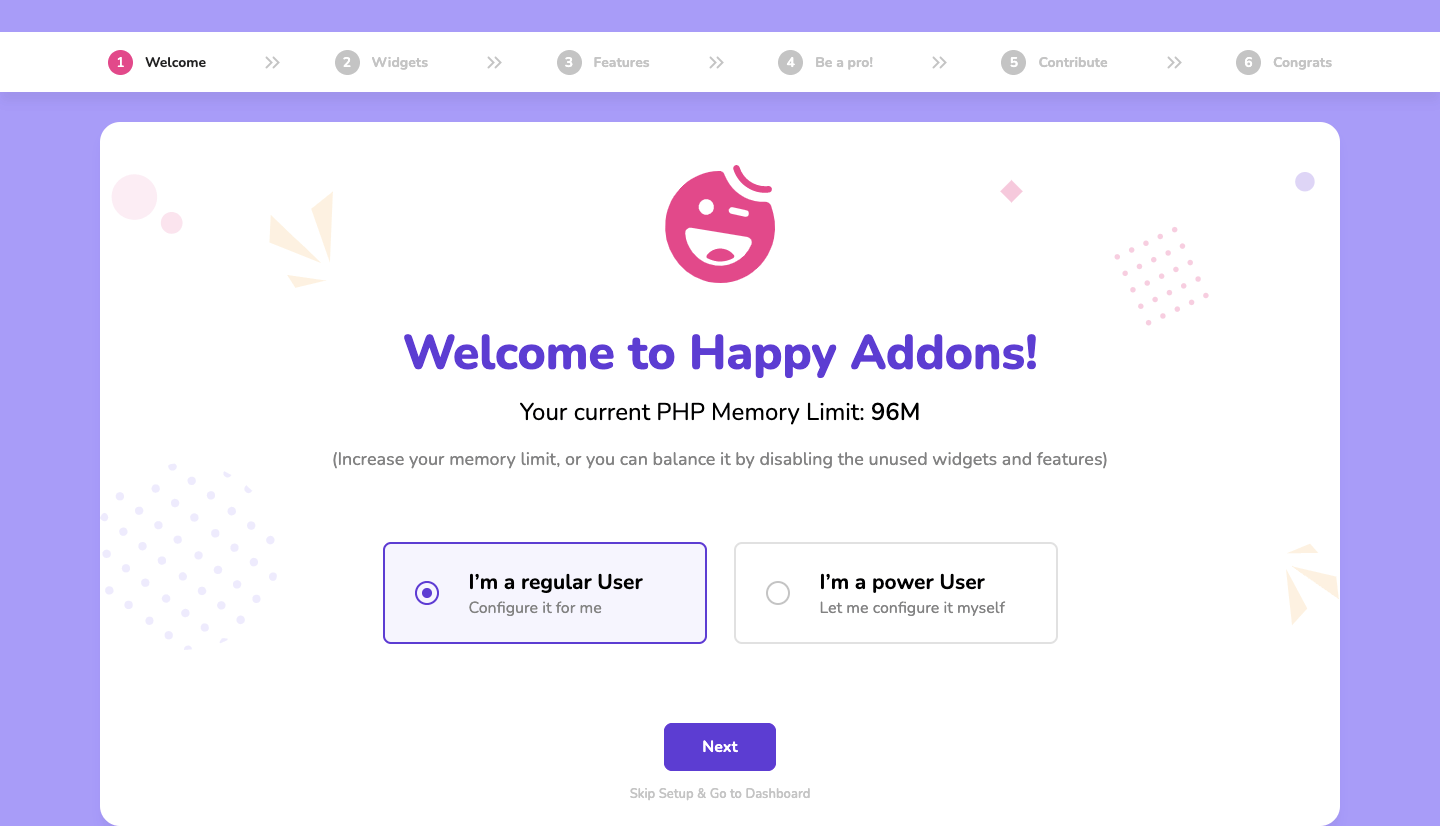
This is the first part of the setup wizard. Here, we collect your website’s current PHP Memory Limit automatically.
You may notice that we give you two different options before you start the setup. If you are a regular user, you should select the ”I’m regular User”. By choosing this option, we will active the common widgets & features for you. On the other hand, if you want to configure it your own way, you can choose the ”I‘m a power User”. Then click the Next button to go to the Widgets part.
Note: You can also Skip the setup by clicking the Skip Setup & Go to Dashboard. If you do this then all the widgets and features will be activated automatically. As a matter of fact, many unnecessary widgets & features will be also activated. Suppose means you only need a form widget to set a form to your site but now our other form widgets are also activated to your site. This ultimately makes a bad impact on your website performance.
So our recommendation is that you set the setting manually.
Note: It’s recommended by the experts to increase your PHP Memory Limit and set it at 256M.
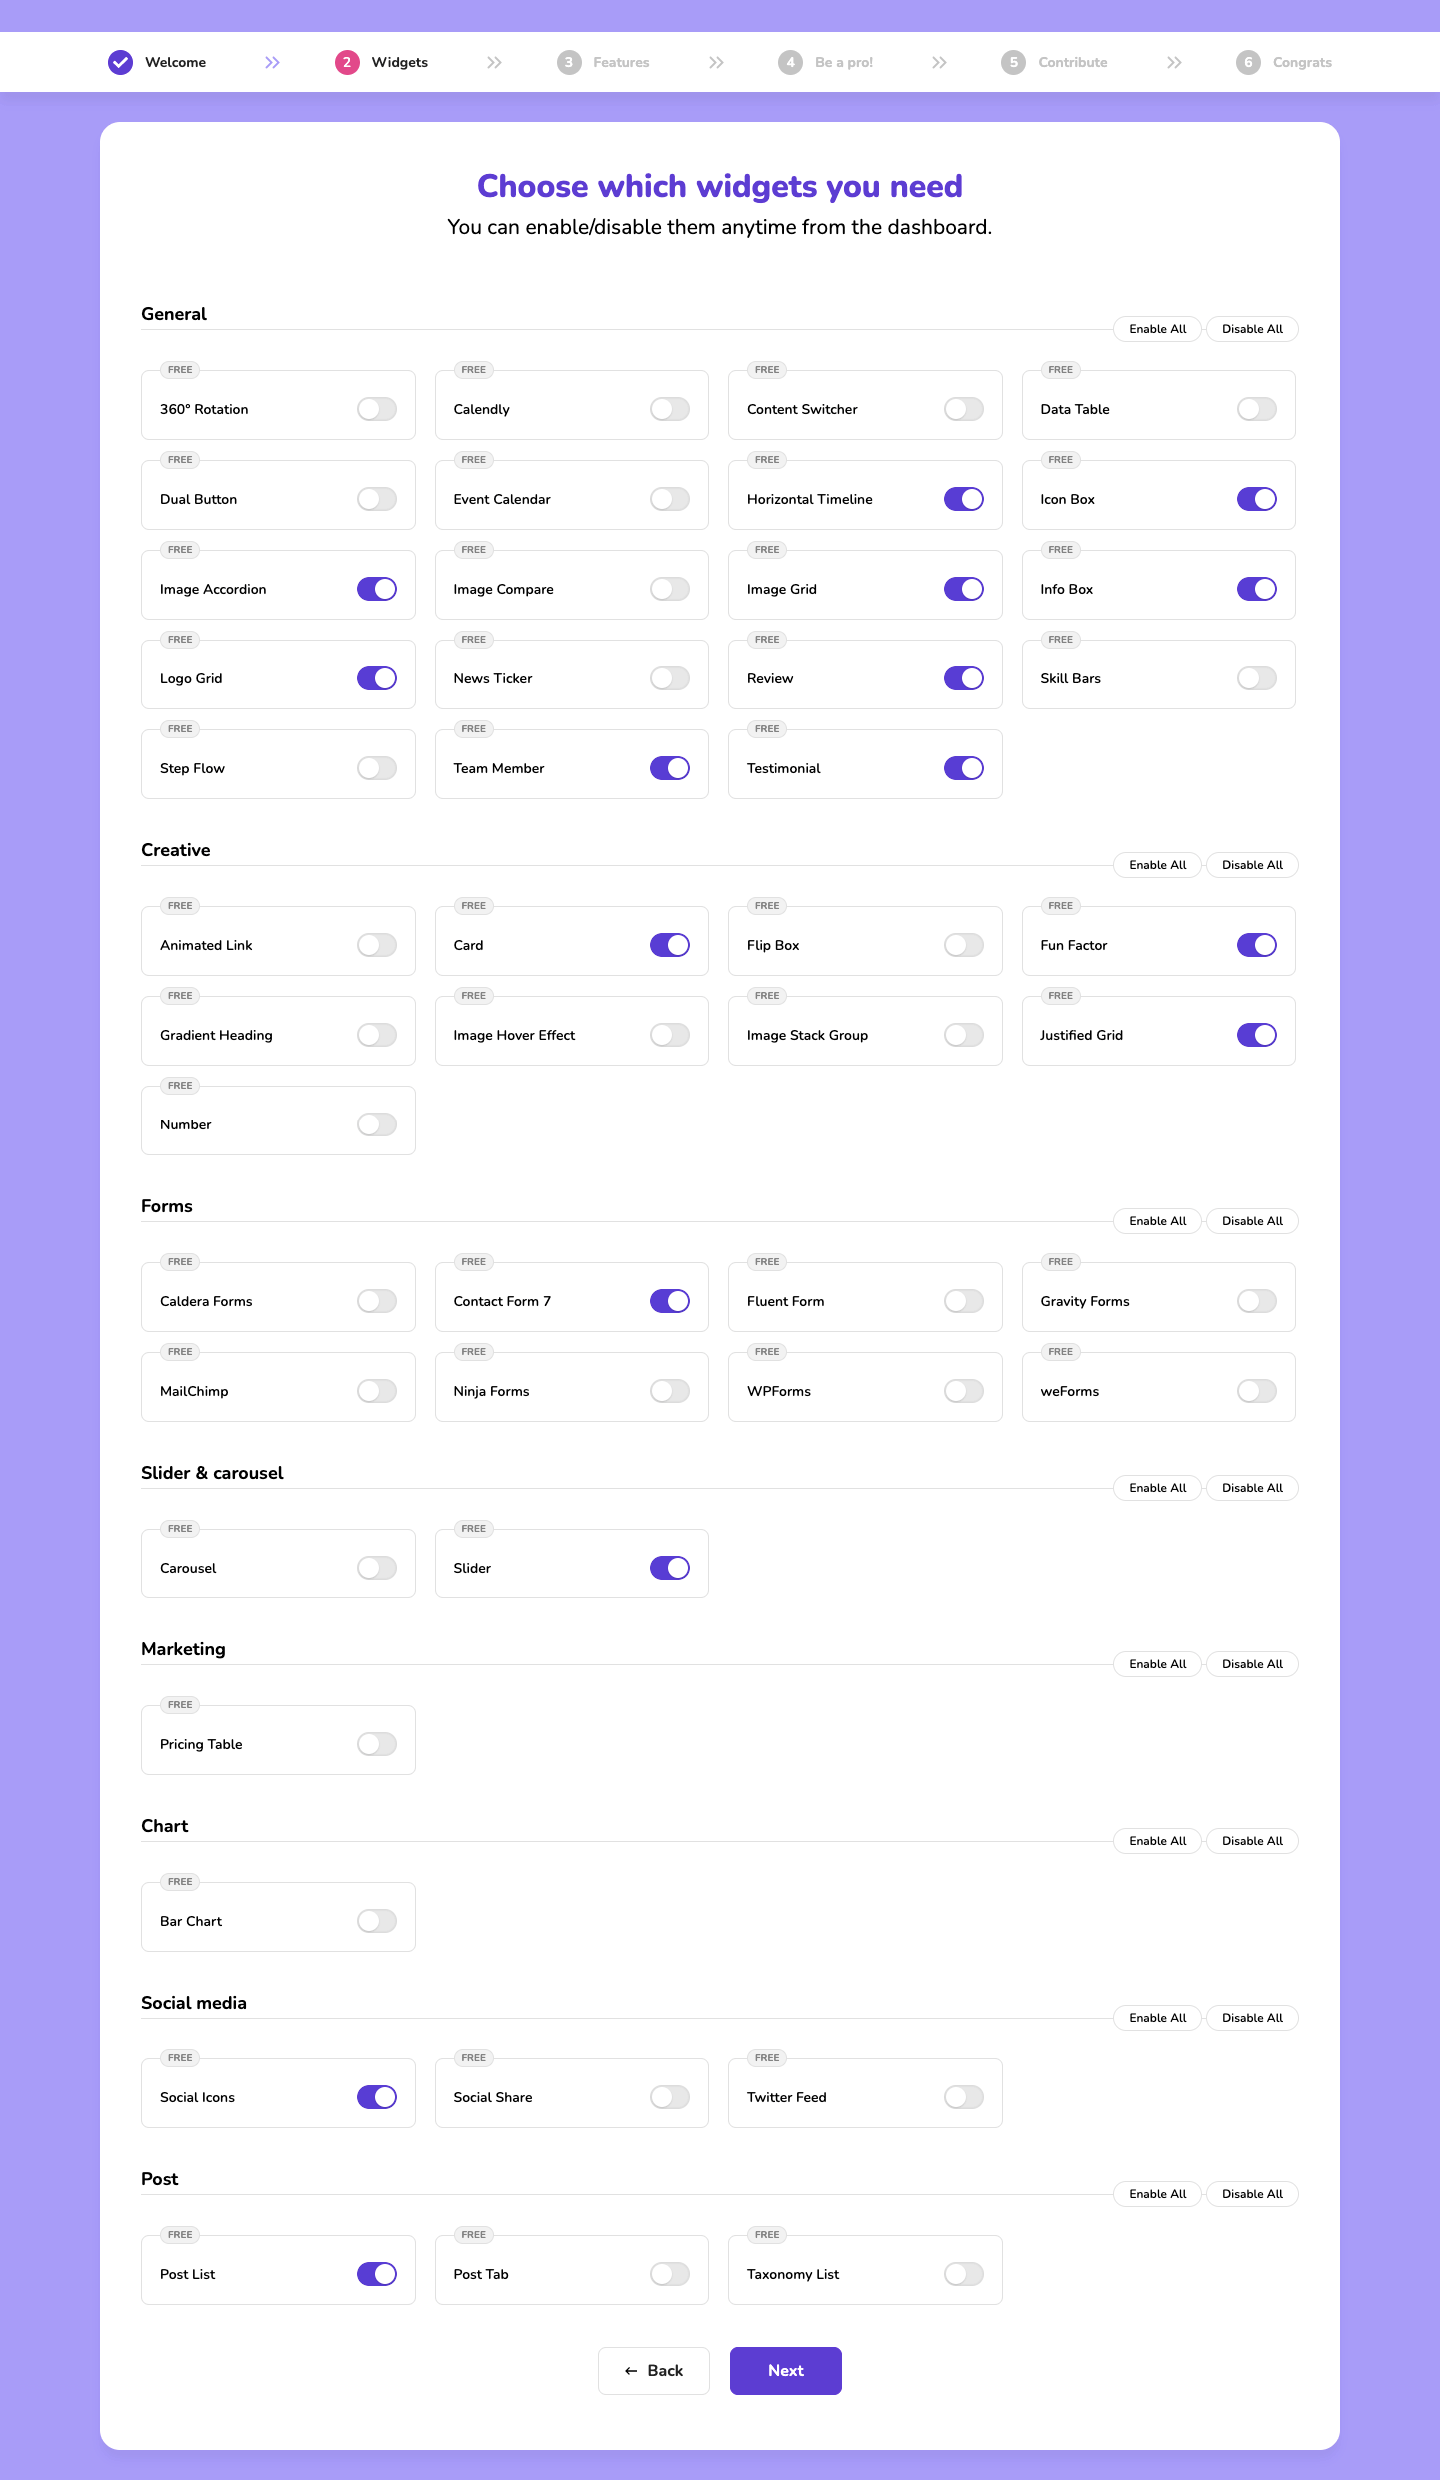
The Widgets section allows you to enable & disable widgets based on your need.
Here, we added the widgets group-wise like General, Creative, Forms, Slider & carousel, Marketing, Cart, Social Media, and more. This will help you to select your suitable widgets in a more decent way.
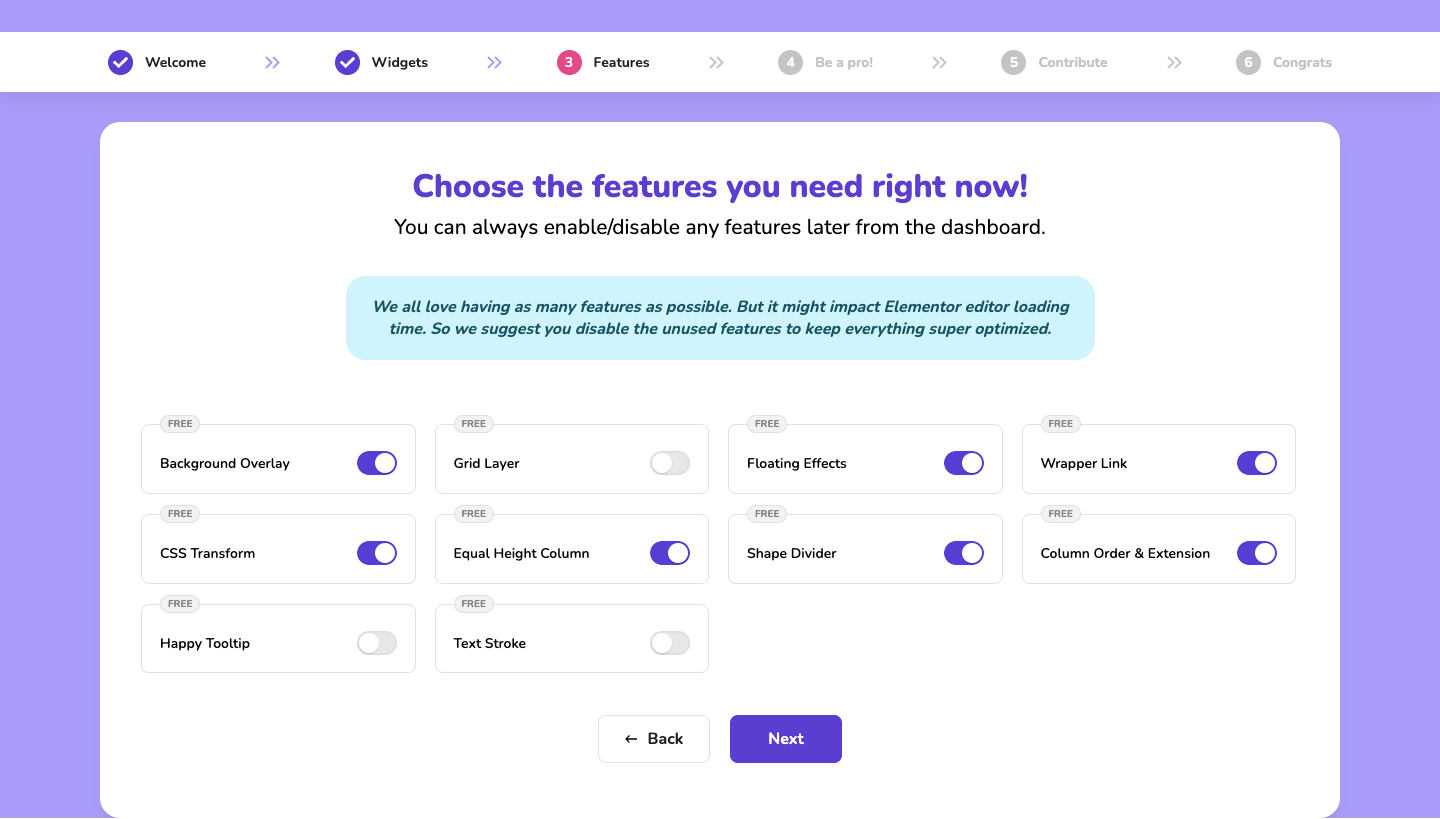
You can enable & disable Happy Features here in the Features area.
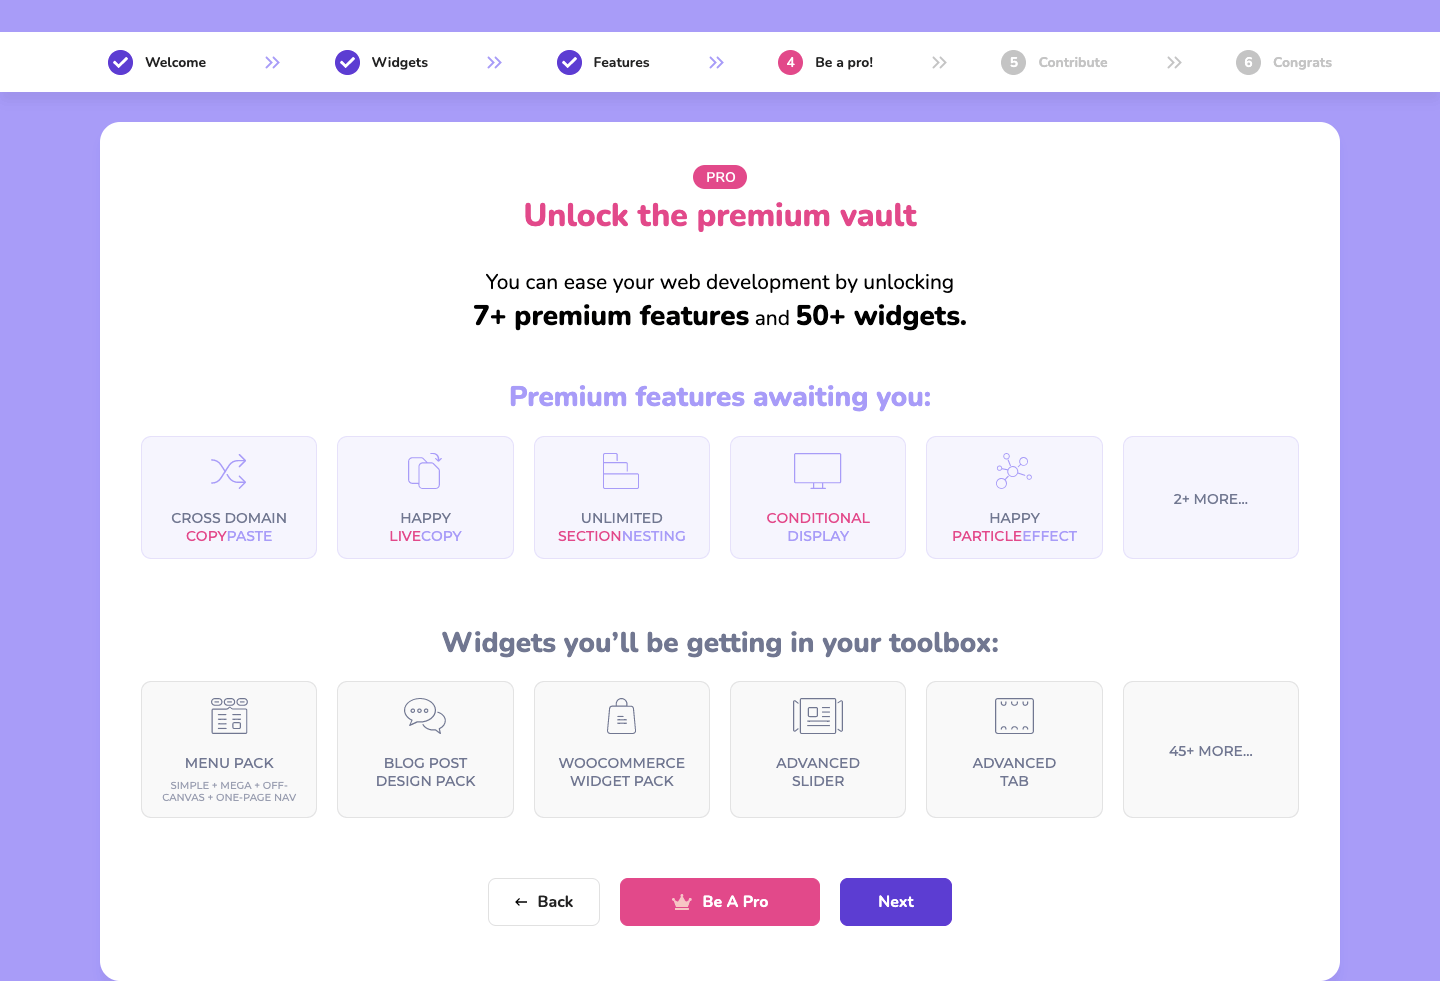
If you want to switch to the Pro version, you can do it in the Be a Pro area. The Pro version gives more freedom while designing your site.
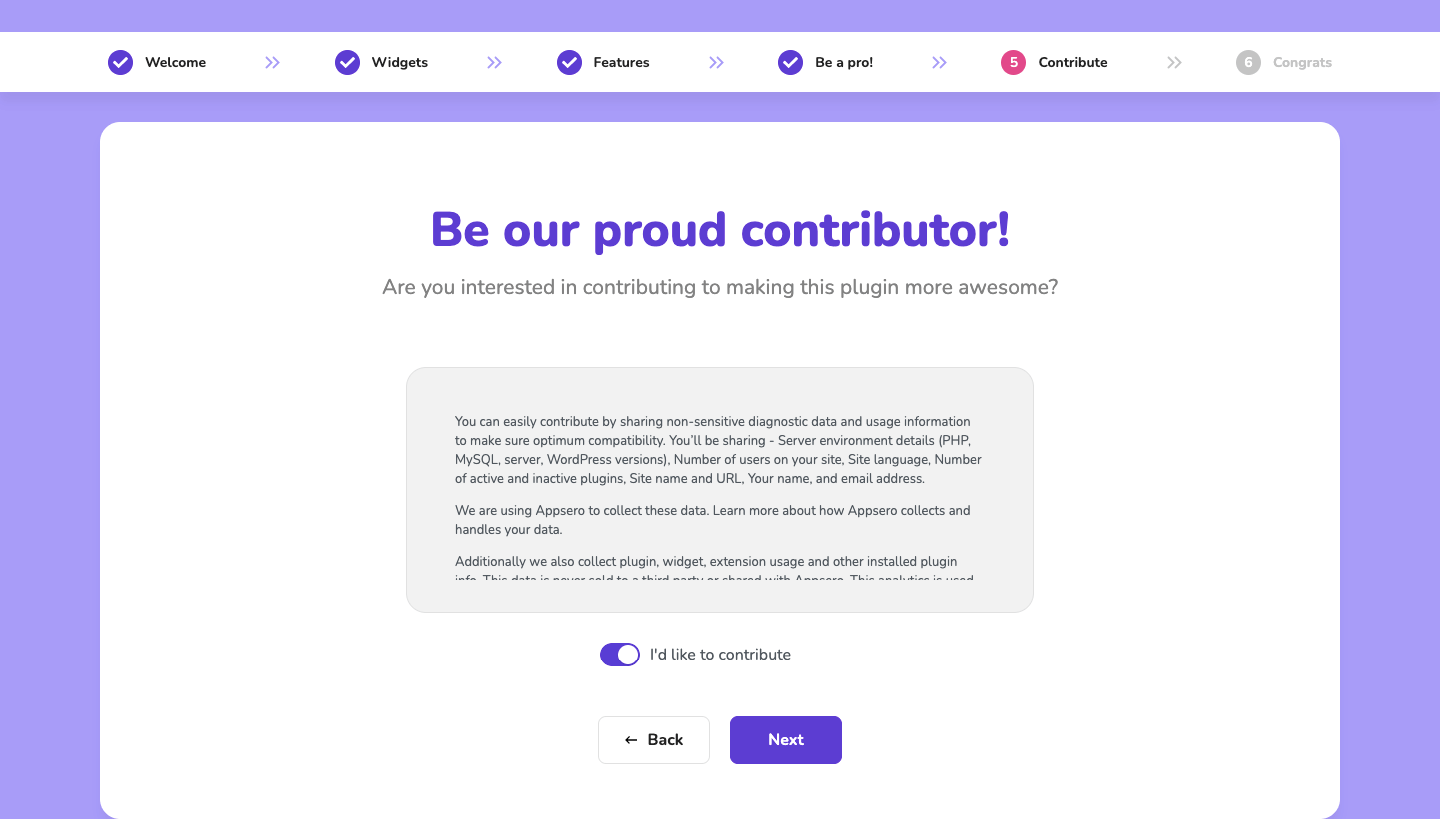
If you want to share your website data such as active & inactive plugins, site language, server information, and more, you can switch on the ”I’d like to contribute” option.
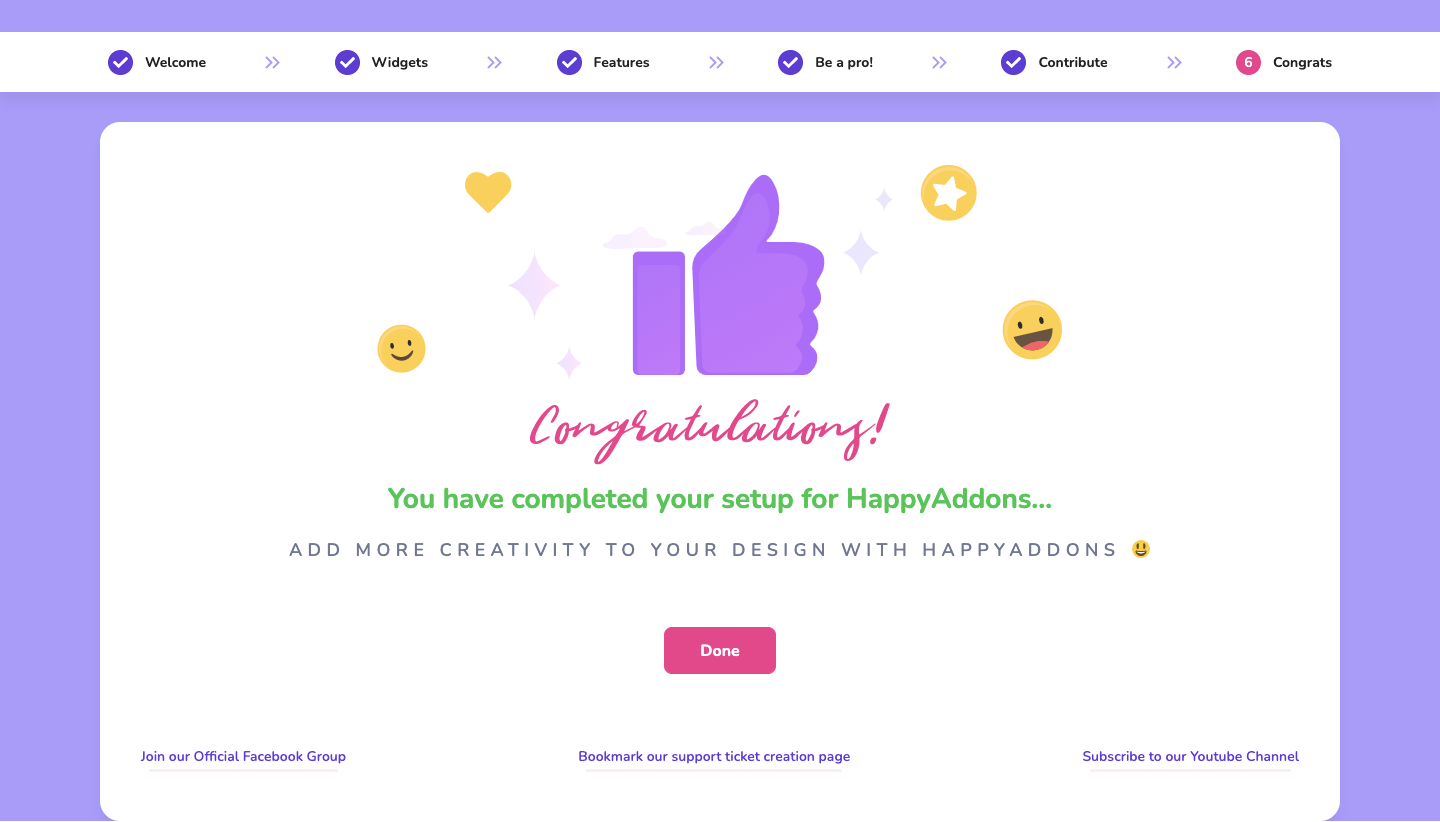
Congratulations you’ve done. Please stay with us by joining our Facebook group and Youtube channel. And don’t forget to Bookmark our support ticket creation page.
HappyAddons Dashboard
We have launched an intuitive and lucrative dashboard for you. In the dashboard you will get three-tab, Home, Widget and Get Premium.
Home Tab
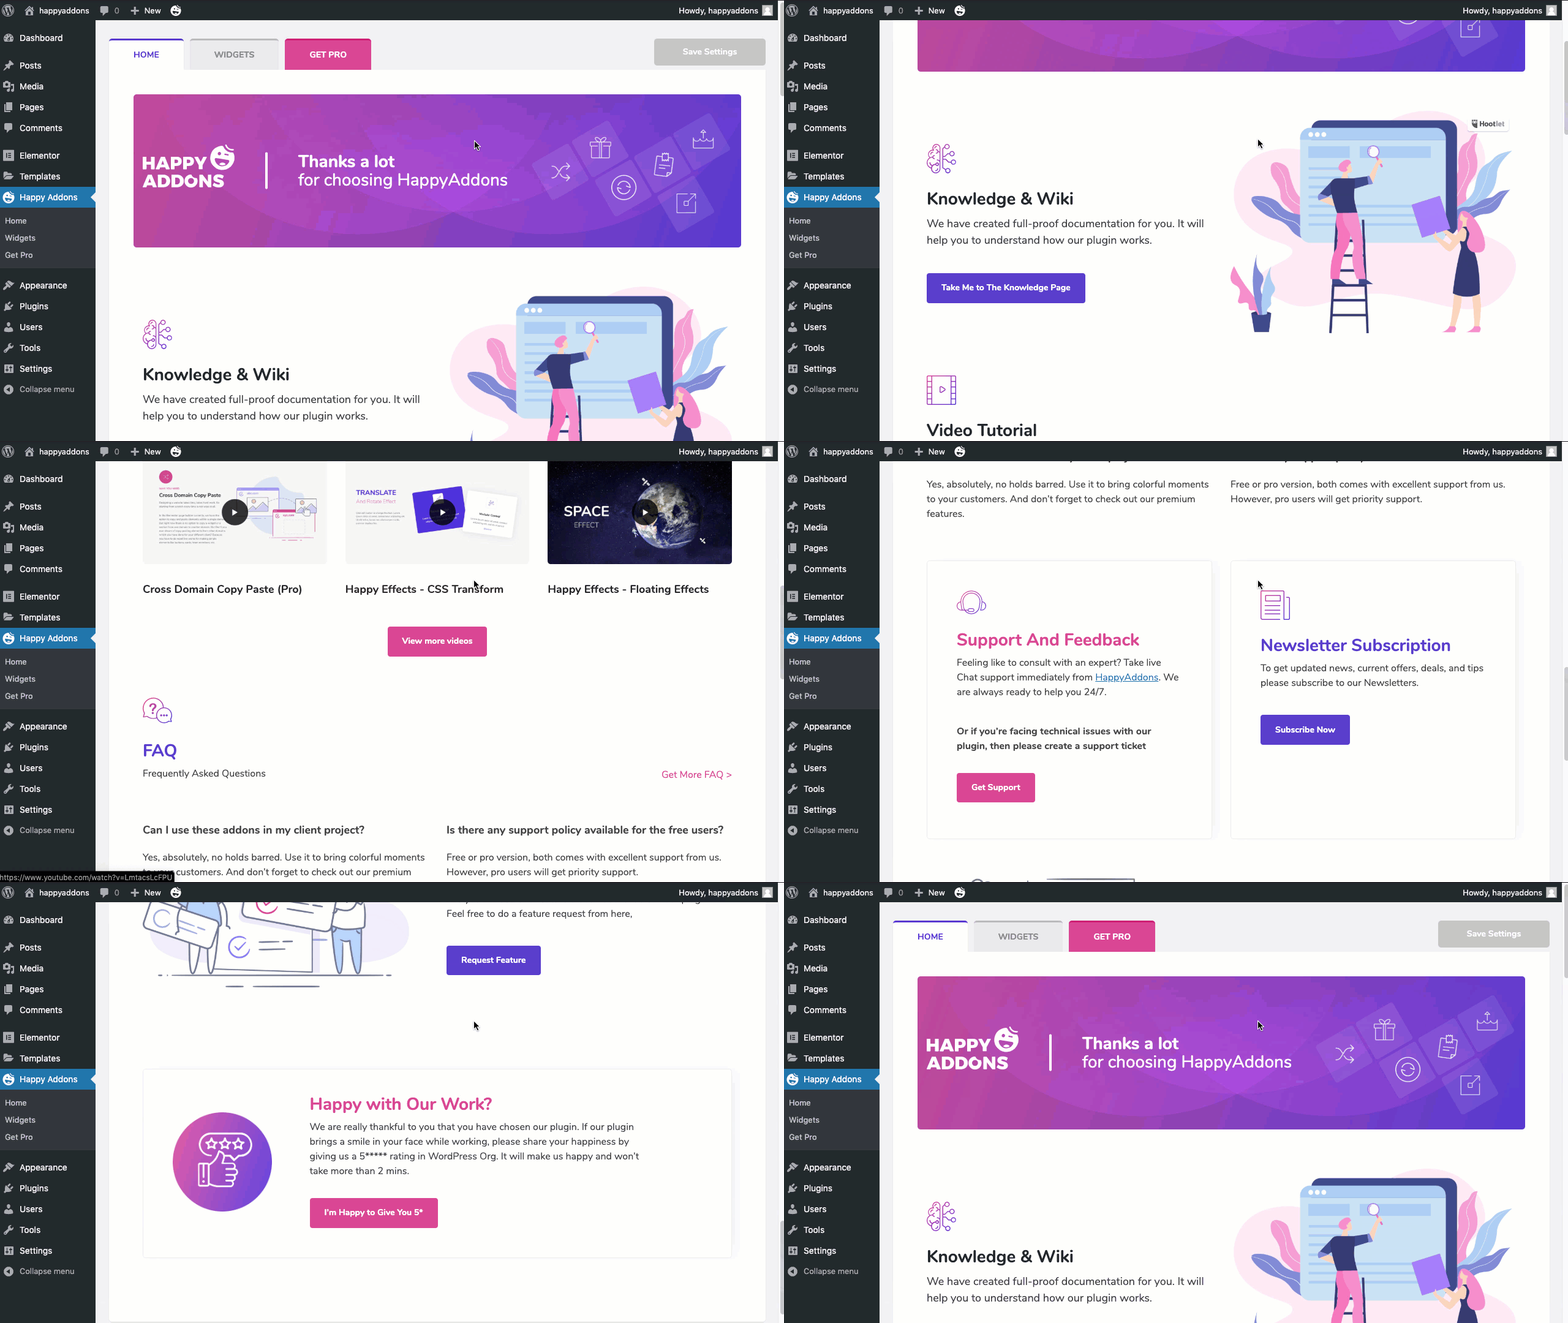
In the home tab of the HappyAddons, you will get all the relevant information and resource links. Such as you will find the Knowledge & Wiki Page link. From this link, you will find the necessary documentation section. Along with that, you will get the video tutorial links, official support channel links, FAQ section, New feature request section, and many more.
Widget Tab
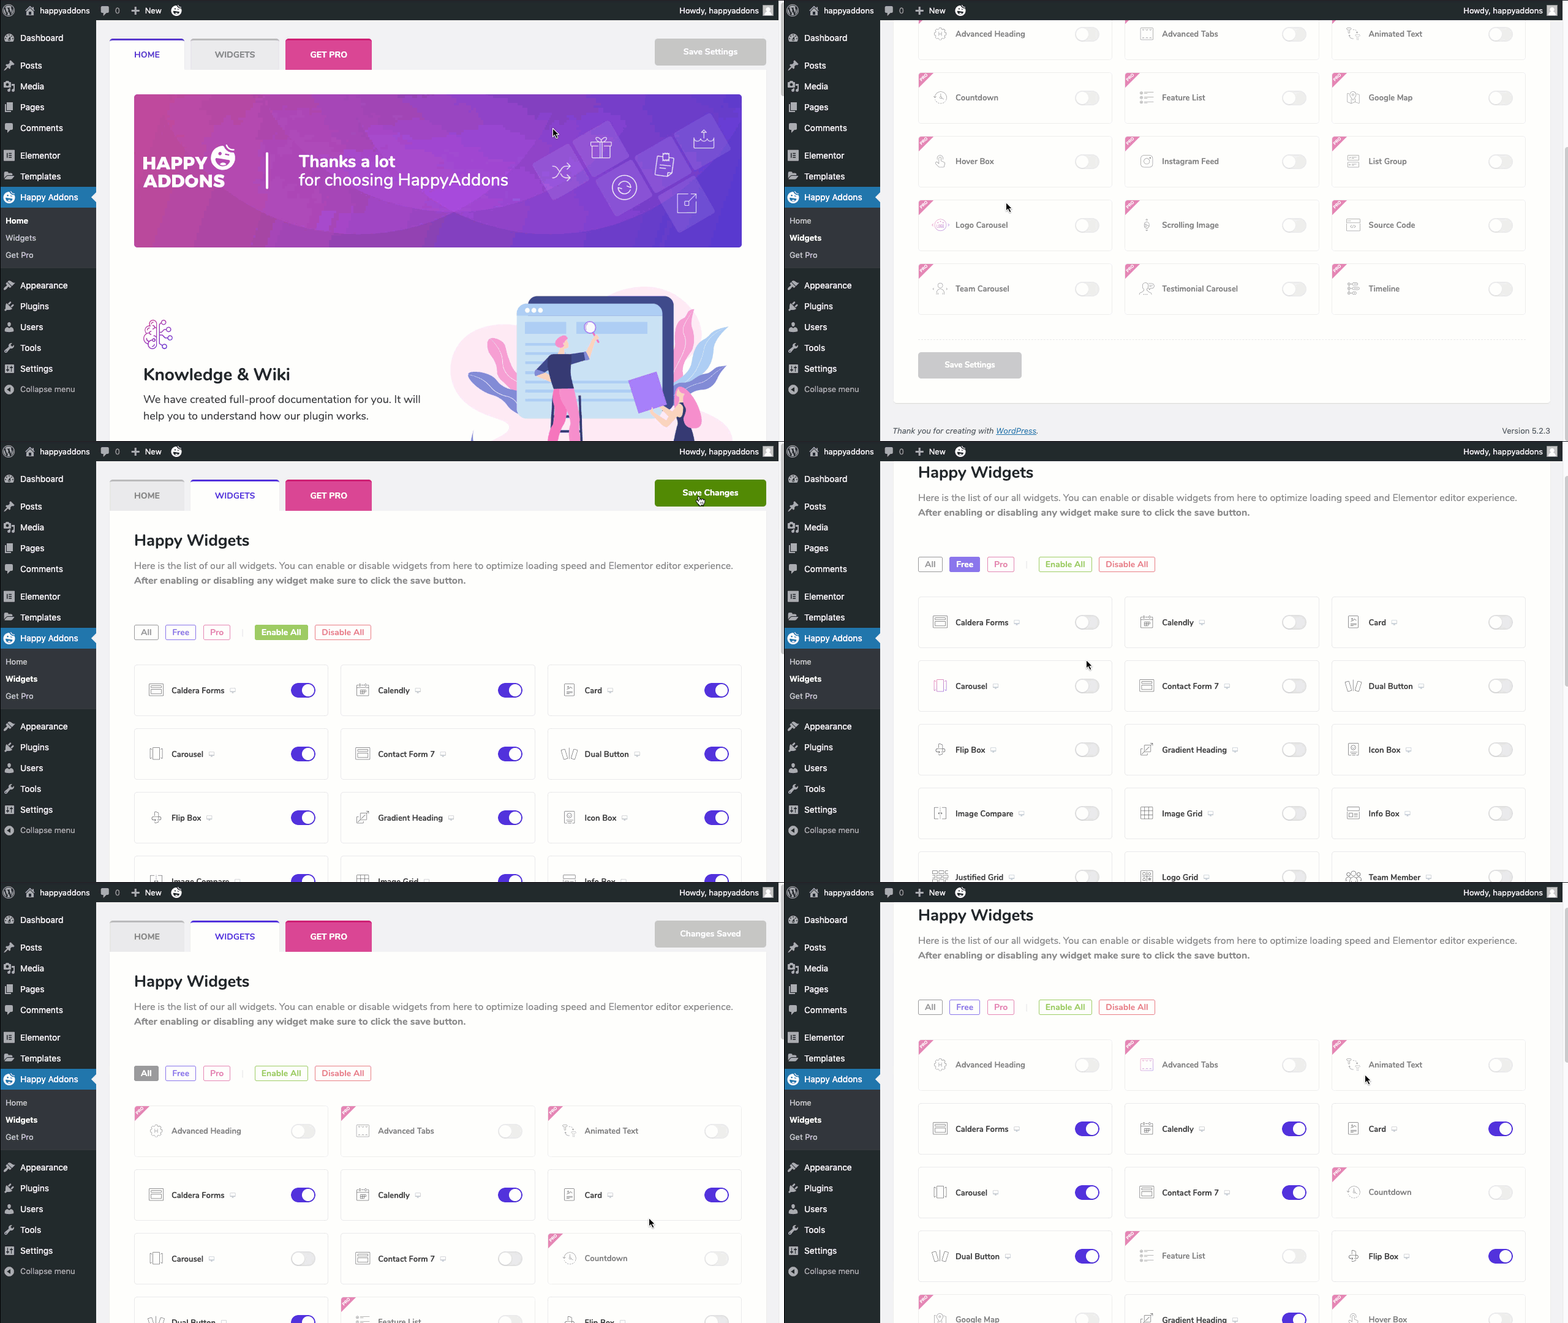
You will find a widget tab in our Happy Addons Dashboard. Here we have introduced the single widget activate or deactivate functionality along with bulk activation and deactivation facility. You can distinguish our free and pro widgets with the filtering options.
Please make sure after activating or deactivating any widgets or bulk activation or deactivation process you have to click the save changes button to save your settings.
Features Tab
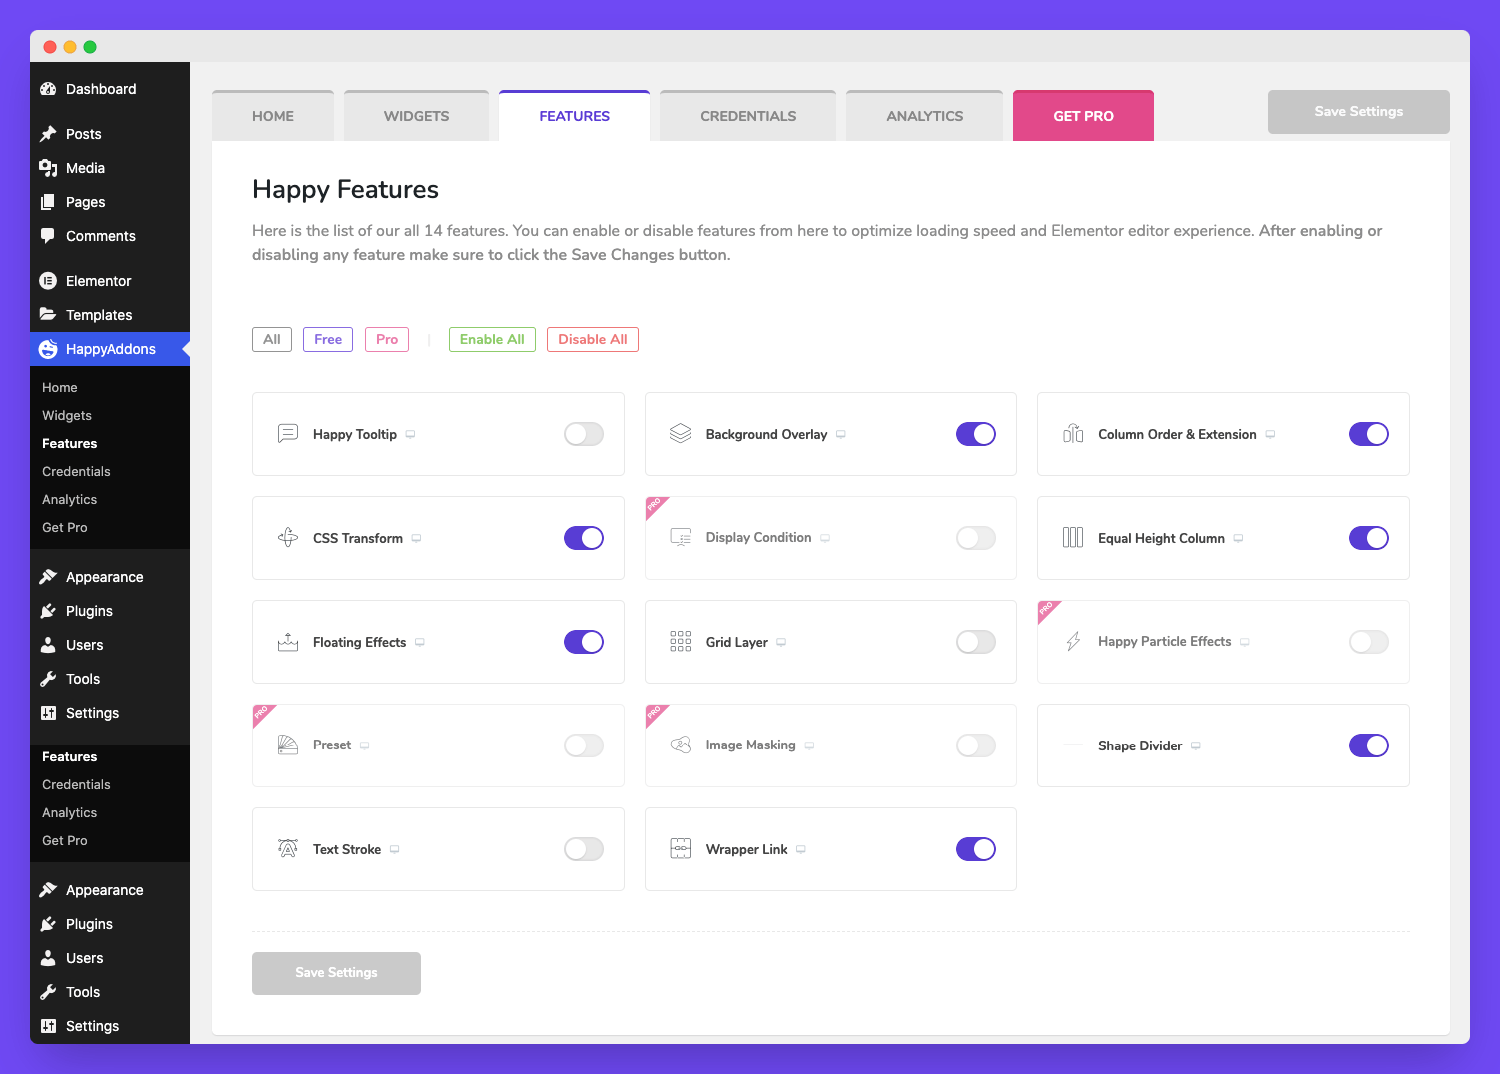
You’ll find the Feature tab right after the Widget. Here, you can manage all the Features. You can enable and disable features. Even filter the features based on Free & Pro.
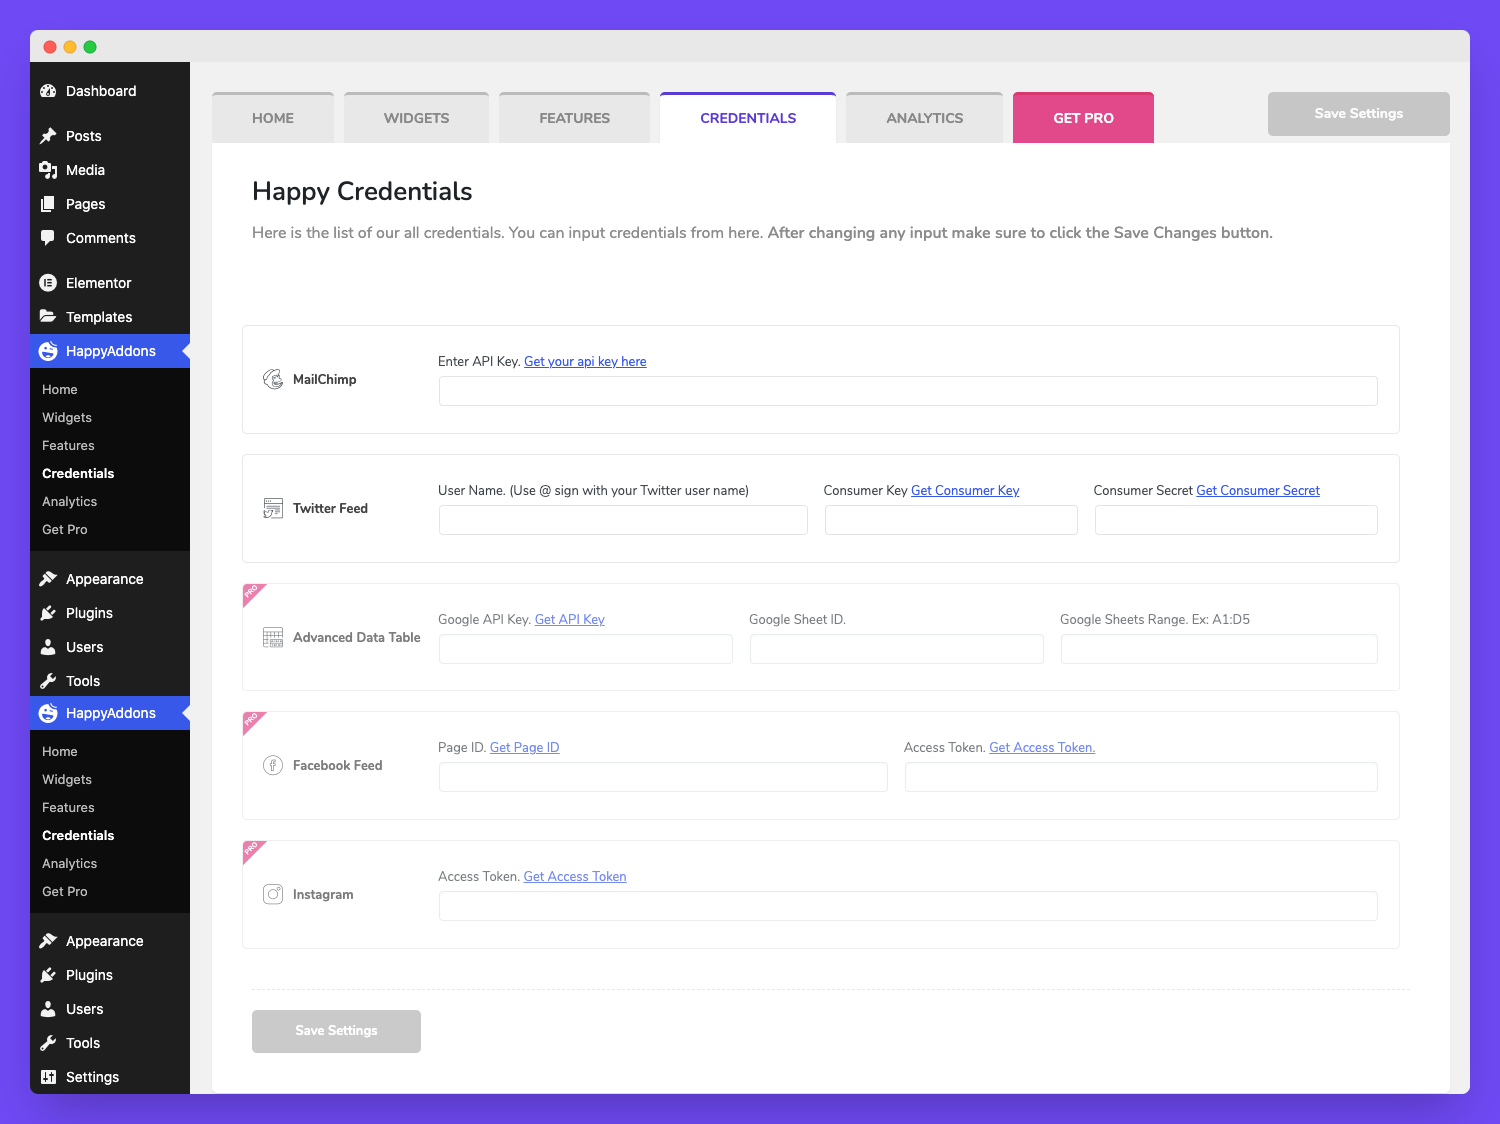
Credentials Tab
The Credential tab allows you to set Mailchimp API Key, Twitter account, Facebook account, Google API key, and Instagram account.
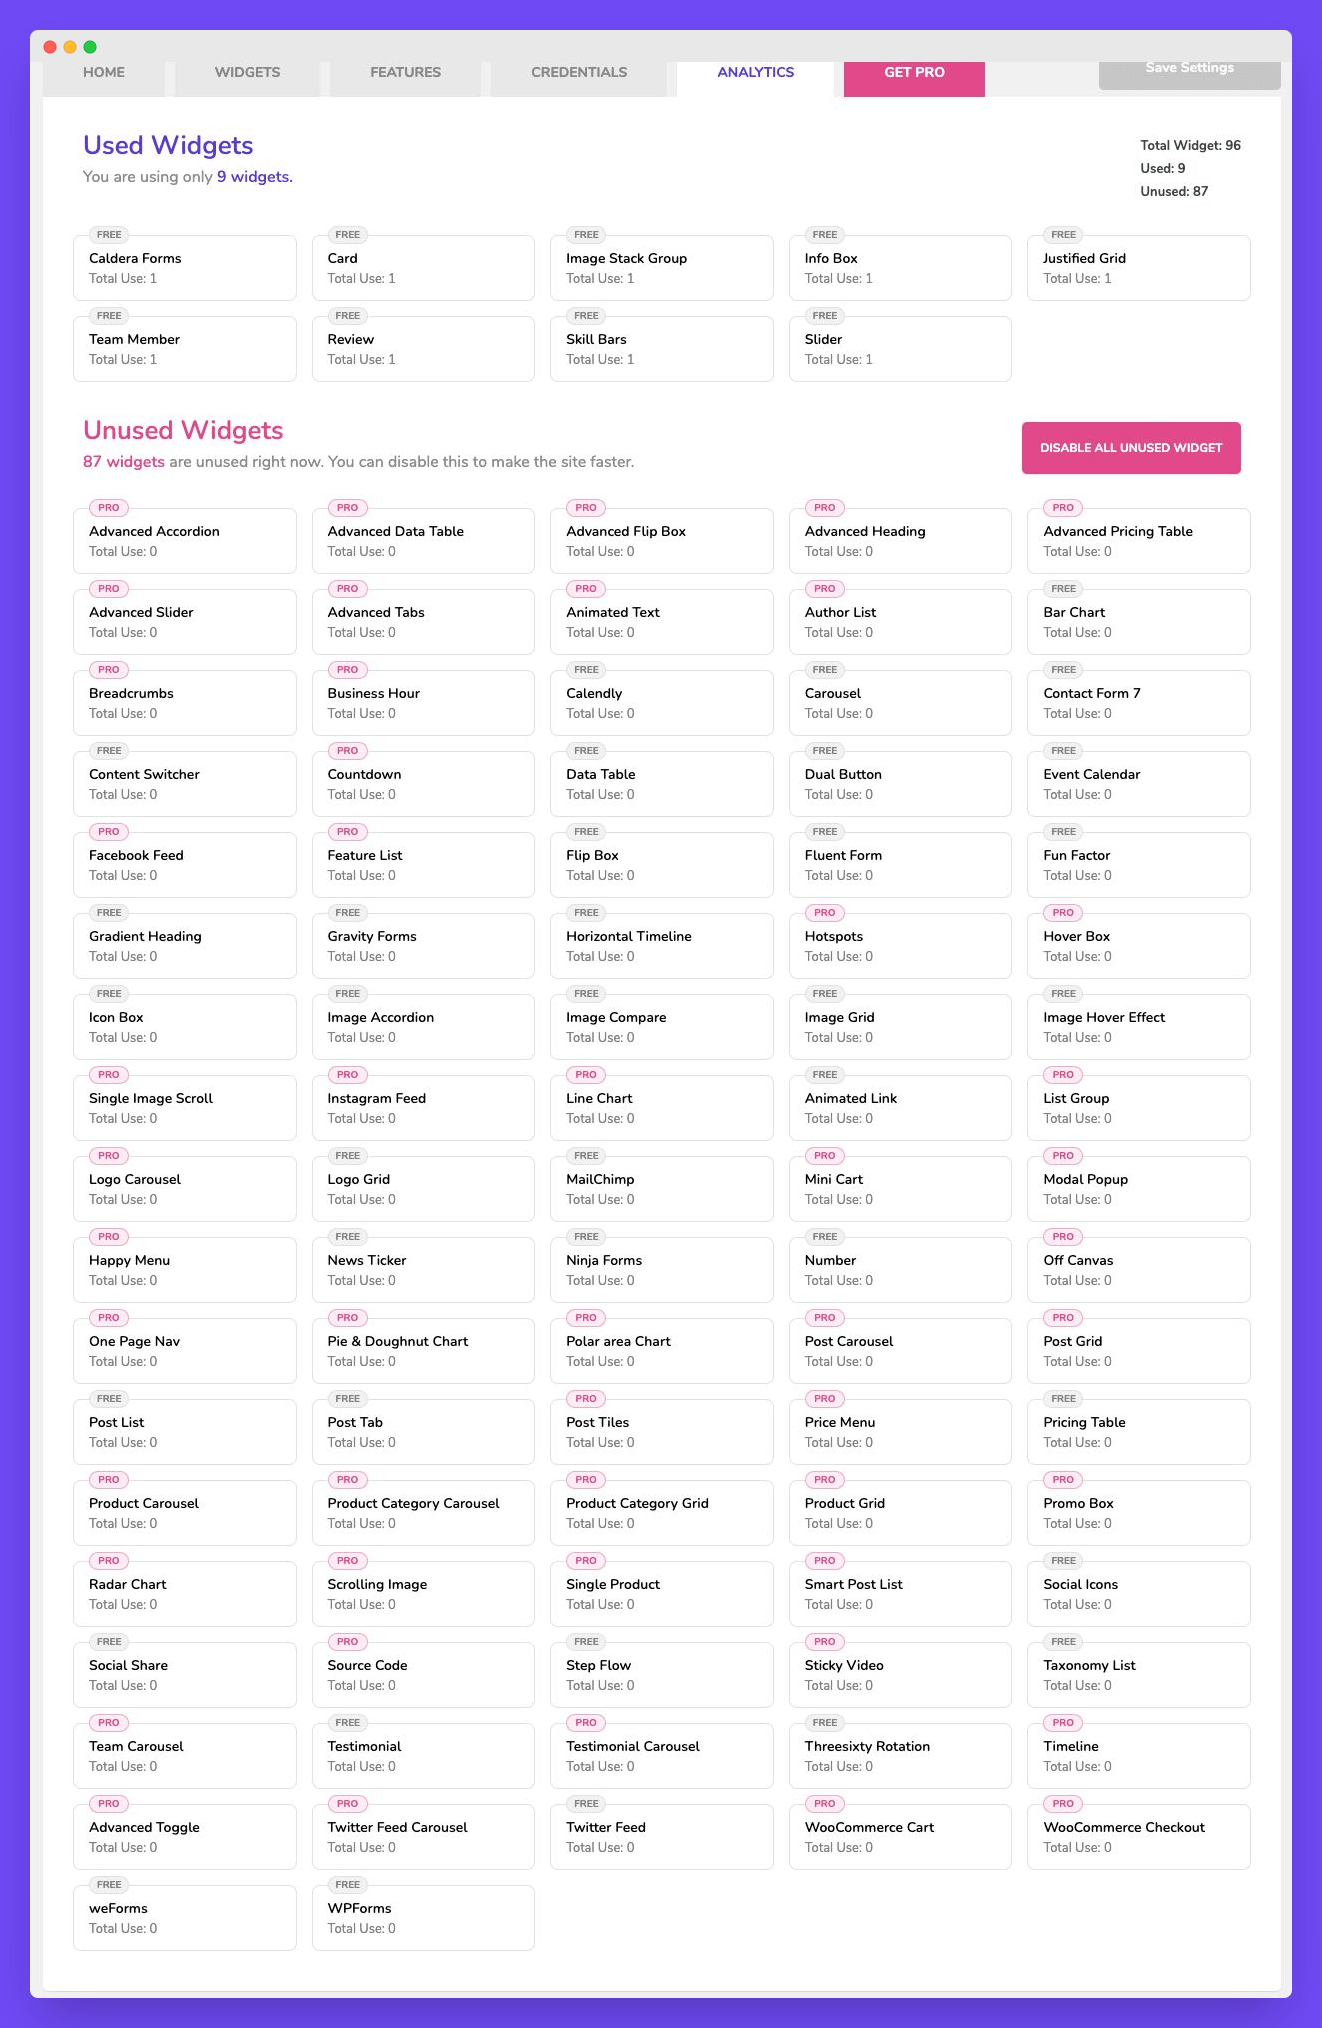
Analytics Tab
Introducing the new Analytics tab you can find it in the Happy Addons Dashboard area. Under this tab, you are able to see how many widgets you’ve used for your site and see how many widgets are remained unused. You can also disable all the unused widgets by simply clicking the Disable All Unused Widgets button.
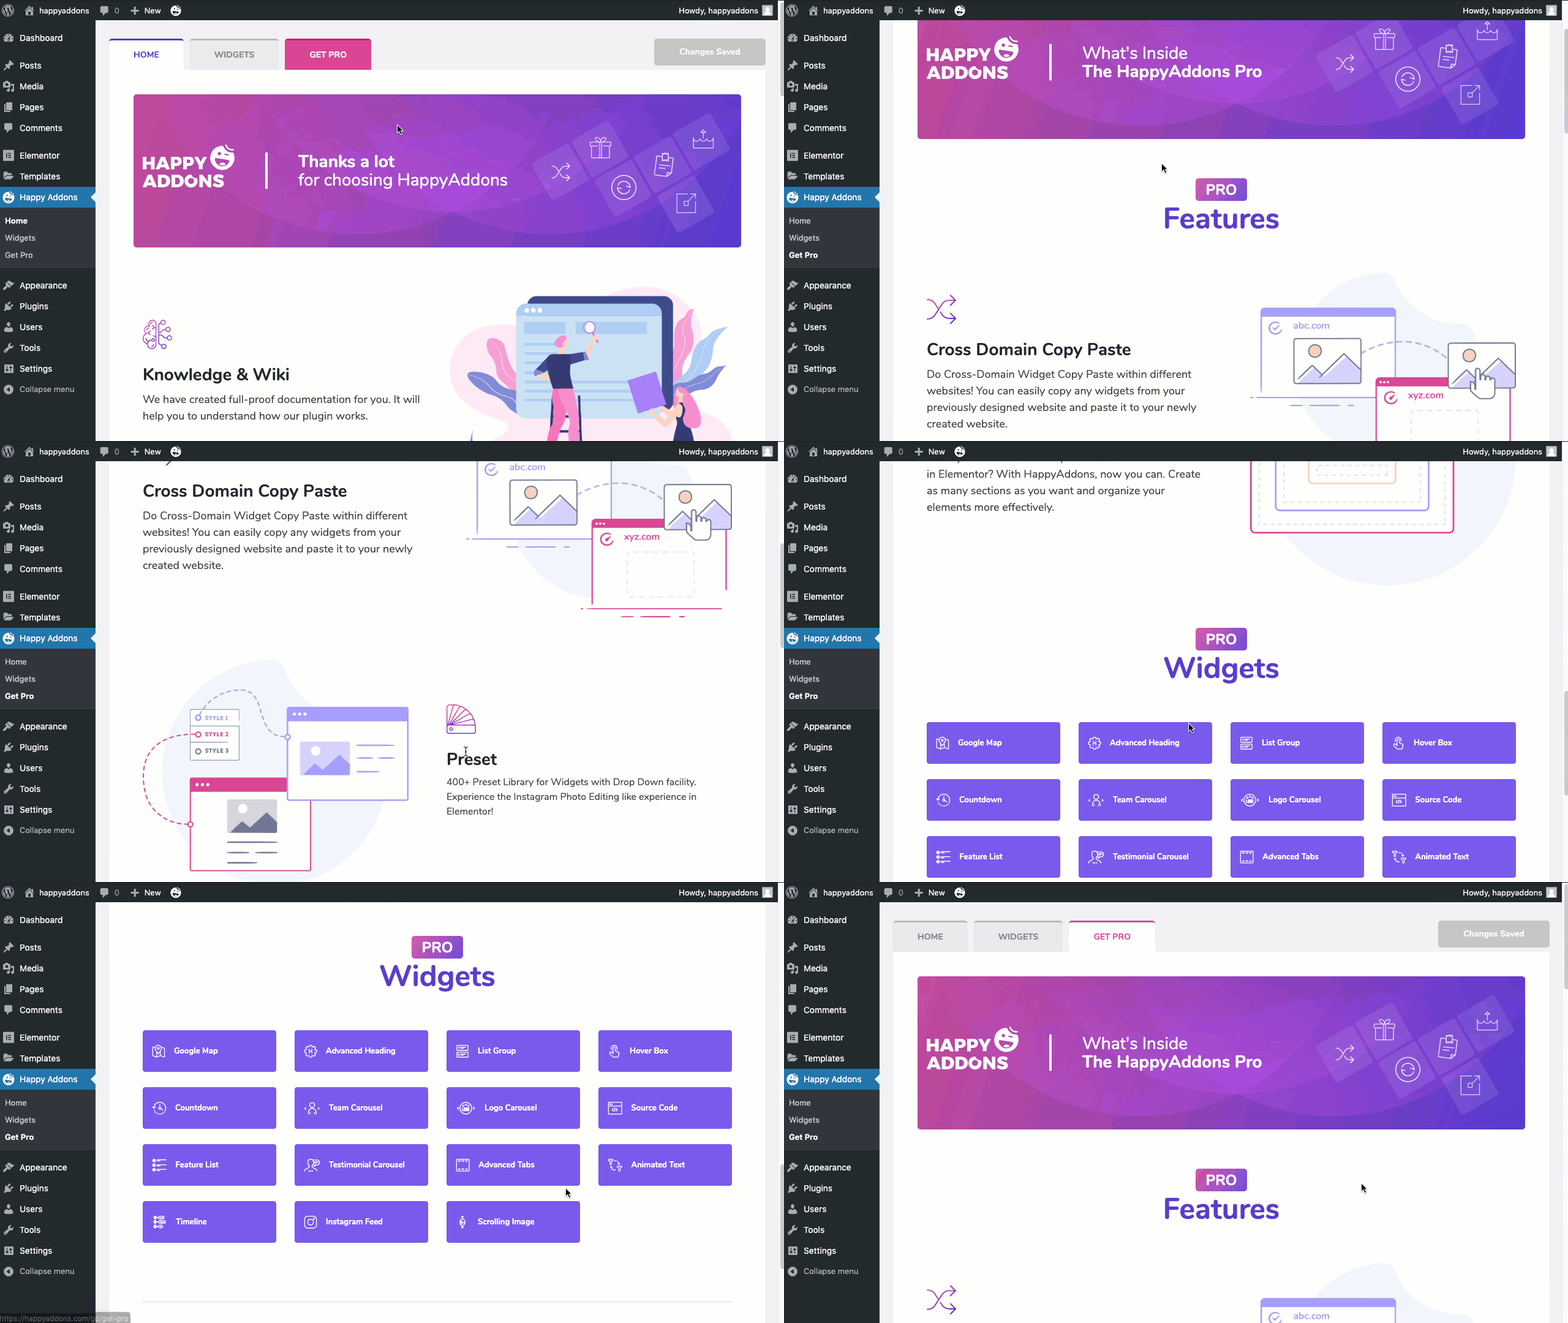
Get Pro Tab
You will find a Get Pro tab in our dashboard. Where you get the information on what you will get in our premium version.
Features in Happy Addons Menu
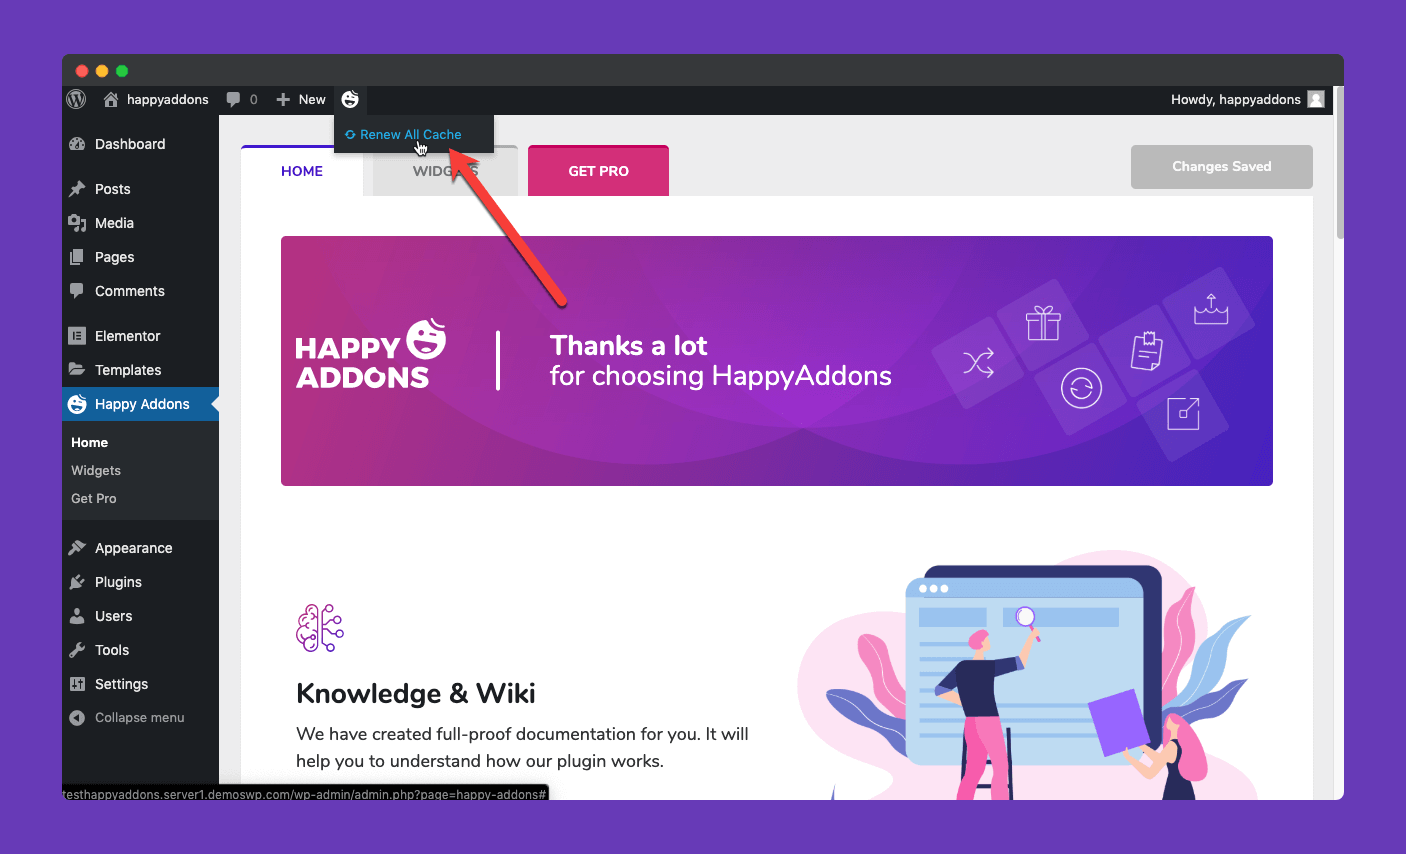
On the menu, you will get a feature which is “Renew All The Cache“.
As our Happy Addons for Elementor comes with an on-demand asset loading feature so that only those elements will be loaded which are being used while creating the particular page. If you are facing a problem while creating the design means your creation does not appear appropriately then you have to Purge(Clean) all the cache. It mainly cleans the on-demand asset loading caches. Or you can clear a particular page’s cache by clicking on the tab on the “Renew All Cache“. It’s only clear the cache on that page.
