If you’re solely looking to showcase your website timeline horizontally and give it an elegant look, then the Horizontal timeline widget of Happy Elementor Addons could be the best option for you.
Yes, now you can display all your website’s timeline such as any updates, changelogs, or blog-posts using this widget. Also, you can customize it according to your own way.
Anyways, this documentation will walk you through how easily you can use and customize the horizontal timeline widget on your WordPress site.
So let’s see the following steps very carefully:-
How To Use Horizontal Time Widget of Happy Addons
Step One:-
First of all, you’ll need to select the widget. And then drag-drop it on the working screen.
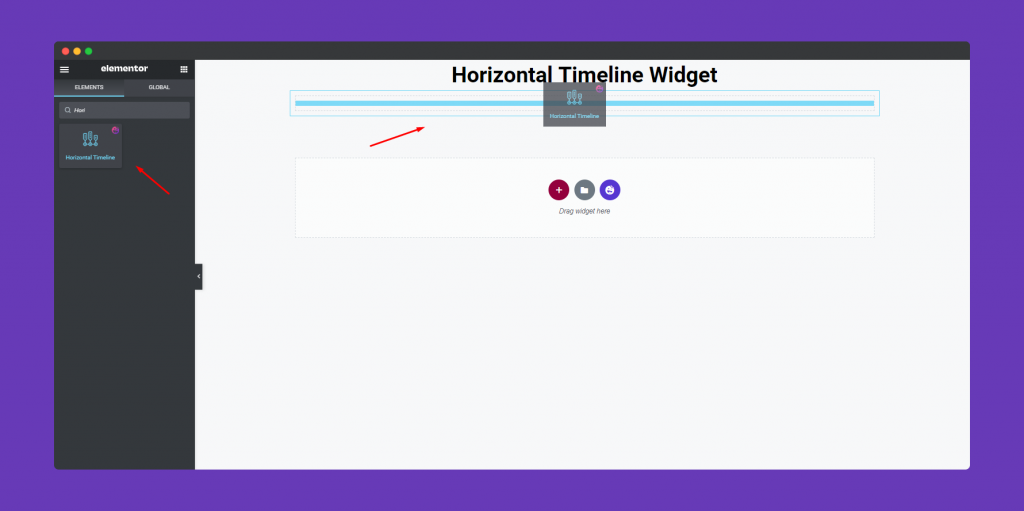
After that, you can see that some default design will automatically appear. It will help you to where to start or how to customize the rest of the parts.
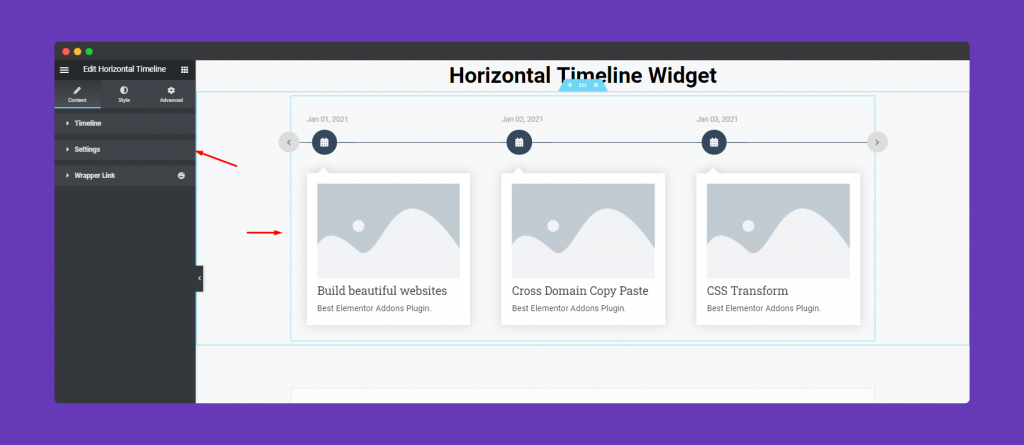
Step two:-
Next, you will get some customizing options on the left-side of the screen. For example, Timeline, Settings and Wrapper links.
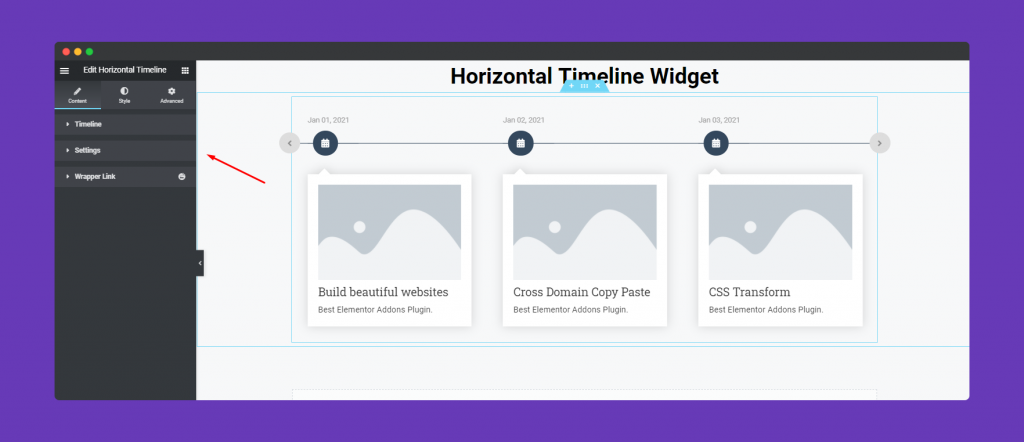
Timeline
First, you’ll get Timeline. Here you can see some default value. Either you can stay with the current options or you can add more options as you want.
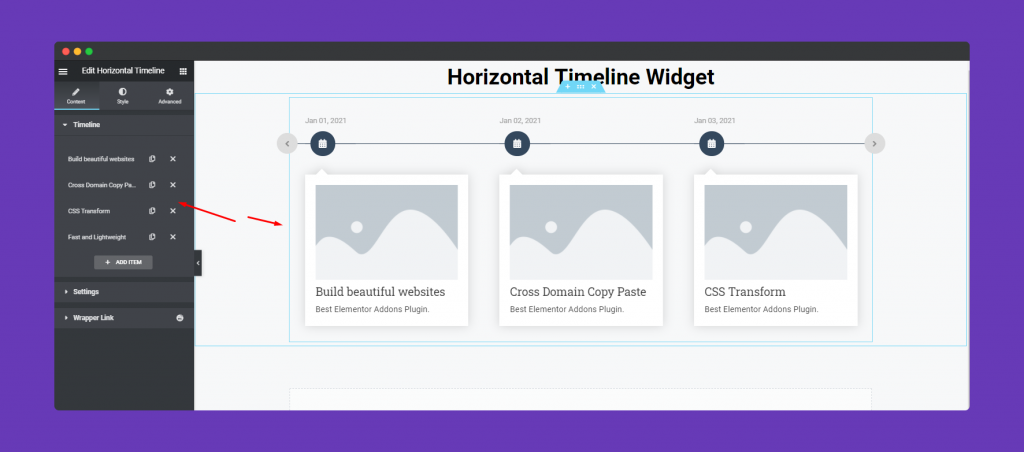
When you click on each part, you can customize, edit and more things.
For example, set the icon (SVG file upload and images are also available), background image, title, sub-titles, and description.
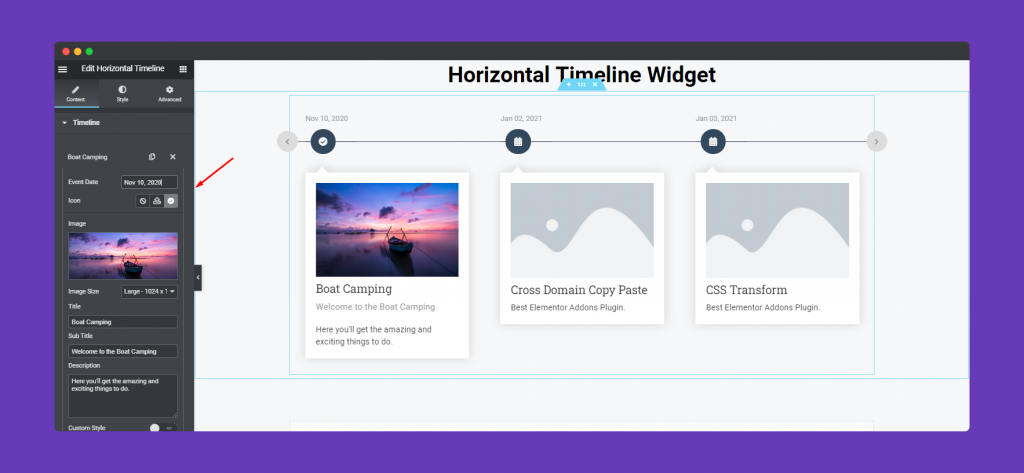
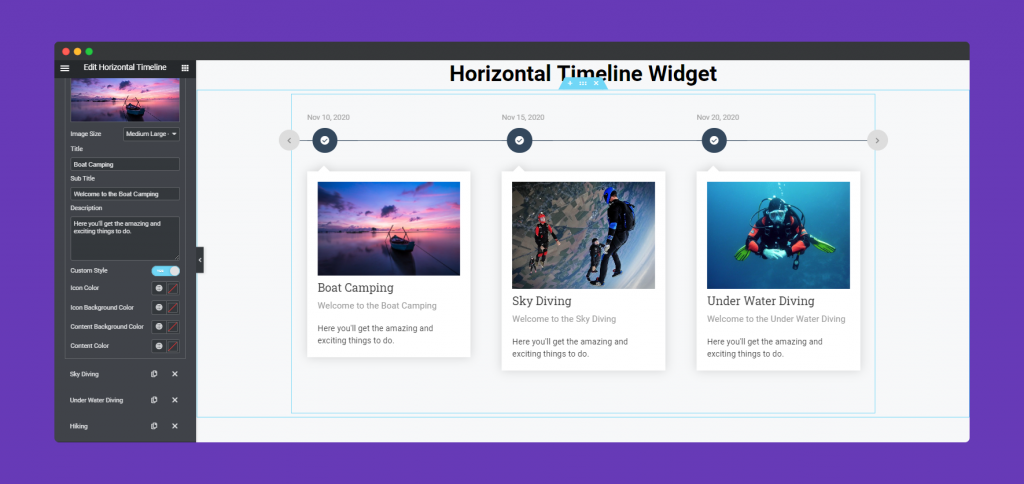
Here you’ll get another option if you want to customize each section individually. For this, you’ll need to turn on the Custom Style. As a result, if you want to customize only one section, it will help you to do that.
Here you can see, you can change icon color, its background, content text color, background, etc.
General Settings
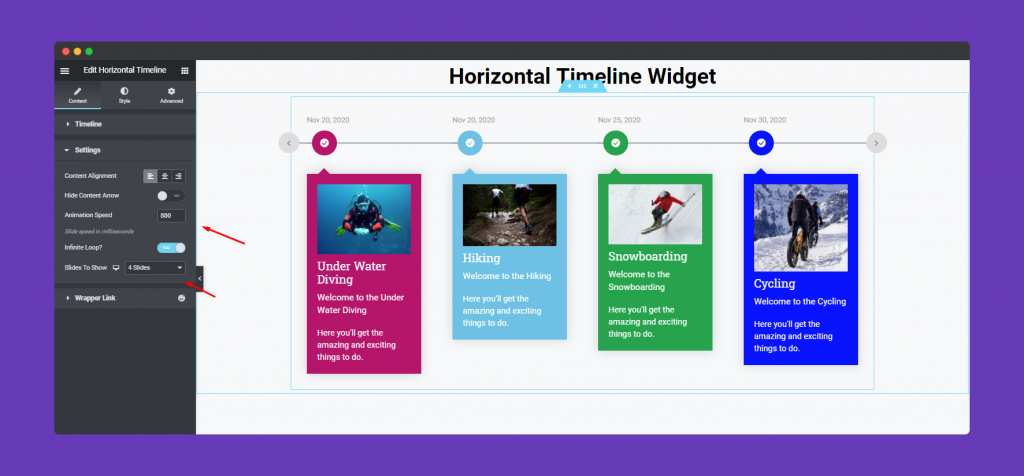
Now tap on the Setting. And here you can change the settings of the widget. Here you can set the animation time, set how many sliders you want, hide-show content arrow, content alignment, etc.
Wrapper Link
To know more about what the Wrapper link is, check out the documentation here.
Step Three:-
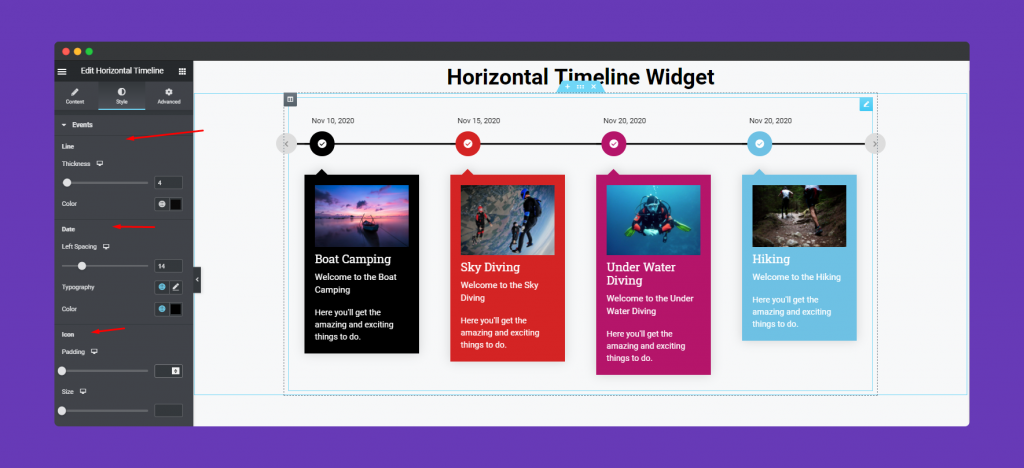
To slightly change its stylize, click on the Style button. And you’ll get two available options. Content; Event.
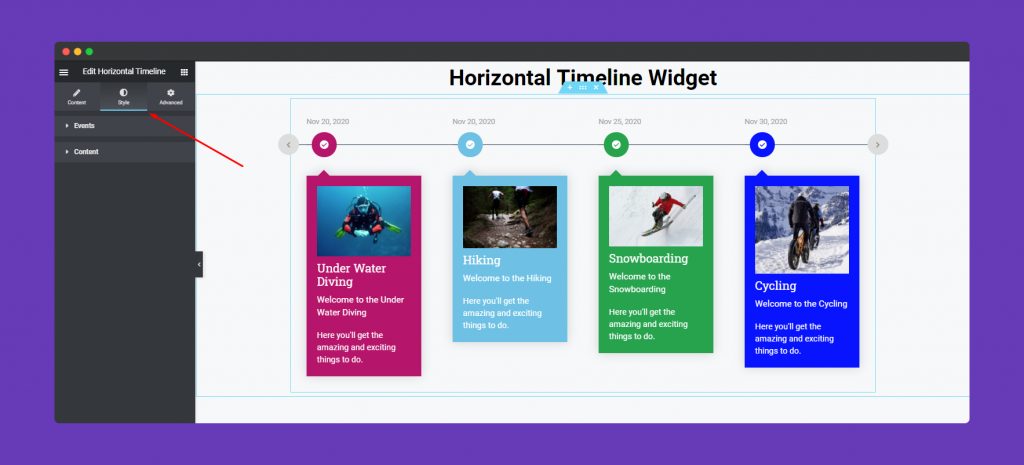
Here you can customize line, date and icon design. Their colors, size, margin, padding, etc.
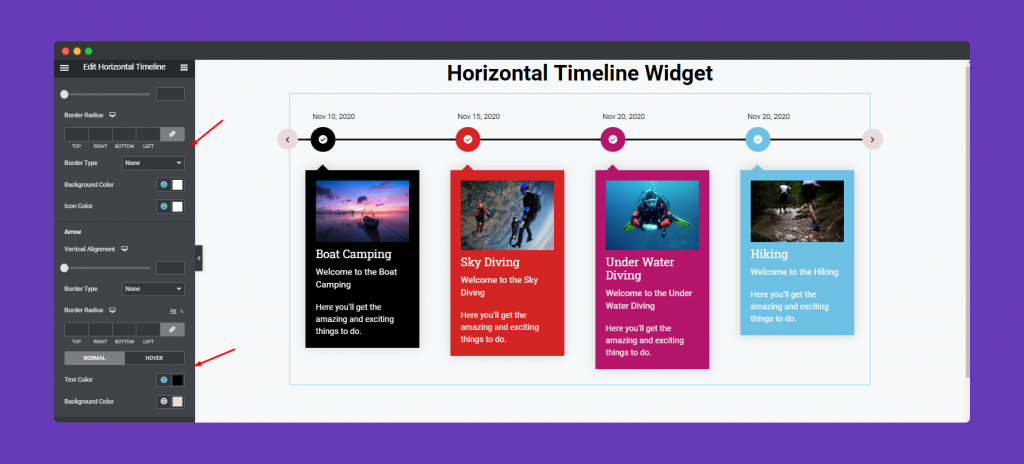
And finally, you can also change the border, border color, radius, arrow color and its background color.
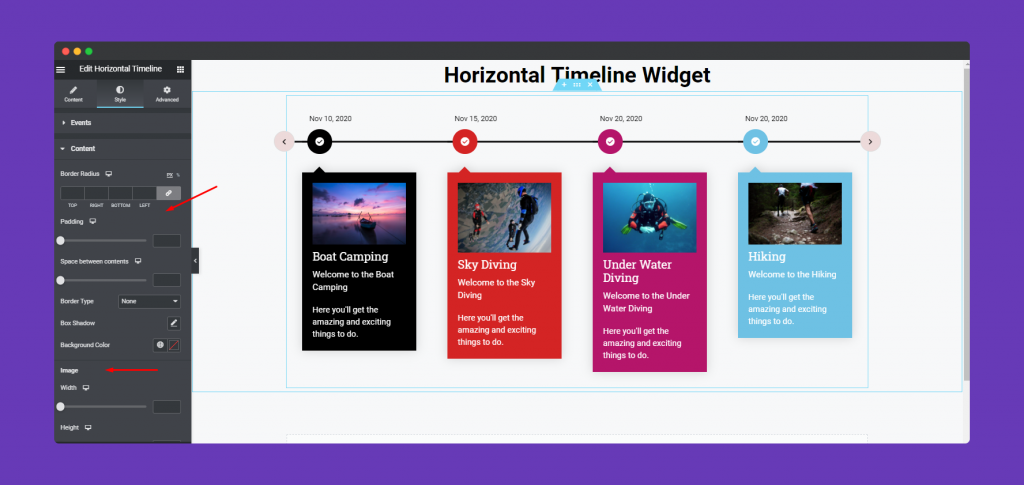
To stylize the content, click on the Content and you can change the margin, padding, border, border-radius, spacing, image & its size, border type, image height-width, etc.
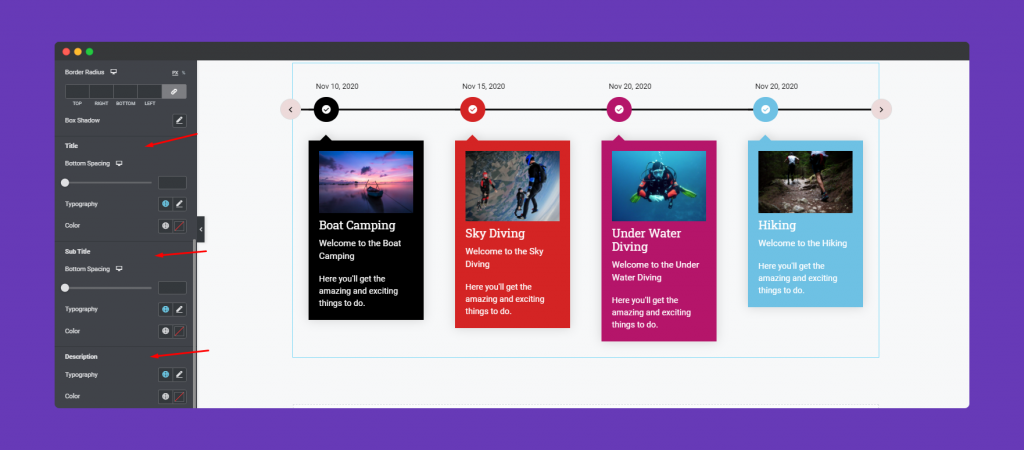
Similarly, change its title size, color, spacing, sub-titles, description, etc.
Step Four:-
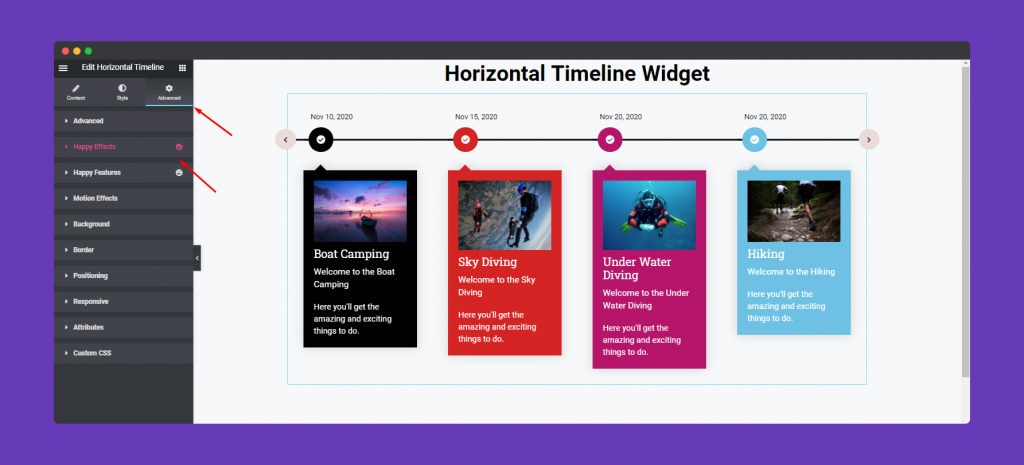
There is also an Advanced option which is an elementor default option. There is a happy effect, motion effects, etc. if you want to add more functions to your widget and make it more fun and stylish.
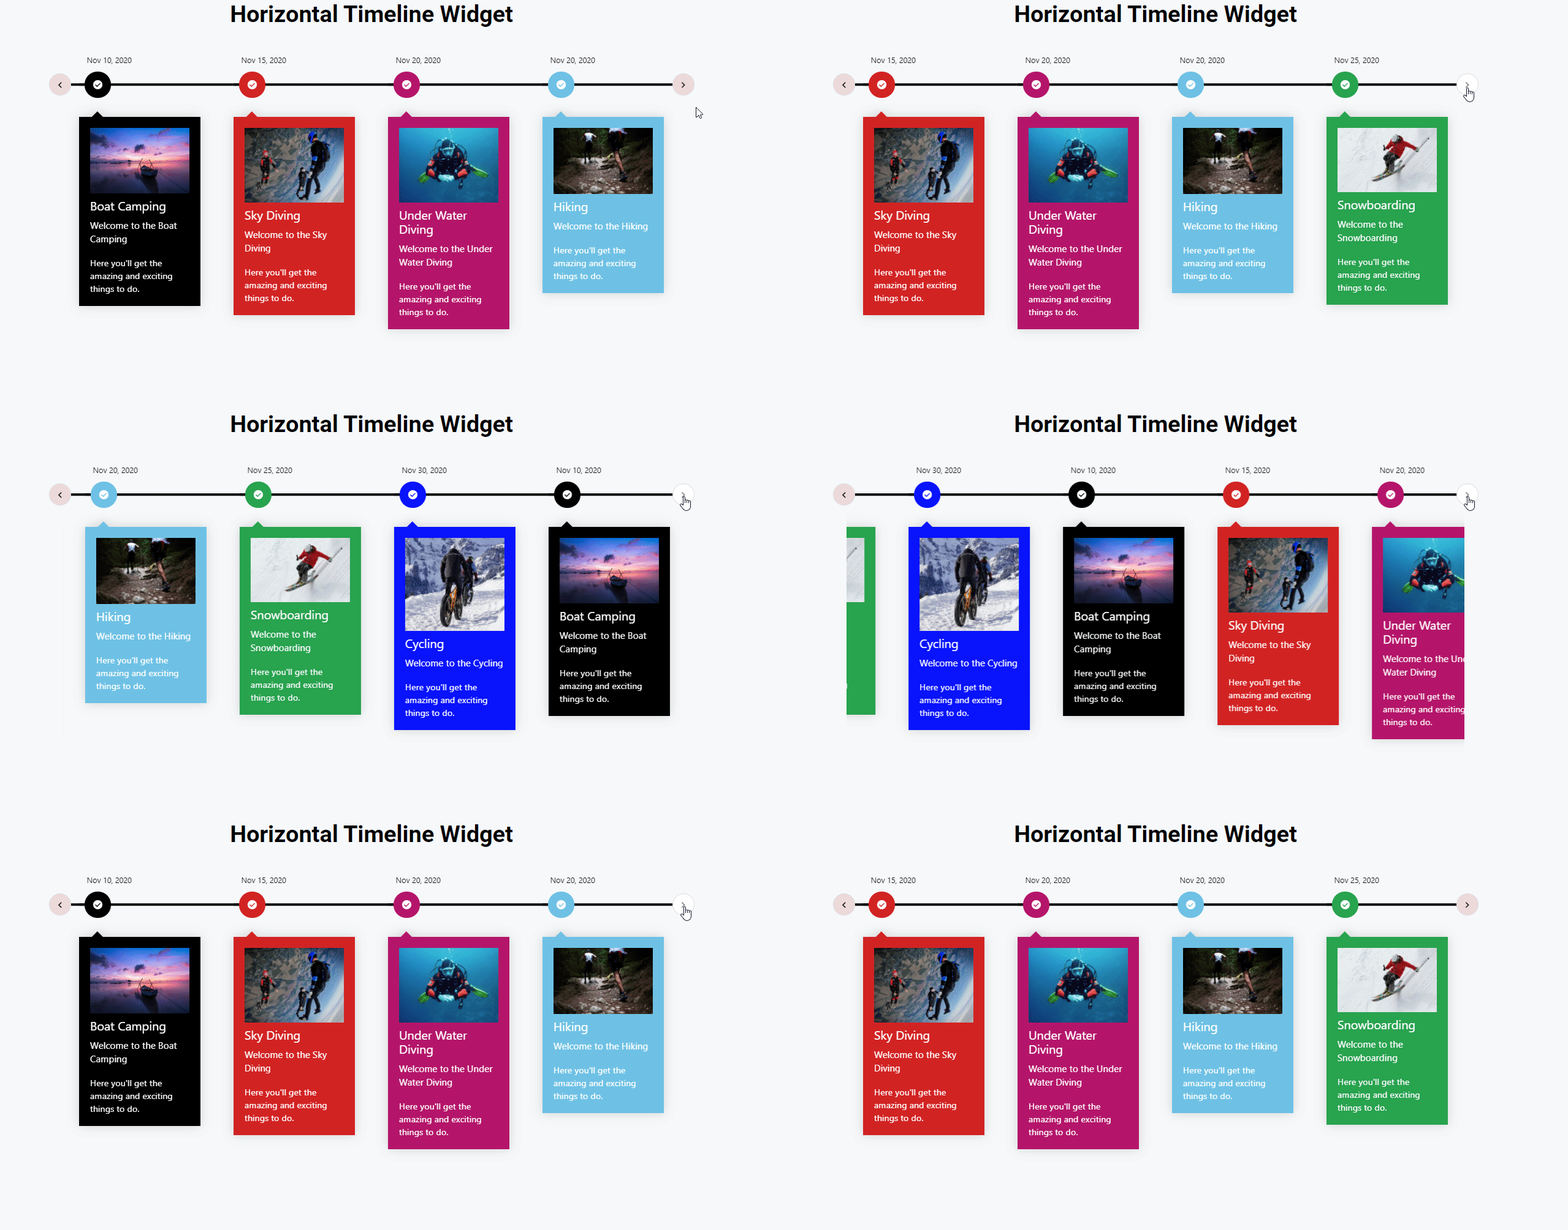
So after done with task, your design will like below:-
That’s it!
