Need an advanced tool to add a beautiful image group on your Elementor website? Take a look at Happy Addons’ new ‘Image Stack Group‘ free widget. With this widget, you can efficiently add and customize image groups in a more organized way.
Pre-requisites
To use the handy Image Stack Group widget, you need the following things:
- Elementor (Free)
- Happy Addons (Free)
How To Use Image Stack Group
Let’s check out how to use the Image Stack Group widget and customize it step-by-step:-
Step: 1
Add Image Stack Group Widget
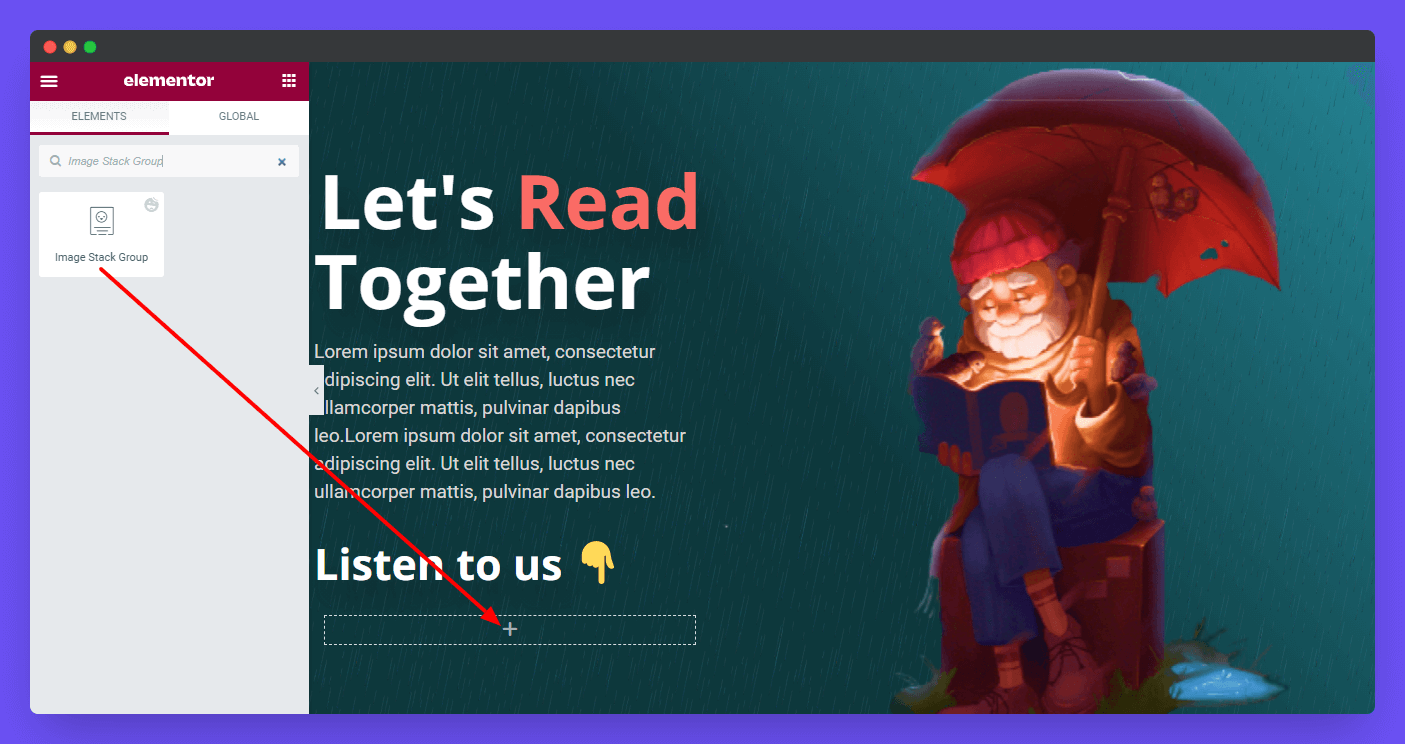
First of all, you need to find the widget from the left sidebar menu. Then drag and drop it onto the selected area.
Step: 2
Content
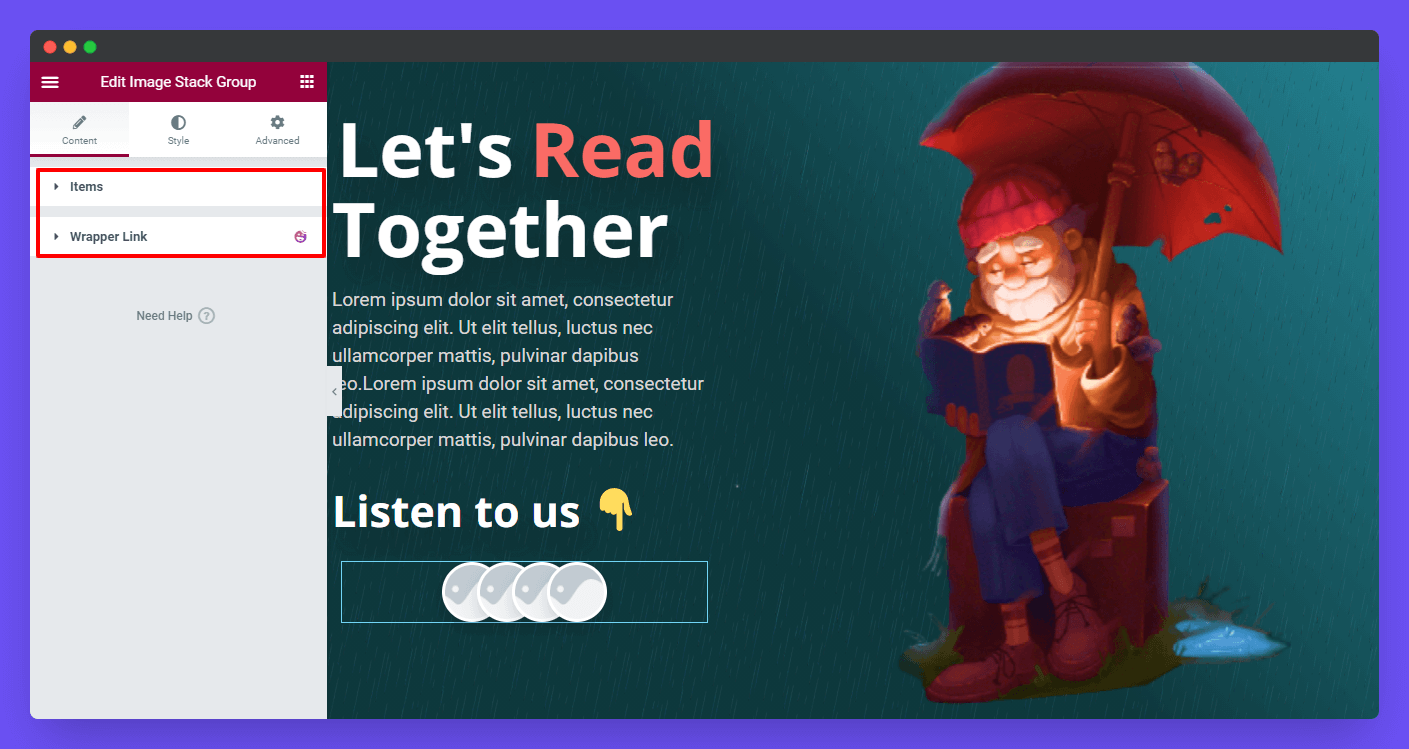
In the Content area, you’ll get the Items of the Image Stack Group.
Add Items
In the items section, you’ll get all the essential settings for adding the items. You can add as many items as you need. Here are the options.
- Media Type
- Tooltip
- Tooltip Position
- Link
- Background Type
- Border Color
Let’s talk about each setting one by one.
Add Media Type
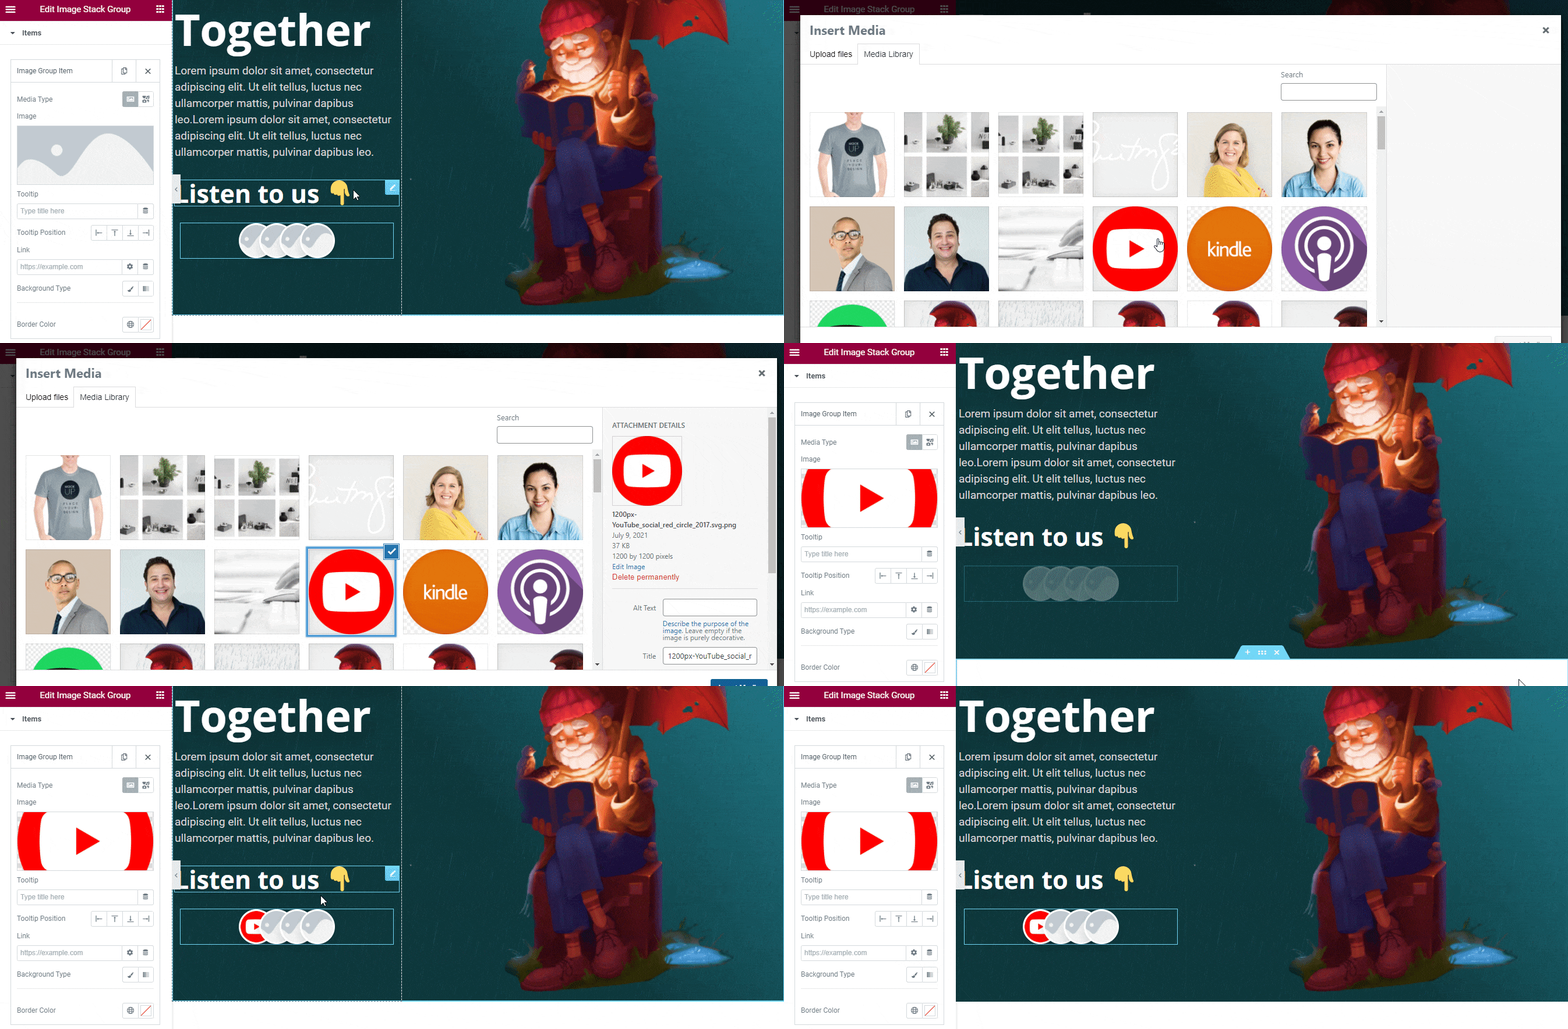
You can add an image or an icon in the Media Type. It actually depends on your need. Here, we’ve added an image as our Media Type.
Add Tooltip
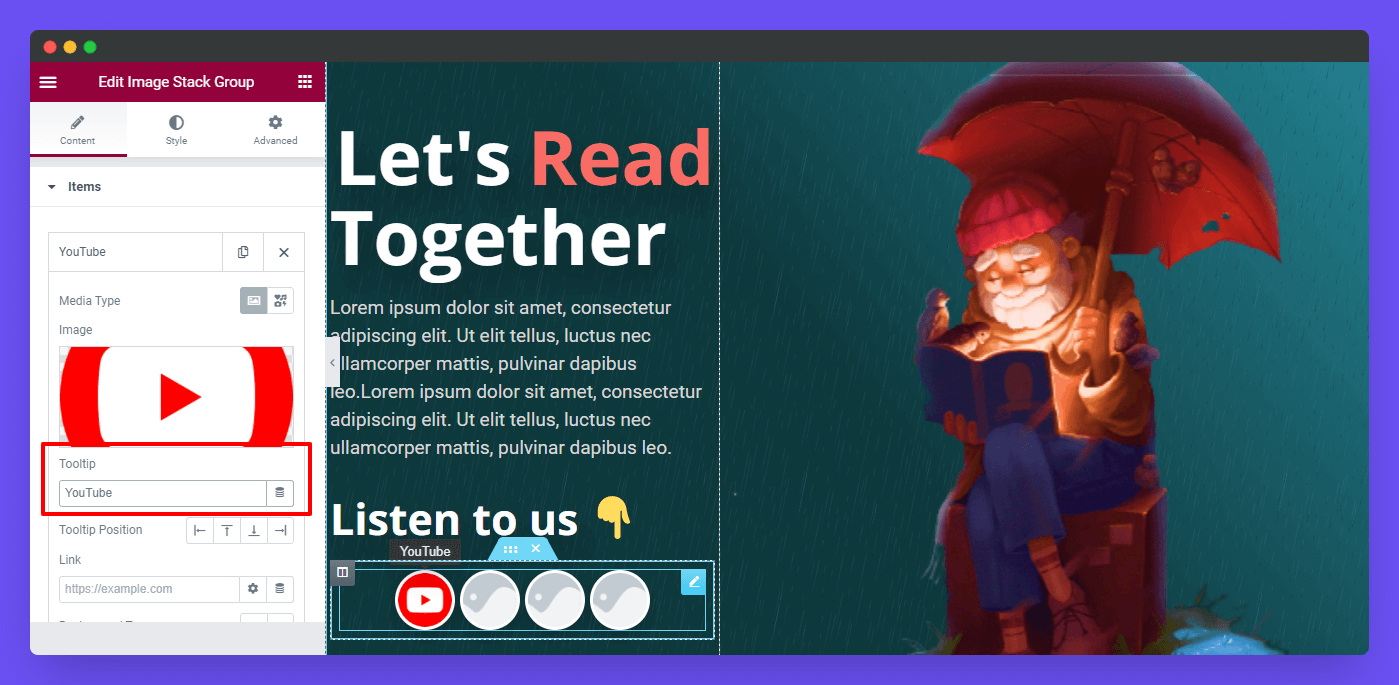
After adding the image, we need to add a Tooltip.
Set Tooltip Position
You can also define the individual Tooltip Position such as Left, Up, Down, and Right.
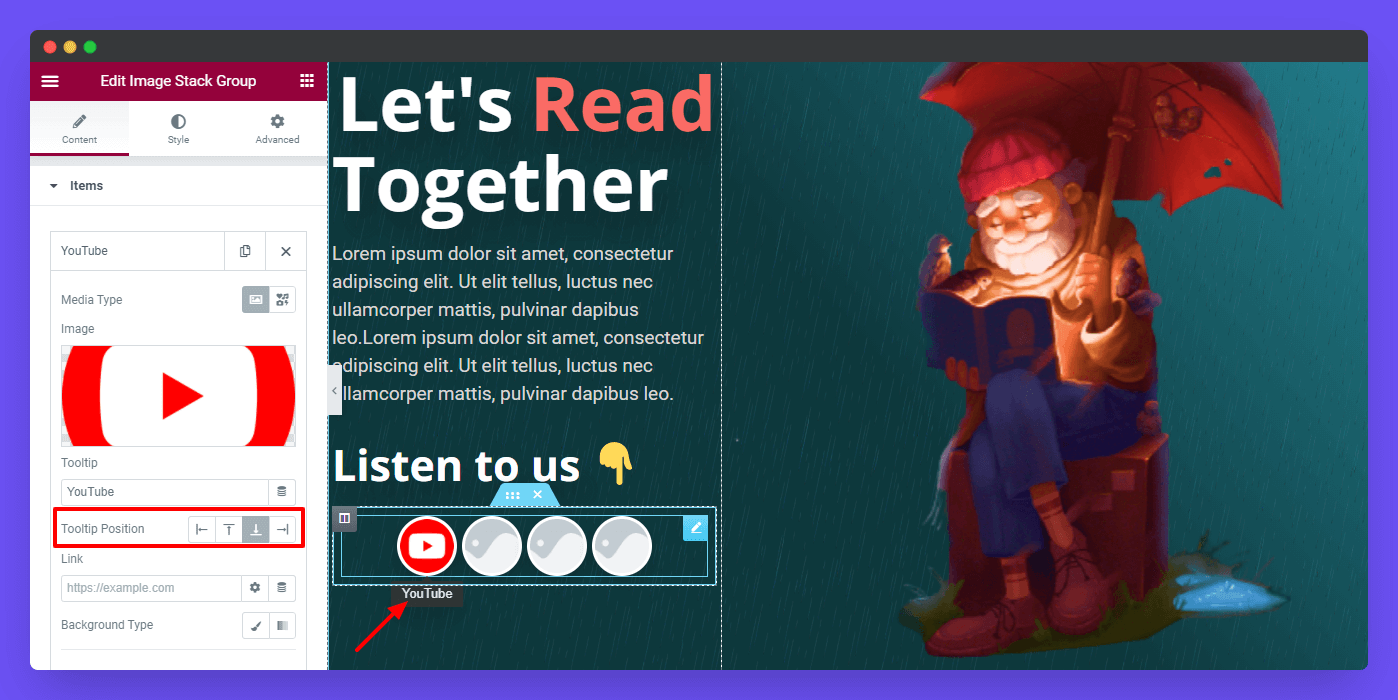
Note: If you change the individual tooltip position here in the Content–>Items, the global tooltip position will be overwritten for only this individual item. This means the global tooltip position will no longer work for this item.
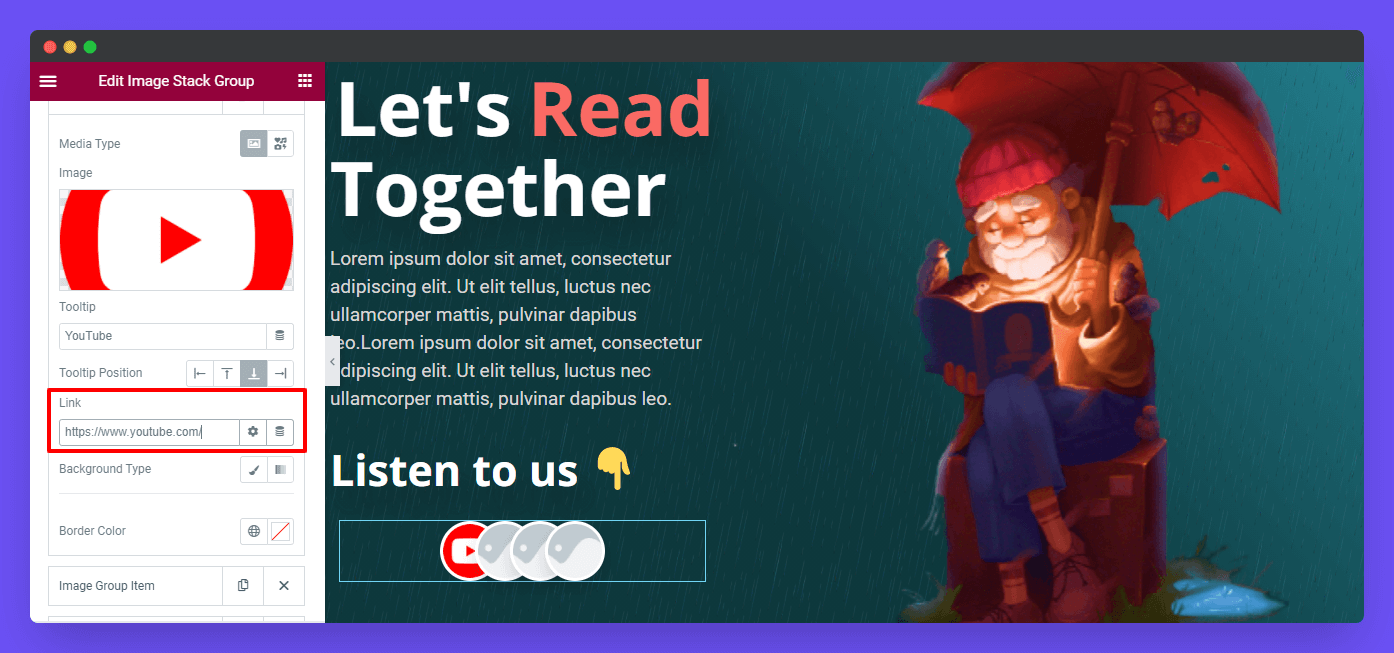
Add Link
You are able to add a custom Link to your tooltip.
Background Type & Broder Color
According to you need, you can easily add a Background Color behind the image or icon using the Classic or Gradient color. You can also set any Border Color. Here, we’ve added a white border color.
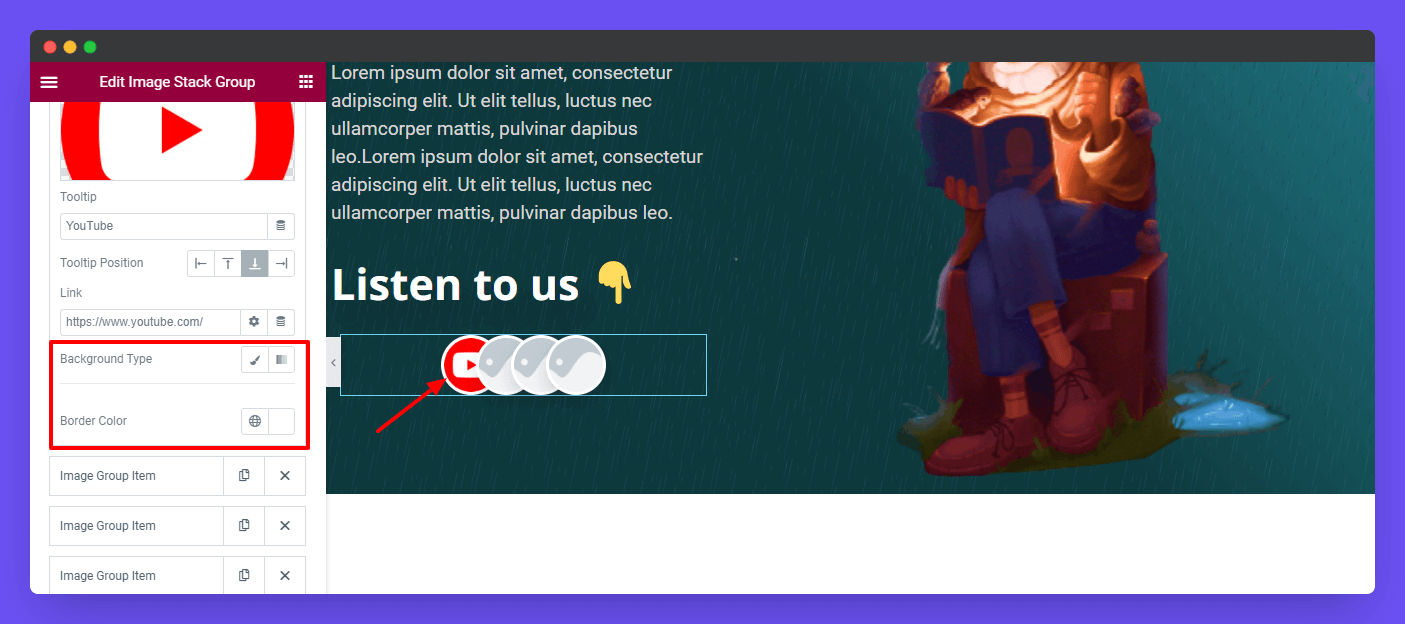
Note: After adding the 1st item, we also have added three items in our image stack group.
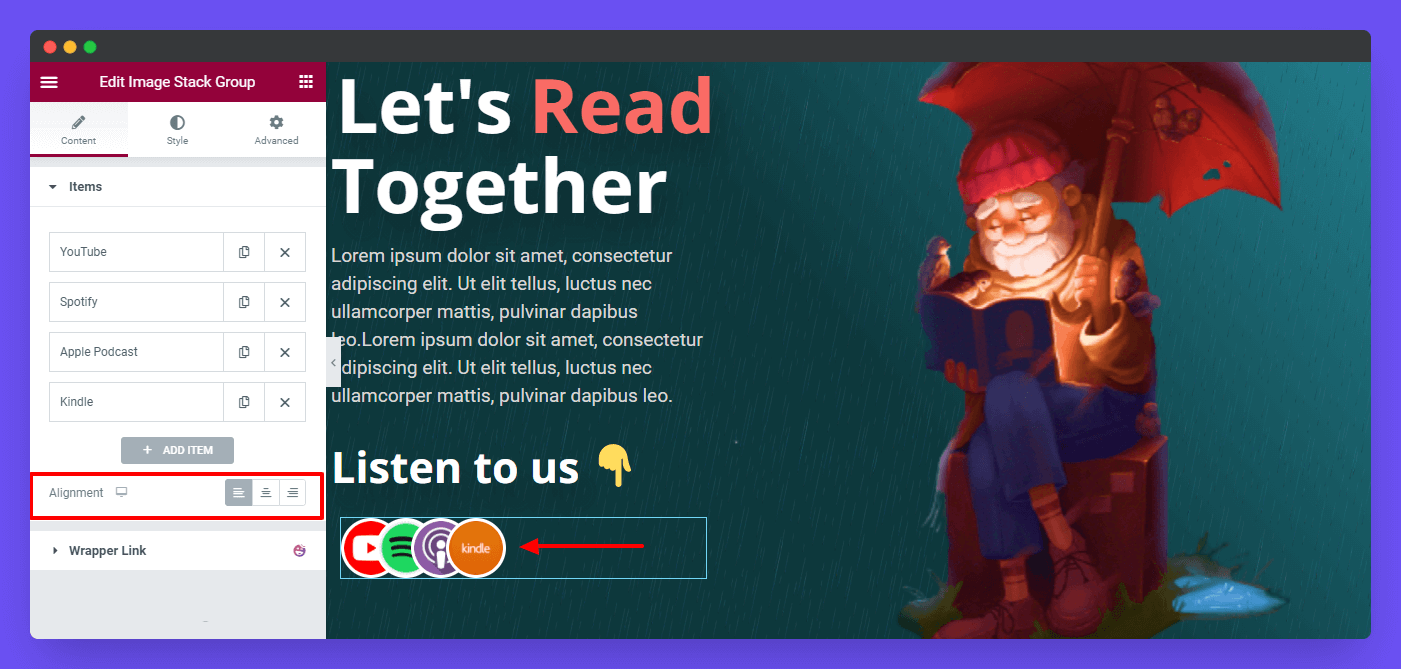
Alignment
You can also change the entire Image Stack Group’s Alignment like Left, Center, and Right.
Step: 3
Style The Image Stack Group Widget
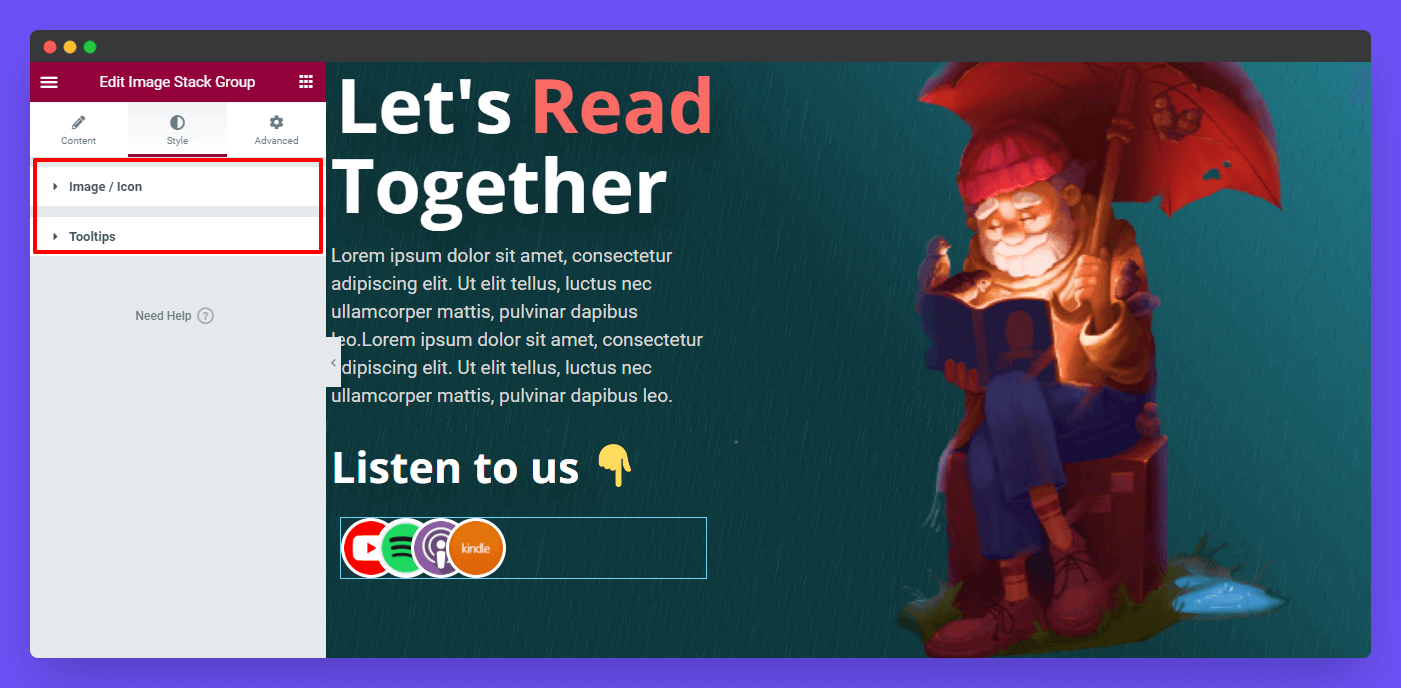
In the style section, you’ll get the styling options of the widget such as Image/Icon & Tooltips.
How To Style Image/Icon
Here in the Style–>Image/Icon, you’ll find the necessary settings to customize the image/icon design. They are Item Size, Icon Size, Spacing, Border Size, Border Color, Border Radius, Icon Color, Background Type, and Box Shadow.
Let’s explore them.
Item Size
The Item Size means the image size If you want, you can increase & decrease the image size. Here, we’ve increased the item size 70.
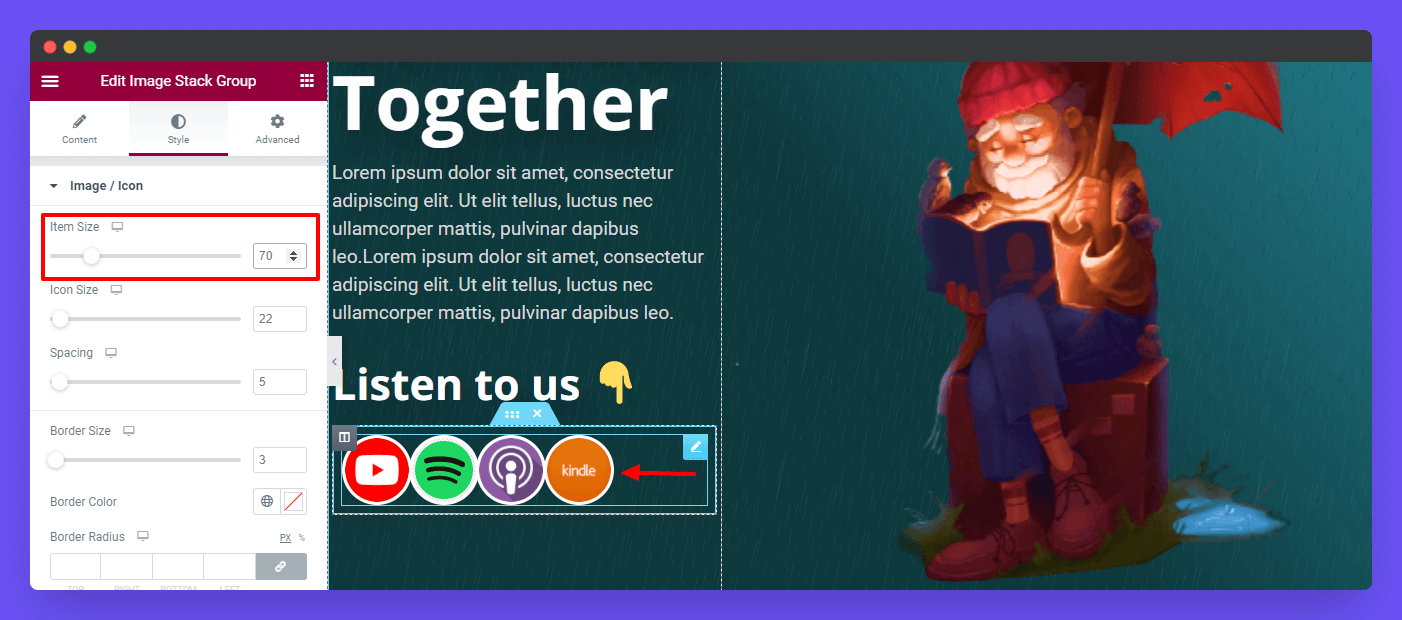
Note: If you use an icon as a media type then you able to increase & decrease the Icon Size. And whenever you Increase the Icon Size, you must Increase the Item Size.
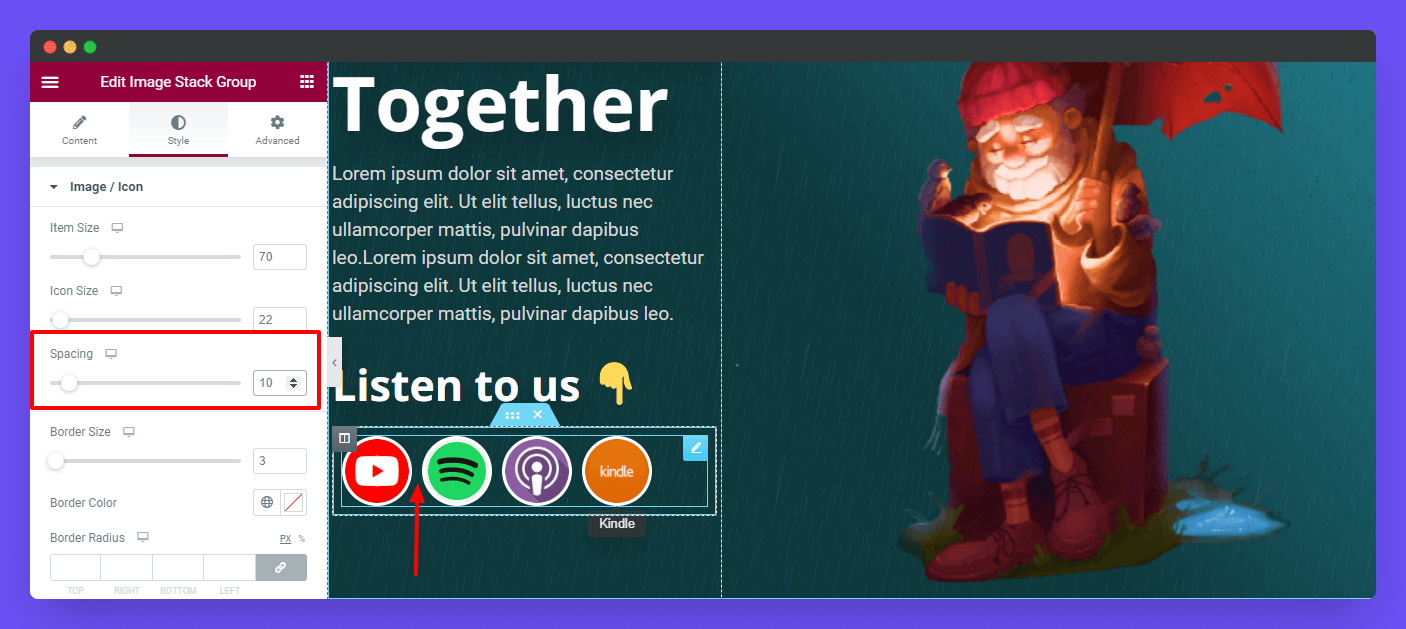
Image Space
Based on your need, you can increase & decrease the spaces between each image. Look at the image below. Here we’ve added image space 10.
Border Size
You can also control the Border Size here.
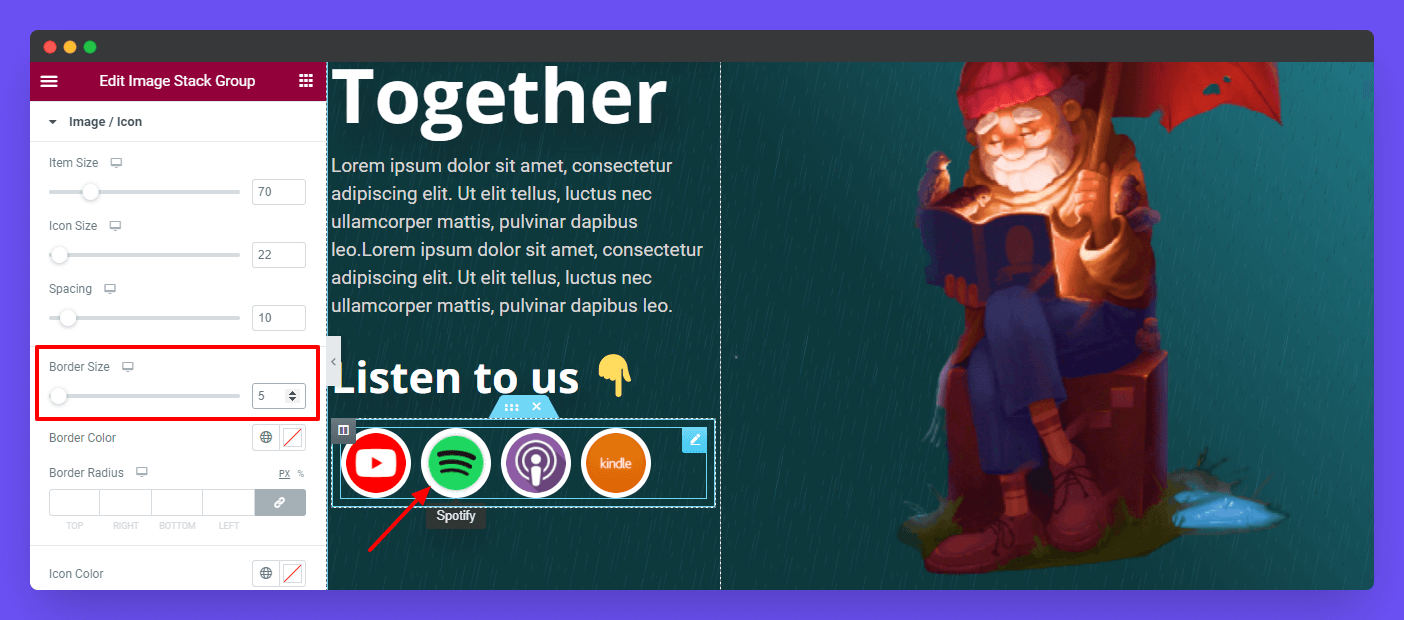
If you want, you can easily change the Border Color, Border Radius, Icon Color, Background Type, and Box Shadow of the items.
Style Tooltips
In the Style–>Tooltips, you will get some options to redesign the Tooltips. These are the options that will help you to customize tooltips design.
- Position
- Padding
- Border Radius
- Typography
- Color
- Background Color
- Box Shadow
Global Tooltips Position
This Tooltip Position is the global position that will work gollably. That means if you see the Position–>Down then all the tooltip position remain down.
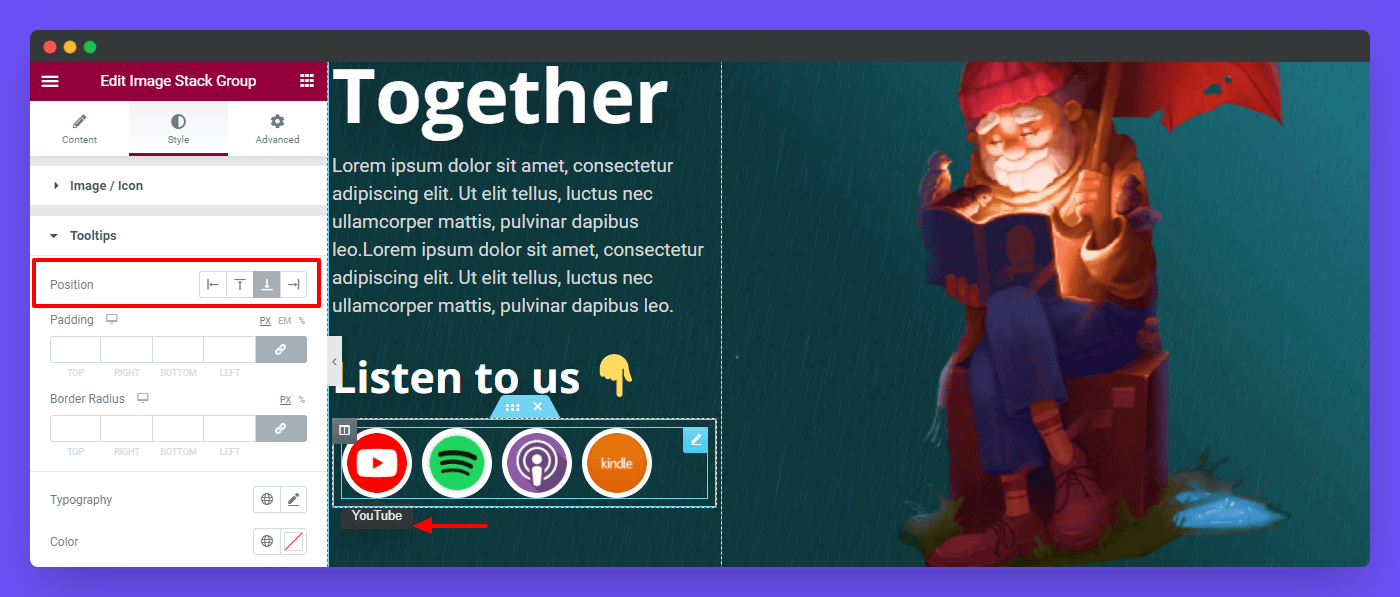
Note: You can also change the individual Tooltip Position. to do this. you have to go to the Content–>Items->Tooltip Position.
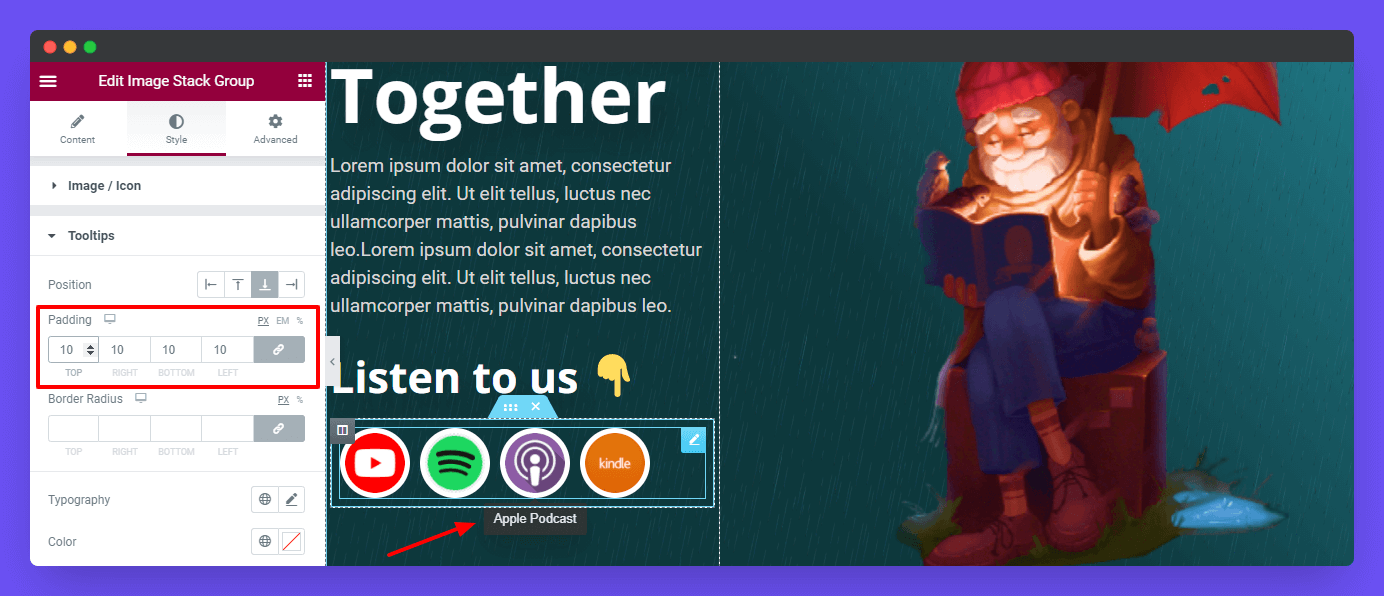
Tooltips Global Padding
Like the tooltip position, you can change the global Padding of the tooltip here.
Tooltips Color & Background Color
According to your choice, you can able to change the Tooltip text Color & Background Color. Here, we’ve set the text color black and the background color white.
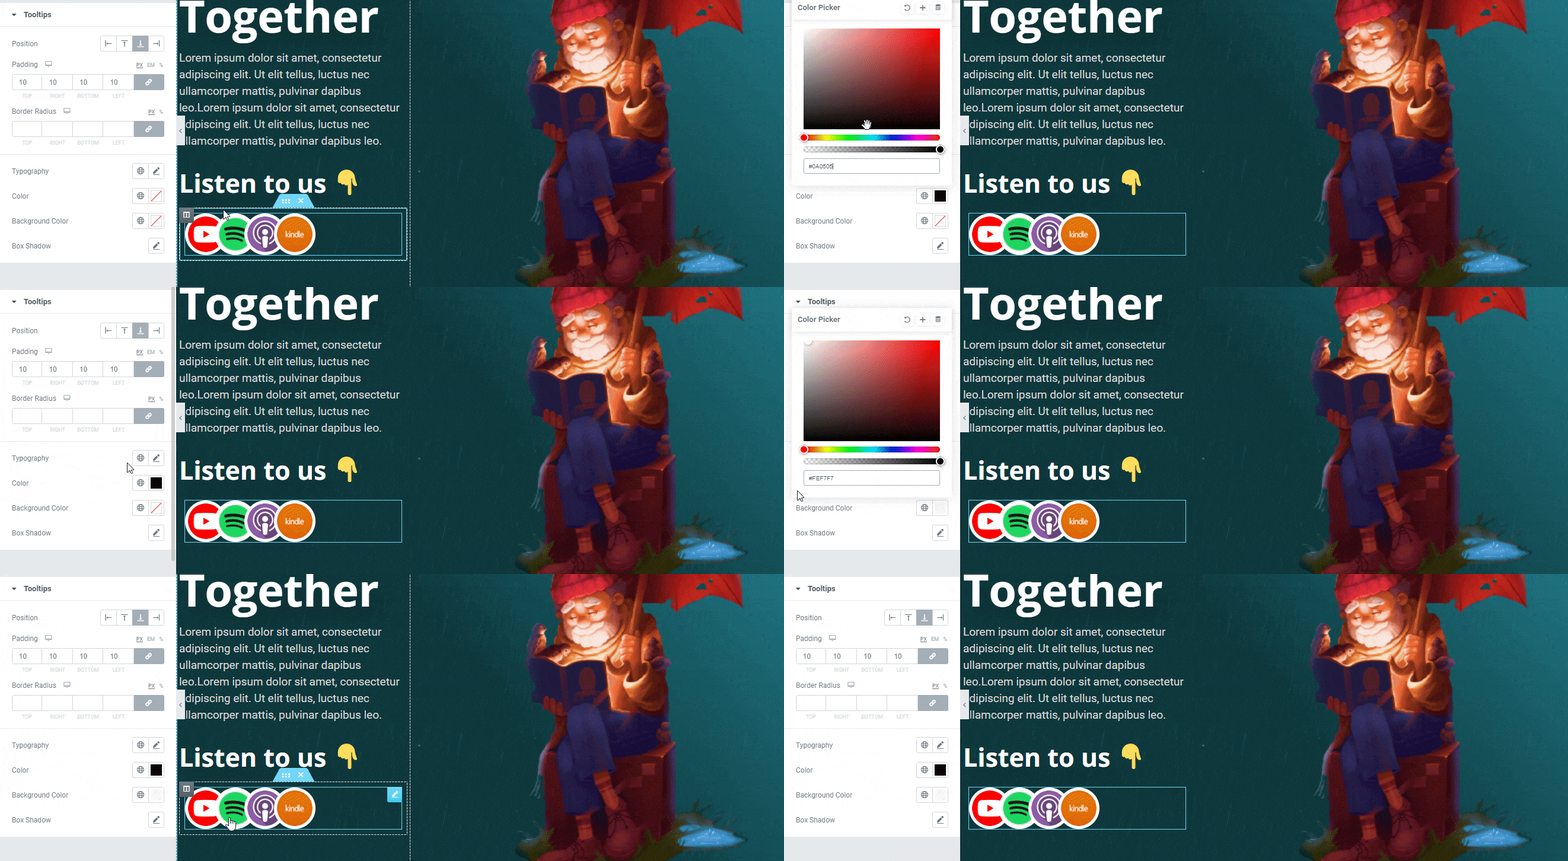
Note: You can also add Border Radius, Typography, and Box Shadow in your tooltip.
Step: 4
Advanced Options
If you want to add motion effects, happy effects, background, or make it responsive and more intriguing, click on ‘Advanced‘ to explore those options. the ‘Advanced‘ is a default feature of Elementor.
Give a read to this Document to know more about advanced features & functions.
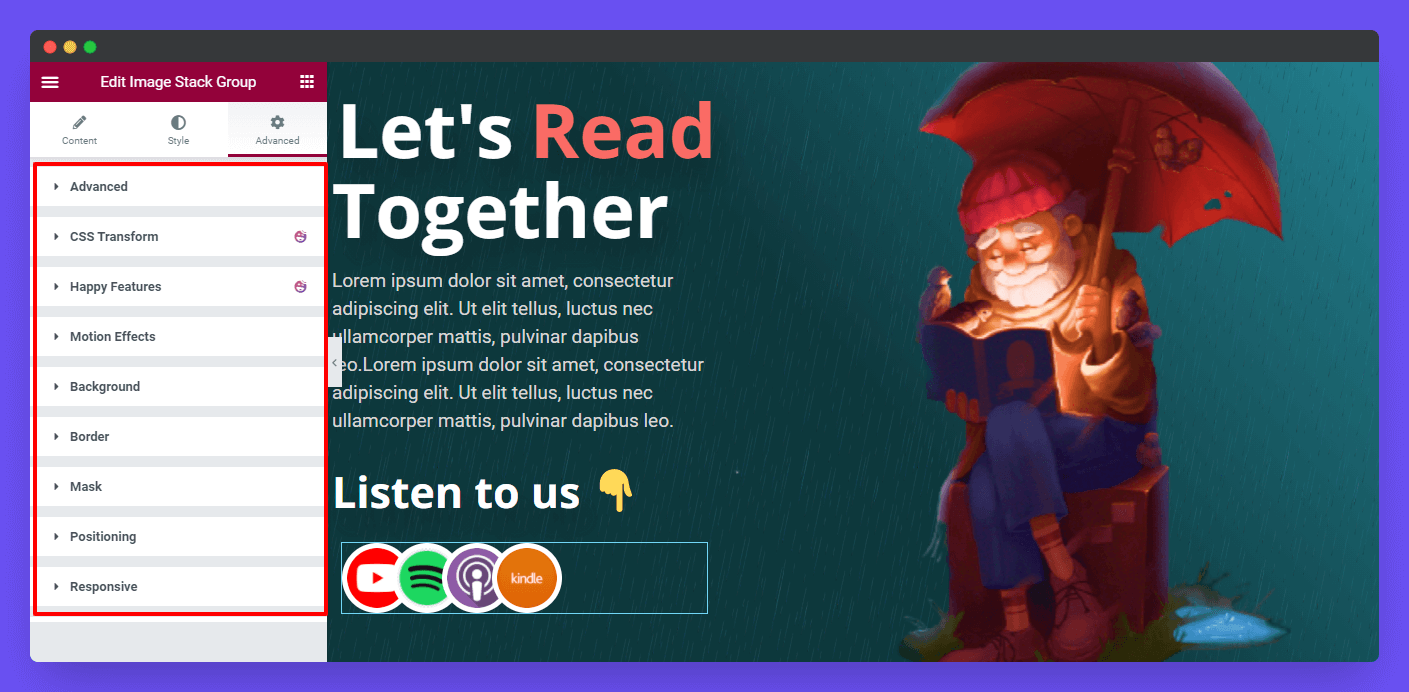
Final Preview
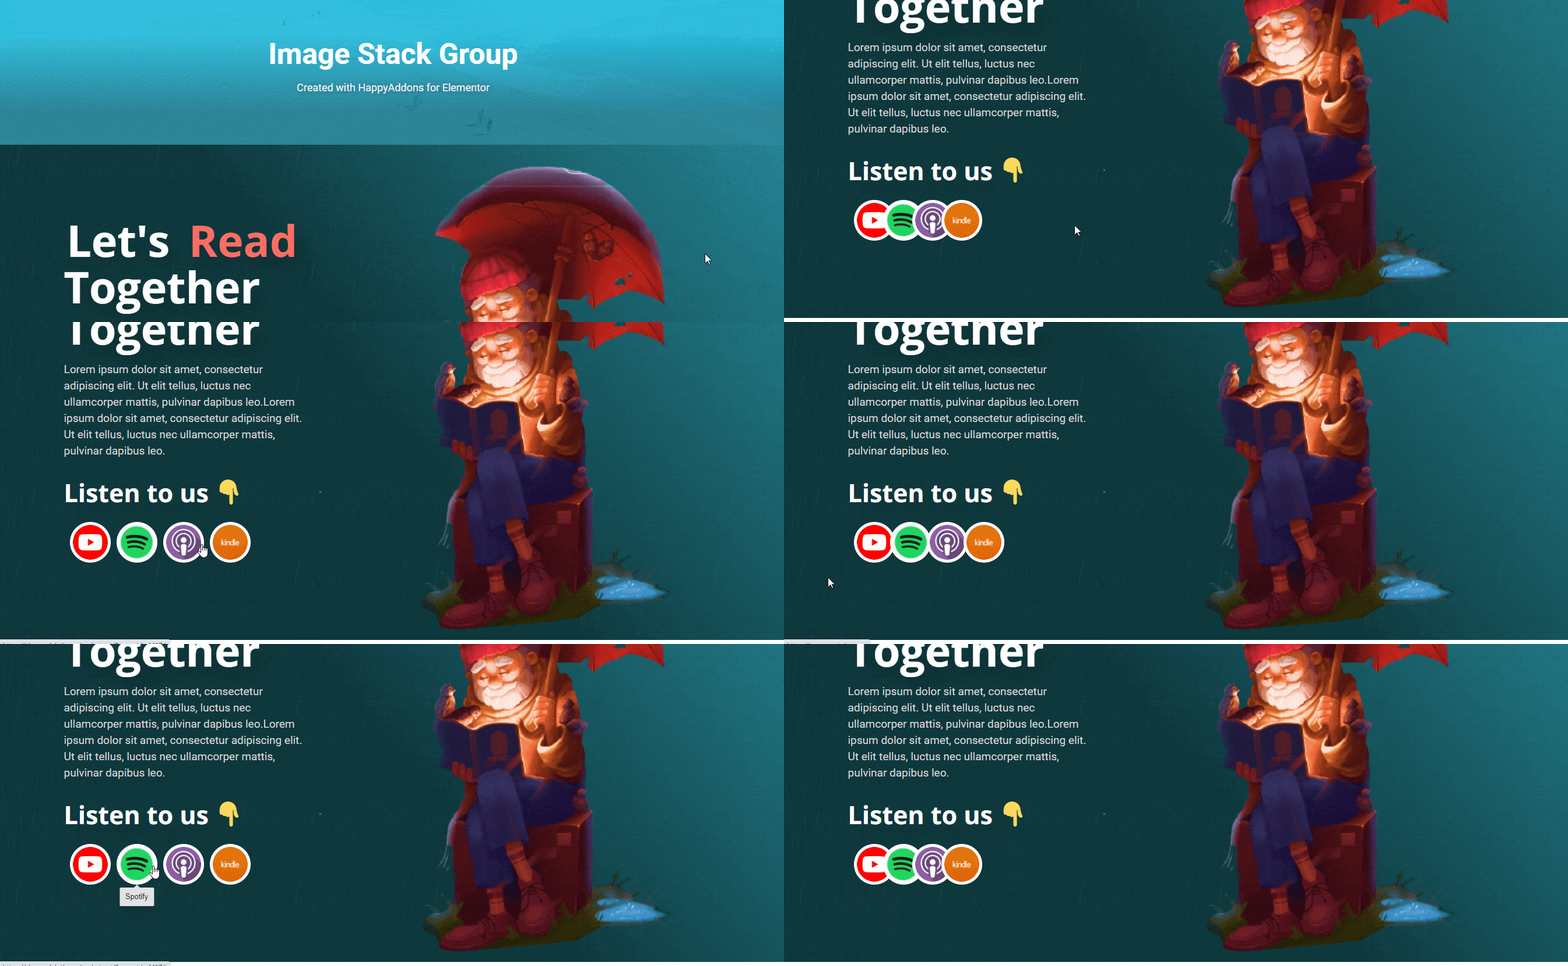
Here is the final preview of the Image Stack Group widget.
That’s it.
