How To Use A Justified Grid Widget Of Happy Elementor Addons
With the Justified grid Widget of Happy Elementor Addons, you can now design your webpage to make it stand out from the rest. This pro gadget will help you create beautiful justified grids for your webpage.
Using the Justified Grid:
You can see the below video to get an insight into how you can use the Justified Grid Widget to create beautiful designs. Or you can follow the documentation, whichever you find convenient.
Step 1:
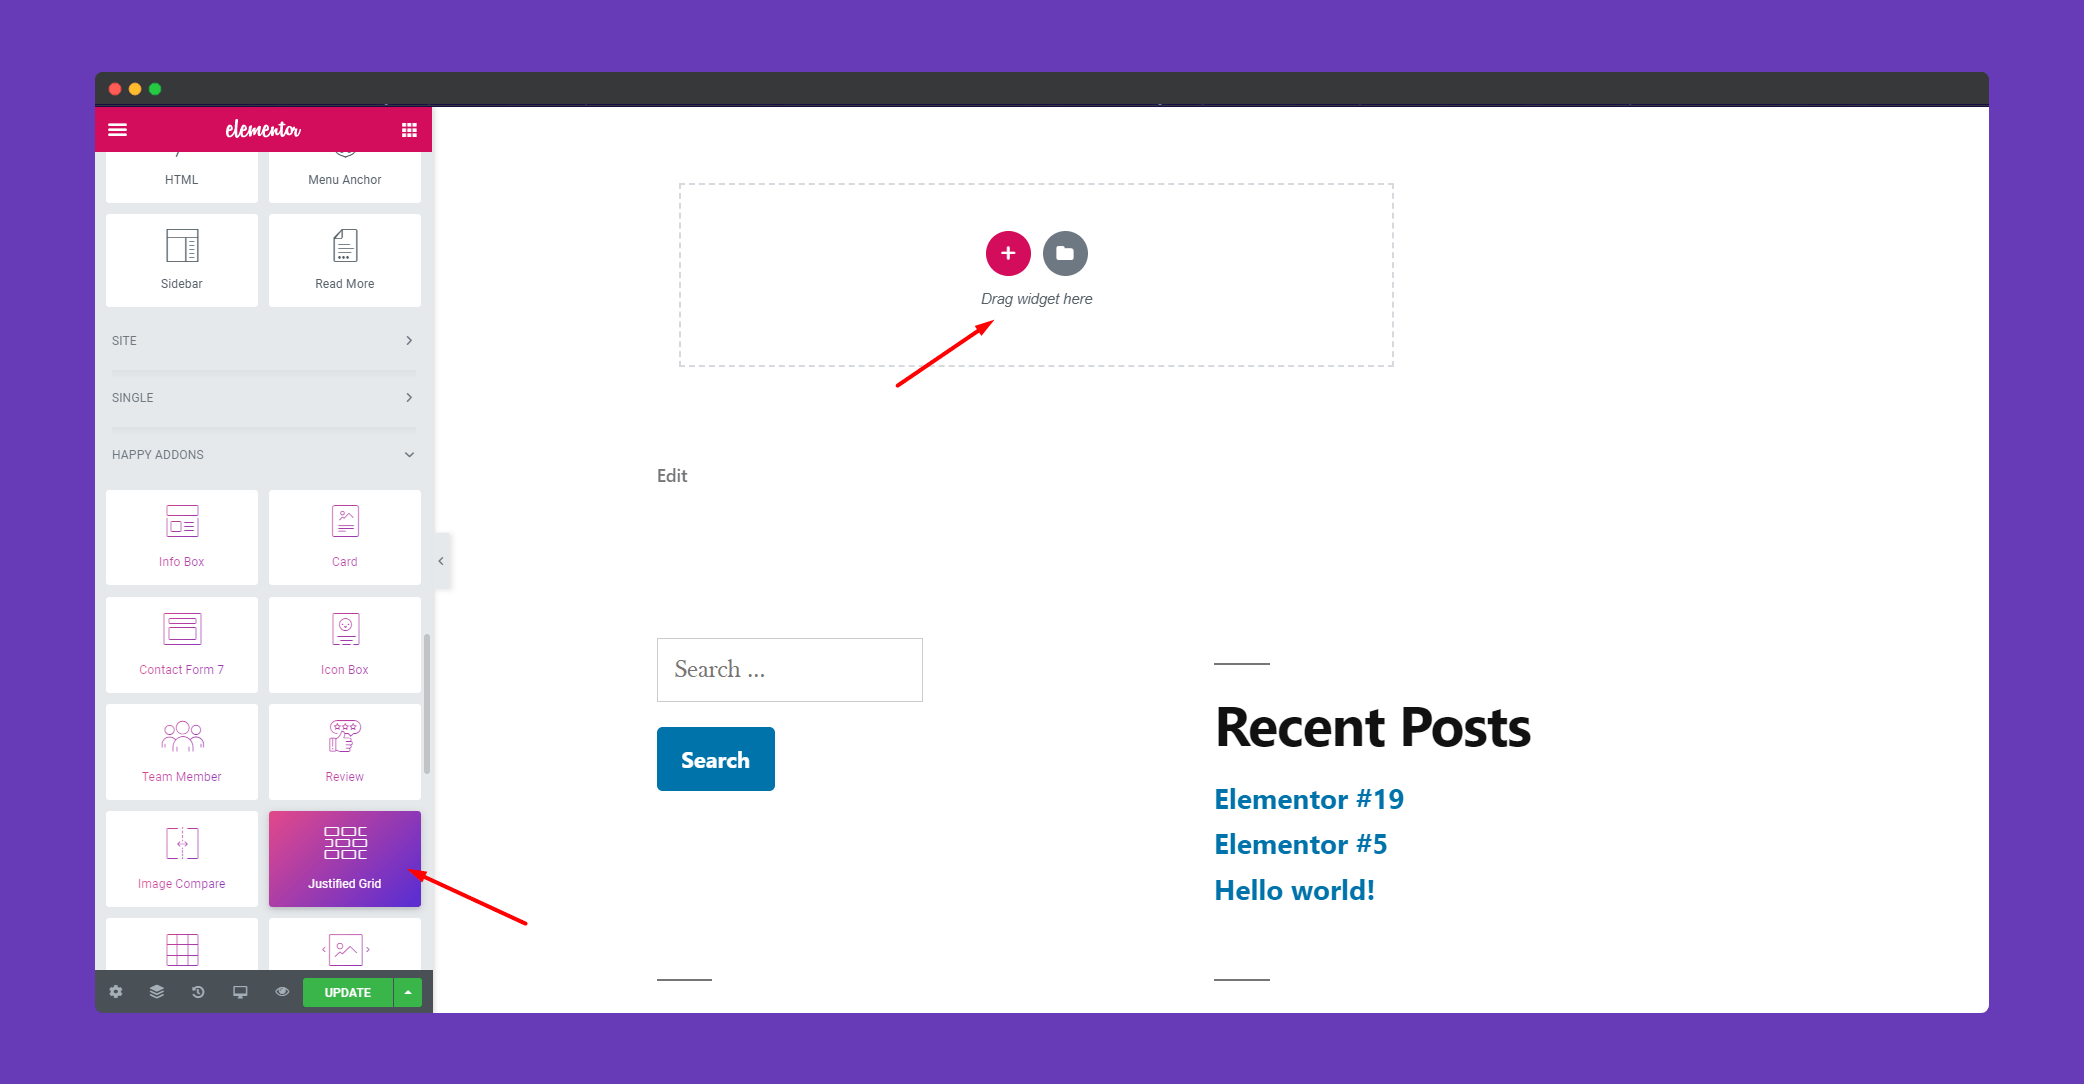
Select the justified grid from the menu bar on the left-hand side of the screen then drag and drop it in the selected area.
Step 2:
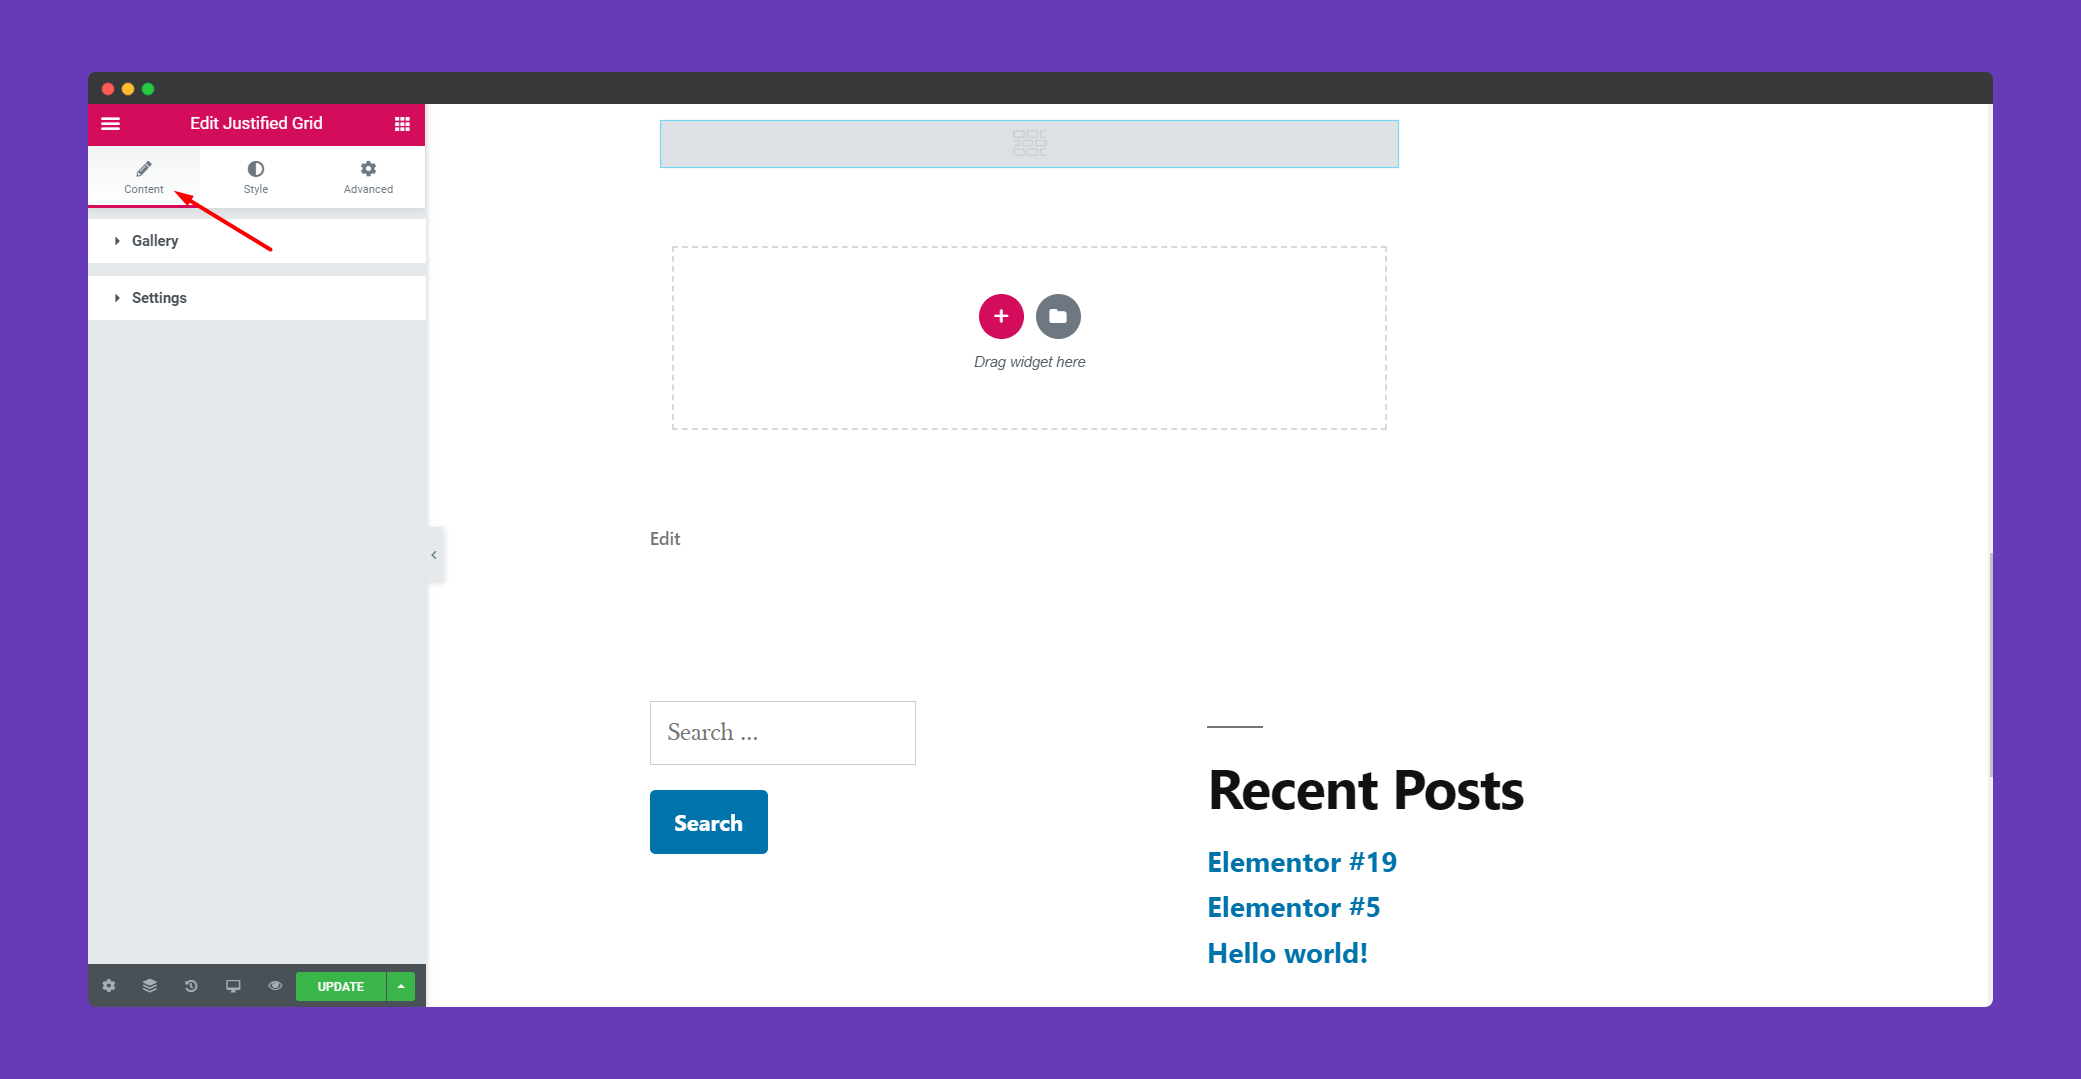
In the Content section, you will find options ‘Gallery’ and ‘Settings‘.
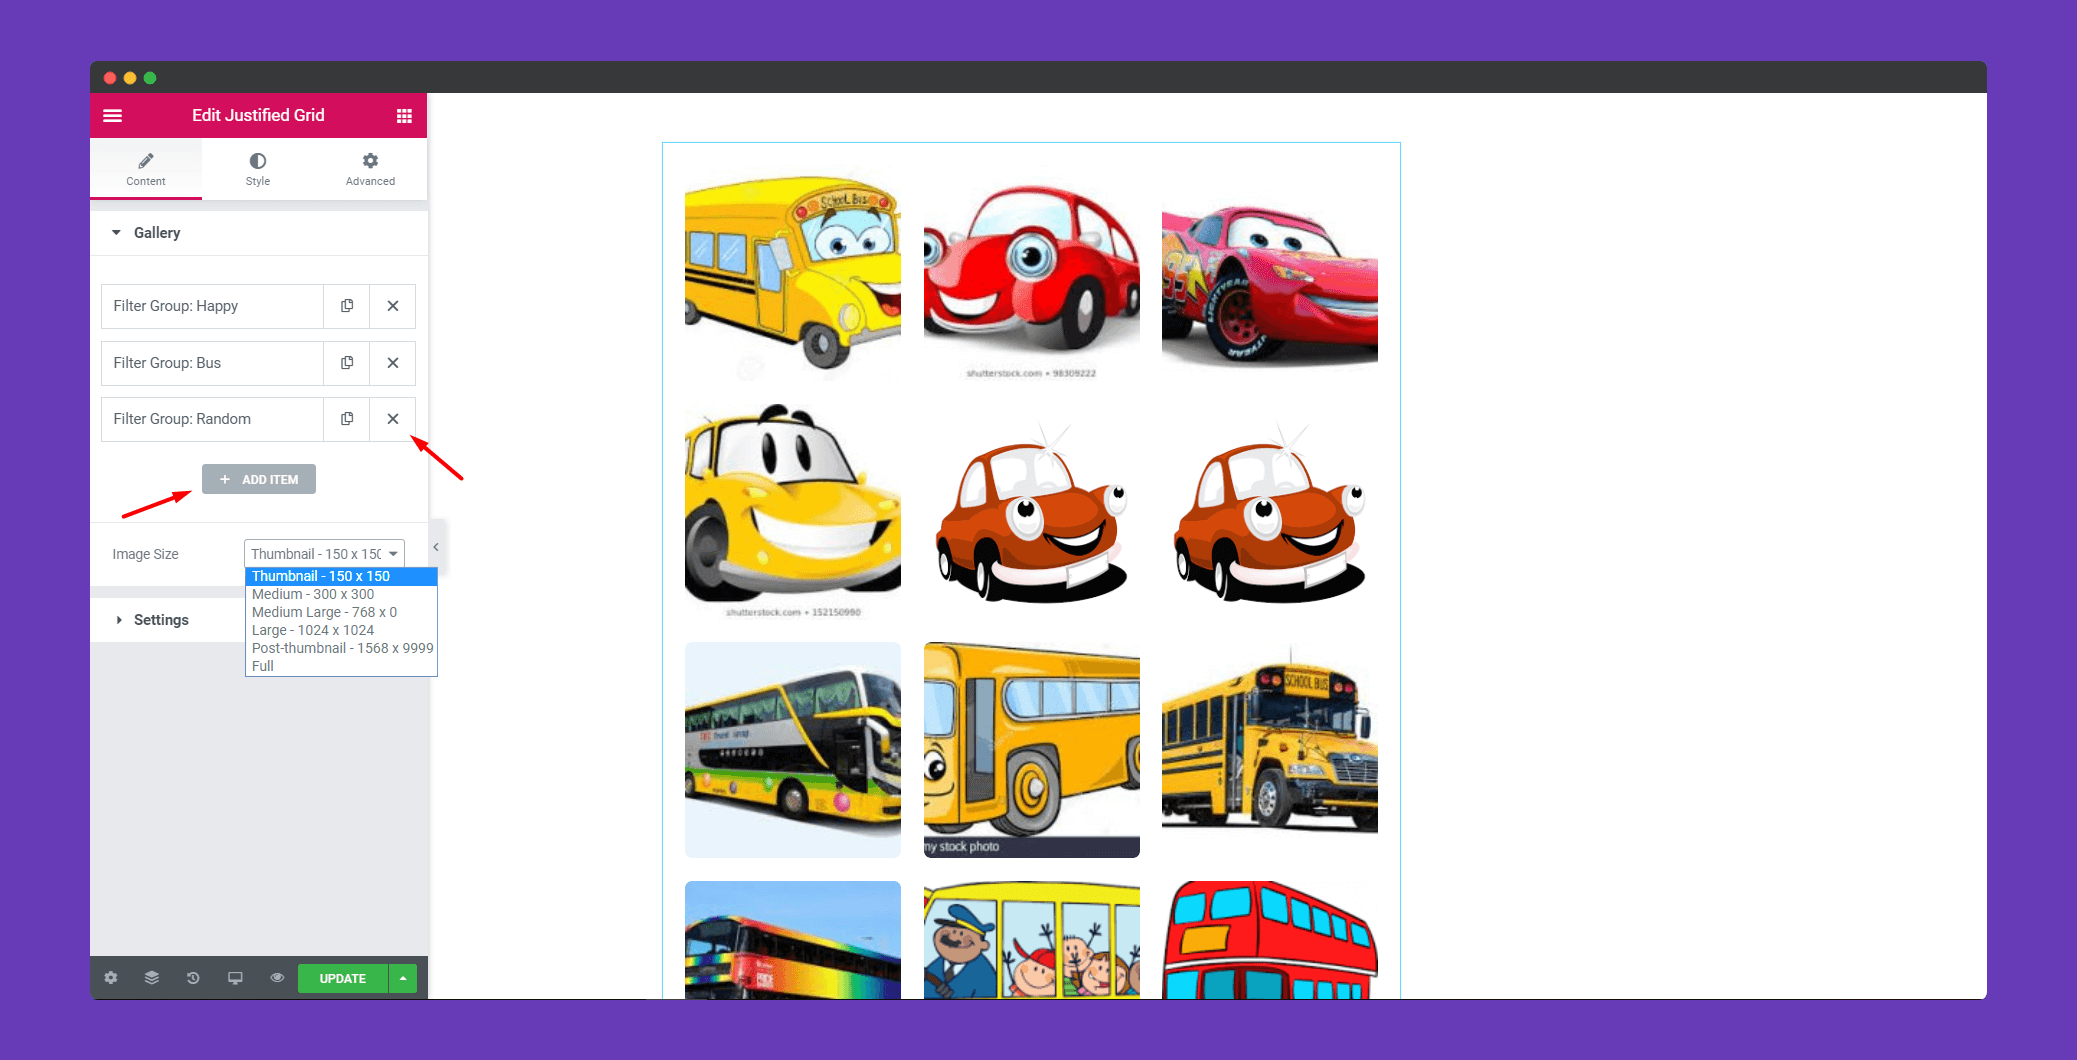
You can create a gallery with the name of your choice. You can add multiple galleries using the ‘ADD ITEM’ button. You can also delete a particular gallery using the ‘X’ button. If you click on the gallery name it will give you options to upload images. You can decide the image size also.
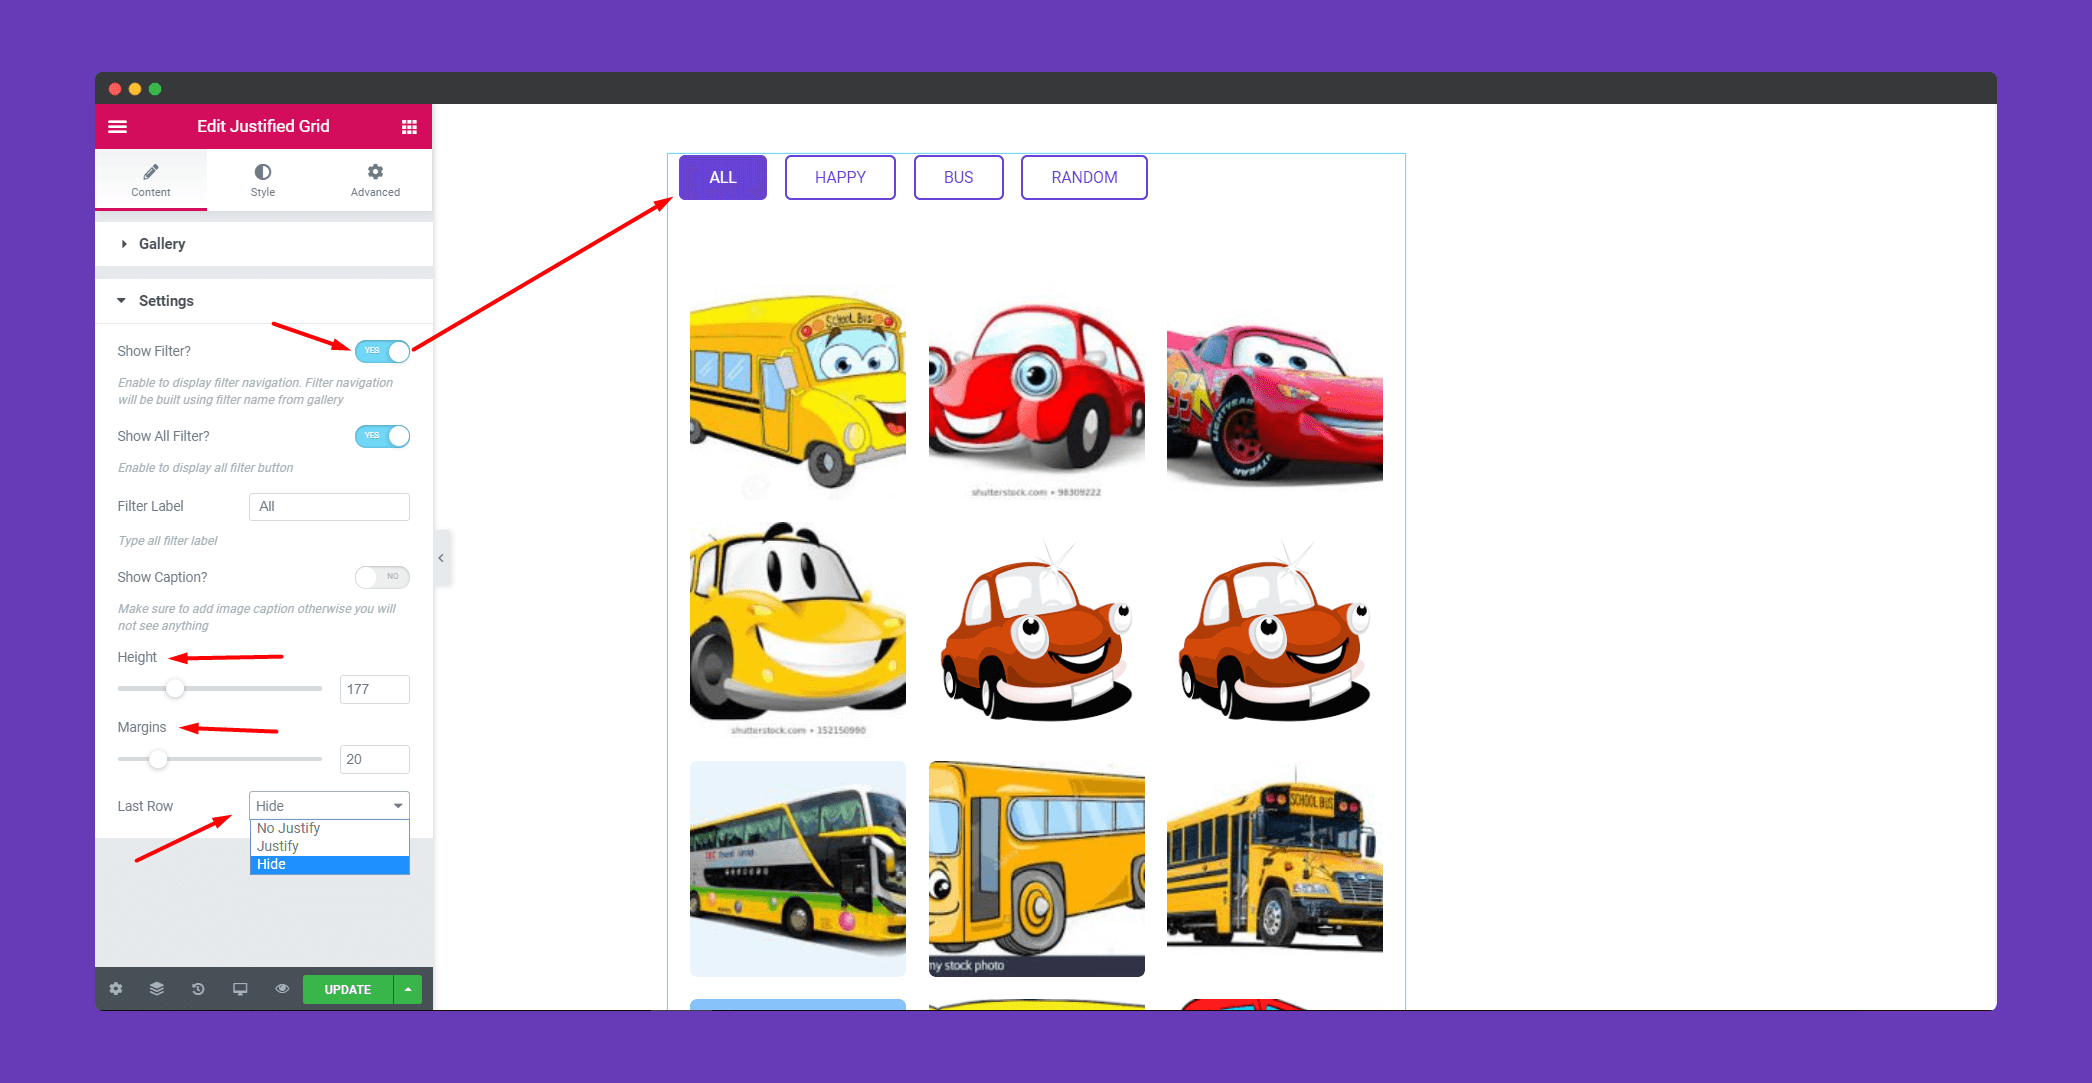
In the ‘Settings’ section, you have the option to show the filters for your images. So when you click on a particular filter, only images for that filter will be shown. If you want you can hide the last row of the grid.
Step 3:
In the ‘Style’ section you will find options for ‘Image’, ‘Caption’, and ‘Filter Menu’. You can edit them from here.
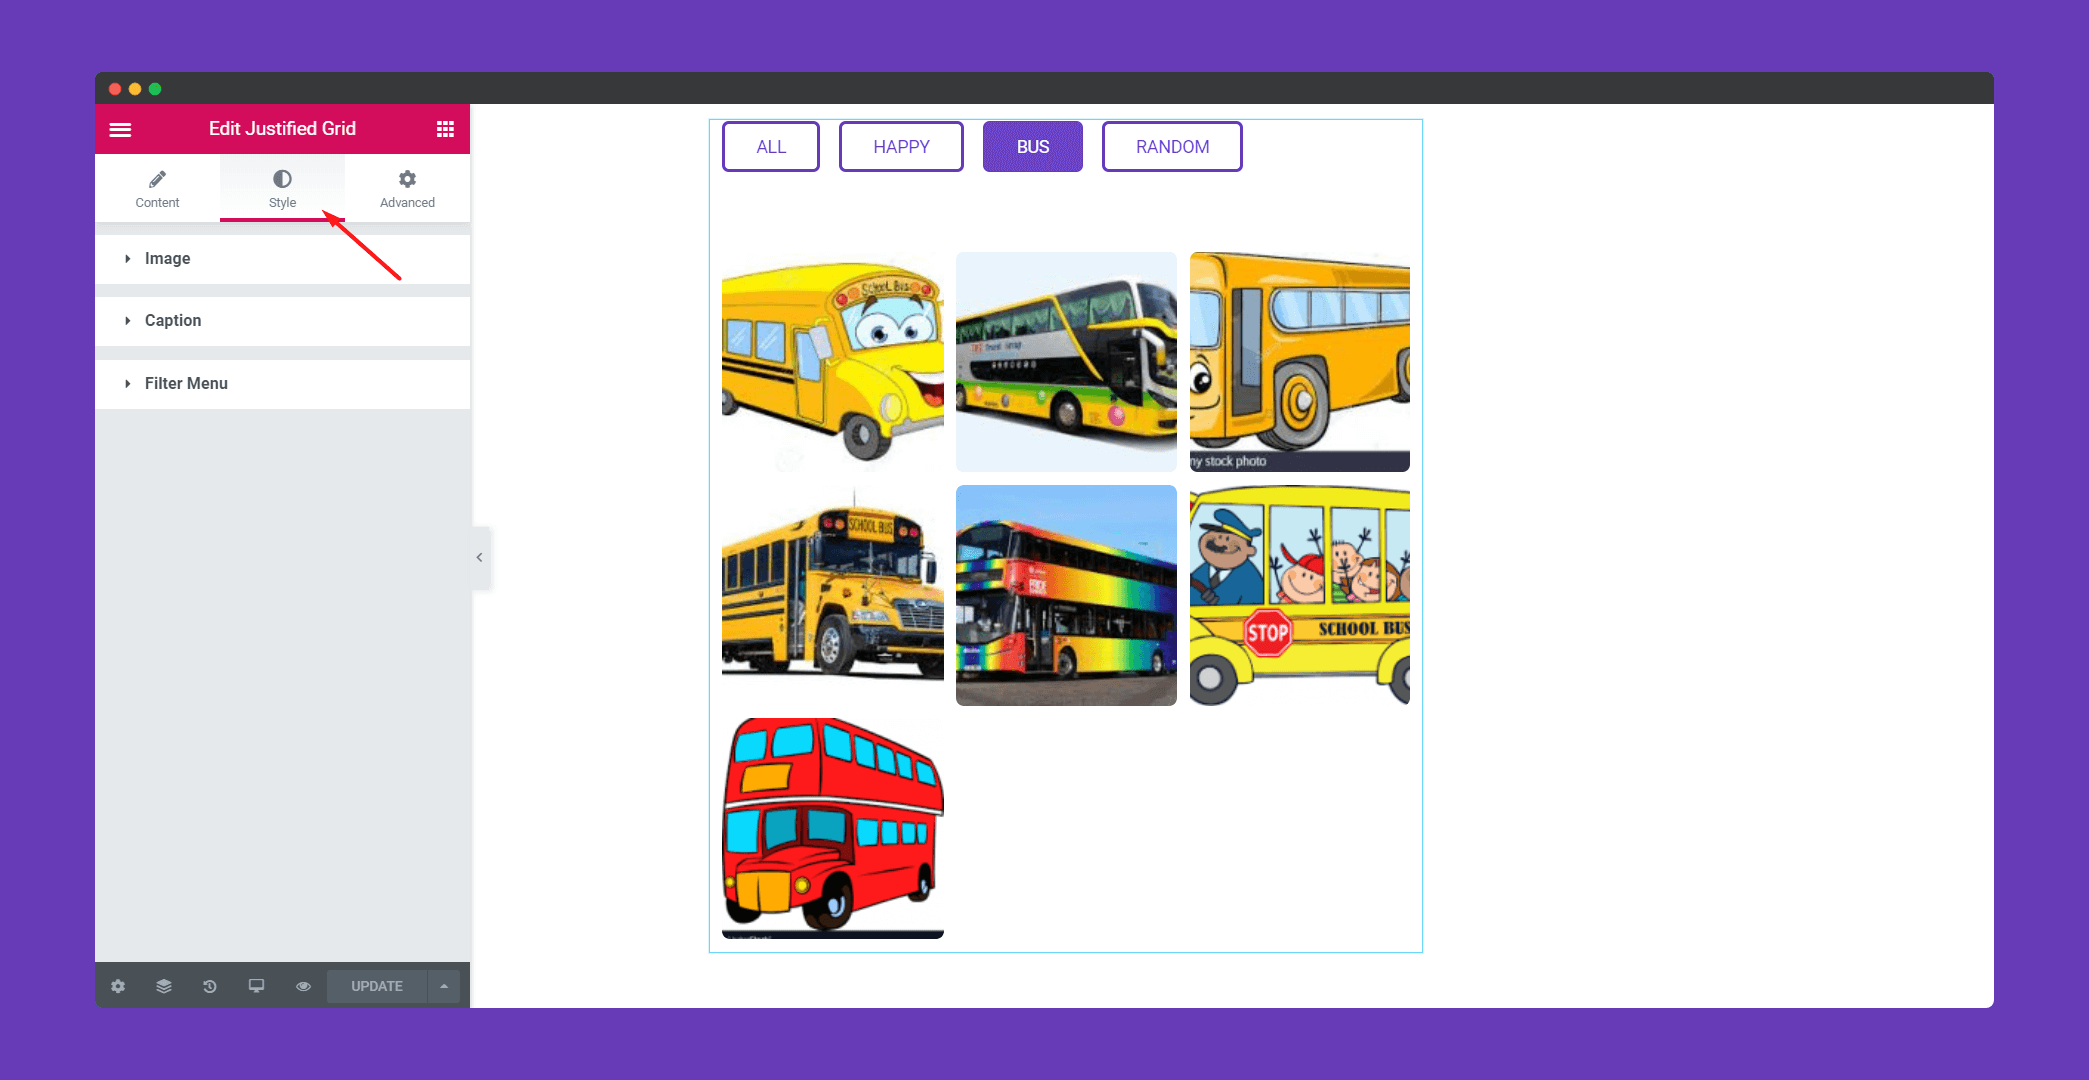
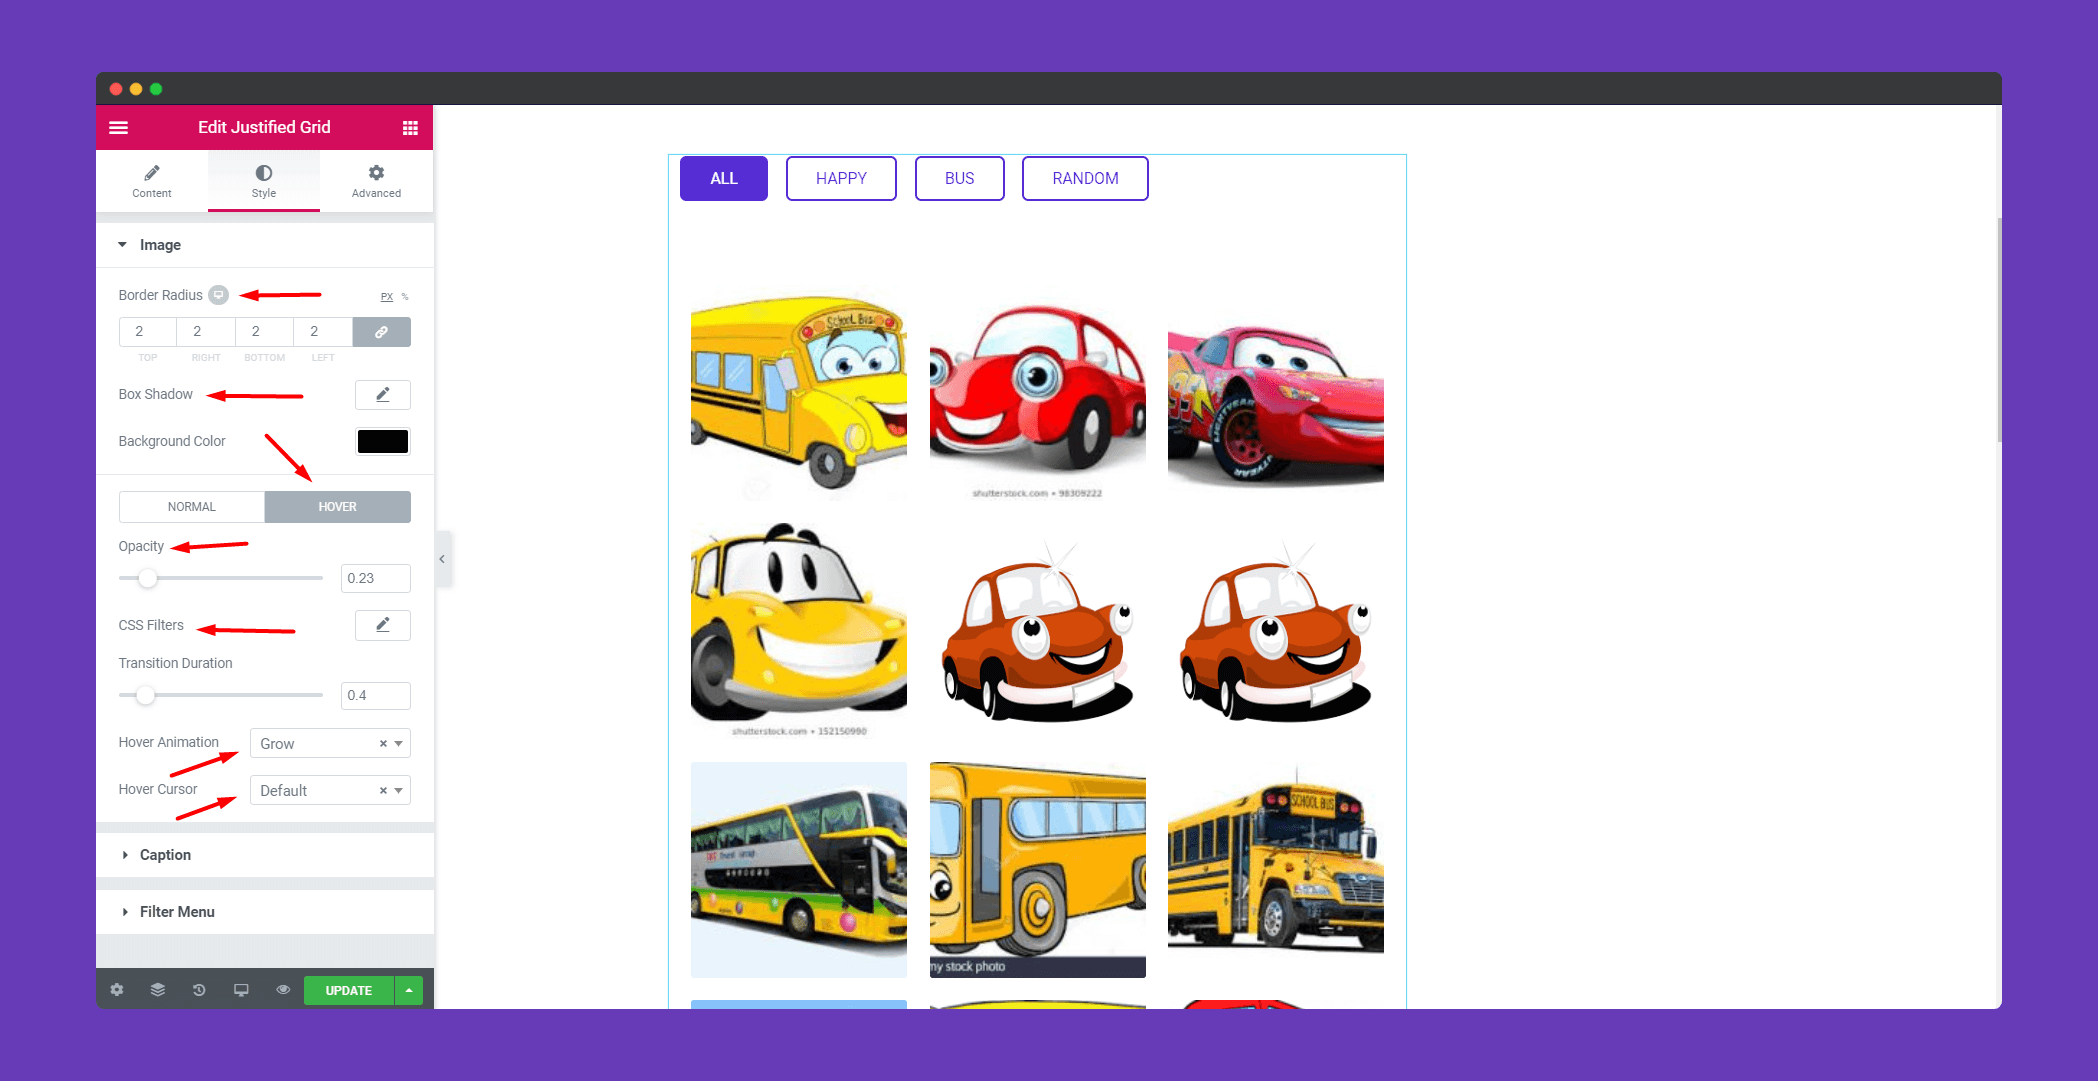
In the ‘Image‘ section you will find many options to design your image. You can add a border, give background color, choose between different hover animations, box-shadow, CSS filters.
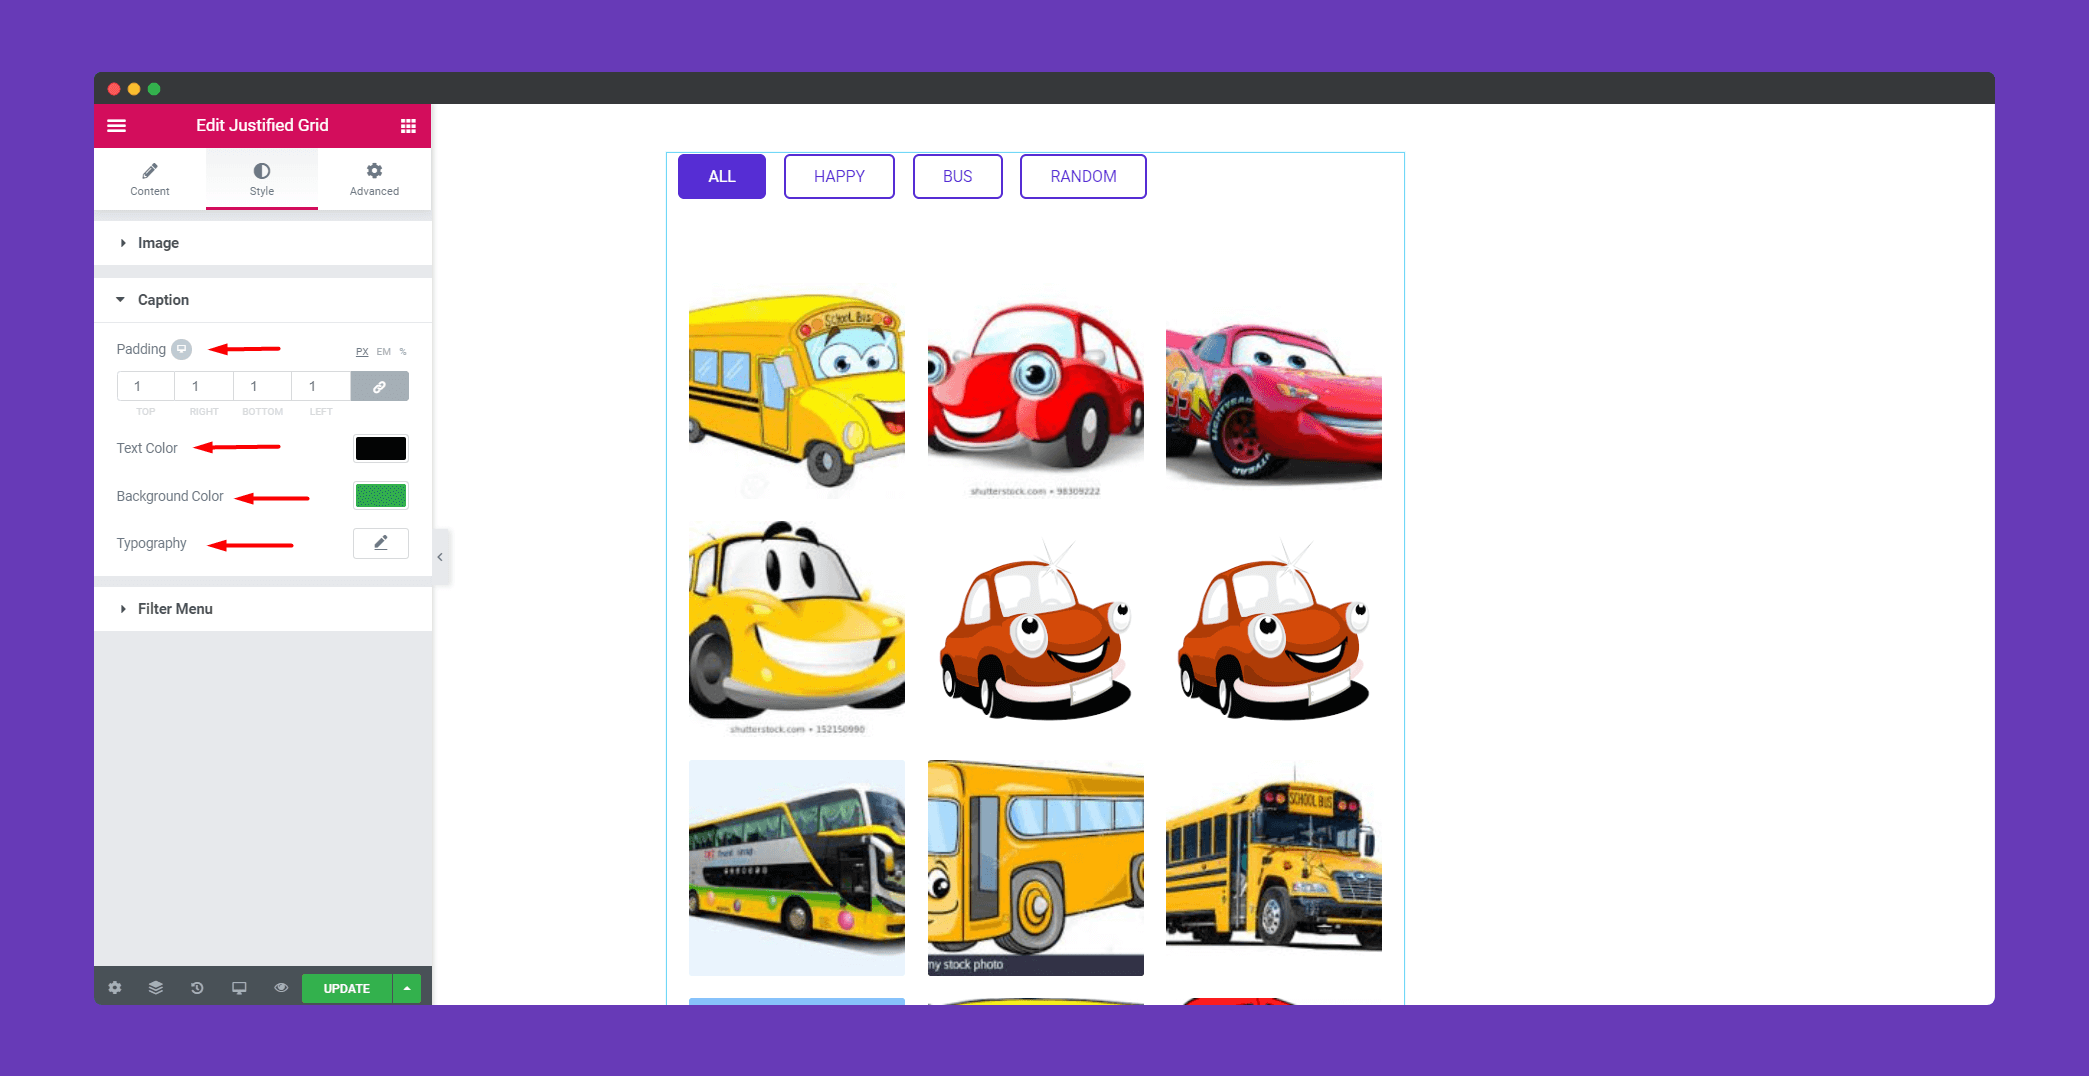
You can add padding, text color, background color for your caption in the ‘Caption‘ section.
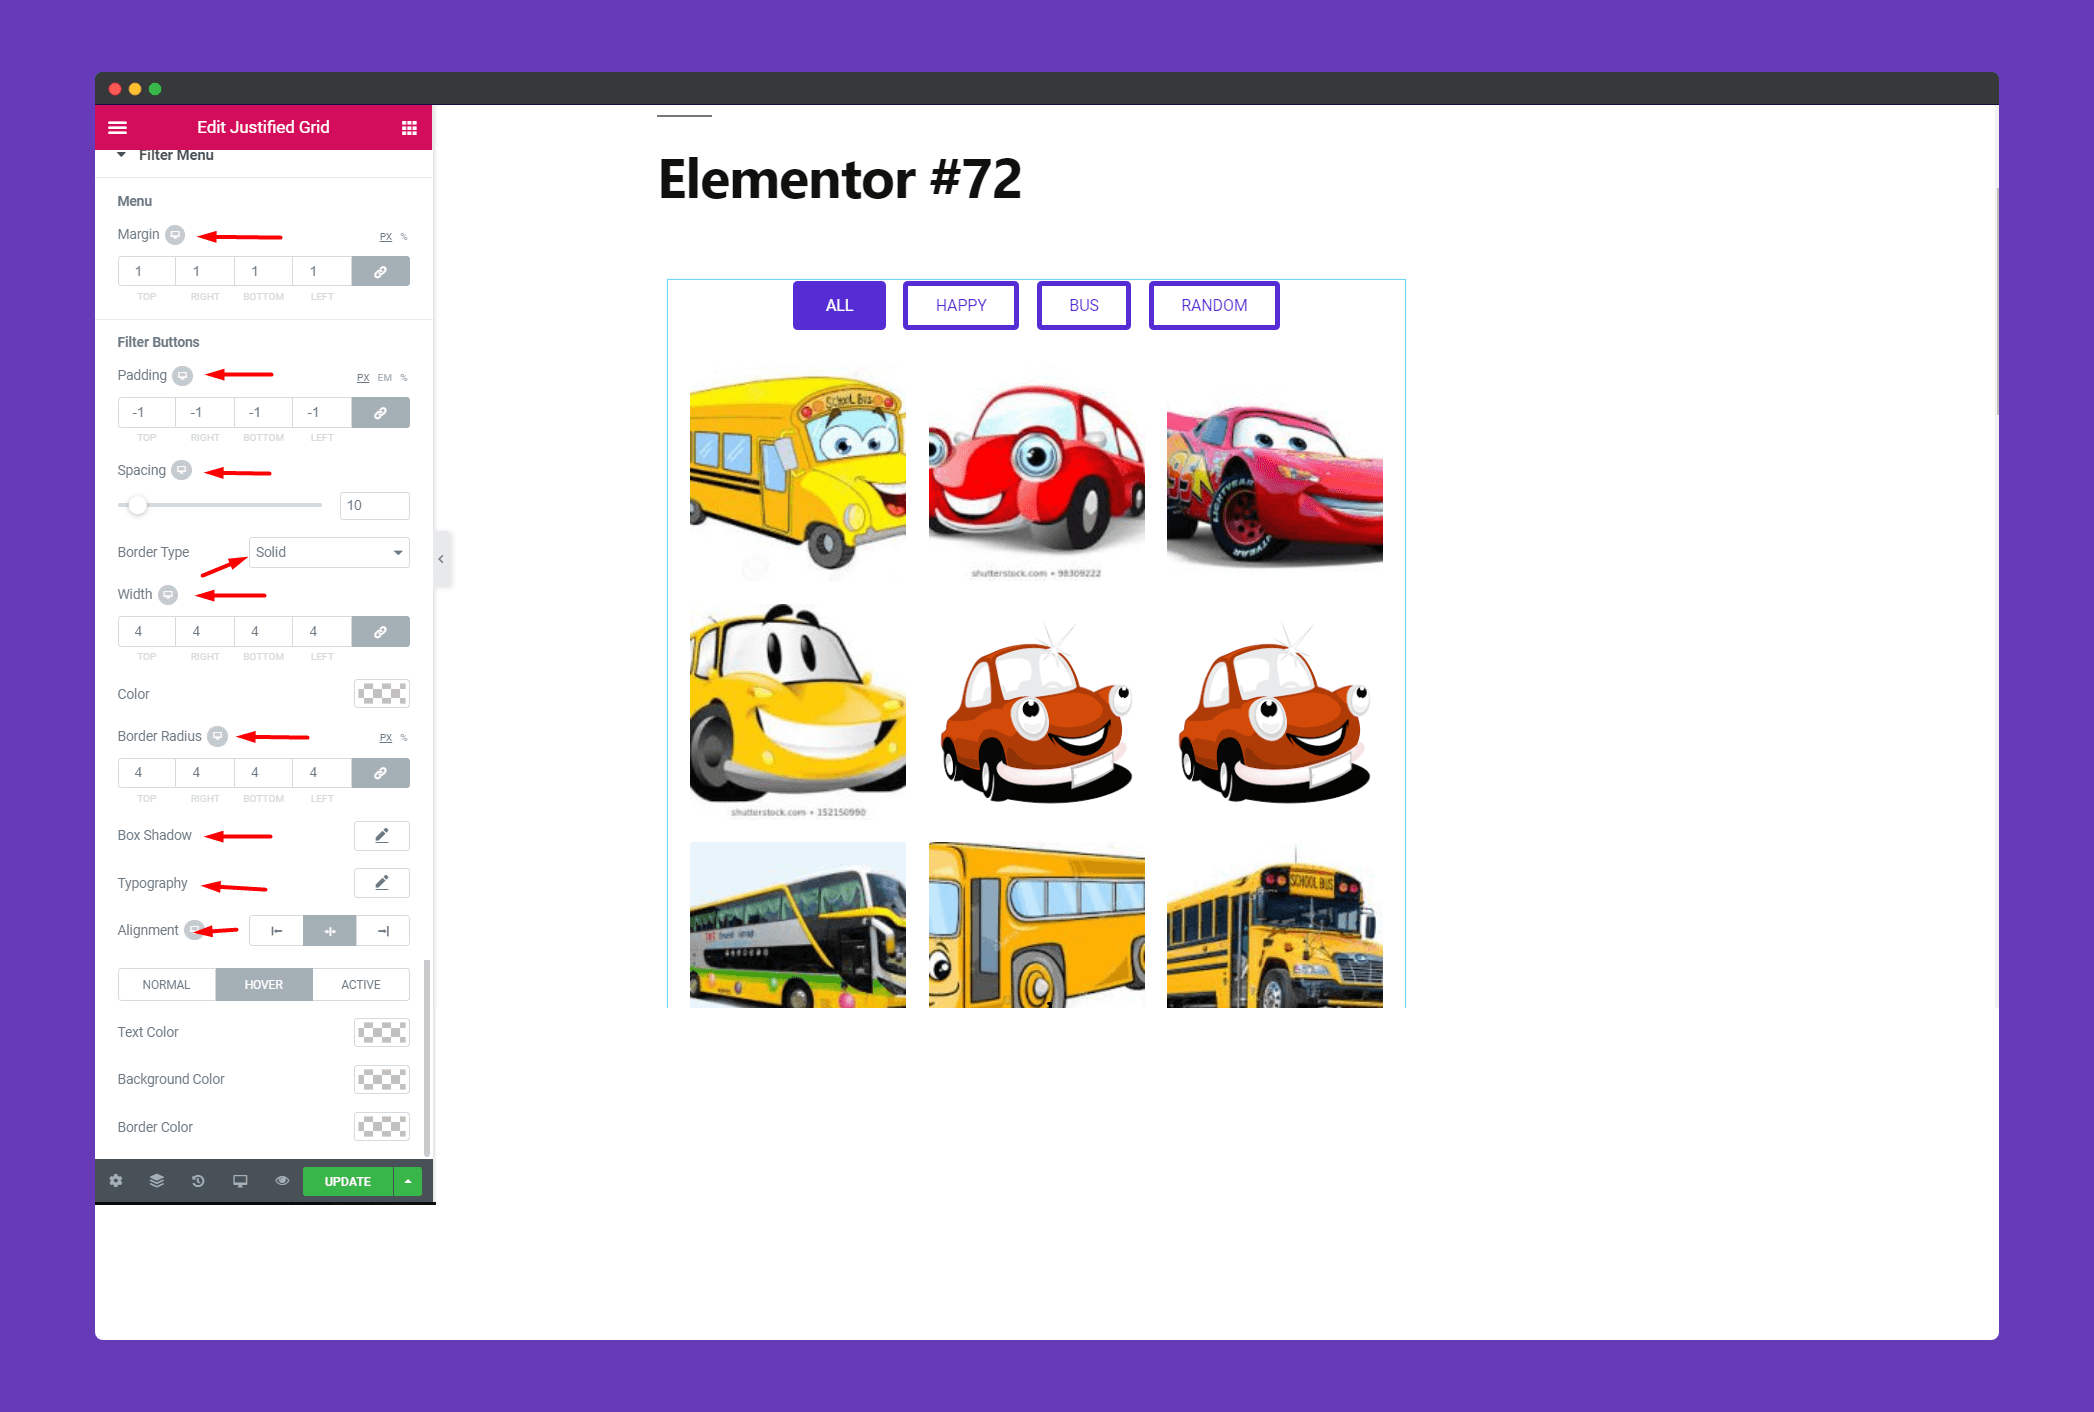
You have a lot of options to design your filter in the ‘Filter Menu’ section. You can add a margin to your menu, padding, spacing, border for your filter buttons. You can choose between border types like solid, double, dotted, dashed, and grove. You can align where to put your filters. Add a border, background, and text color per your design.
Step 4:
If you want to add motion effects, happy effects, background, or make it responsive and more intriguing, click on ‘Advanced‘ to explore those options. the ‘Advanced‘ is a default feature of Elementor. Give a read to this Document to know more about Advanced features and its uses.
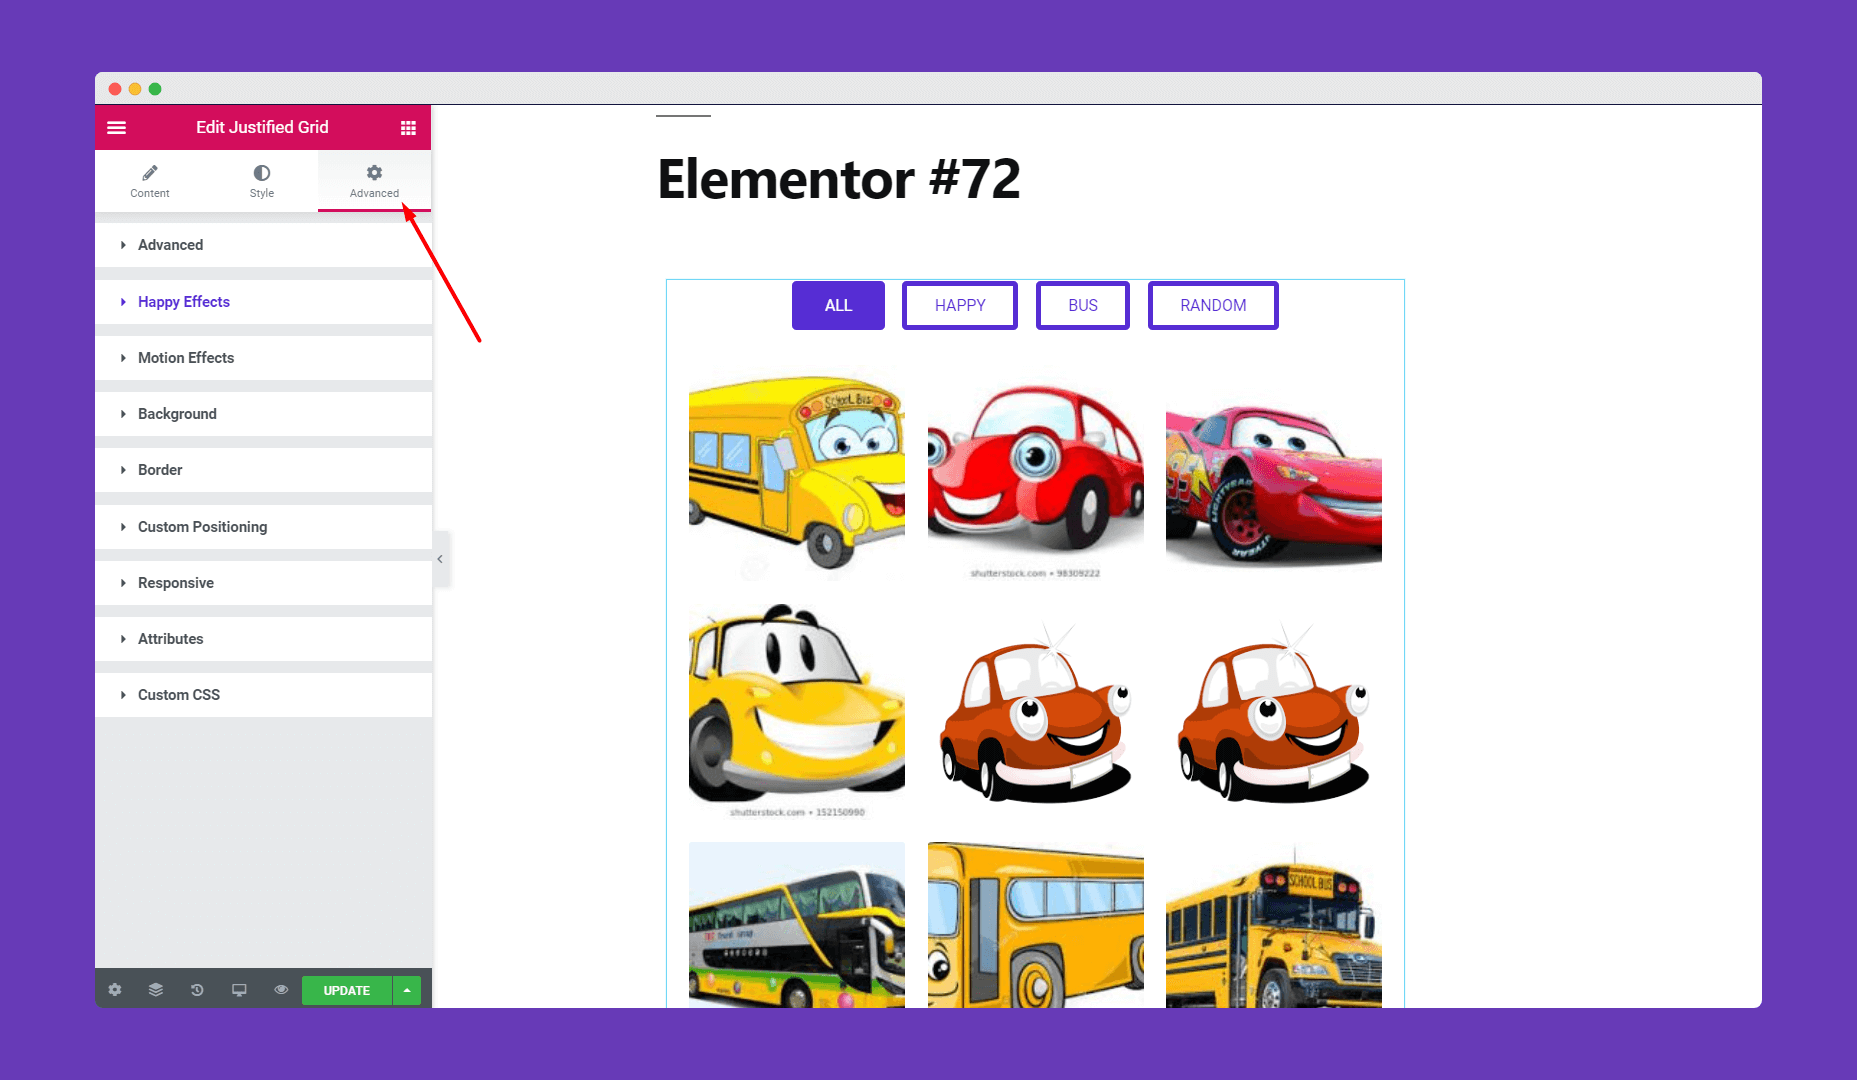
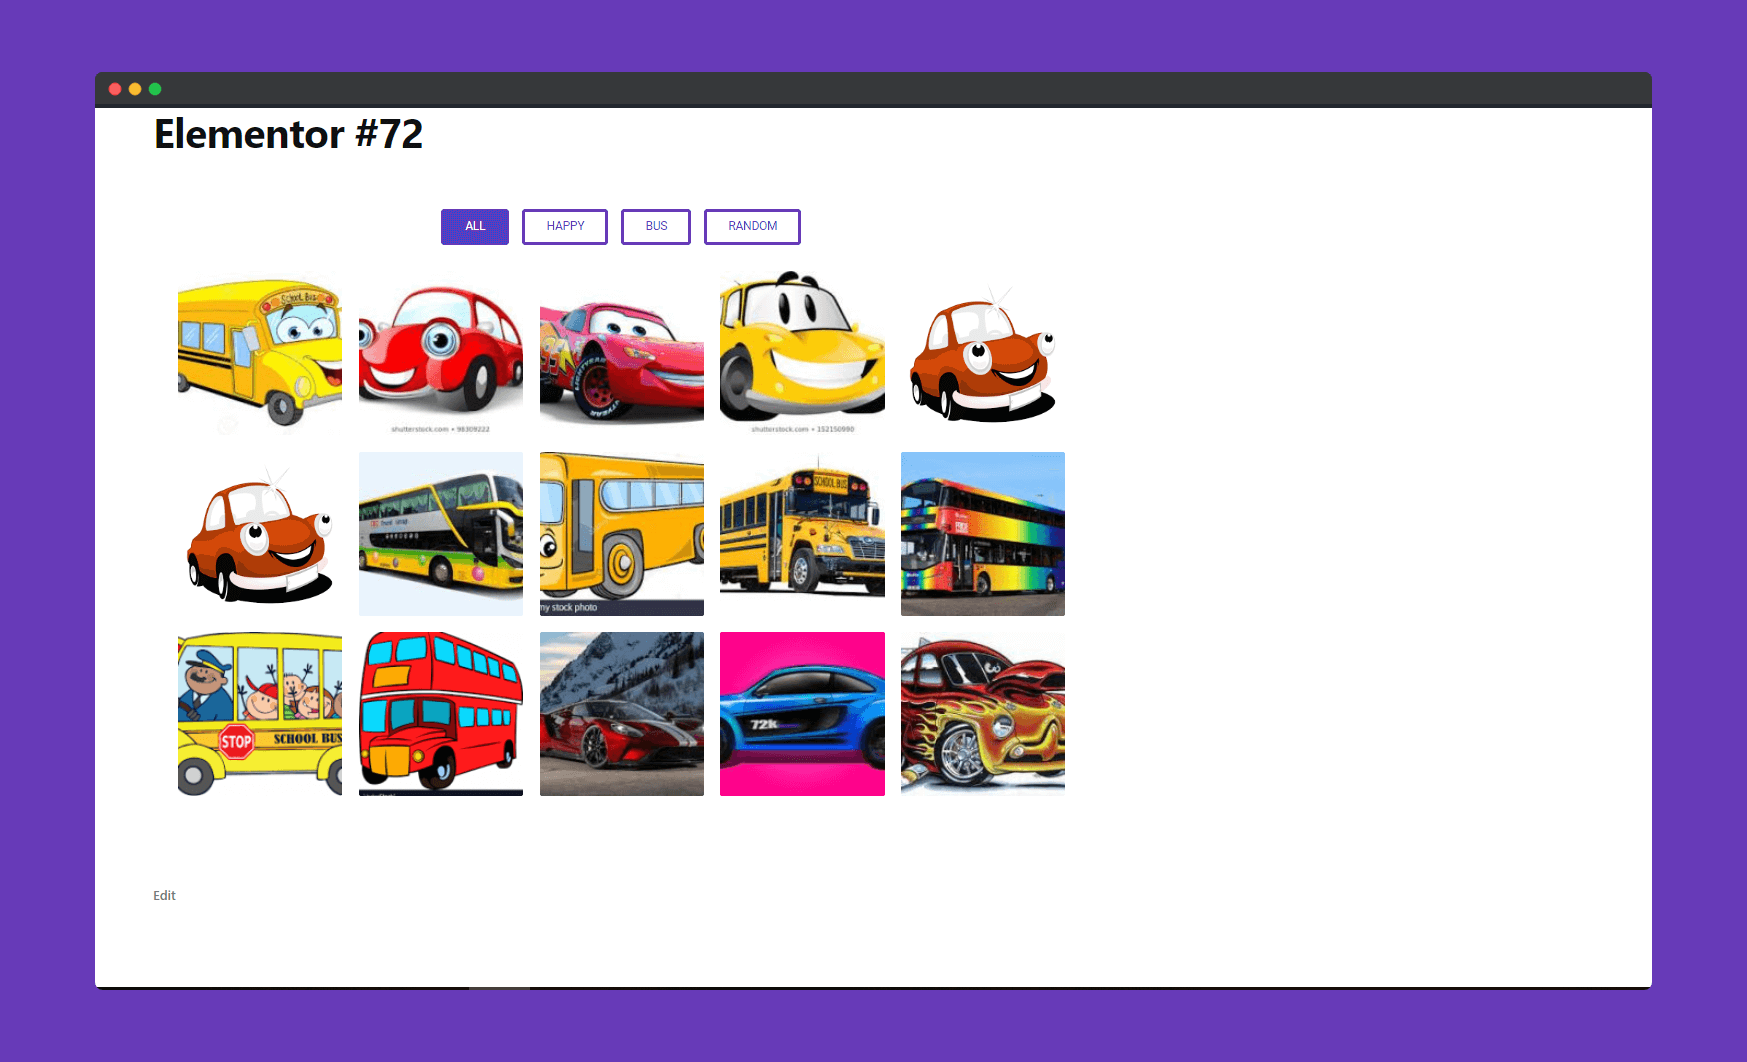
Finally, you will have a beautiful grid for your website.
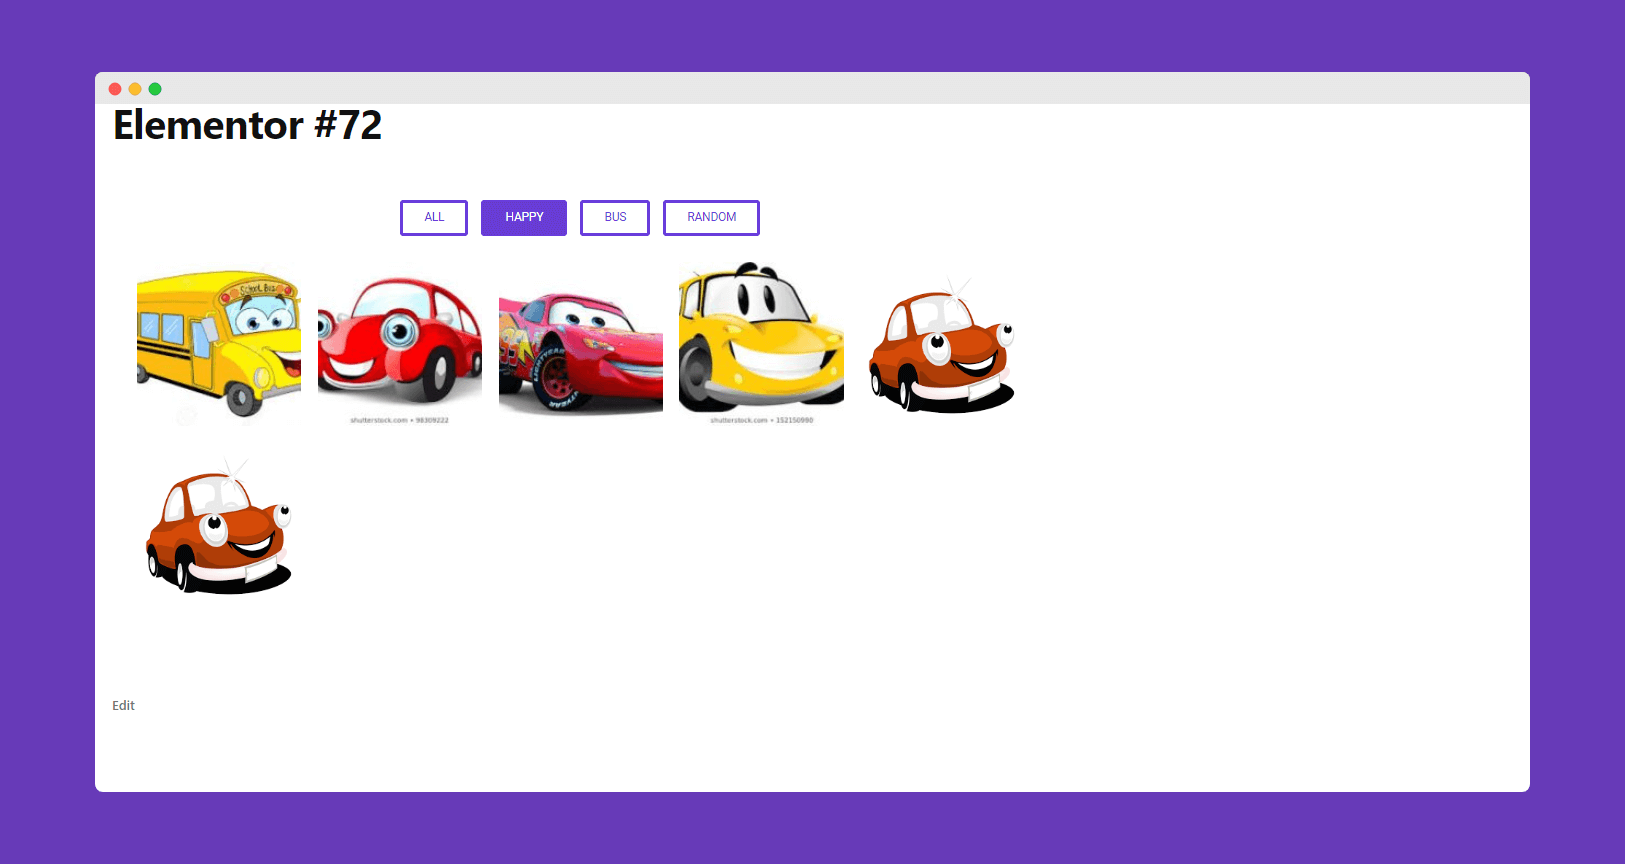
If you click on filters, you can see the particular images for that filter. Like, if you click on happy you will only see the images of the happy filter you have set.
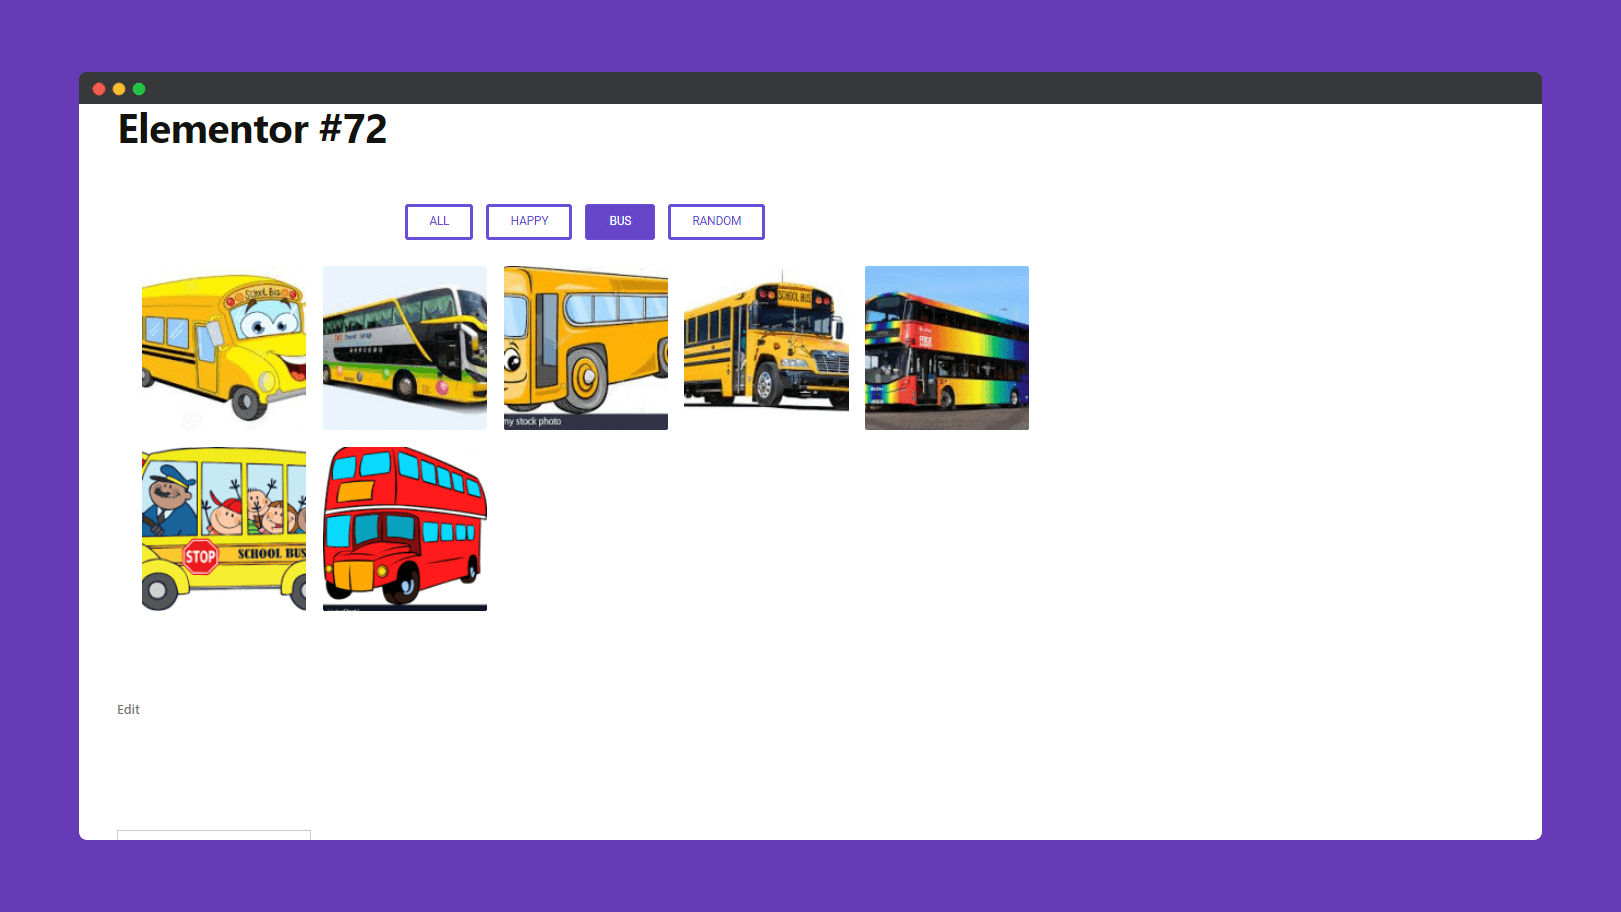
If you click on Bus filter you will see images for that filter.
That’s it!.
