Facing trouble integrating the MailChimp subscription form on Elementor your website in a systematic way? Take a look at Happy Addons’ new ‘MailChimp Form‘ widget. With this widget, you can add your customized subscription form to your website.
How To Use MailChimp Form Widget
Let’s dig deep and explore all the steps:
Pre-requisites
To use the MailChimp Form Widget, you need the following :
- MailChimp API Key
- Elementor
- Happy Addons
How To Create MailChimp API Key
Read the Mailchimp Knowledge Base article: About API Keys
Follow the step-by-step instructions from Mailchimp:
- Click your profile name to expand the Account Panel, and choose Account.
- Click the Extras drop-down menu and choose API keys.
- Copy an existing API key or click the Create A Key button.
- Name your key descriptively, so you know what application uses that key.
Step: 1
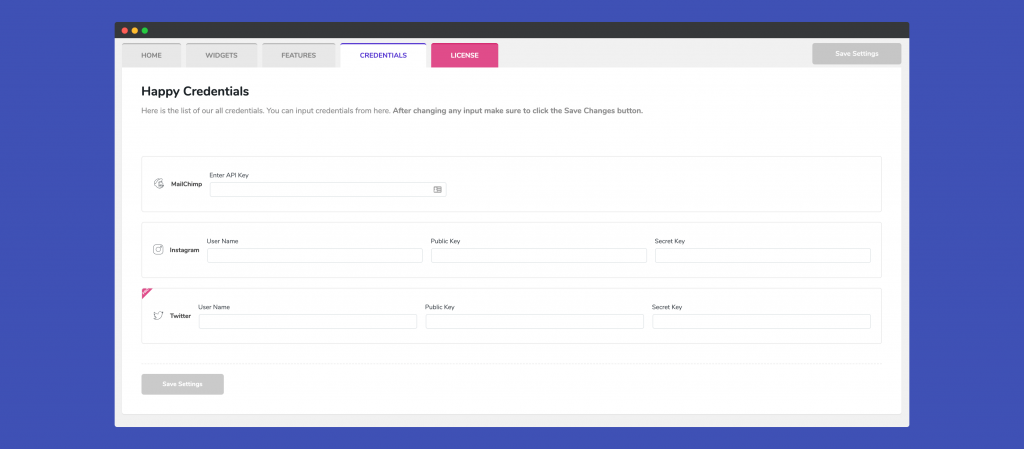
First, you need to add ‘MailChimp API Key‘ from your website backend. You’ll get the option to place your API key WP-Admin–>Happy Addons–>Credentials area.
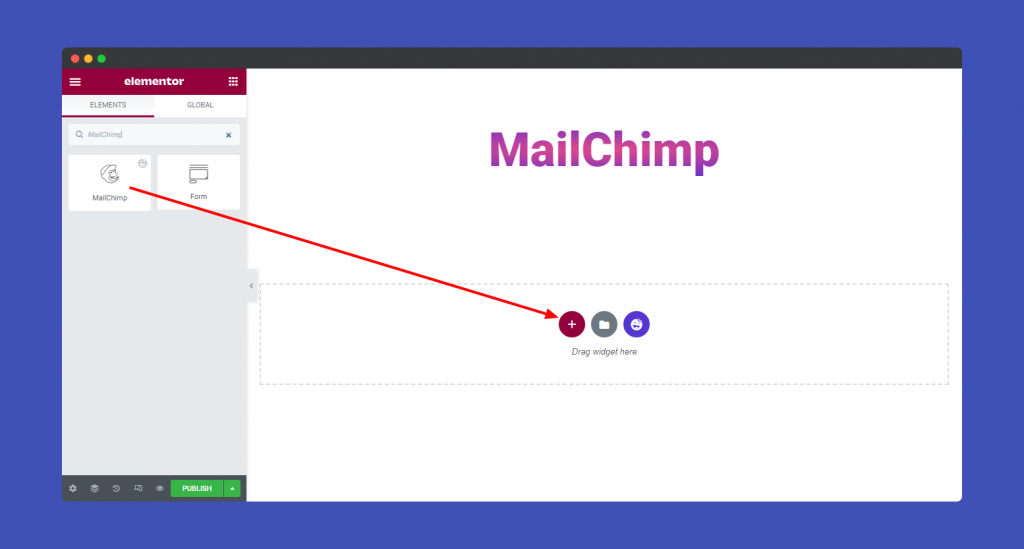
Next, find the ‘MailChimp Form‘ widget in the search bar. Then select the widget from the left side menu. Finally, drag and drop it onto the selected area.
Step: 2
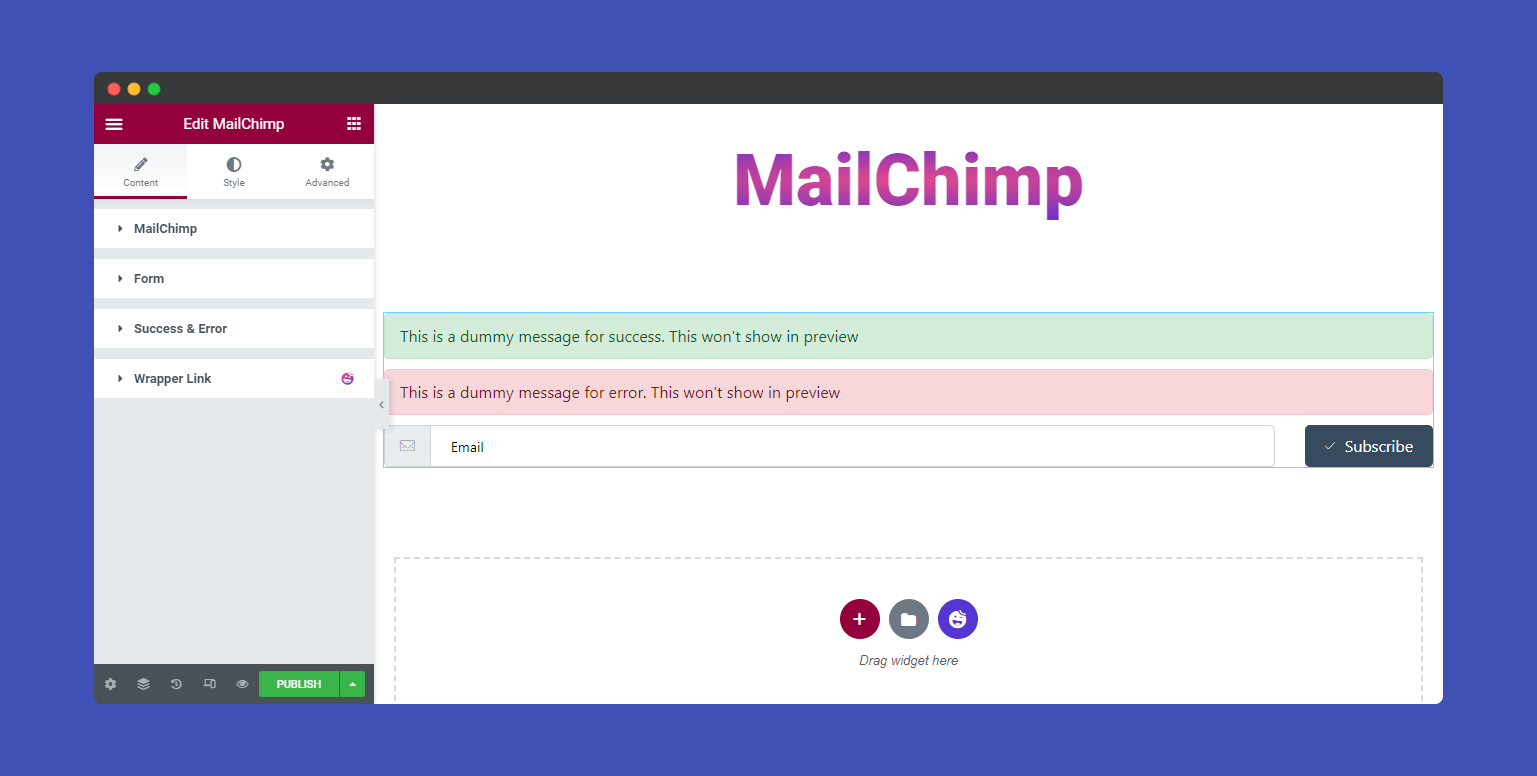
In the ‘Content‘ section, you can customize the MailChimp form content like MailChimp, Form, and Success & Error.
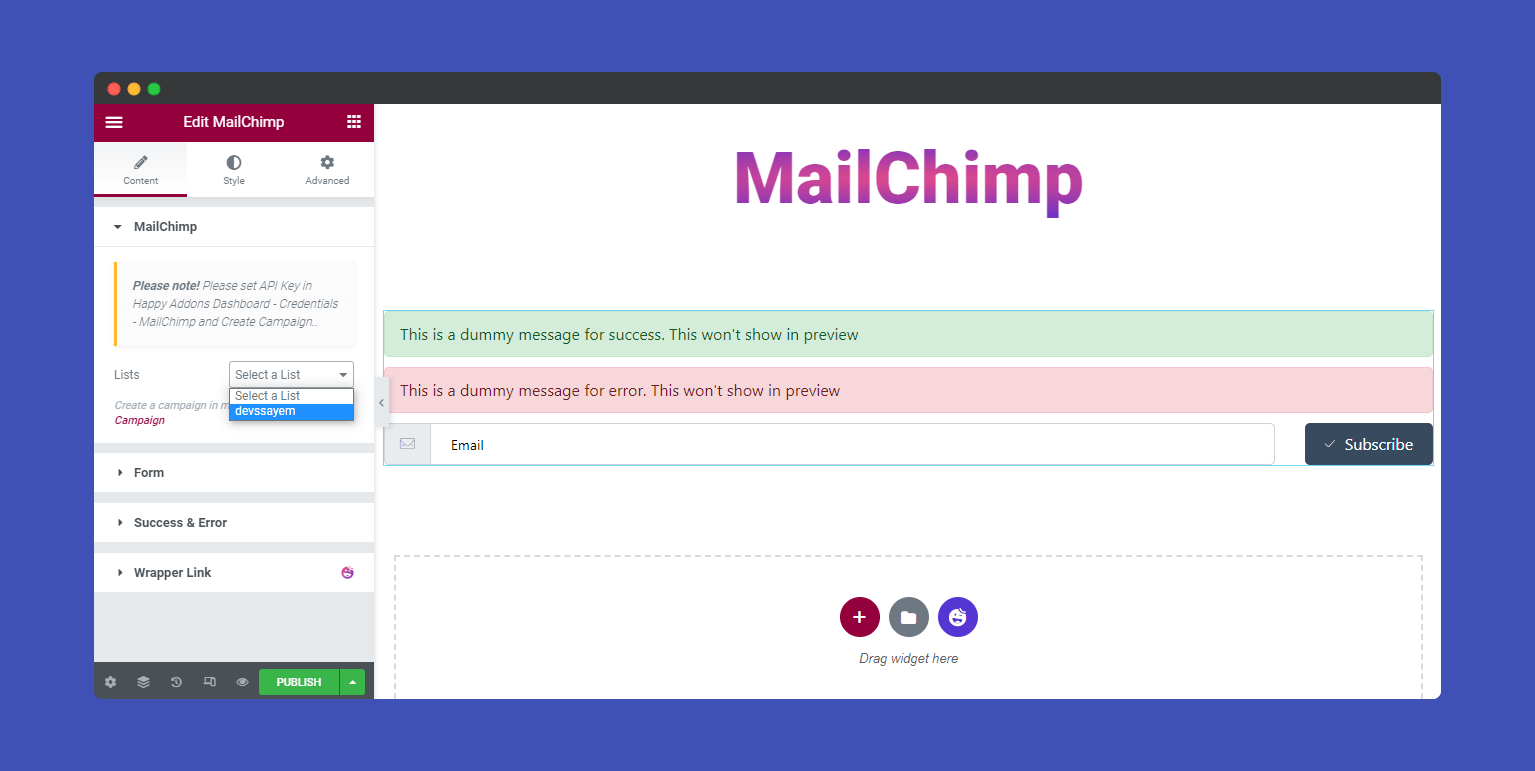
In Content–>MailChimp, you’ll get a list of your already created campaigns. Here, you need to select a campaign name from the dropdown list.
Adding MailChimp Tag
Next, you need to select the Audience from the list. If you don’t have one, you can click the Create Audience link for creating them.
In Happy Addons’ MailChimp Form widget, you can also separate your email subscriber using Tags. By sending your subscribers multiple email lists, you can use multiple tags.
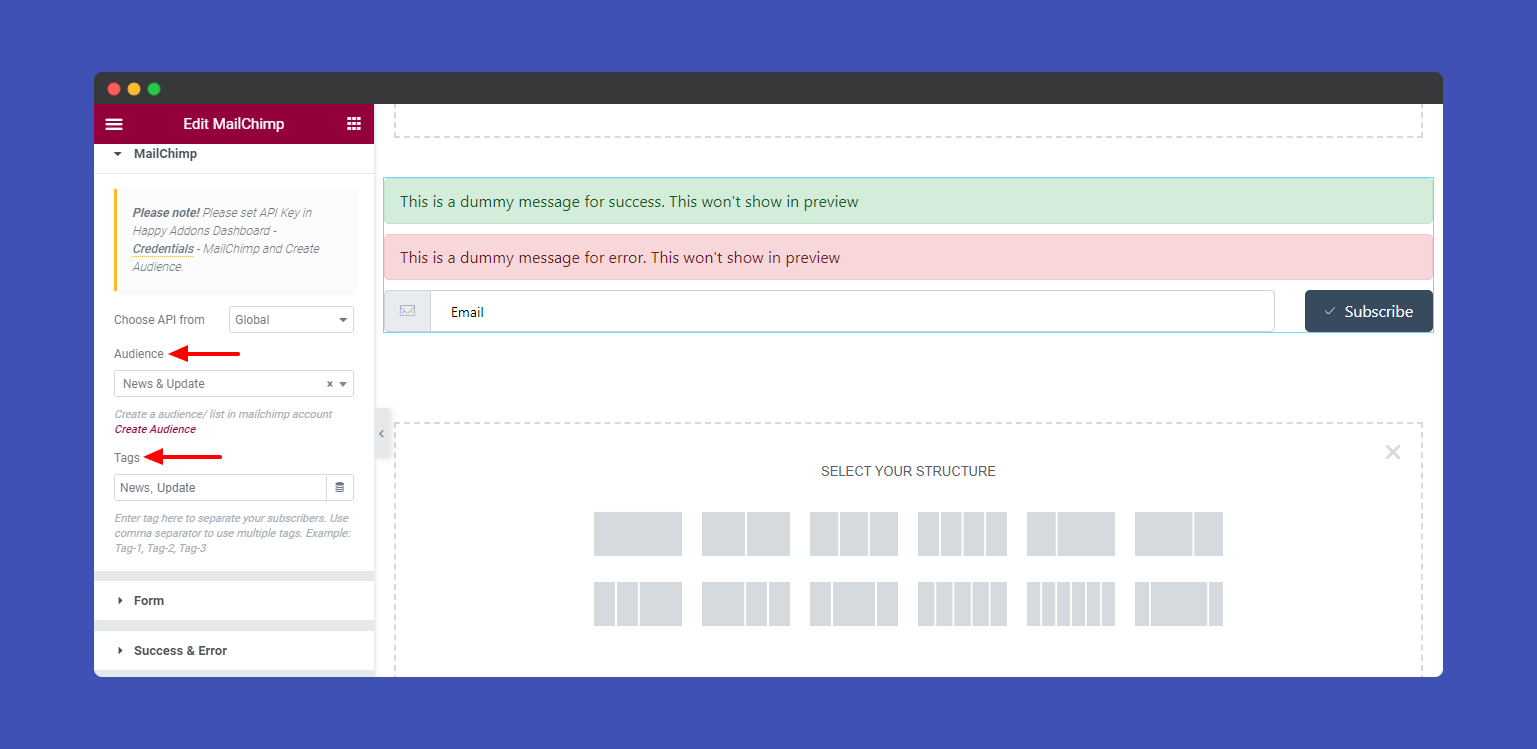
Note: Enter tag here to separate your subscribers. Use comma separator to use multiple tags. Example: Tag-1, Tag-2, Tag-3, YouTube Subscribers, Newsletters Subscribers, etc.
In Content–>Form, you can select the Form Alignment Horizontal and Vertical. If you need, you can Enable Name? and Enable Phone? to your form.
You can also define the Input Field’s Label, Placeholder, Enable Icon With Input?, Icon, and Icon Position. And able to set the Button’s Text, Enable Icon With Button?, Icon, and Icon Position.
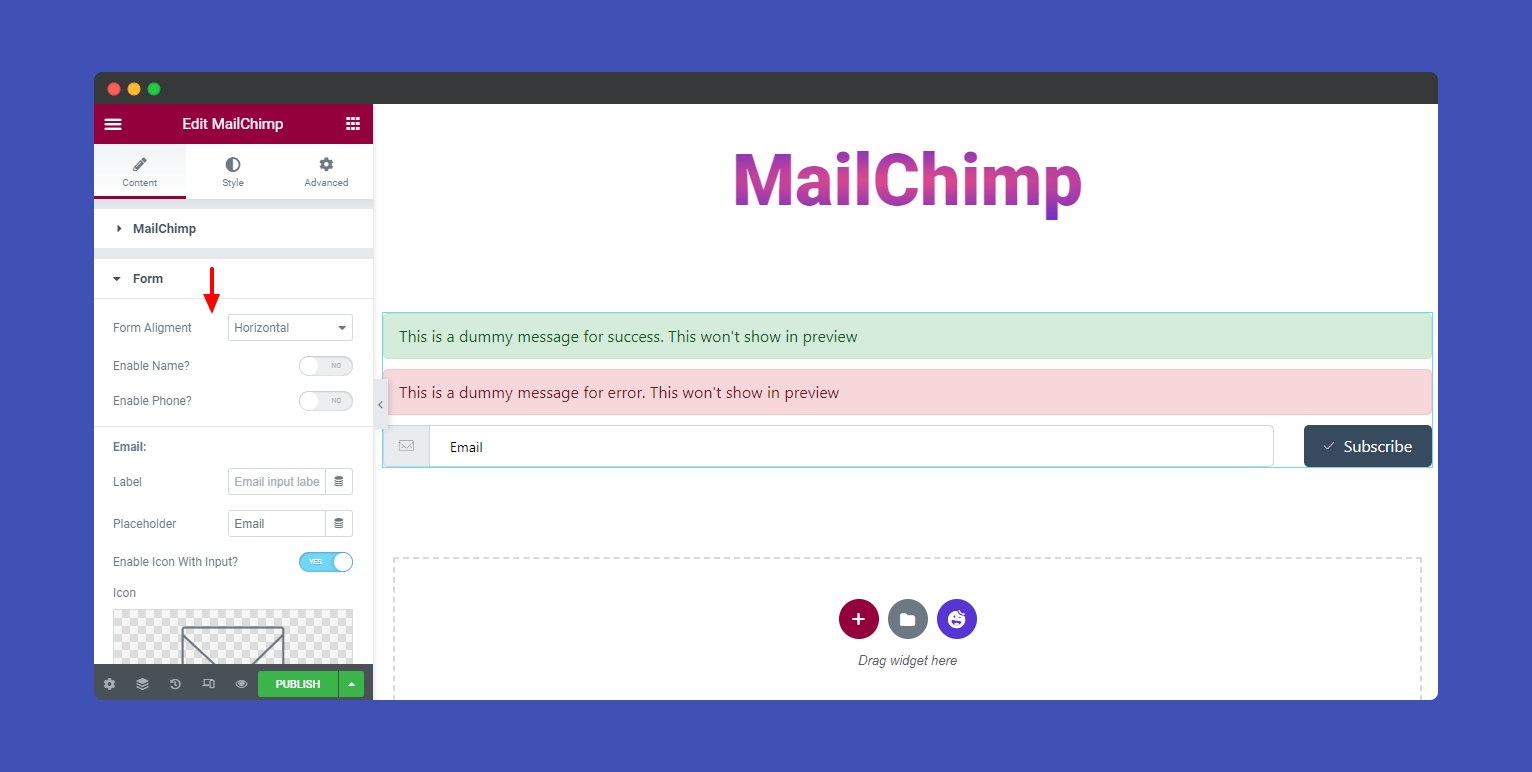
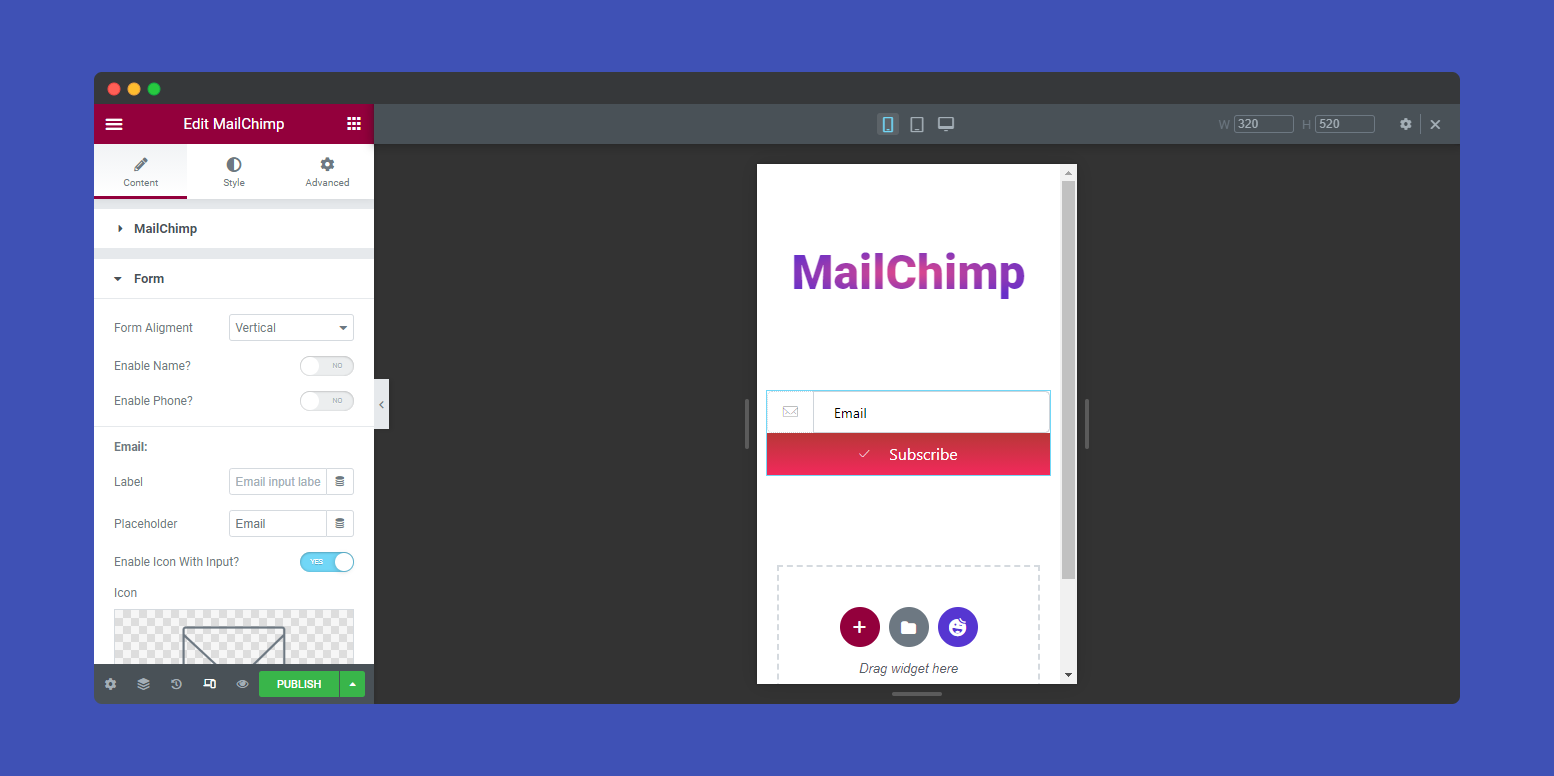
Note: You can also define Form Alignment based on devices.
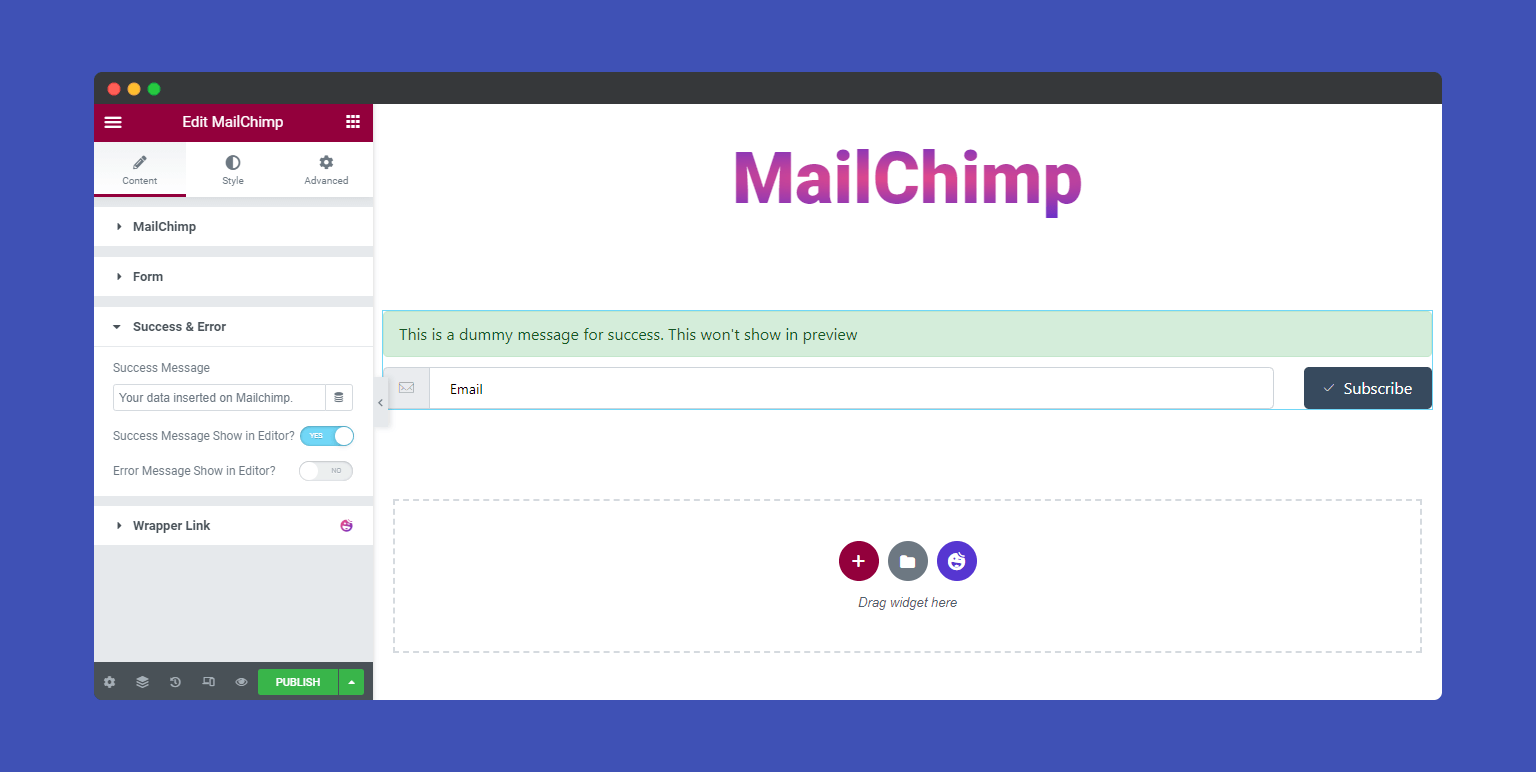
If you want to reset the Success & Error messages, you can do it in the Content–> Success & Error area.
Step: 3
In the Style section, you can style and redesign your subscription form. There several options available to design the form Label, Input, Input Icon, Buttons, and Success & Error messages.
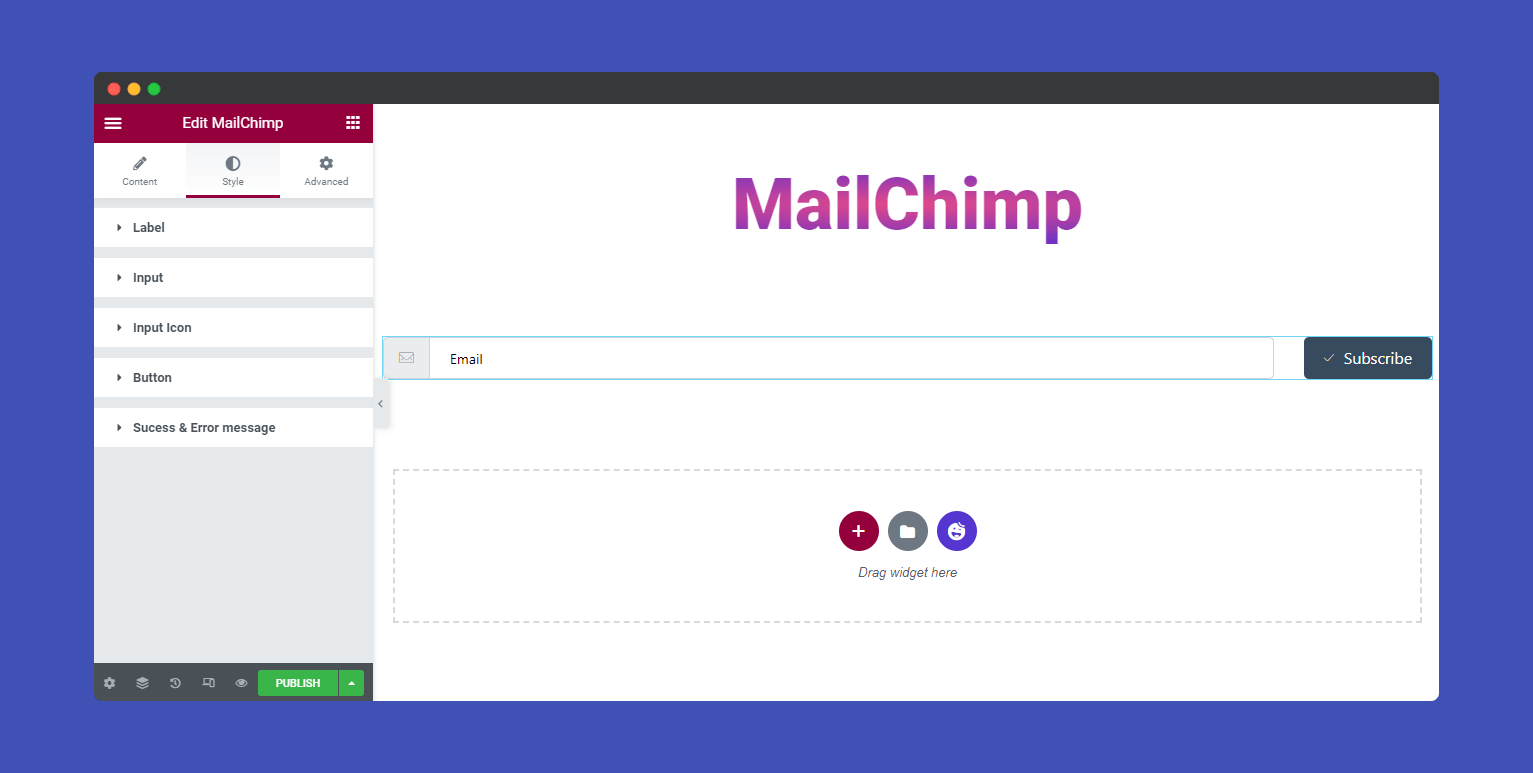
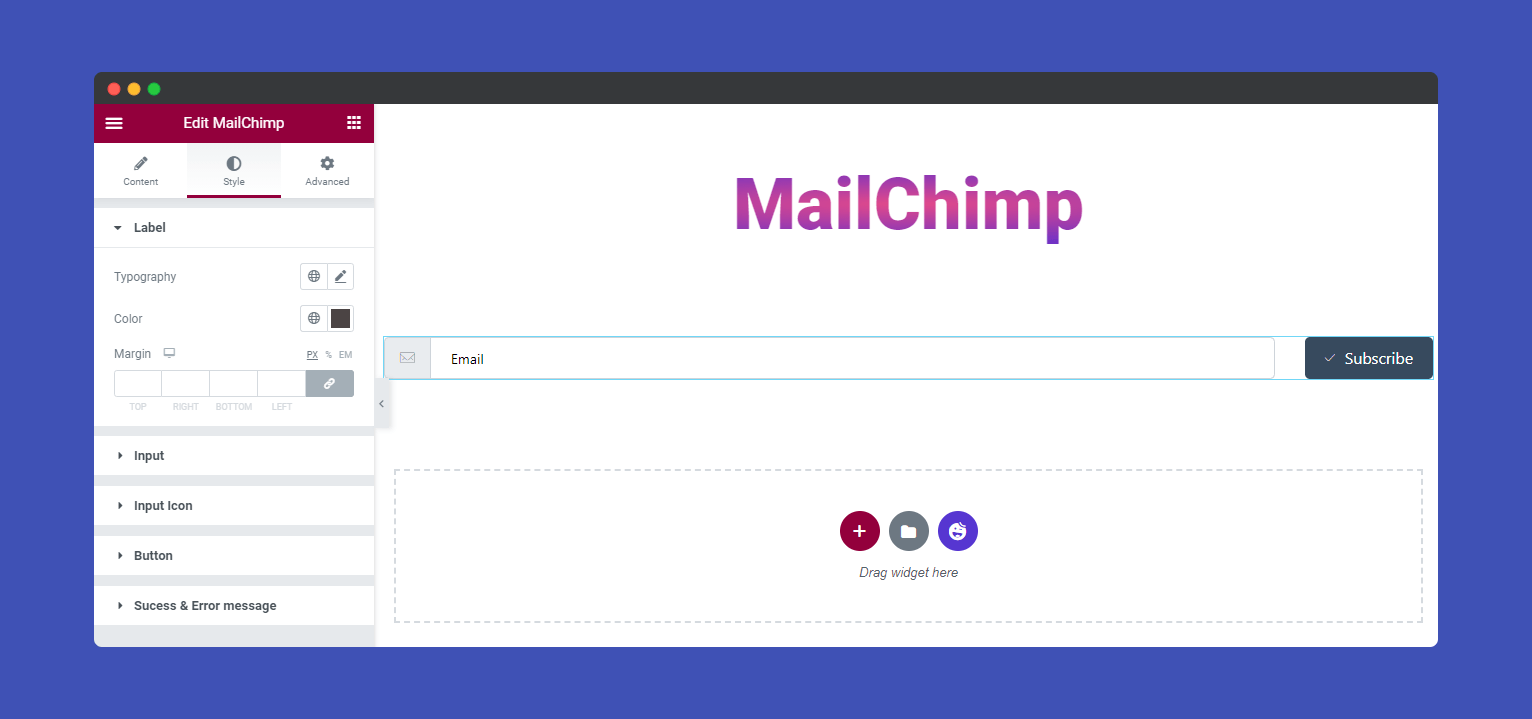
Here, you able to add the Form Labels’ Typography, Color, and Margin to your own style.
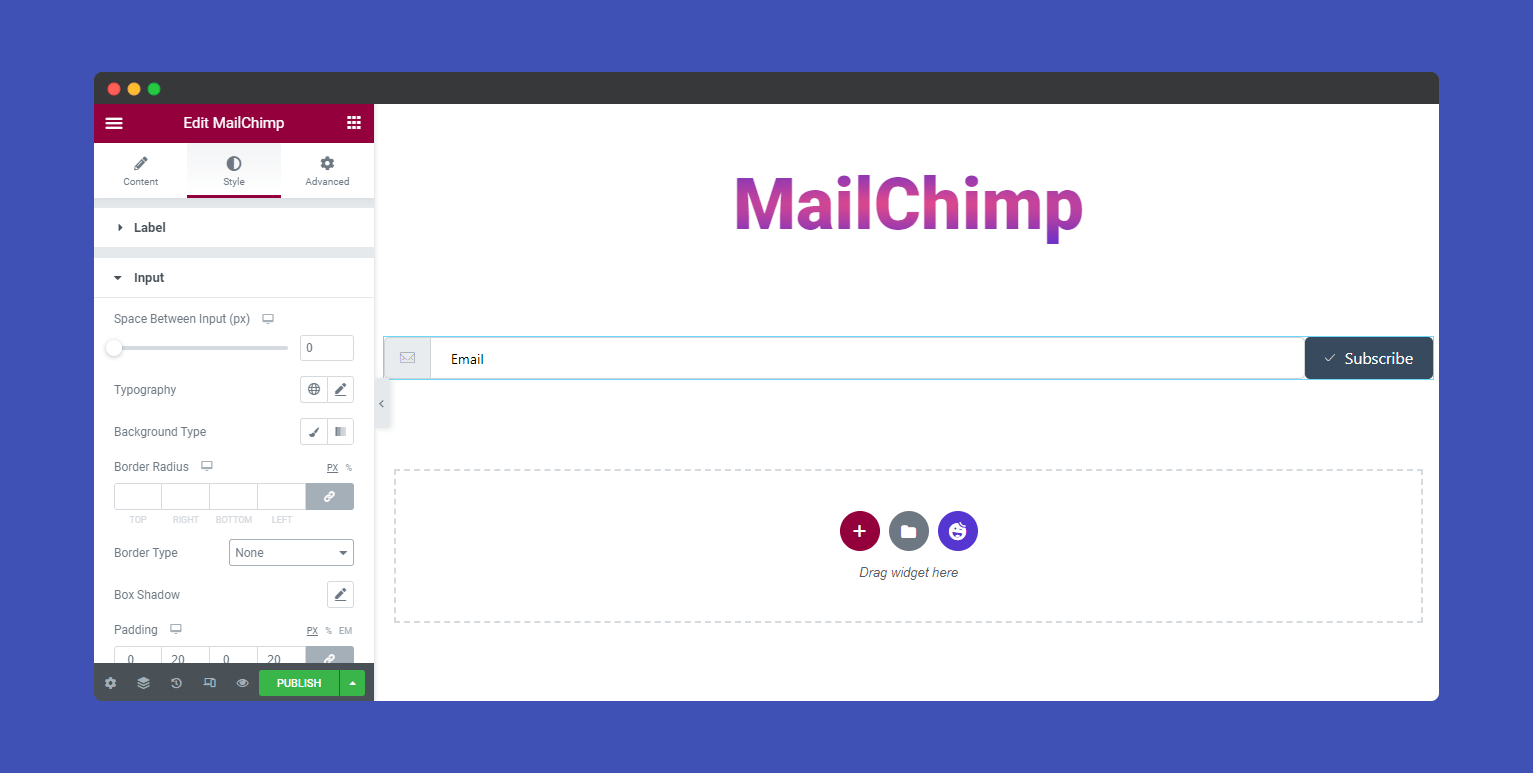
If you want, you can redesign the Input field using many options like Space Between Input, Color, Typography, Background Type, Border Radius, Border Type, Box Shadow, Padding, and set Placeholder Color and Font Size.
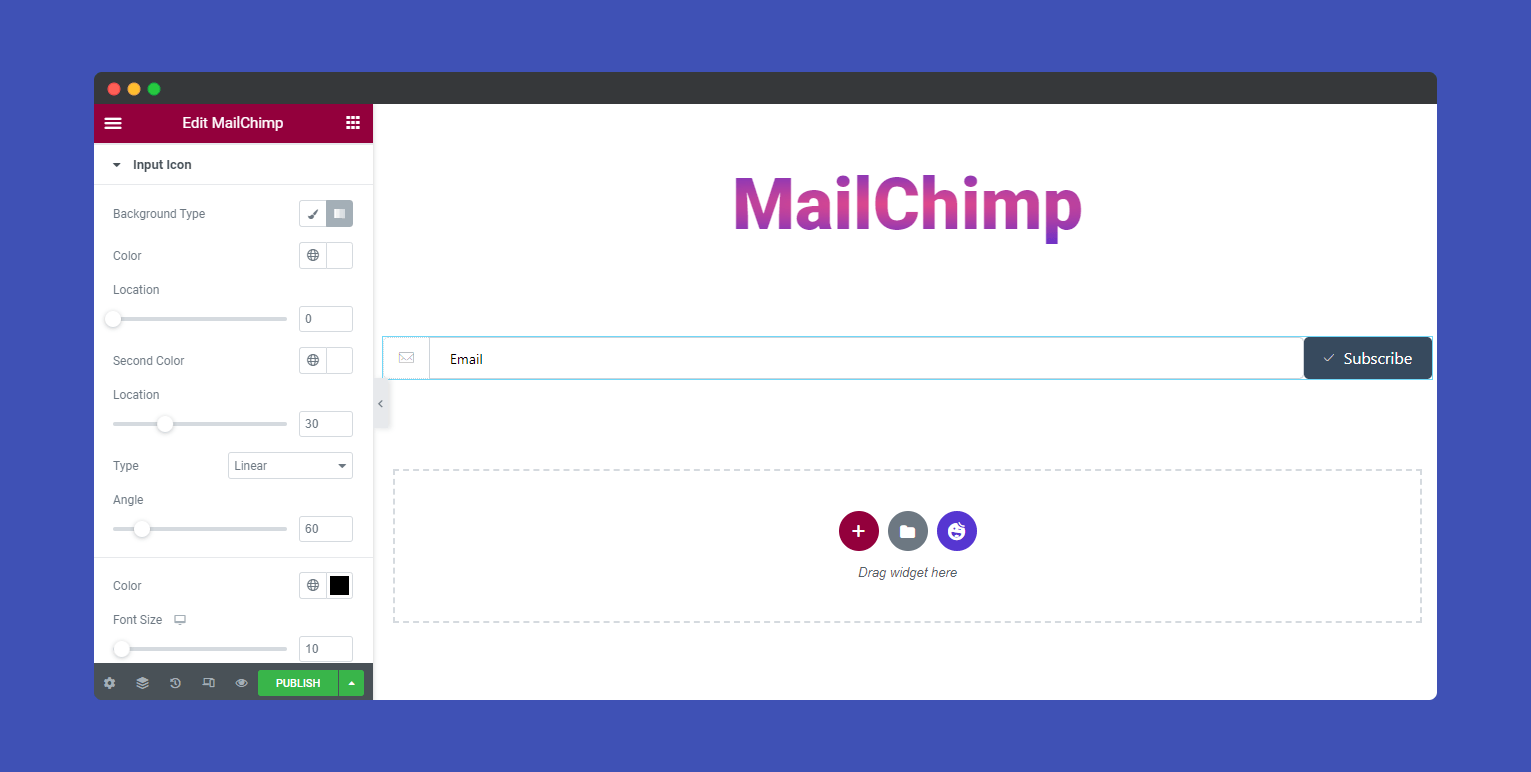
You can also set the Input Icons’ Background Type, Color, Location, Font Size, Border Type, Padding, and Border Radius.
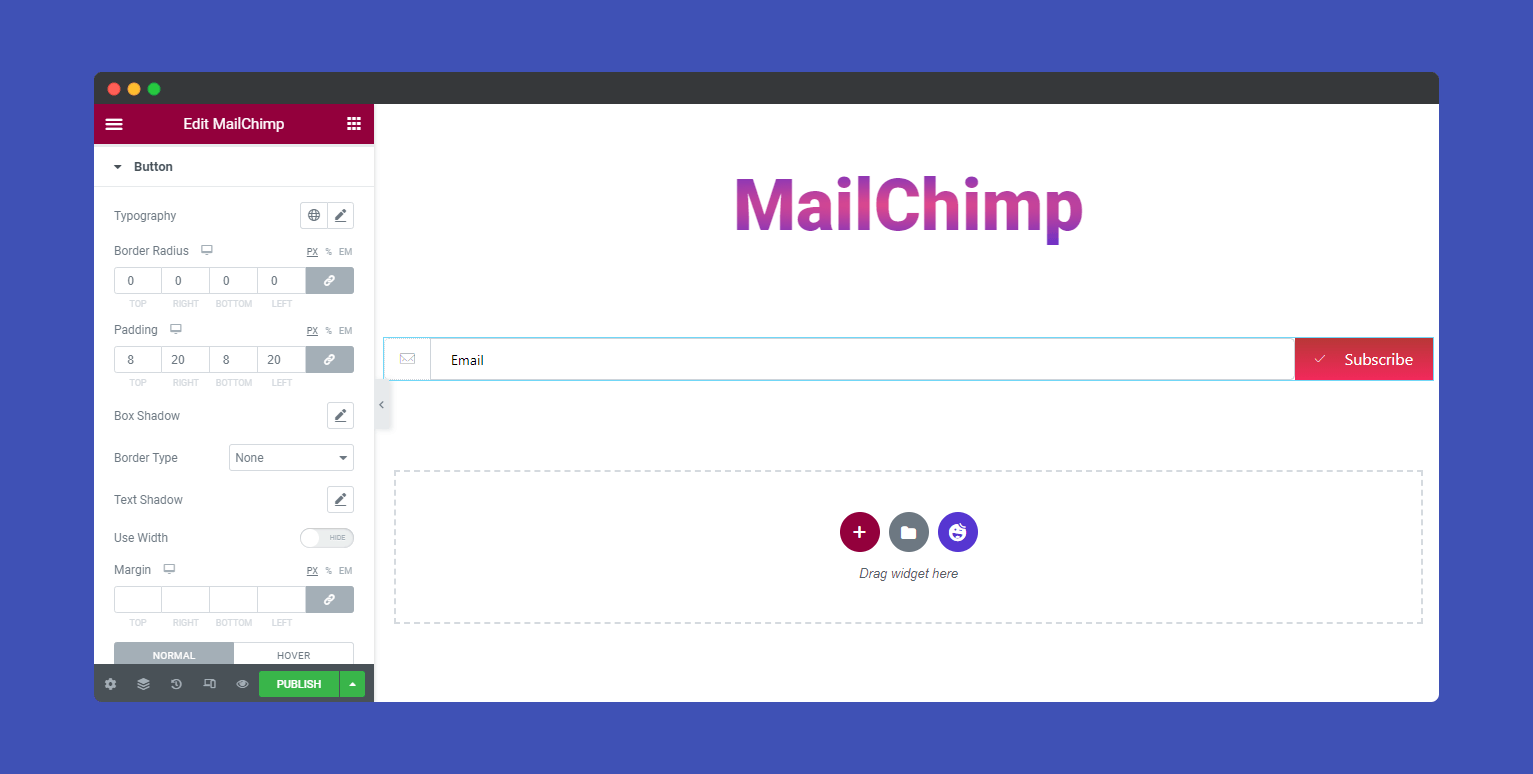
According to your need, you can define the Button Typography, Border Radius, Padding, Box Shadow, Border Type, Text Shadow, Margin, Color, Background Type, Location, Icon Spacing, and Icon Size.
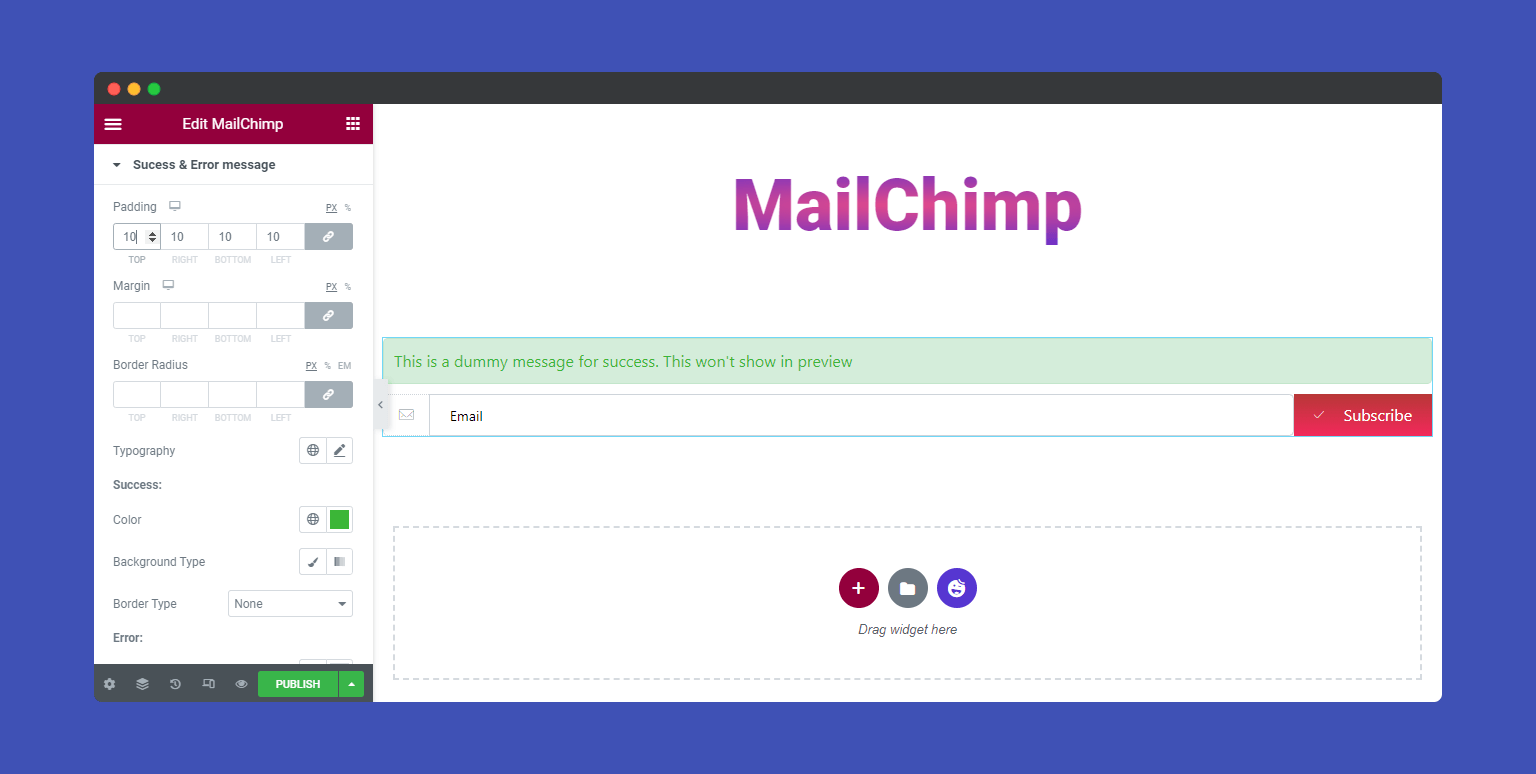
You can set Success & Error messages Color, Background Type, and Border Type in your own choice.
Step: 4
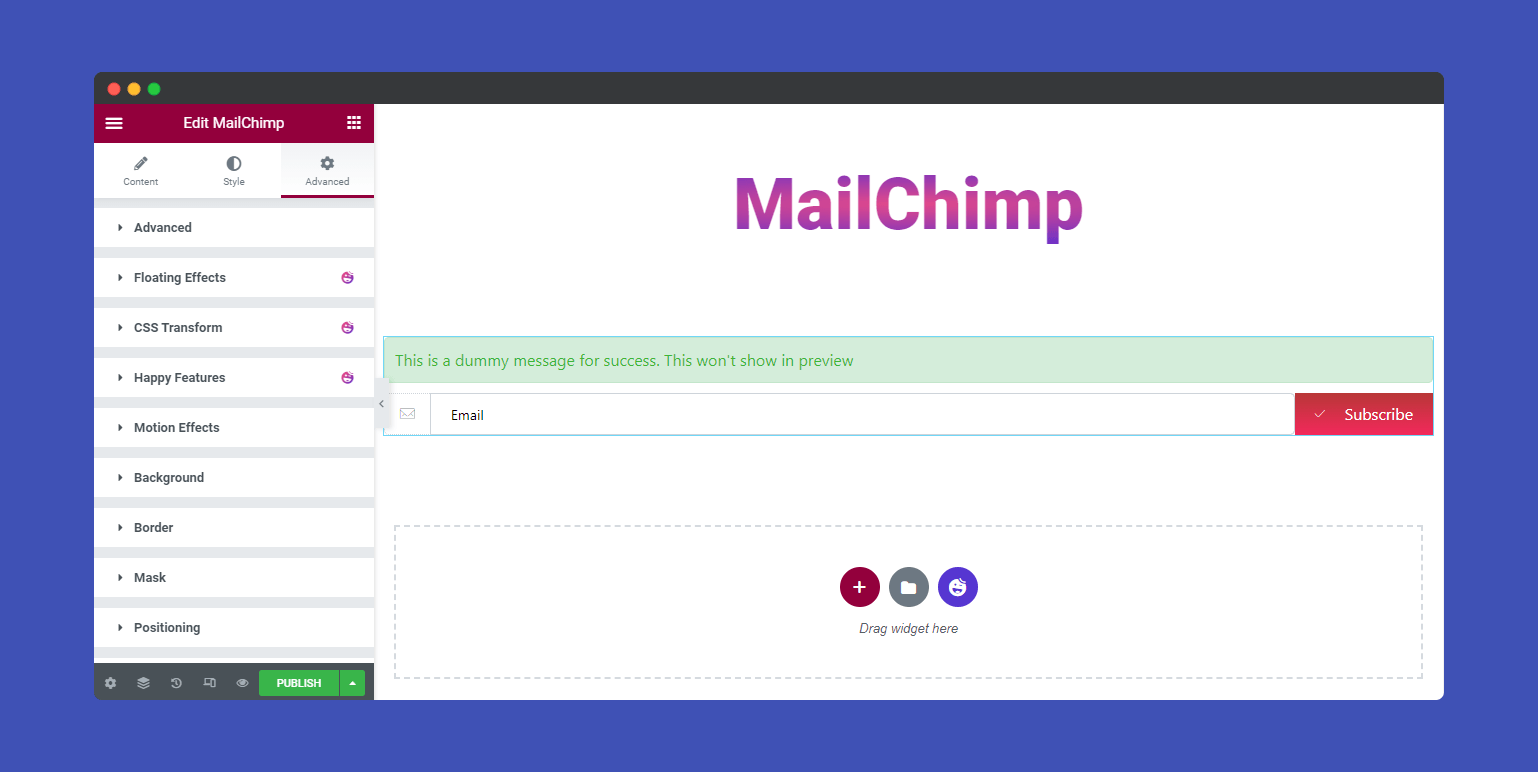
If you want to add motion effects, happy effects, background, or make it responsive and more intriguing, click on ‘Advanced‘ to explore those options. the ‘Advanced‘ is a default feature of Elementor.
Give a read to this Document to know more about advanced features & functions.
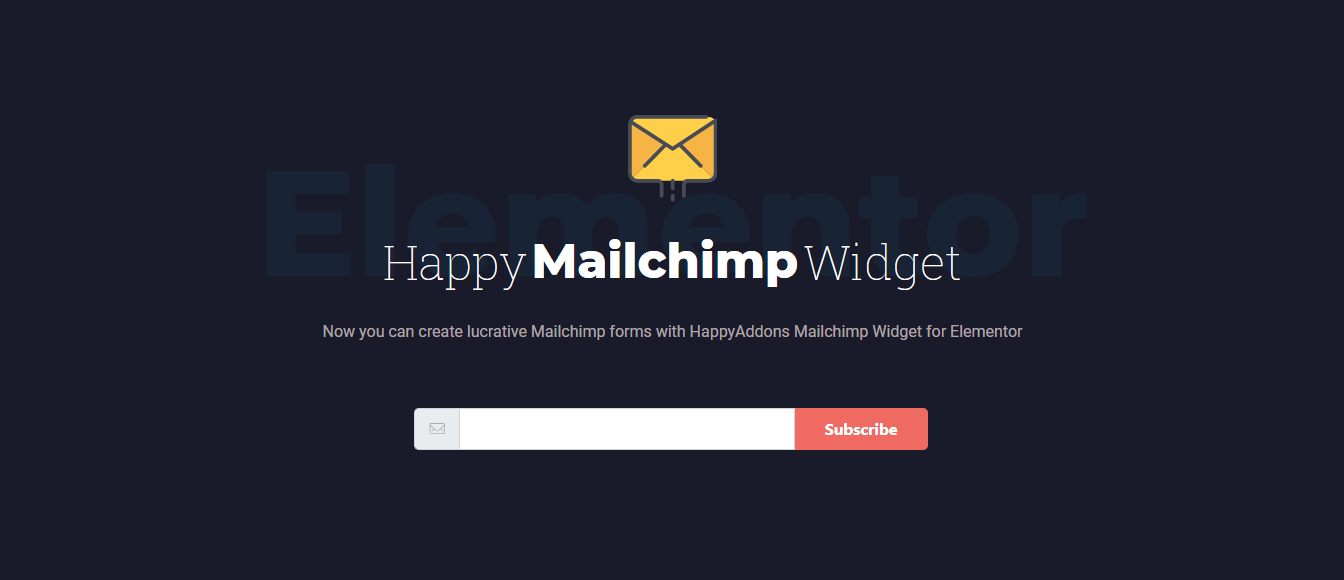
Here is the final preview of MailChimp Form widget.
That’s it.
