If you want to add a stunning photo stack to your Elementor website, you should take a look at the Happy Addons’ new ‘Photo Stack‘ widget. With this free widget, you can showcase and customize your website images in a convenient way.
Pre-requisites
You need to install and activate the following plugins, to use the handy Photo Stack widget.
- Elementor (Free)
- Happy Addons (Free)
How To Use Photo Stack
Let’s see how to use the Photo Stack widget and customize it step-by-step:-
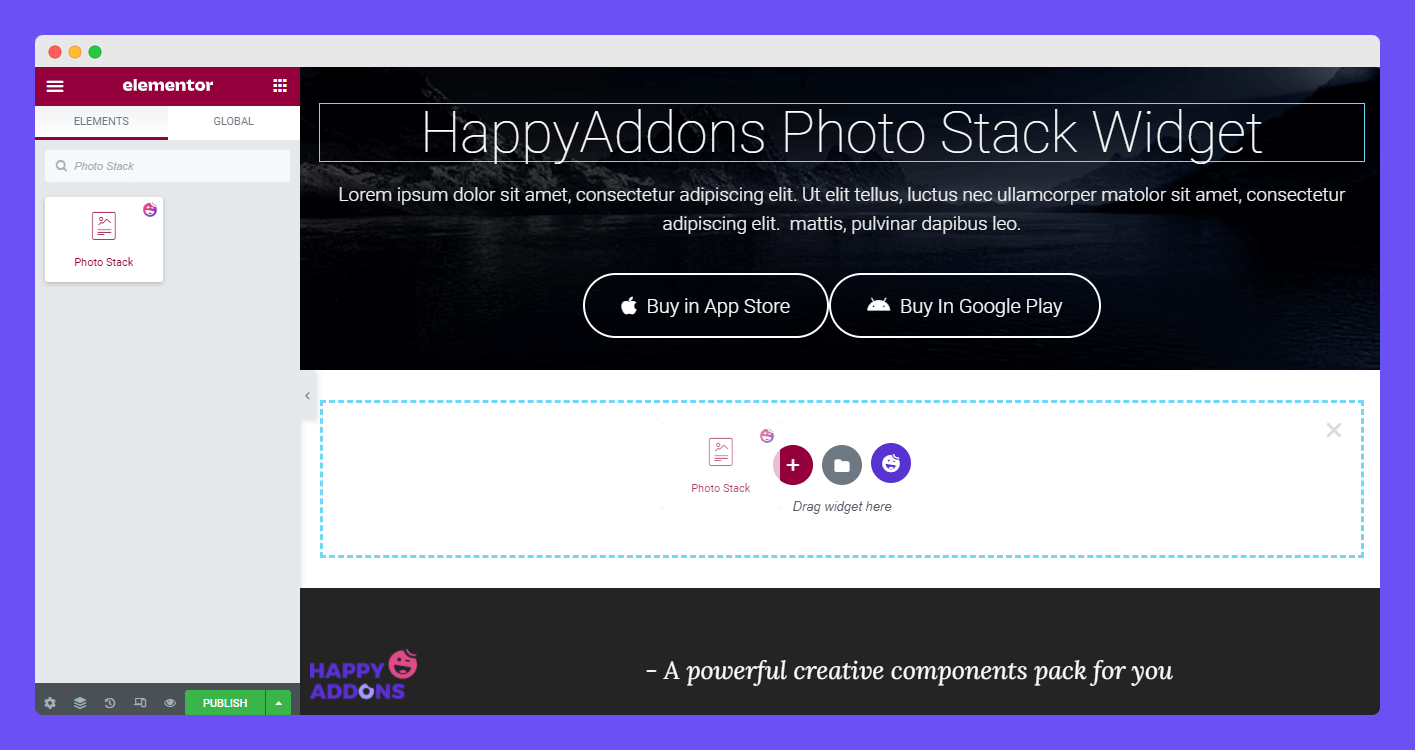
Add Photo Stack Widget
First of all, you need to search the widget from the Elementor widgets area. Then drag and drop it onto the suitable place on your website.
Content of Photo Stack
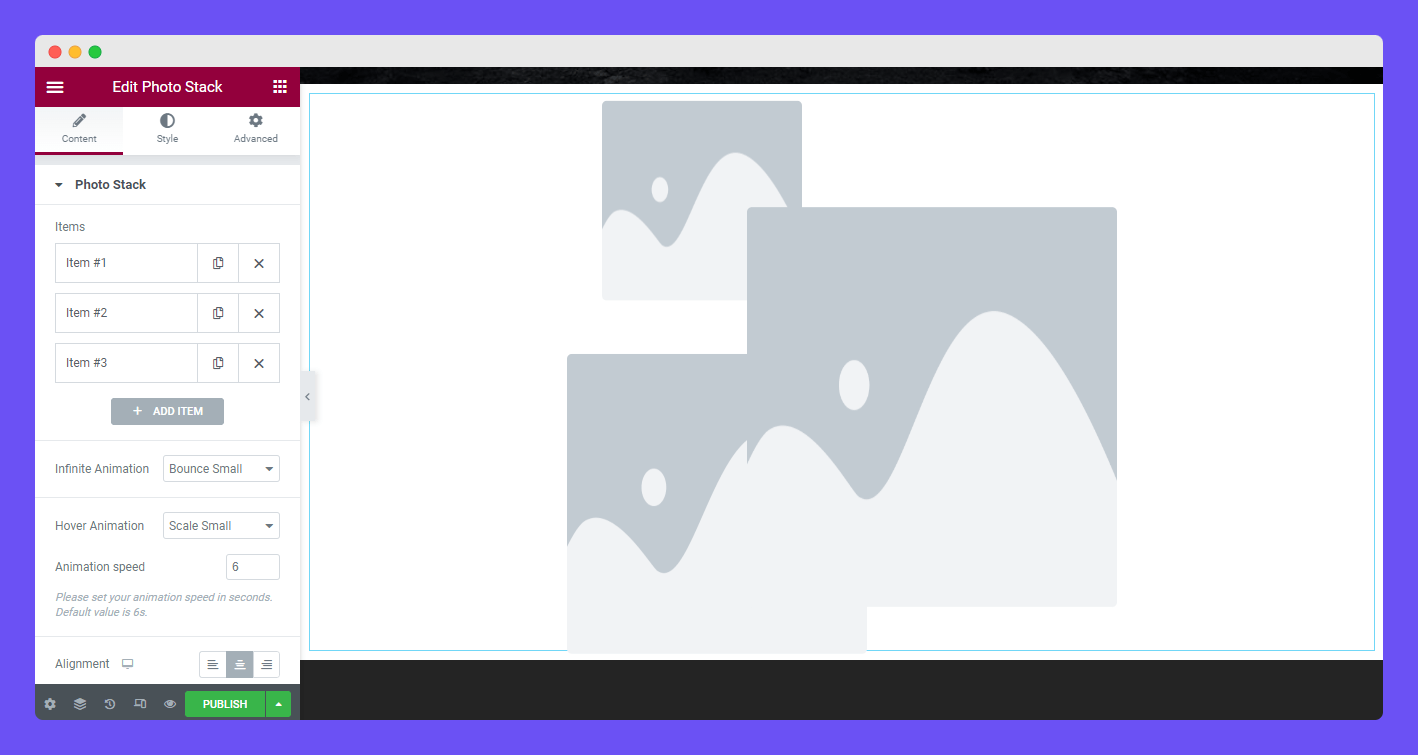
After adding the widget, you’ll get an interface like the below image.
In the Content area, you’ll get the option of adding the Items. To add an item, you need to click the ADD ITEM button. You can Duplicate and Remove an item according to your purposes.
You are also able to set Infinite Animation, Hover Animation, Animation Speed, and Alignment to the Photo Stack content. You’ll talk about these later.
Add Image & Set Iamge Size
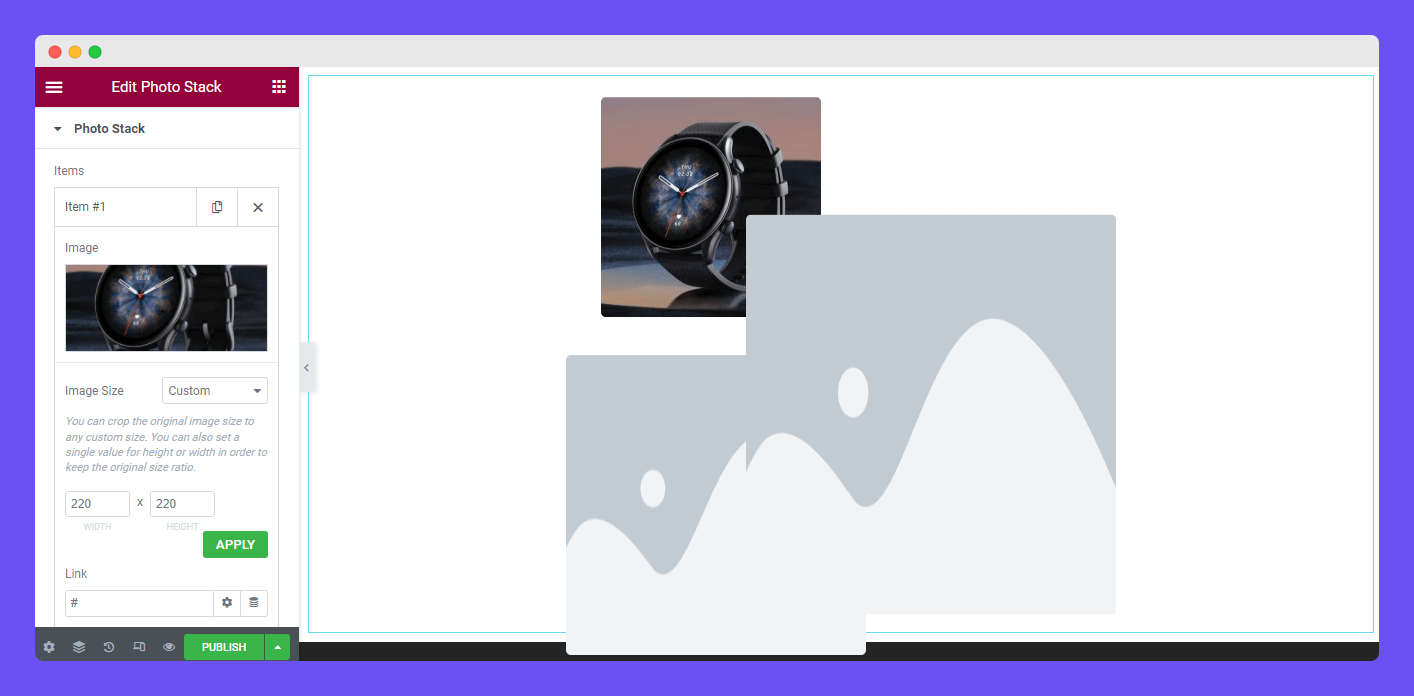
To add an image to the item, you should click an individual item first and insert an image. You can also customize your image size using the Image Size option. Here, you notice that we’ve used a Custom image size. After setting a custom image size, you need to click the APPLY button to save the setting.
If you choose the Custom image size, you can only Crop the image.
Set Image Offset X & Y
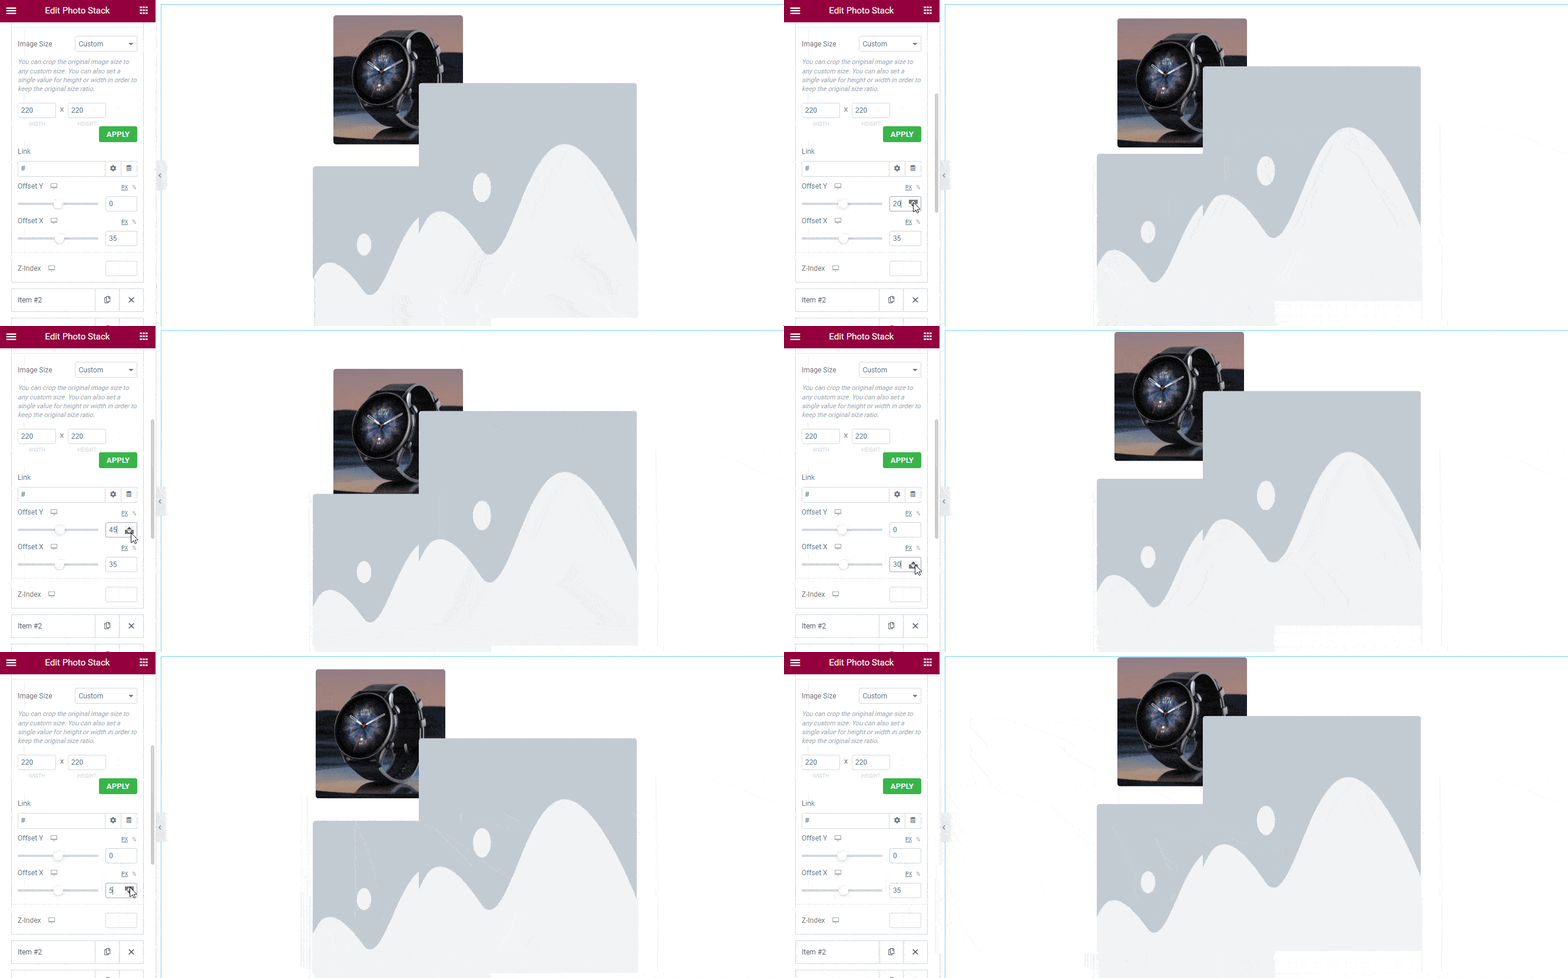
You can set the image position according to your need. Using the Offset Y to manage the image position vertically. You can use the Offset X to control the horizontal image position.
You can also use the Link option to insert an anchor link to the image.
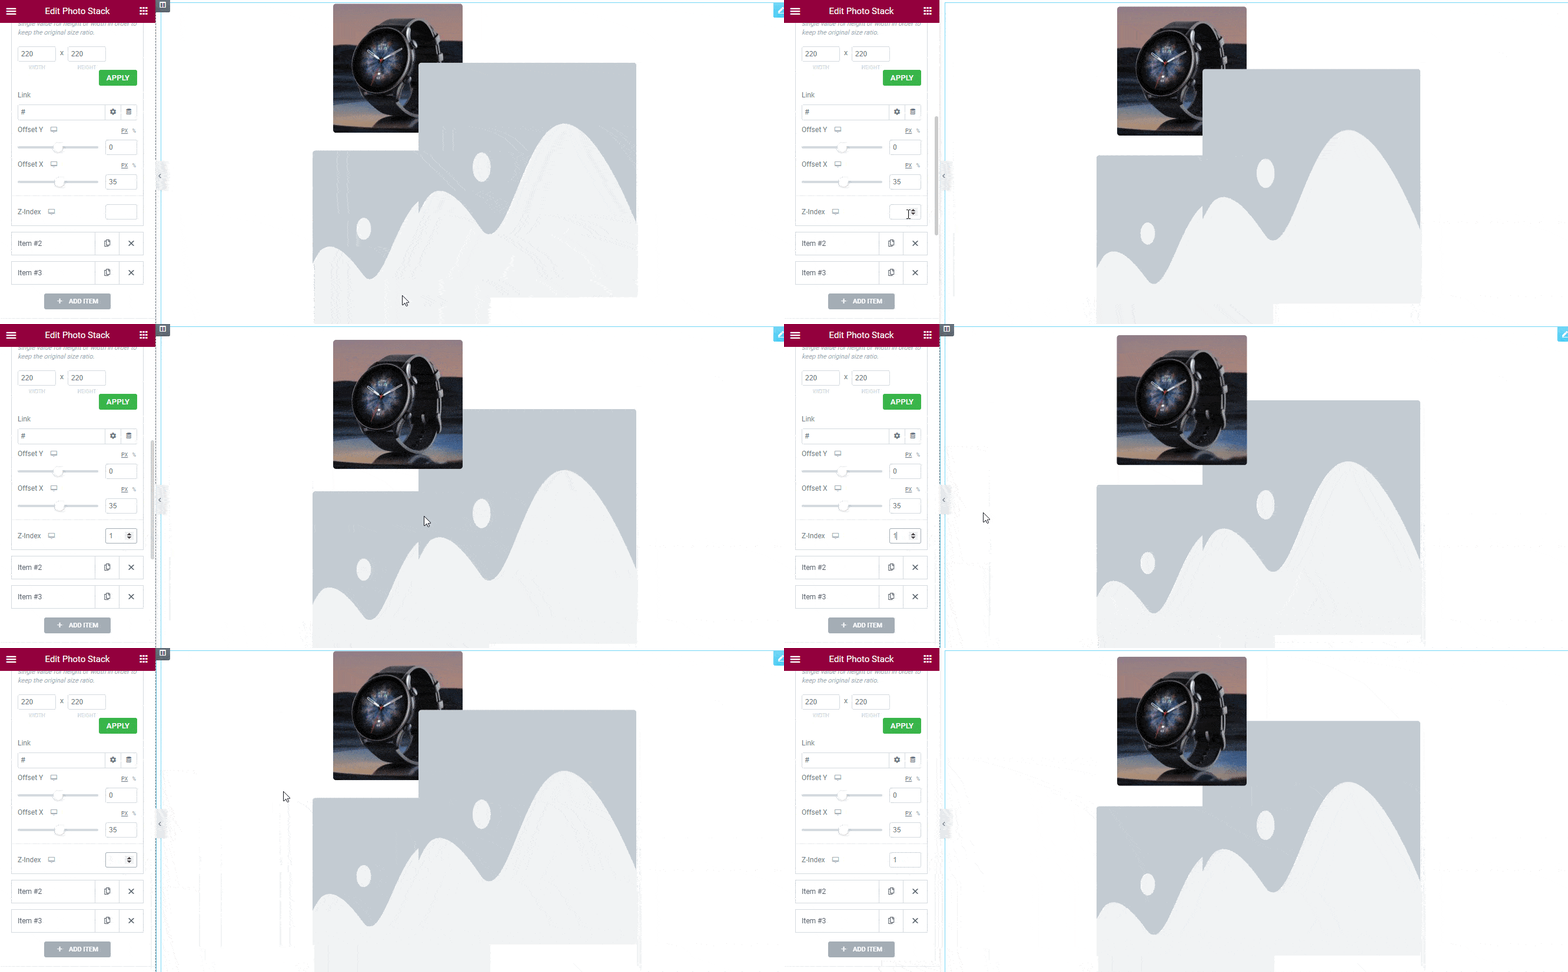
Set Z-Index
Using the Z-Index, you define which image will be on top of the other images. Here, we’ve set the Z-Index (1) while in other images Z-Index was (0). So the current image remains on top of the other images.
Infinite Animation
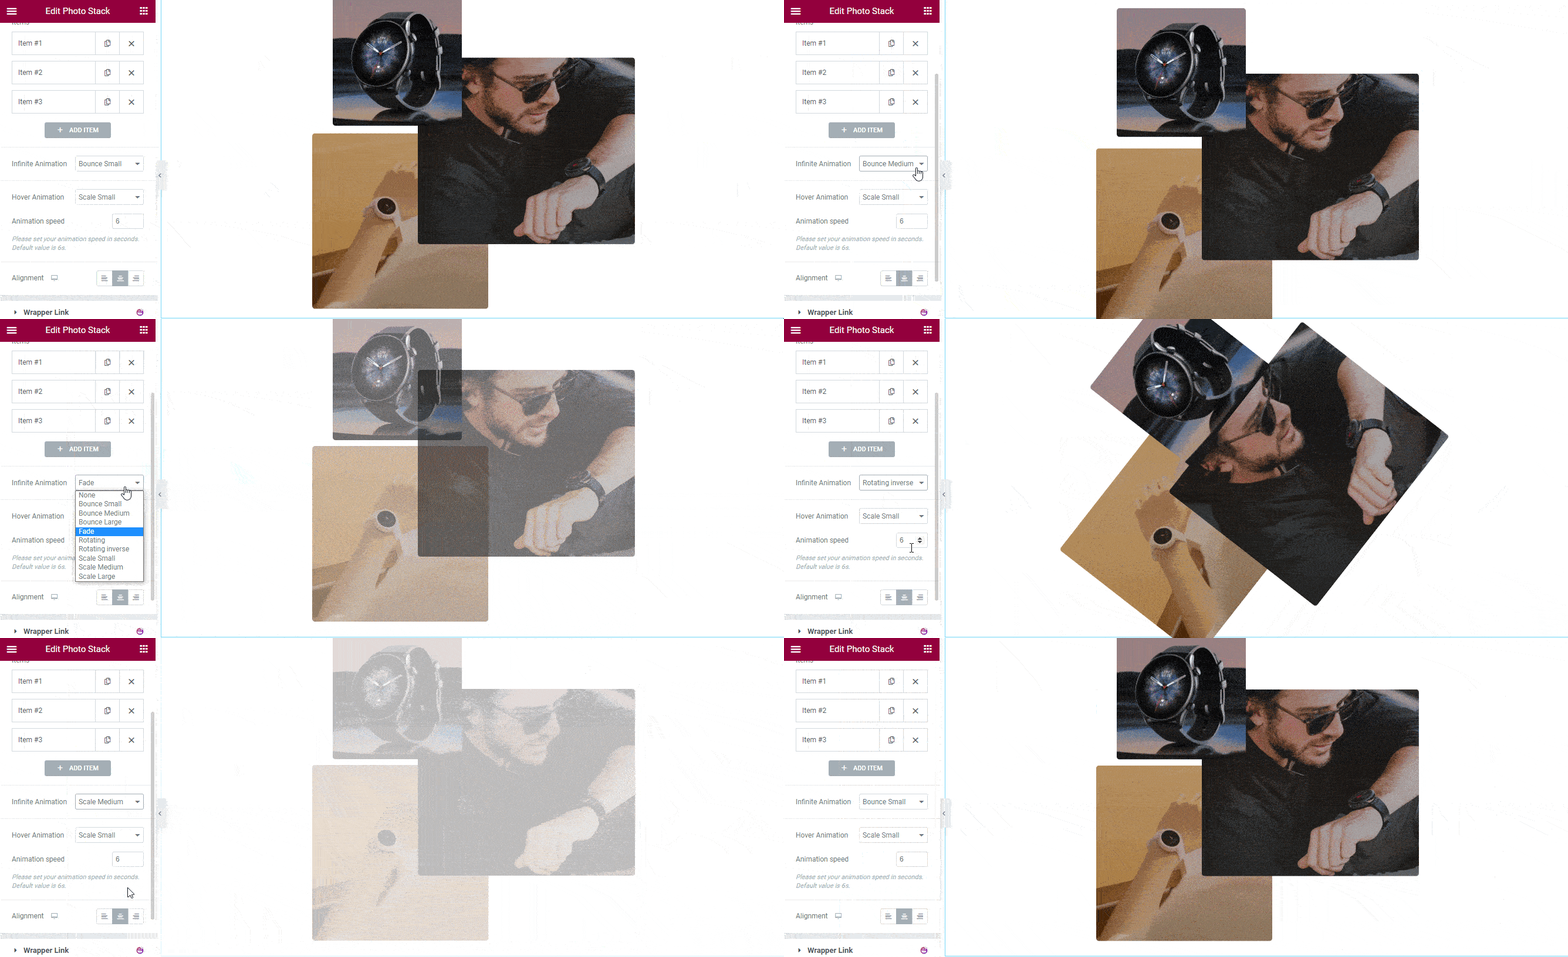
You can set your Infinite Animation based on your need. Here, we’ve added nine exclusive animation effects to decorate your image stack.
- Bounce Small
- Bounce Medium
- Bounce Large
- Fade
- Rotating
- Rotating Inverse
- Scale Small
- Scale Medium
- Scale Large
Set Hover Animation
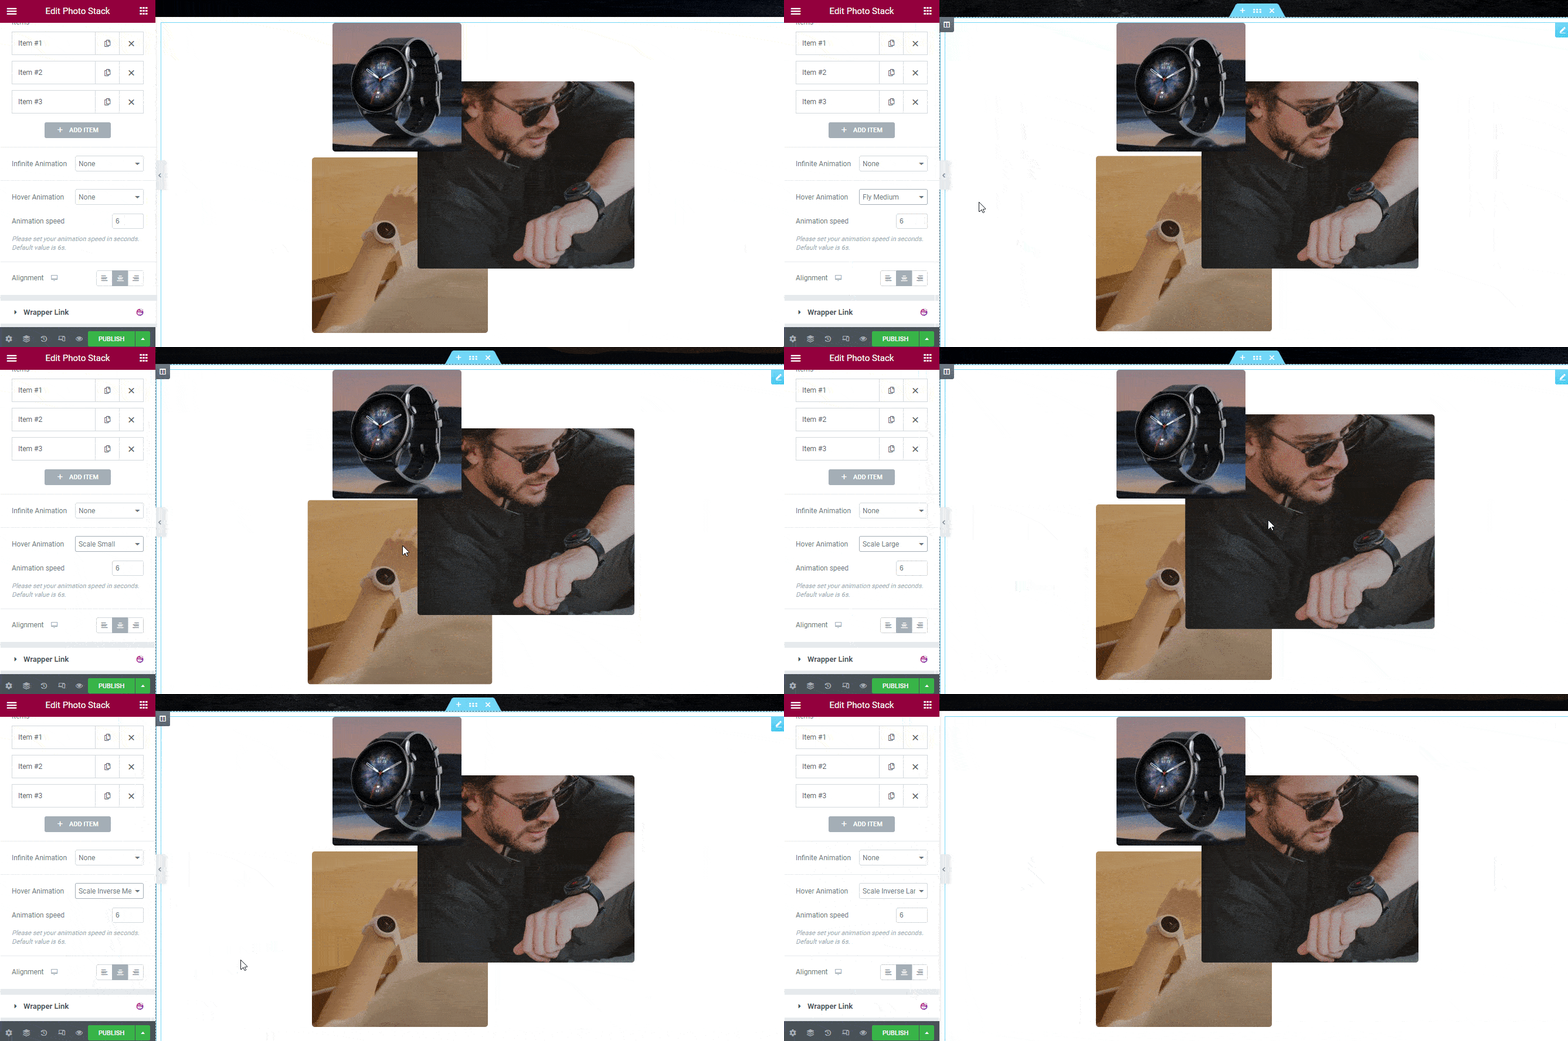
You can also define your Hover Animation. We’ve included nine stunning animations. They are.
- Fly Small
- Fly Medium
- Fly Large
- Scale Small
- Scale Medium
- Scale Large
- Scale Inverse Small
- Scale Inverse Medium
- Scale Inverse Large
Set Animation Speed & Alignment
You can control the Infinite Animation speed using the Animation Speed option. Also, set your entire content position using the Alignment setting.
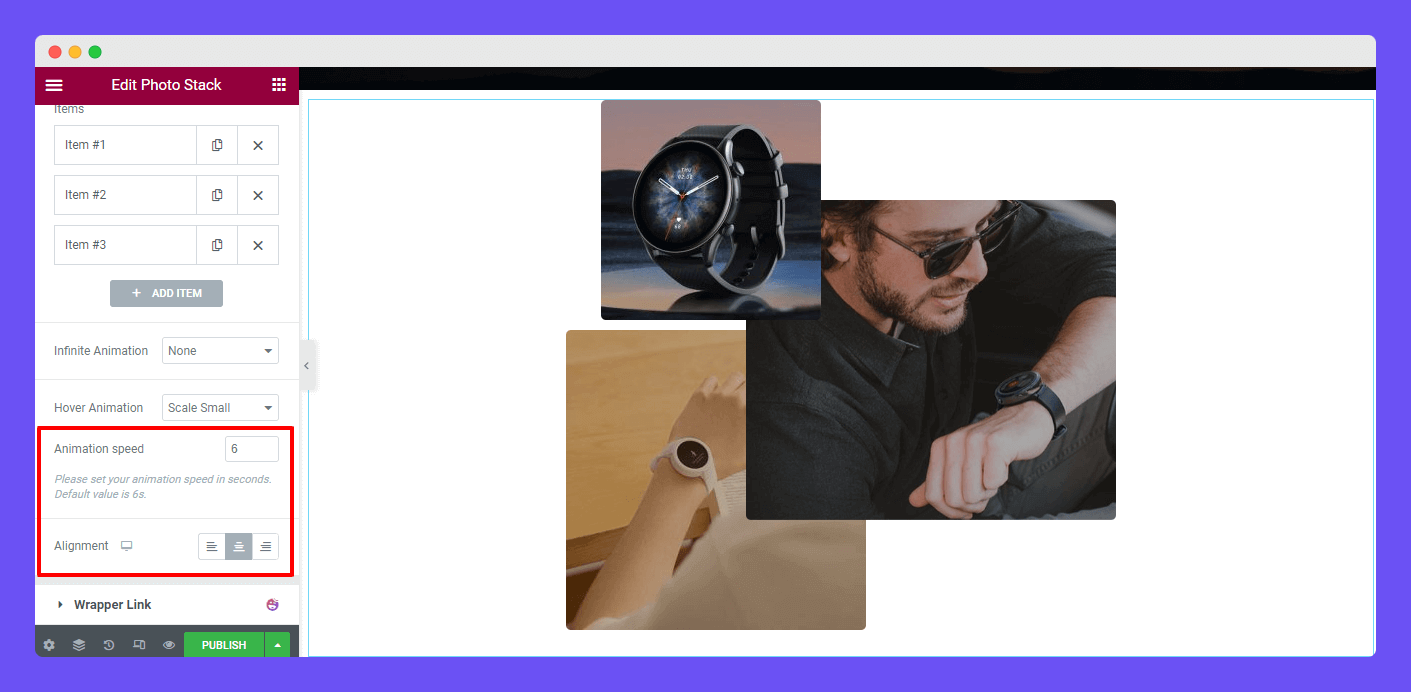
Note: Please set your Infinite Animation speed in Seconds. The default value is 6s.
Common Style
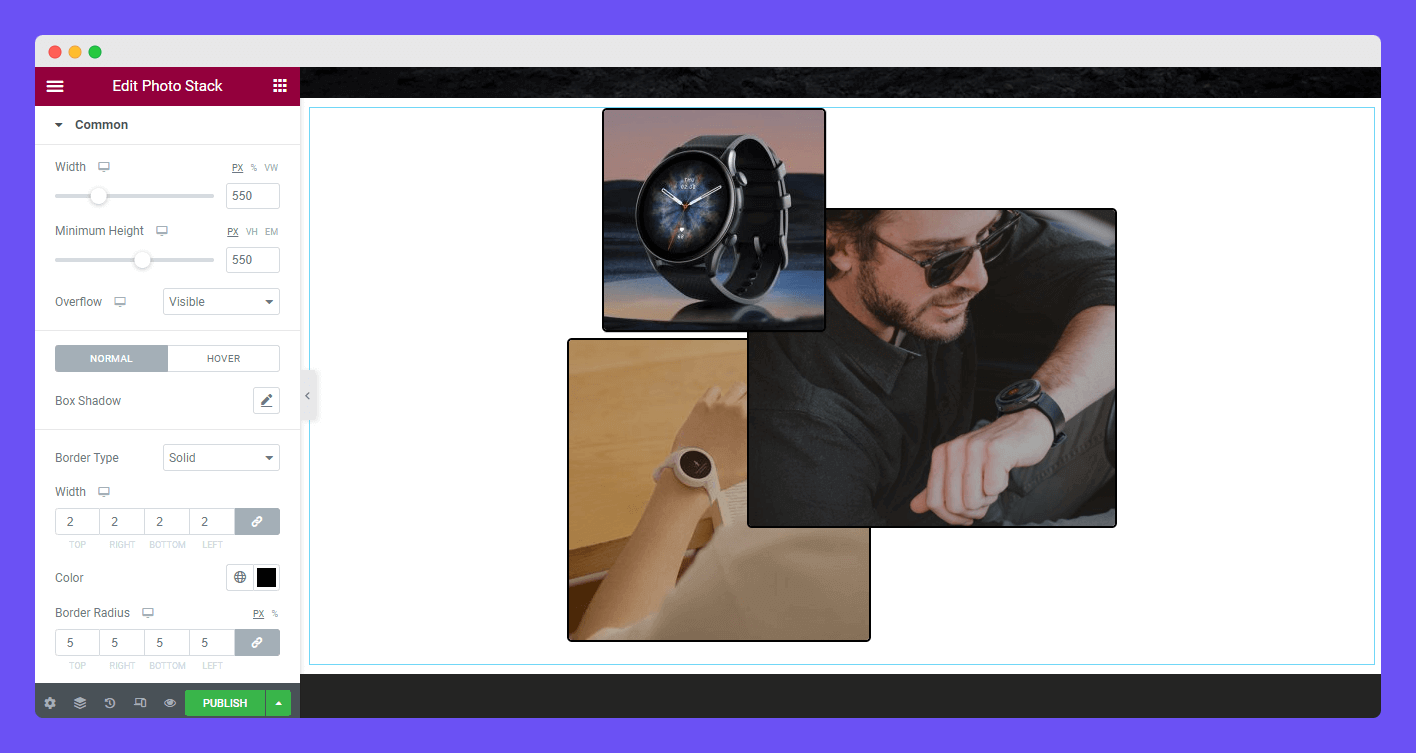
In the Style->Common area, you’ll get the necessary customizing settings to style the Photo Stack content.
You can manage the Width and Minimum Height of the entire content.
You are able to set the Box Shadow and Border Type on the Normal & Hover option. And define Border Width and Color. Also, add Border Radius based on your need.
Overflow
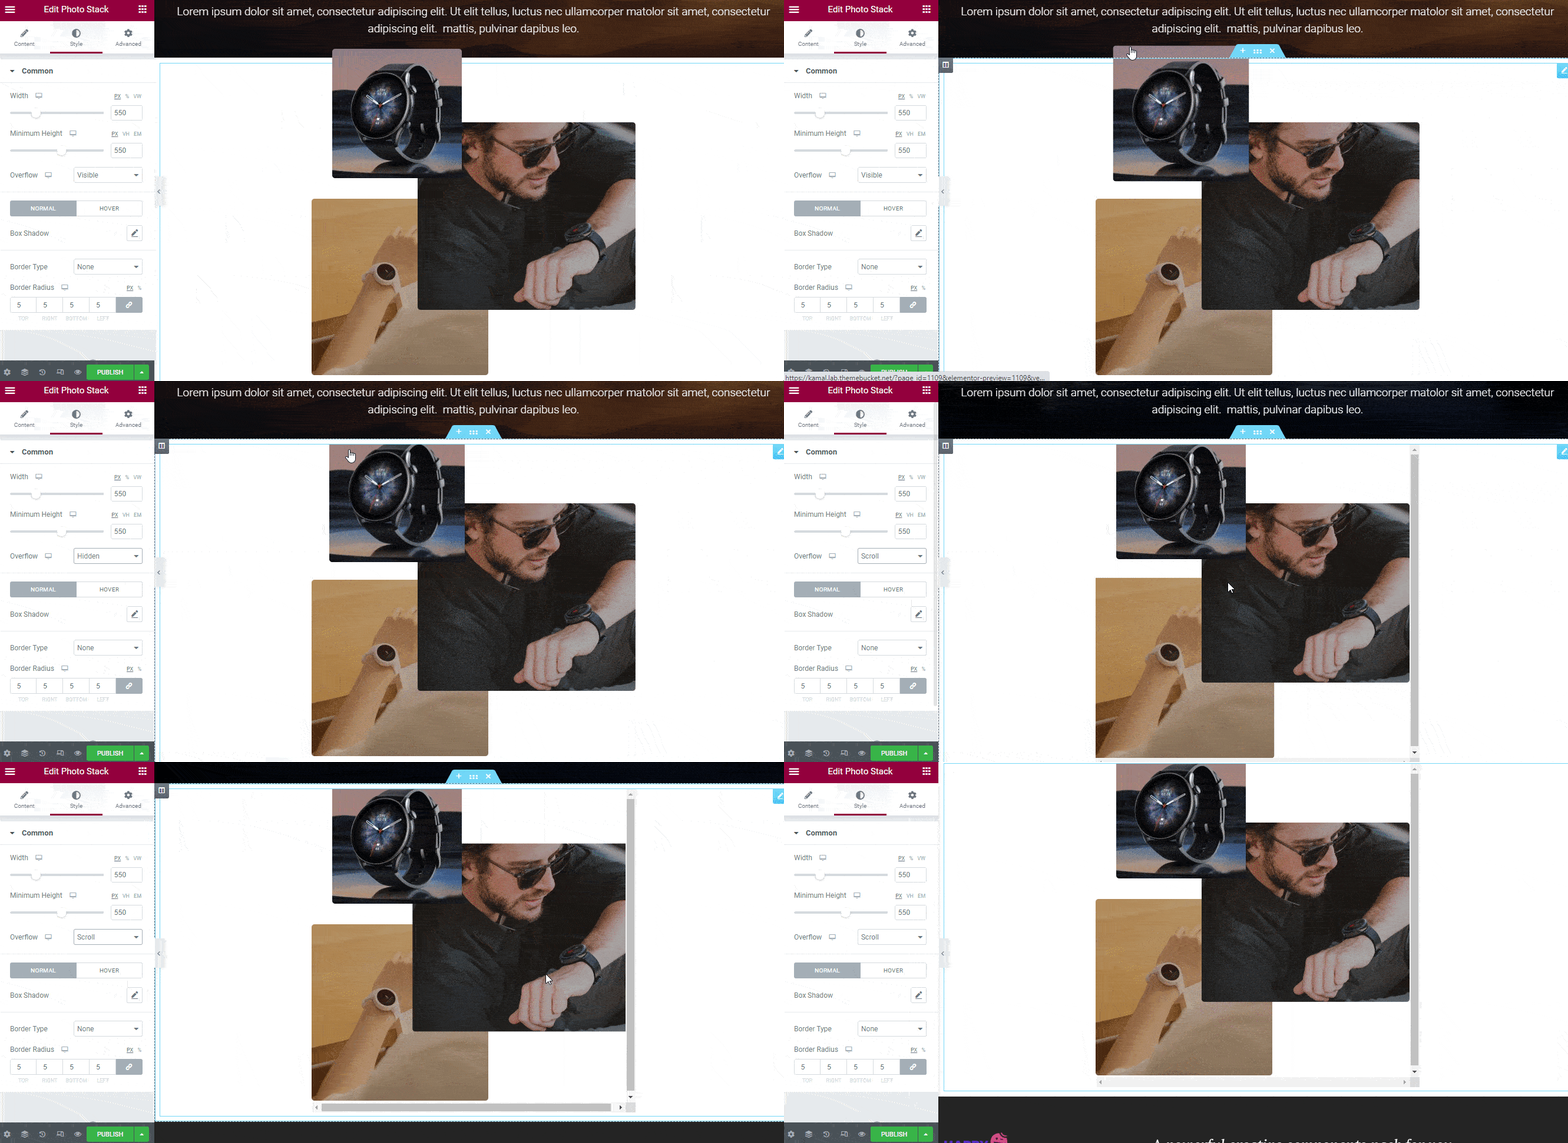
If your image overflow to another section of your page, you should set the Overflow->Hidden. Otherwise, you can keep it Visible. On the other hand, you can set the Overflow->Scroll. By setting this, you can see the big-sized image perfectly.
Step 4: Advanced Options
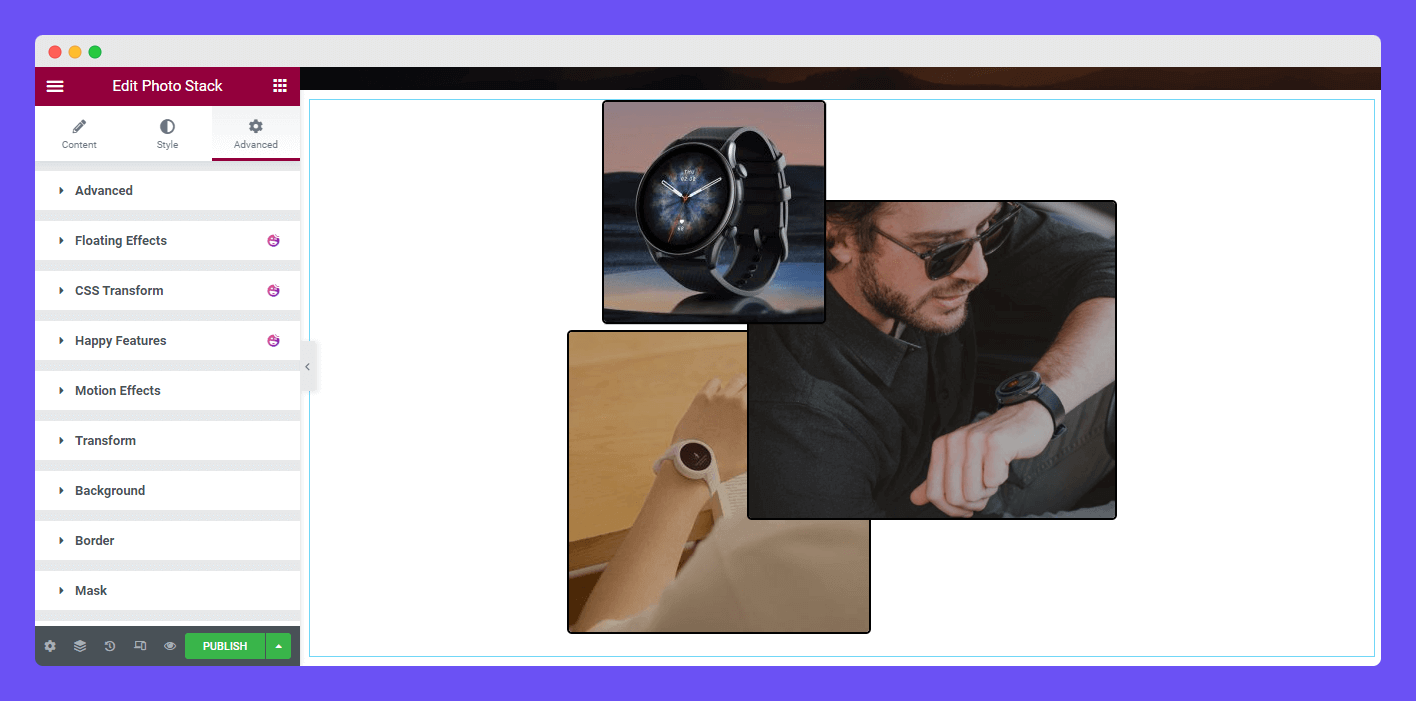
If you want to add motion effects, happy effects, background, or make it responsive and more intriguing, click on ‘Advanced‘ to explore those options. the ‘Advanced‘ is a default feature of Elementor.
Give a read to this Document to know more about advanced features & functions.
Final Preview
With this Photo Stack widget, you can design these types of image styles for your website.
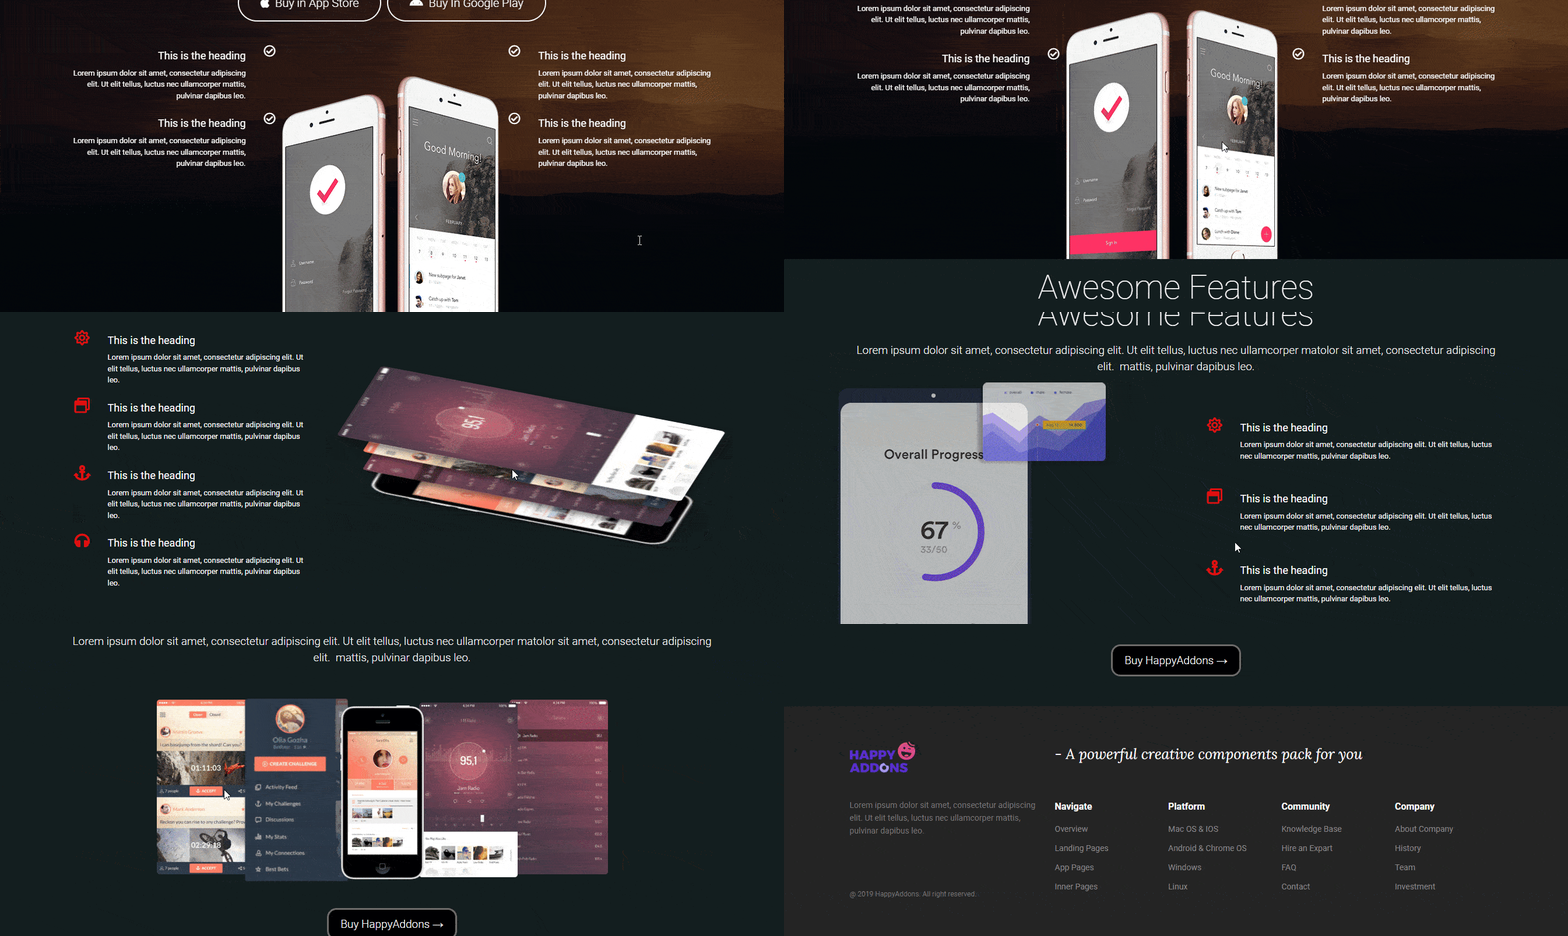
You can also watch this handy video tutorial and learn how to use the Photo Stack widget.
That’s it.
