How To Use A Pricing Table Widget Of Happy Elementor Addons
With the Pricing Table Widget of Happy Elementor Addons, create beautiful pricing tables for your products and attract users to use your products. Give a sleek look to your webpage and showcase your products with a more elegant look.
Using Pricing Table:
You can see the below video to get an insight into how you can use the Pricing Table Widget to create beautiful designs. Or you can follow the documentation whichever you find convenient.
Step 1:
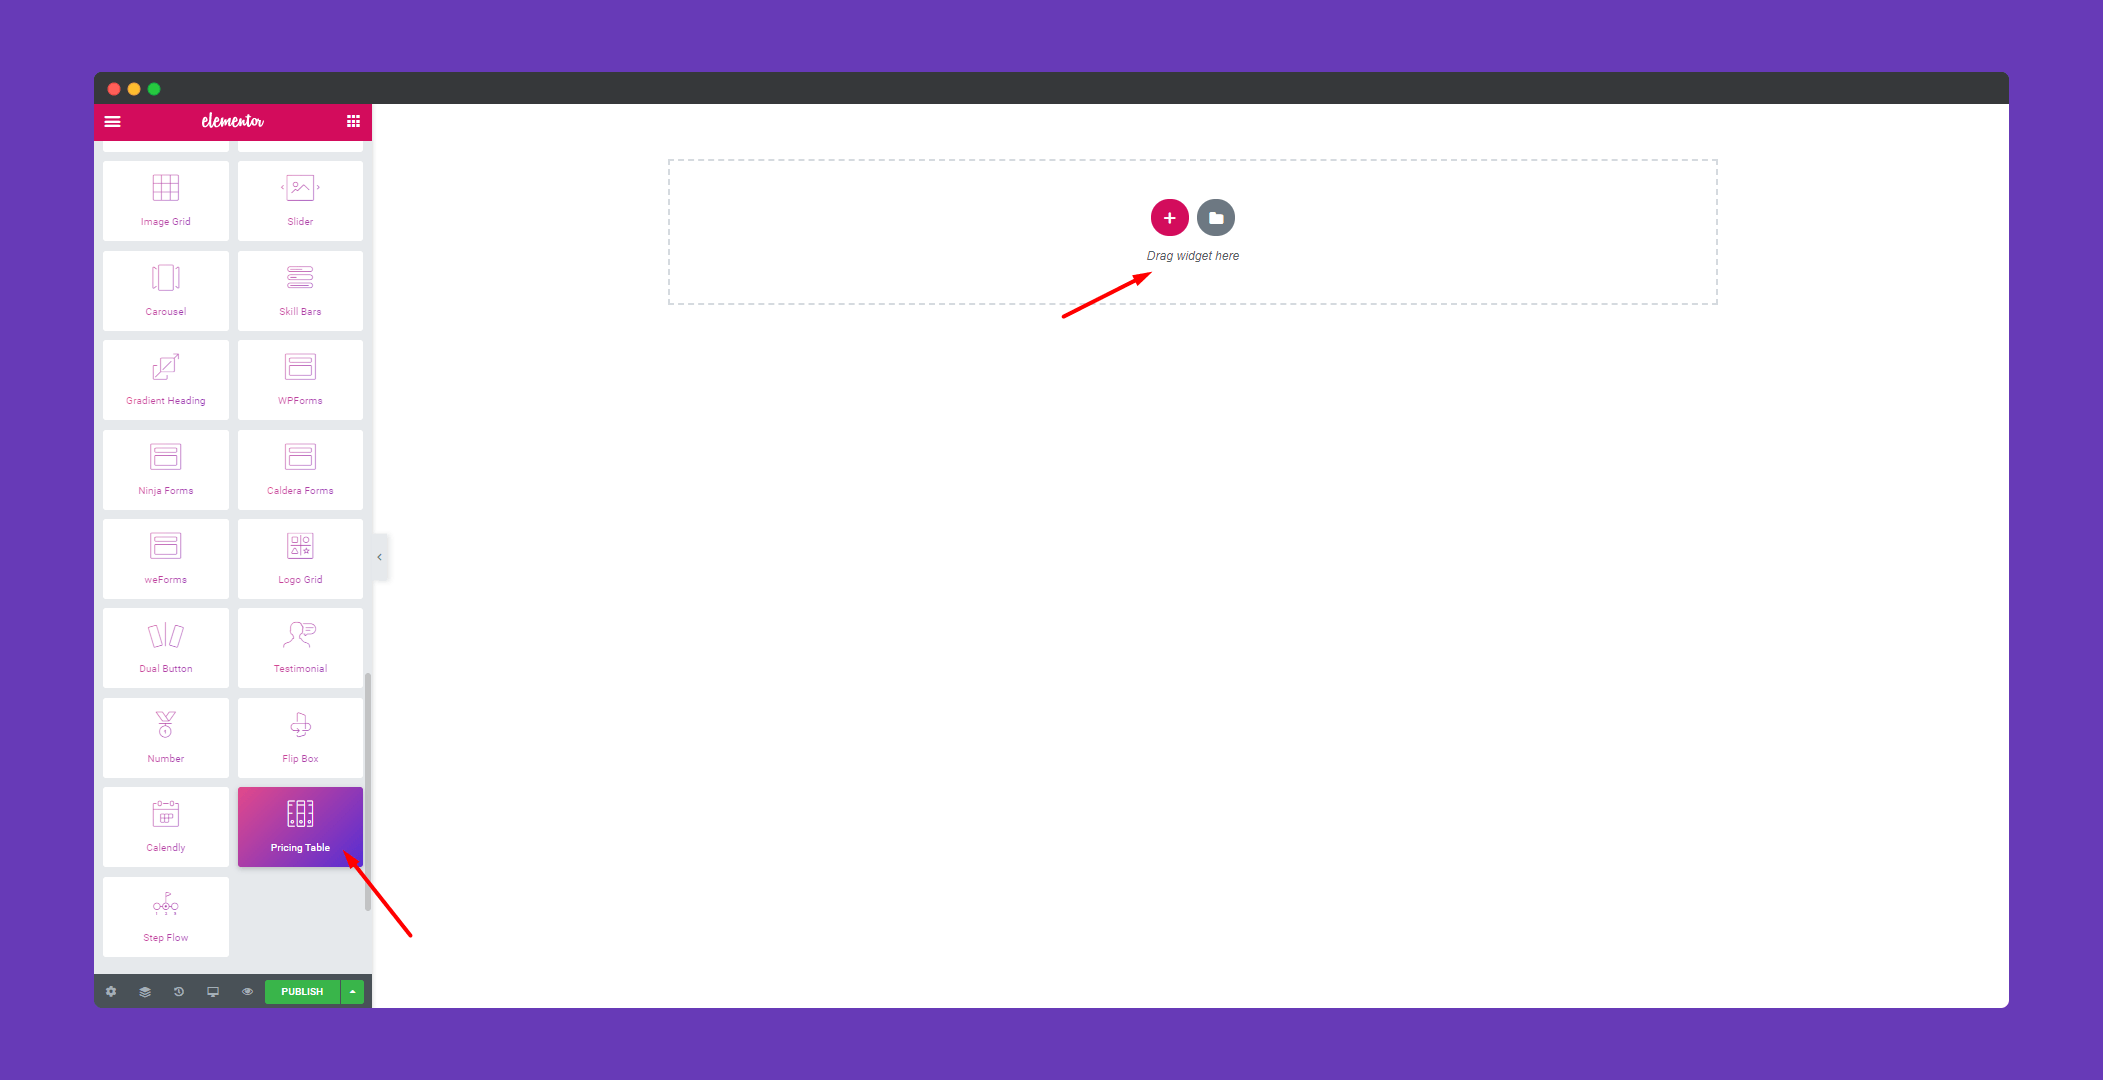
Select the pricing table widget from the menu bar on the left-hand side of your screen then drag and drop it in the selected area.
Step 2:
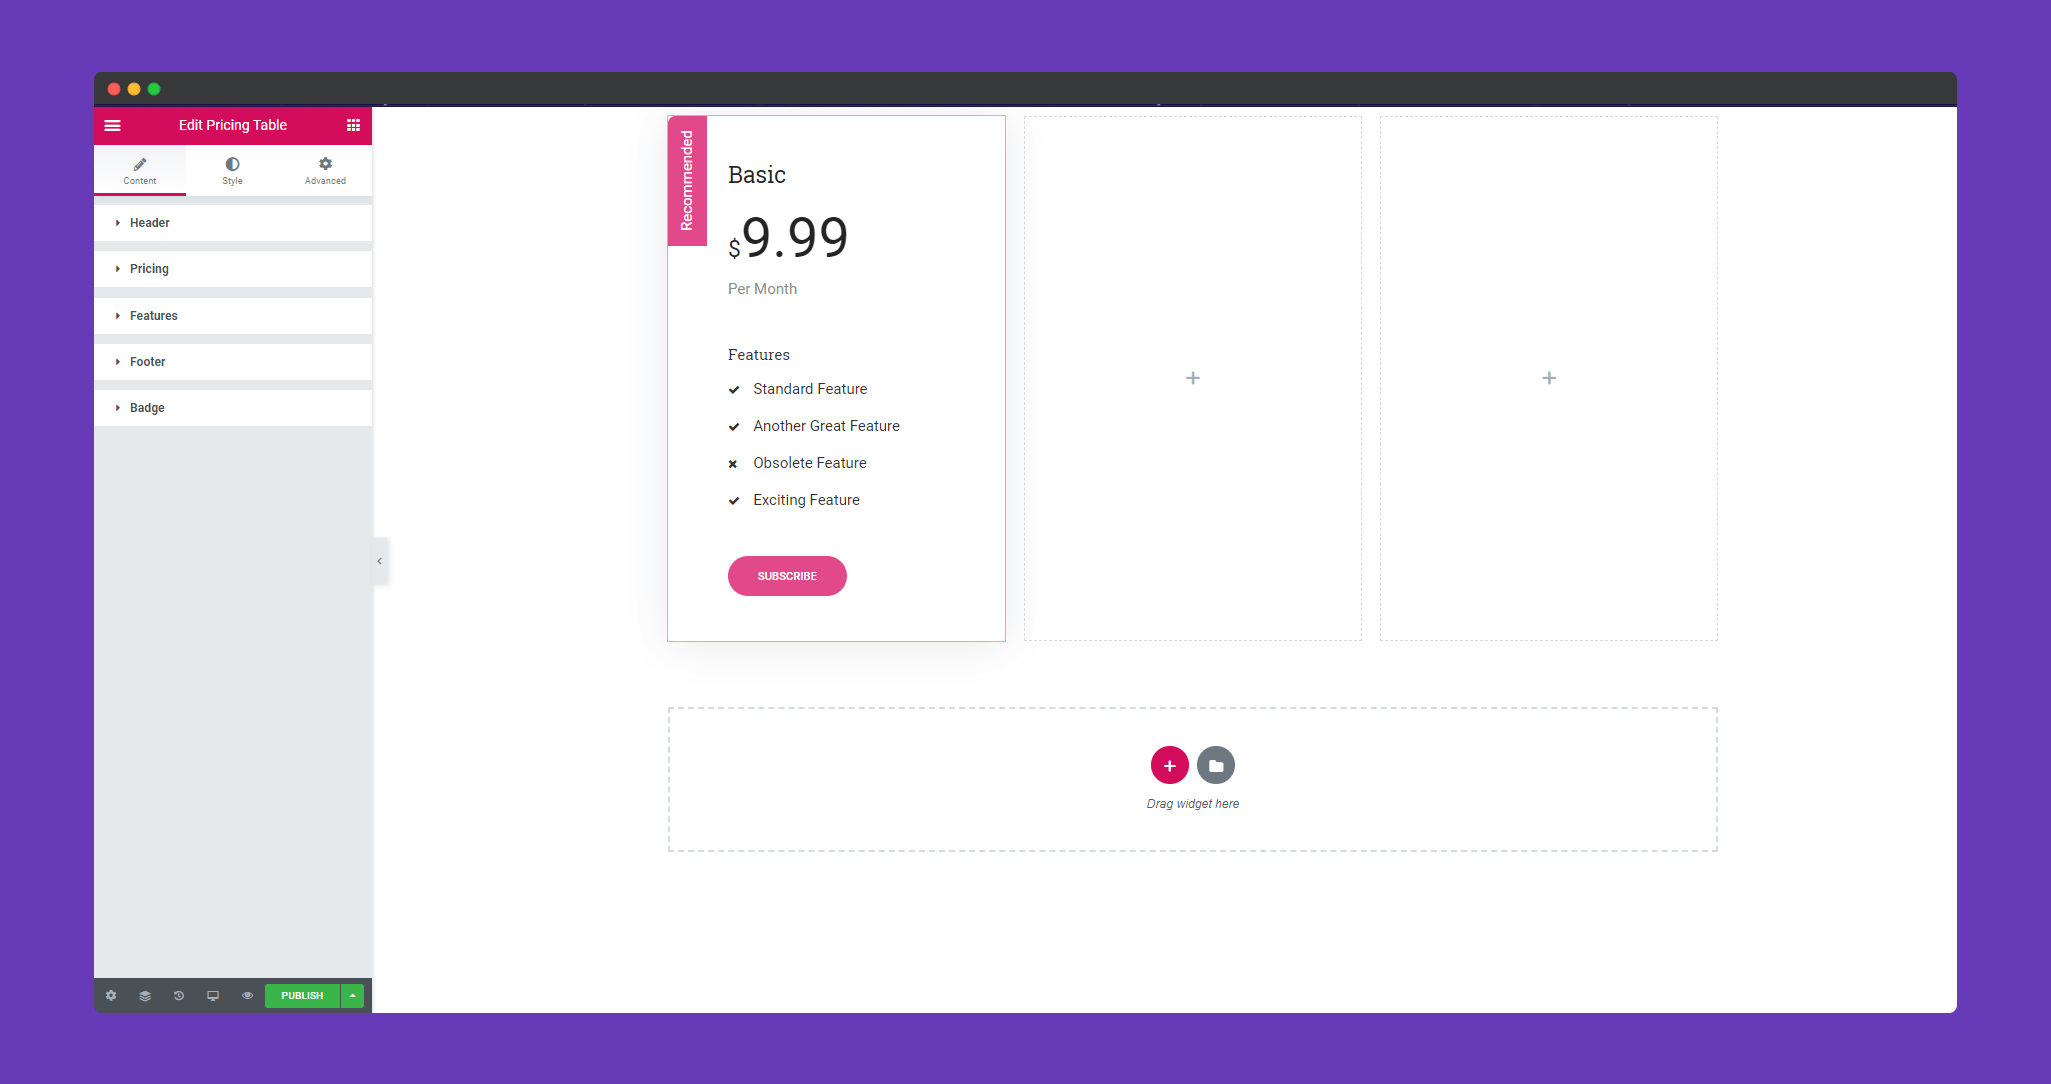
In the ‘Content‘ section, you will options ‘Header’,’Pricing’,’Features’,’Footer’ , and ‘Badge‘. You can edit them from here.
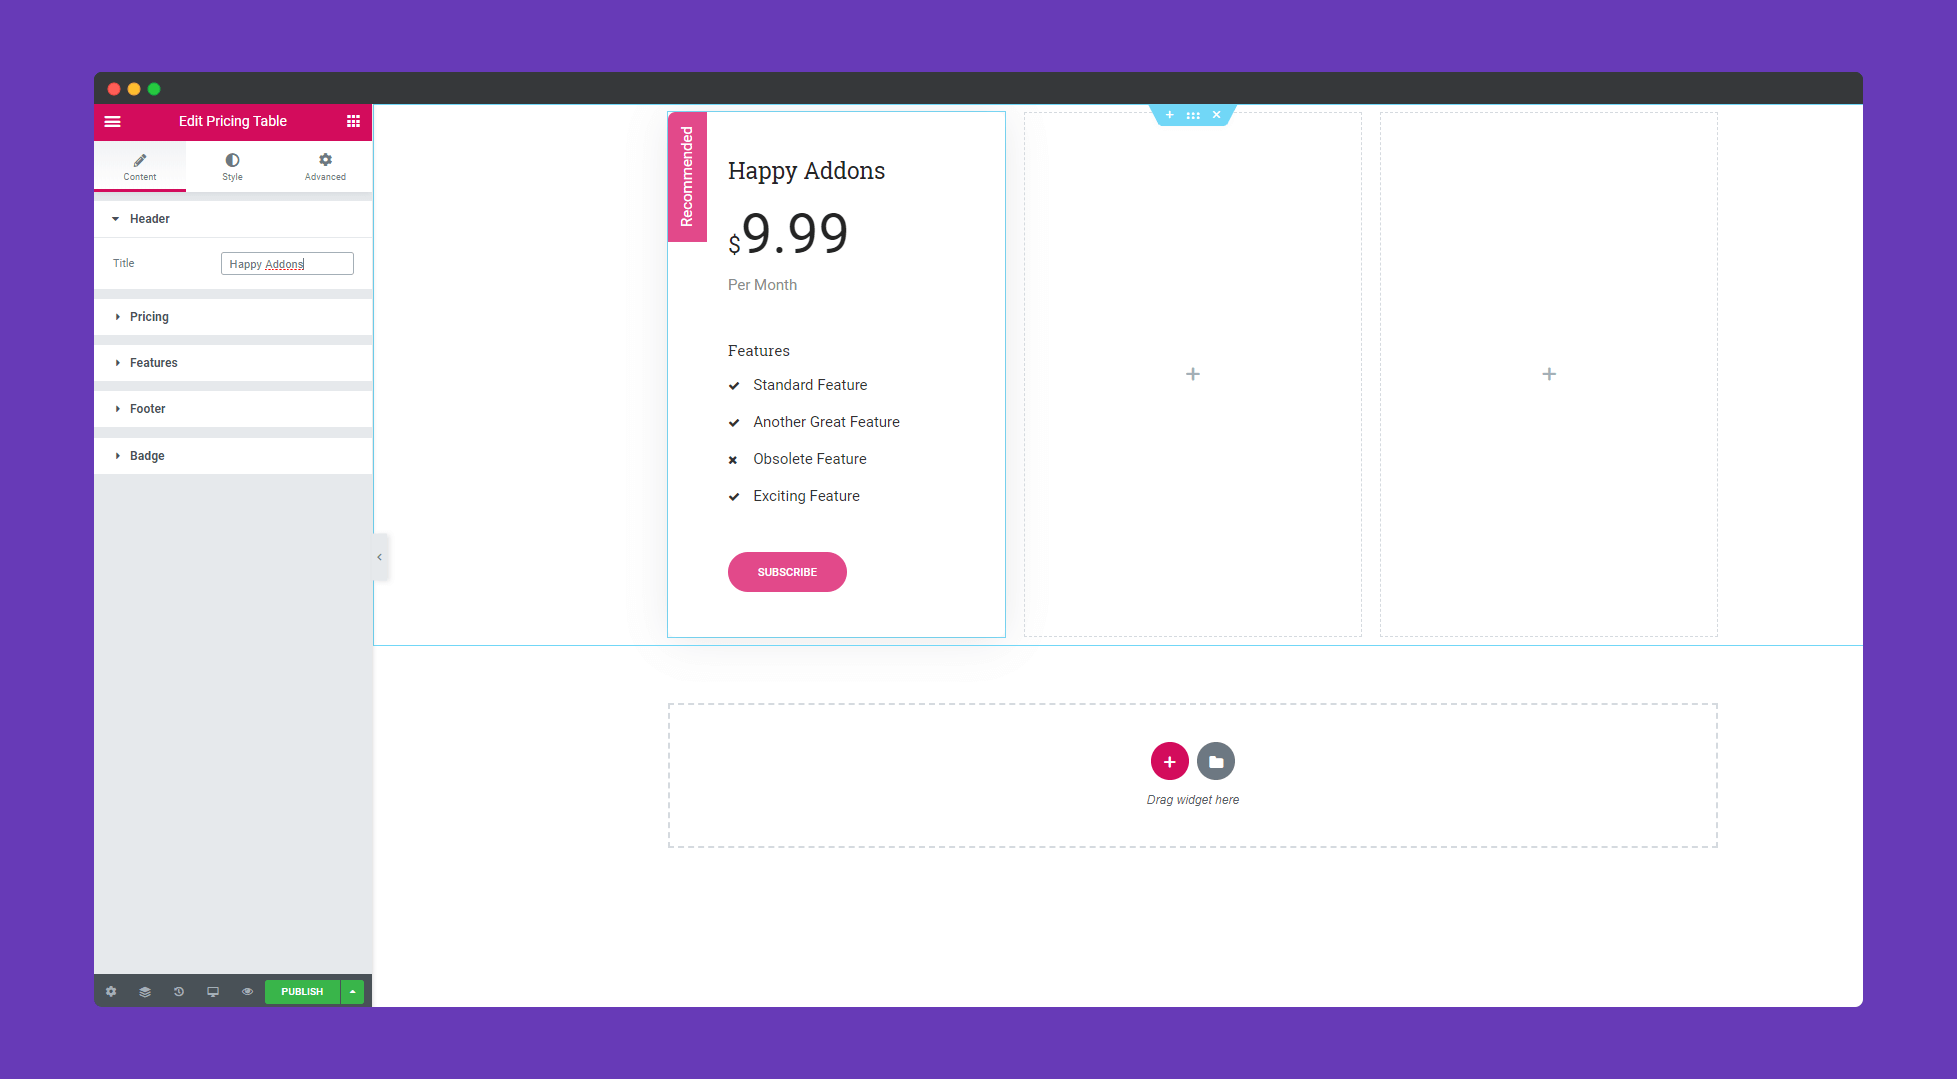
In ‘Header‘, you can edit the title.
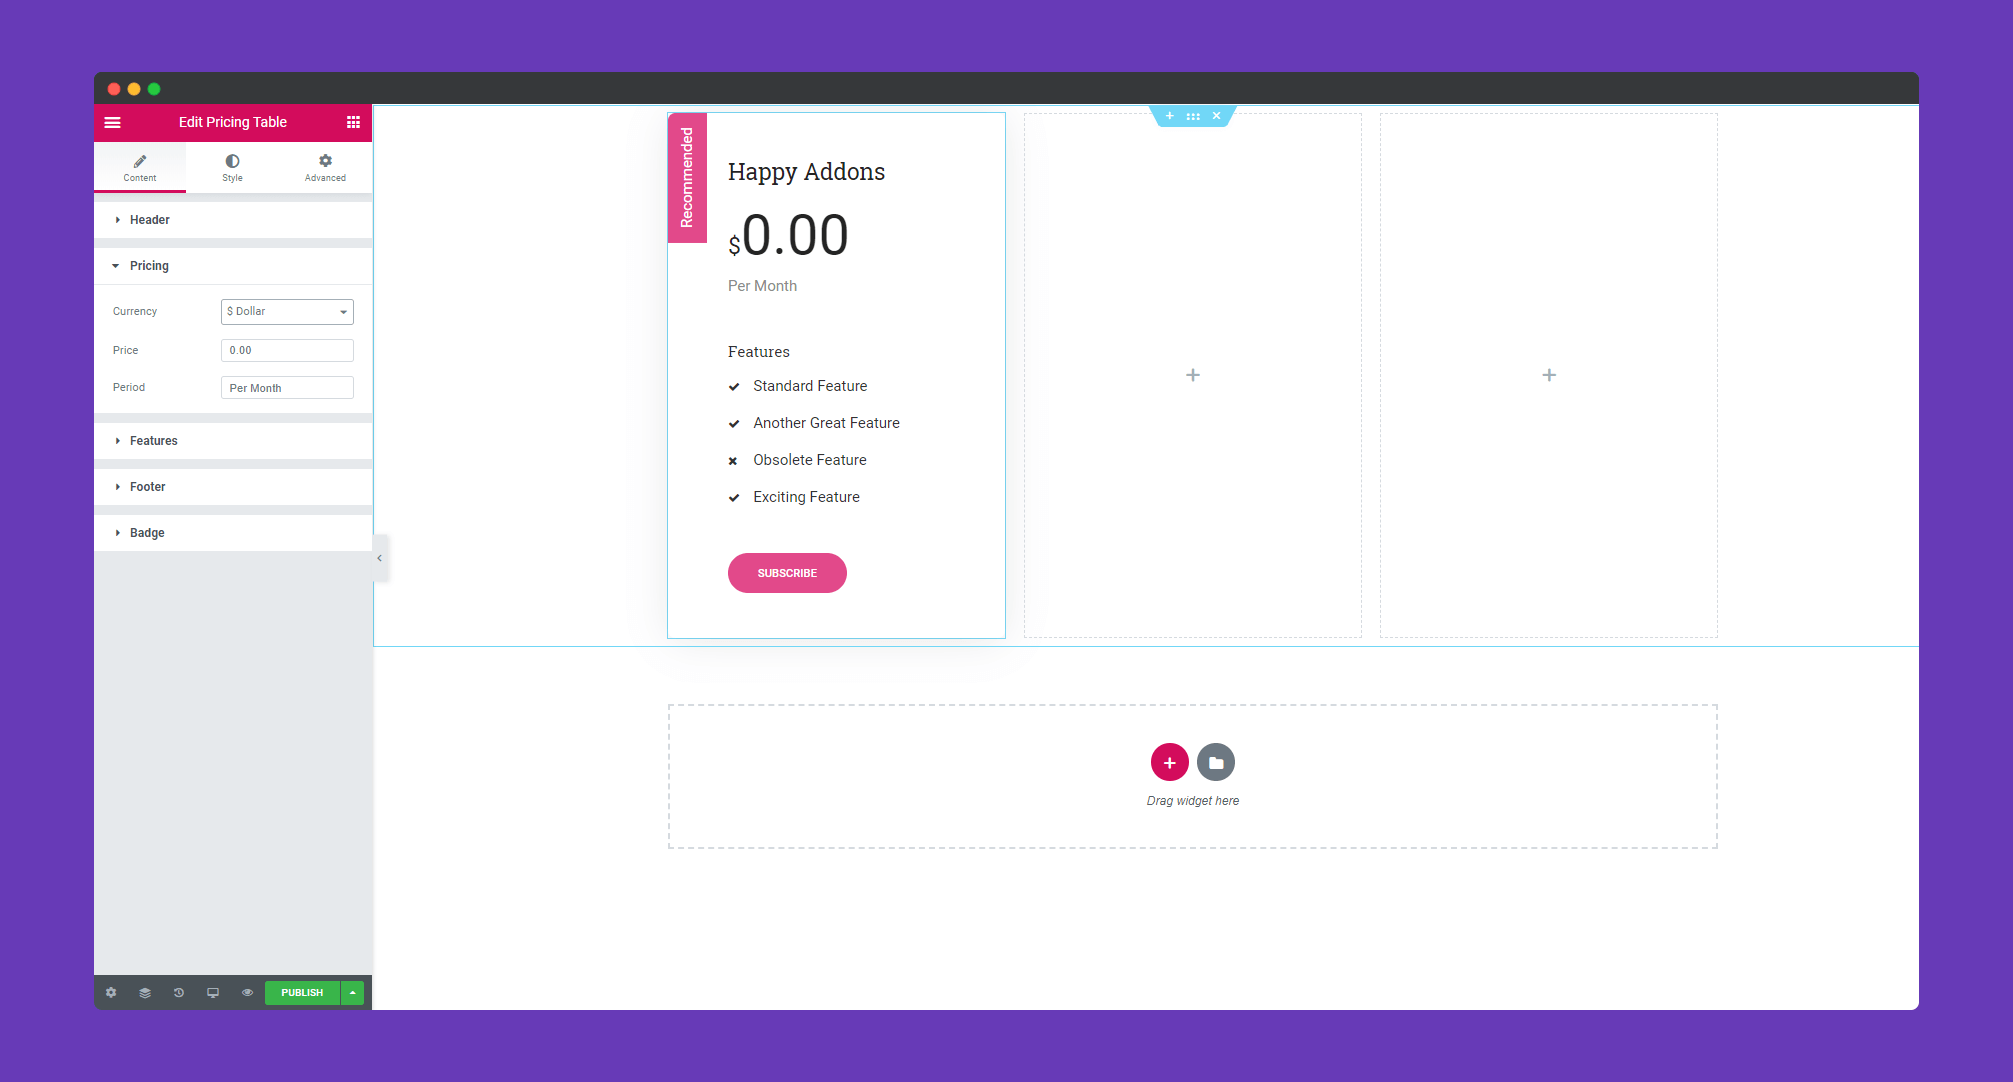
In ‘Pricing‘, you can add currency, price, period. You can choose between 18 currencies or you can leave the currency blank.
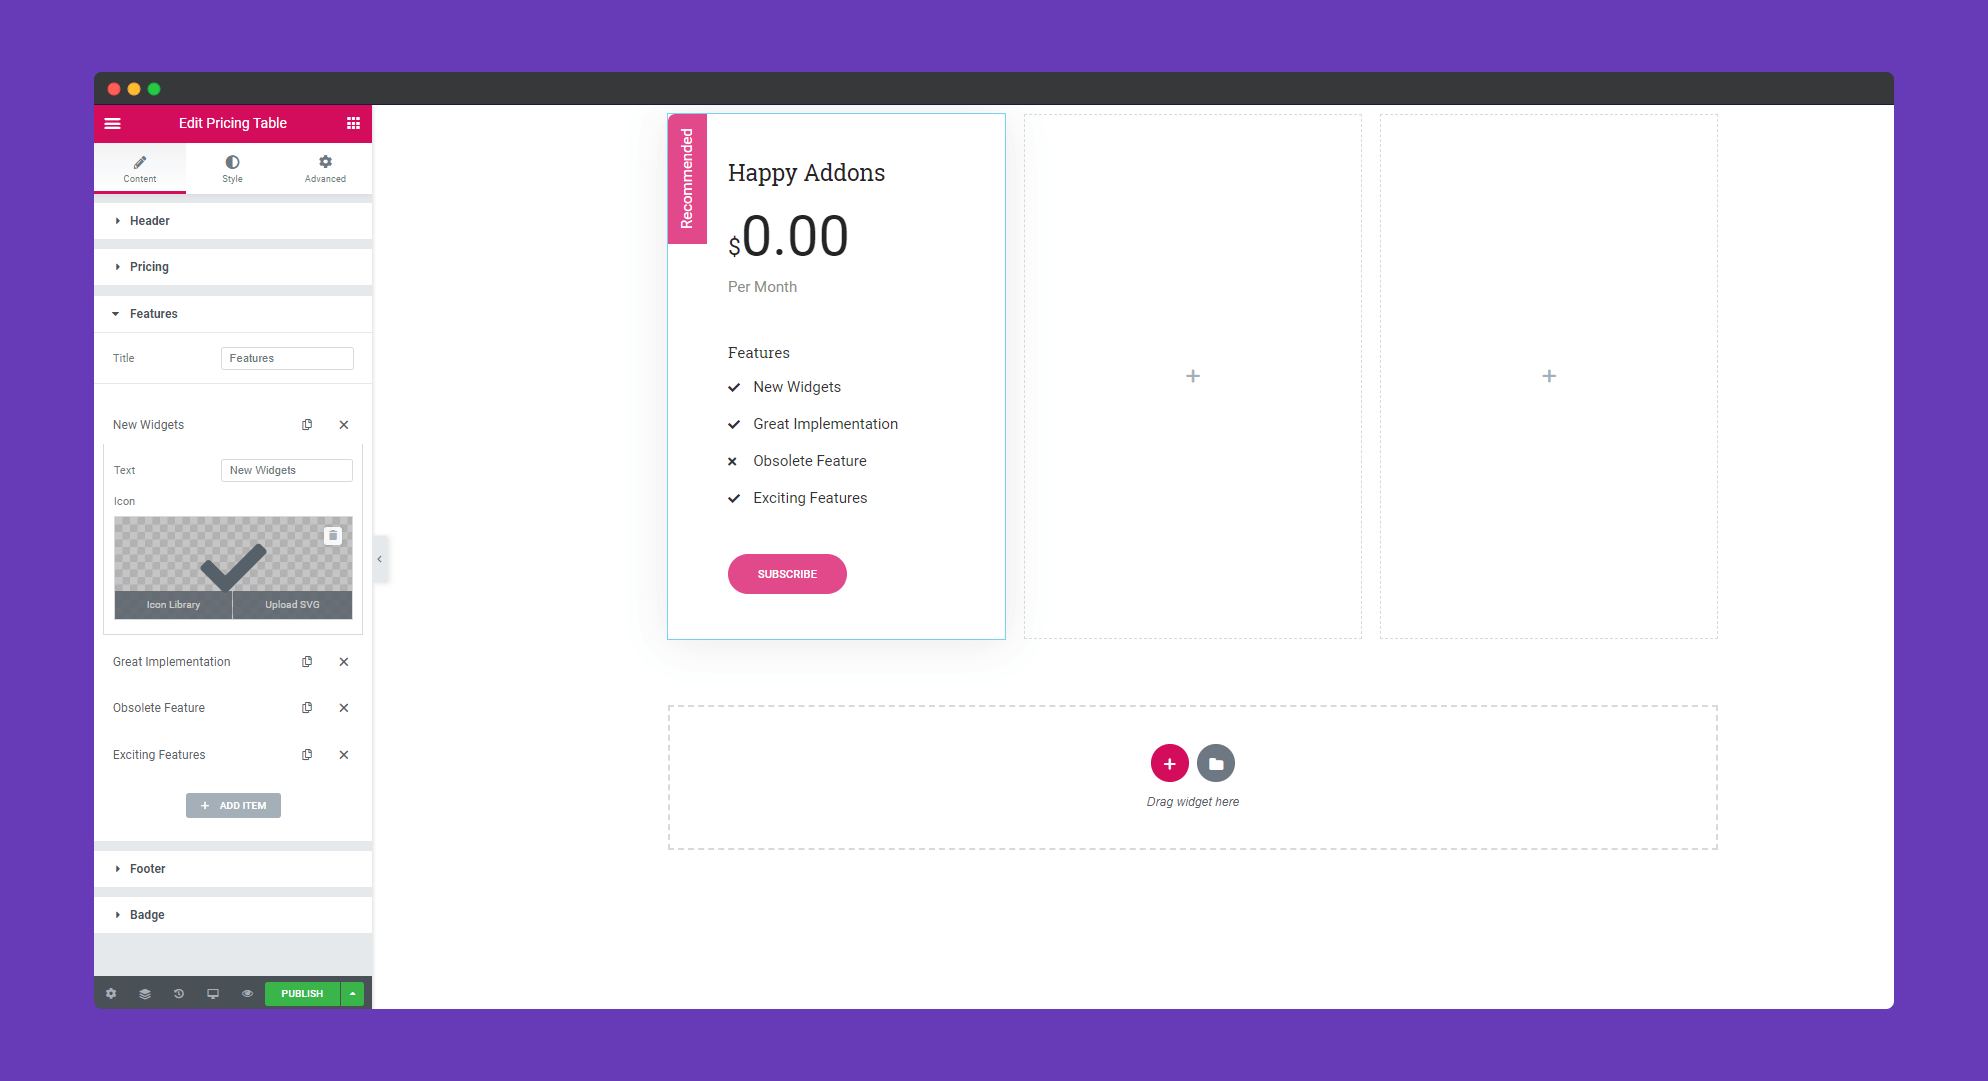
In ‘Features‘, you can add your feature title, add features. You can also give an icon beside your features or SVG. You can add features using the ‘ADD ITEM’ button. You can delete features using the ‘X‘ button.
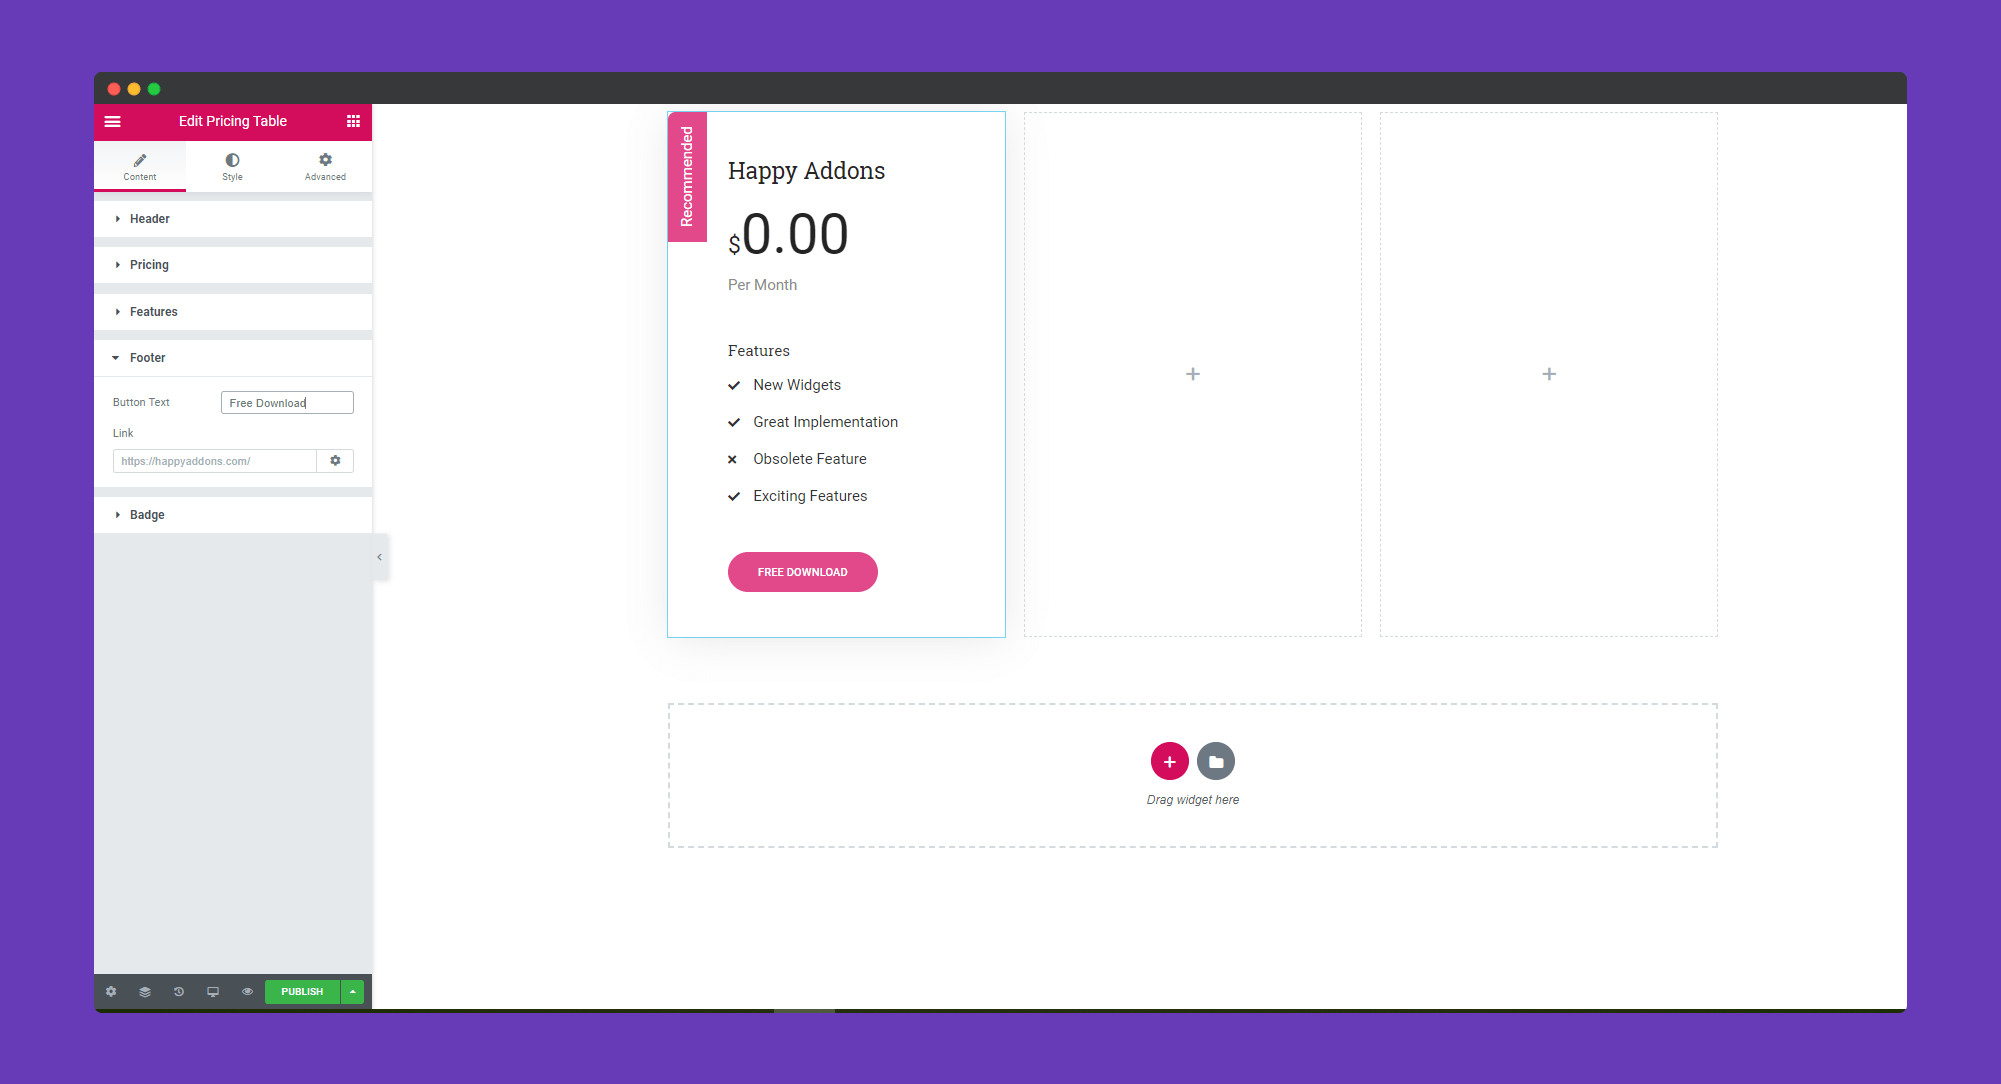
In ‘Footer‘, you can add a button text and give a link to it.
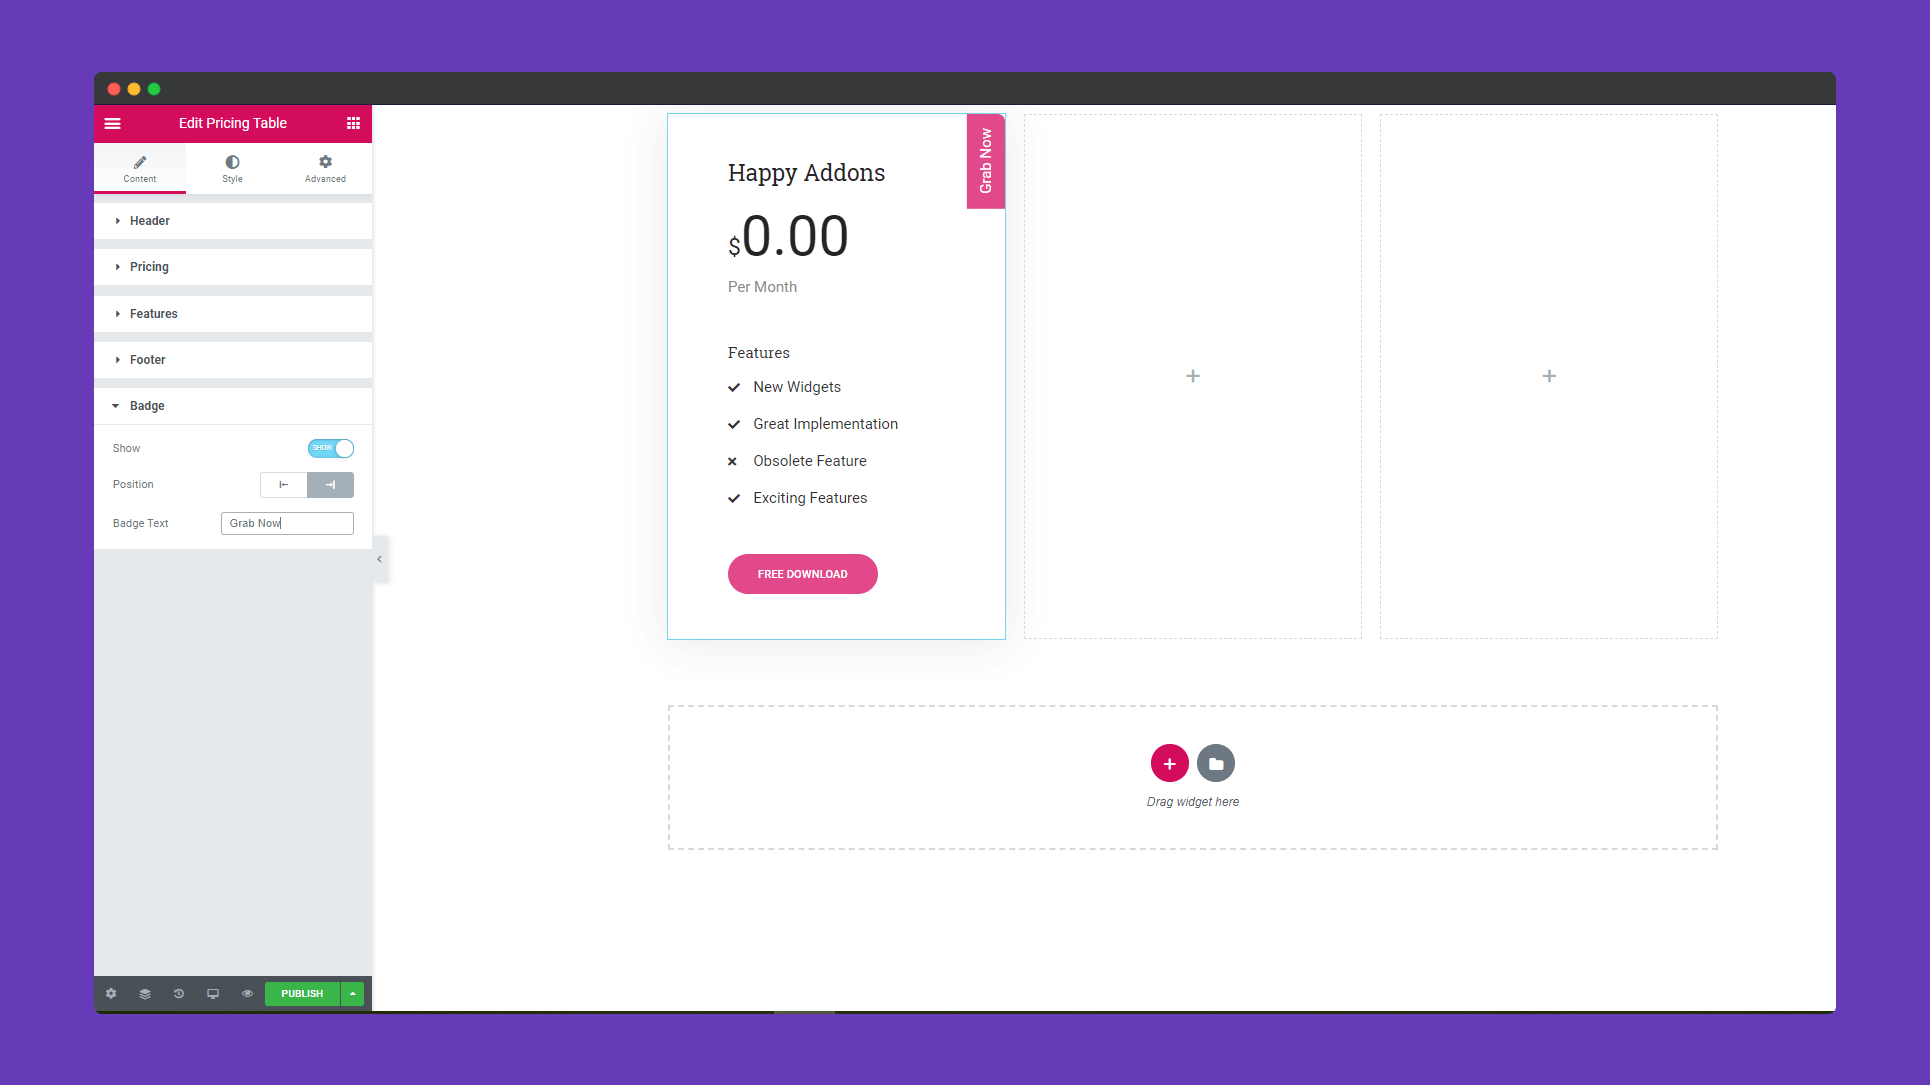
In ‘Badge‘, you can decide to show a badge, give badge text, set the badge position.
Step 3:
In the ‘Style‘ section you will get options for ‘General’, ‘Header’,’Pricing’,’Features’,’Footer’, and ‘Badge‘. You can design them from here.
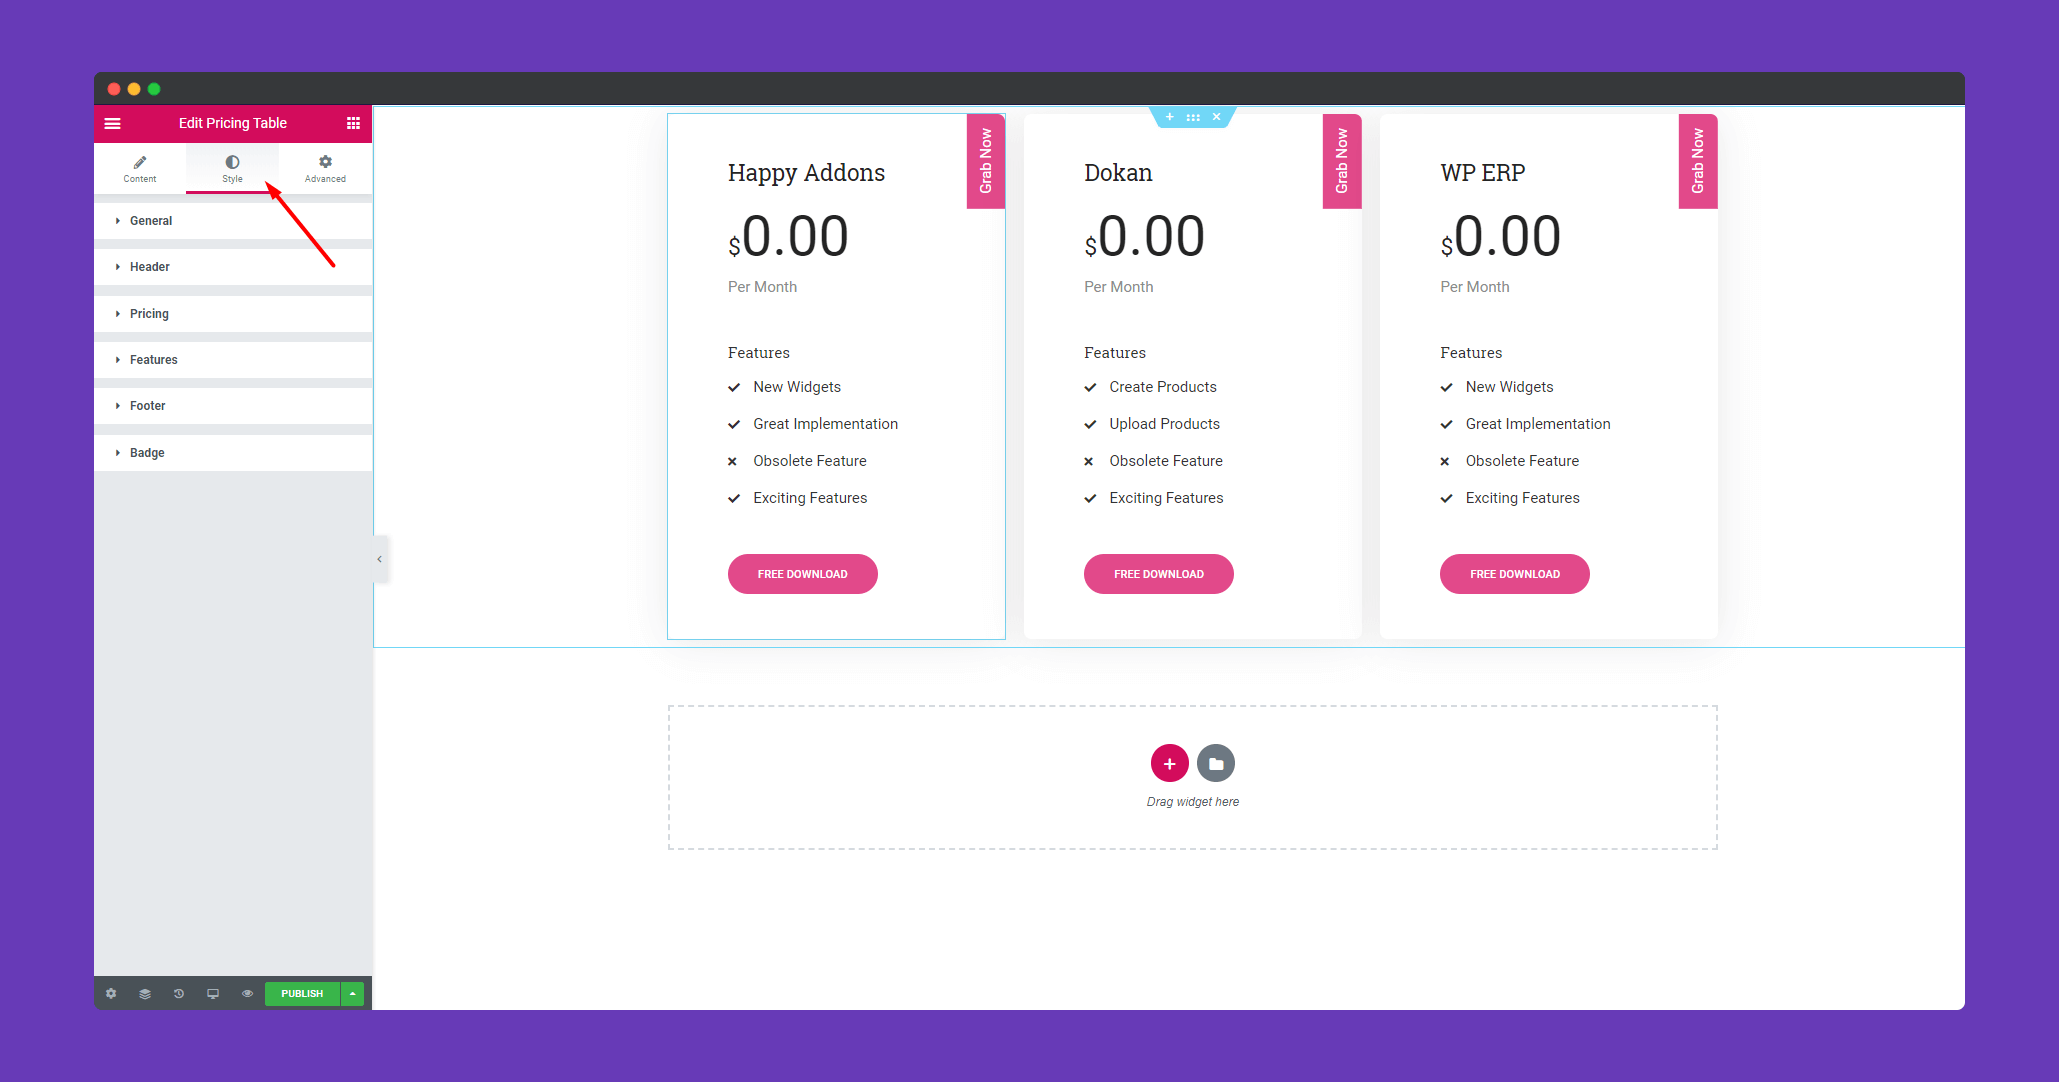
In ‘General‘, just add the text color.
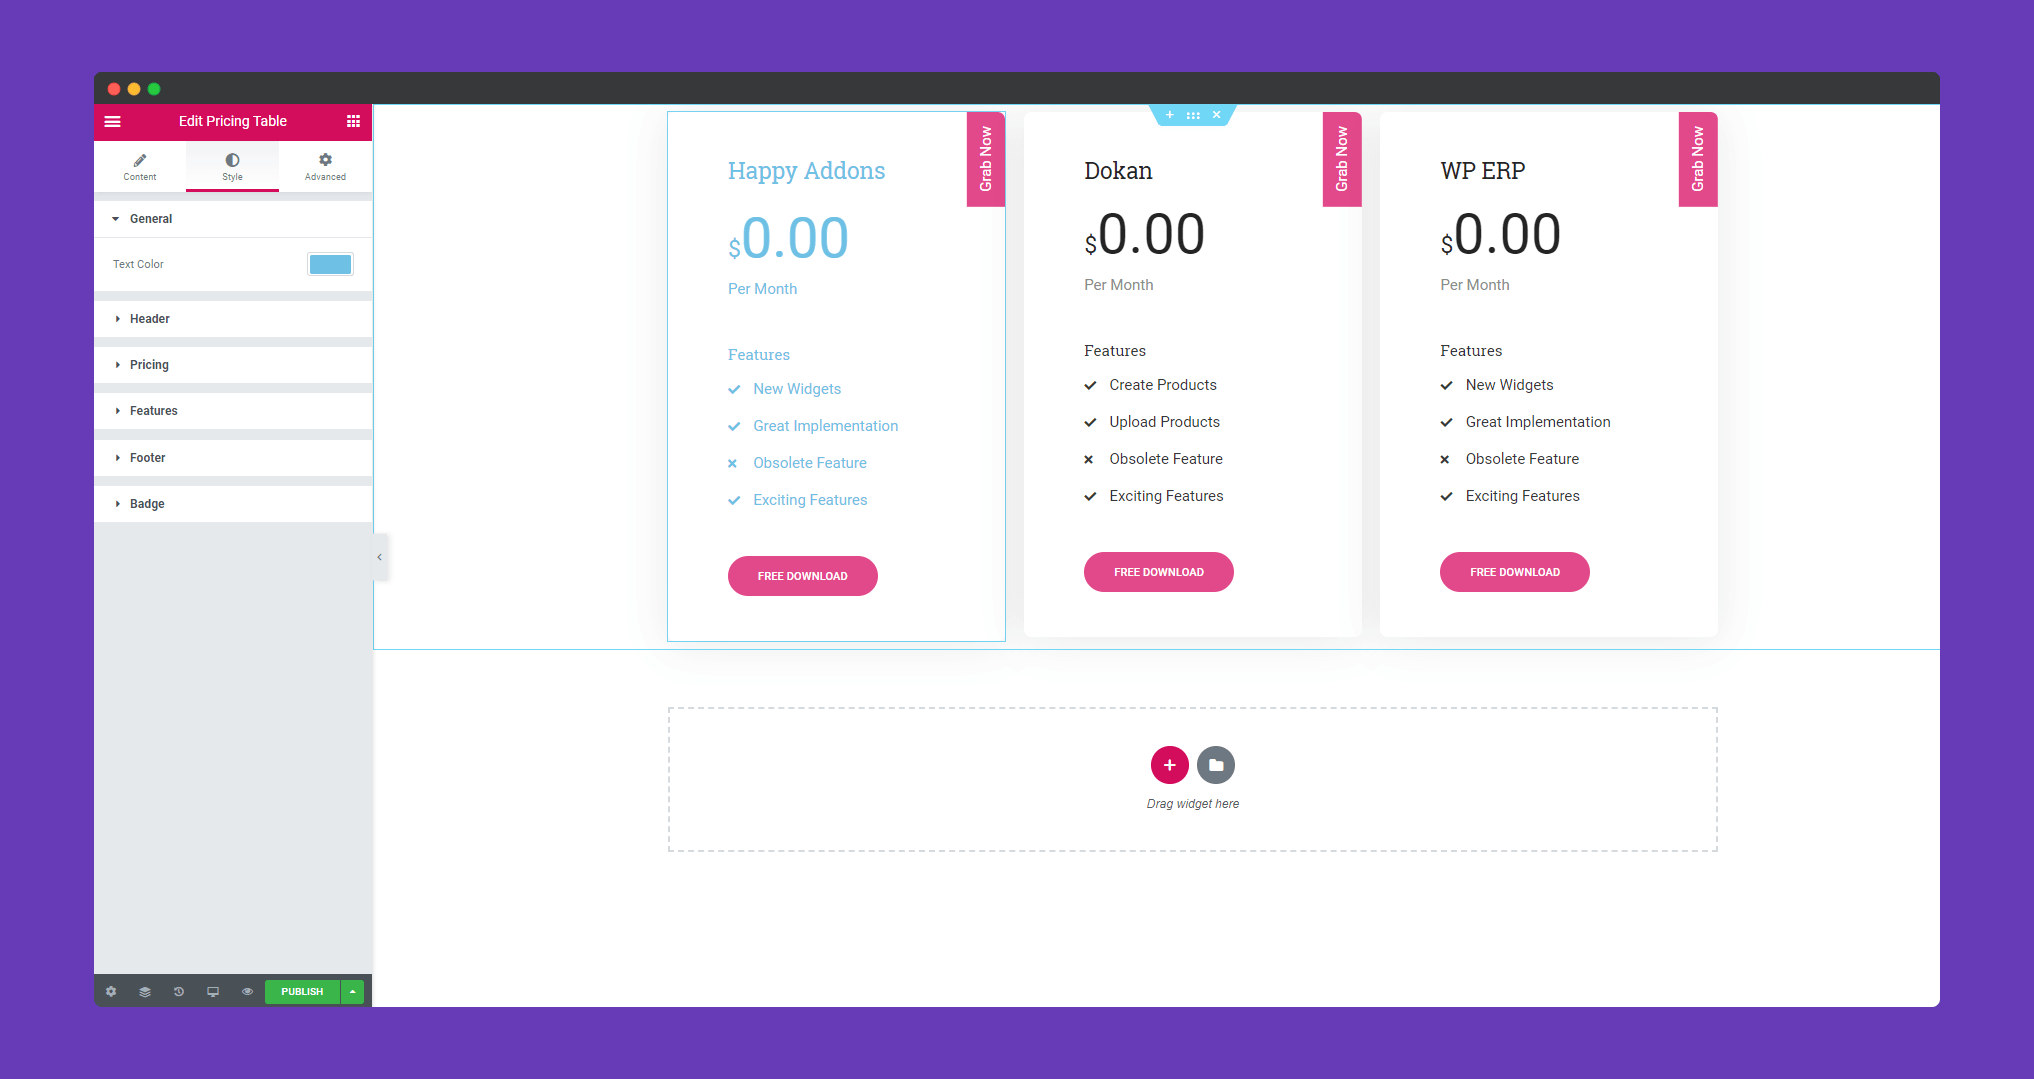
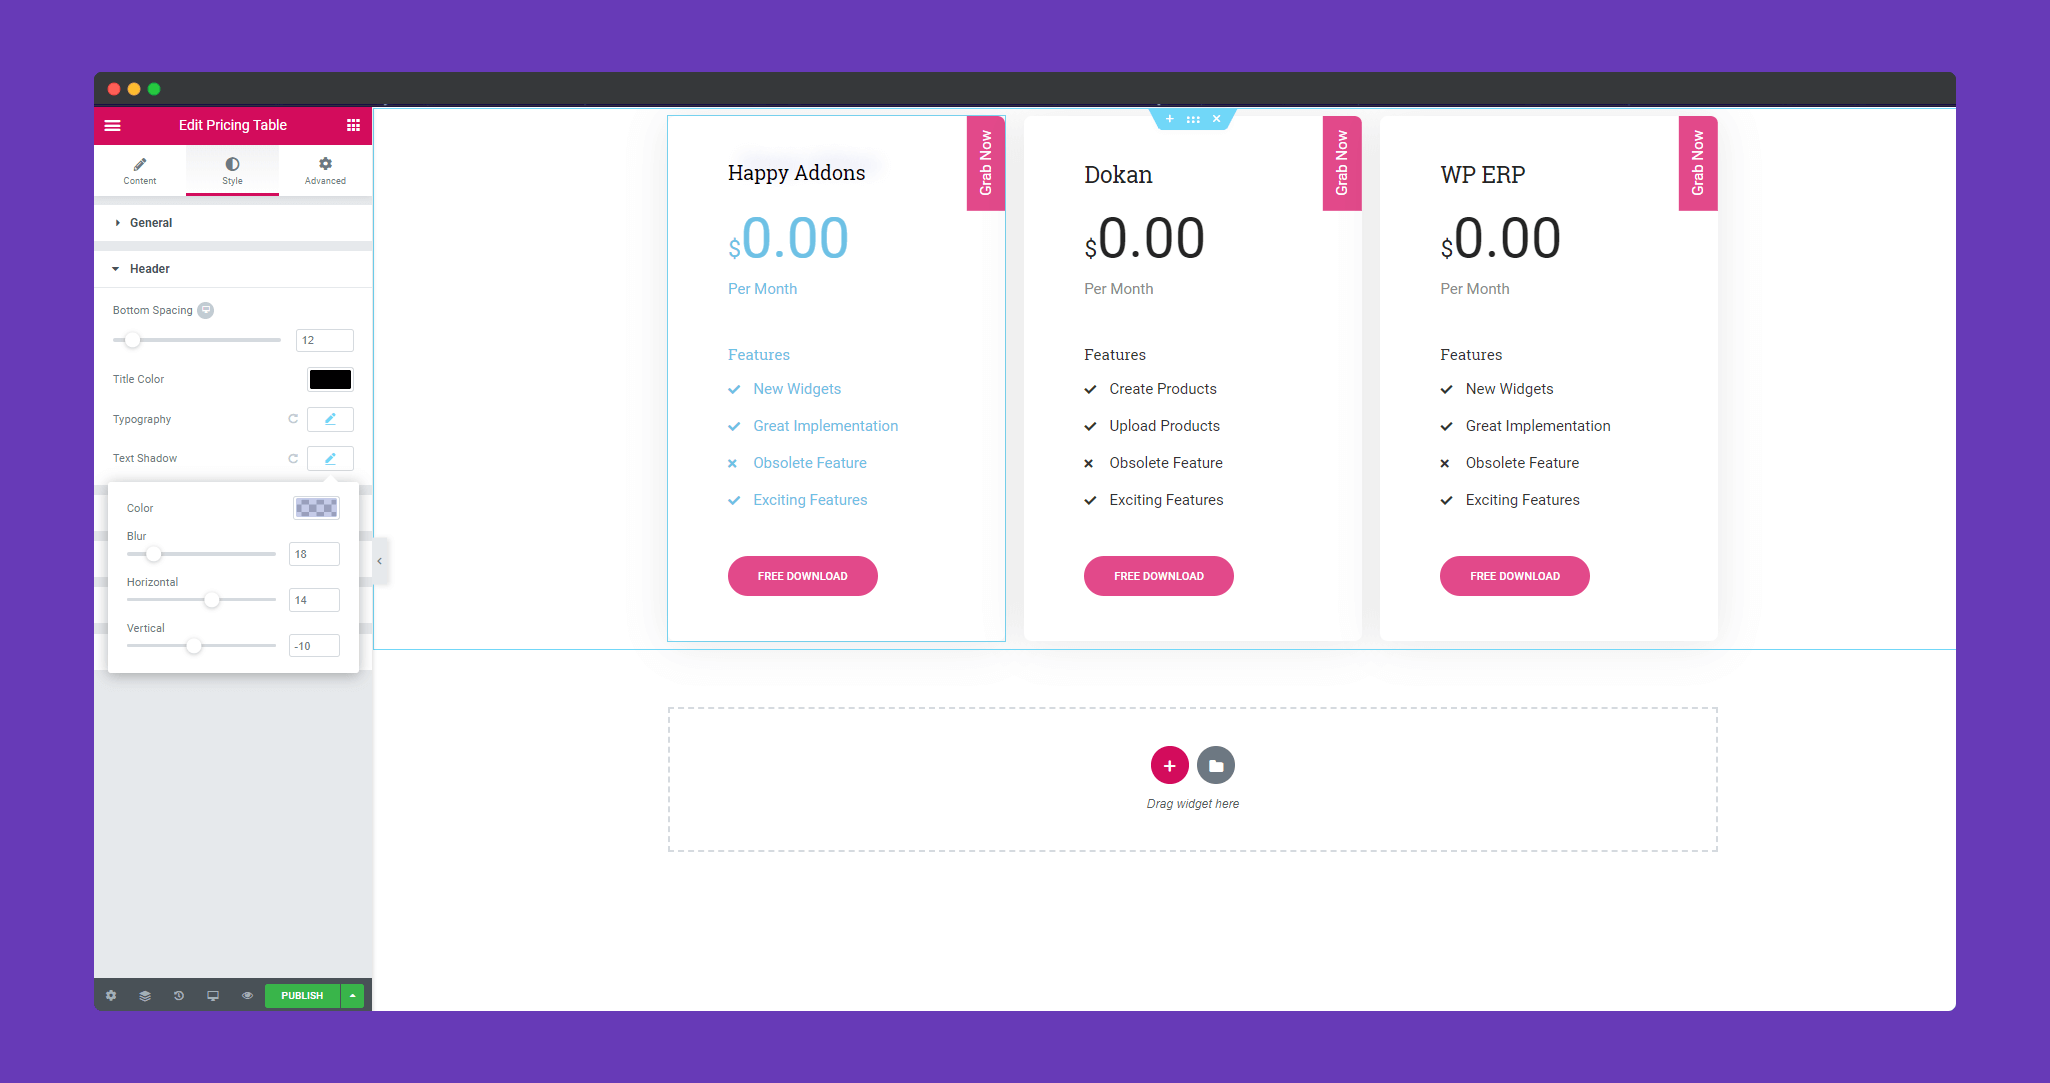
In ‘Header‘, you can give space, add color, decide the type of text and also add a box-shadow to your header text.
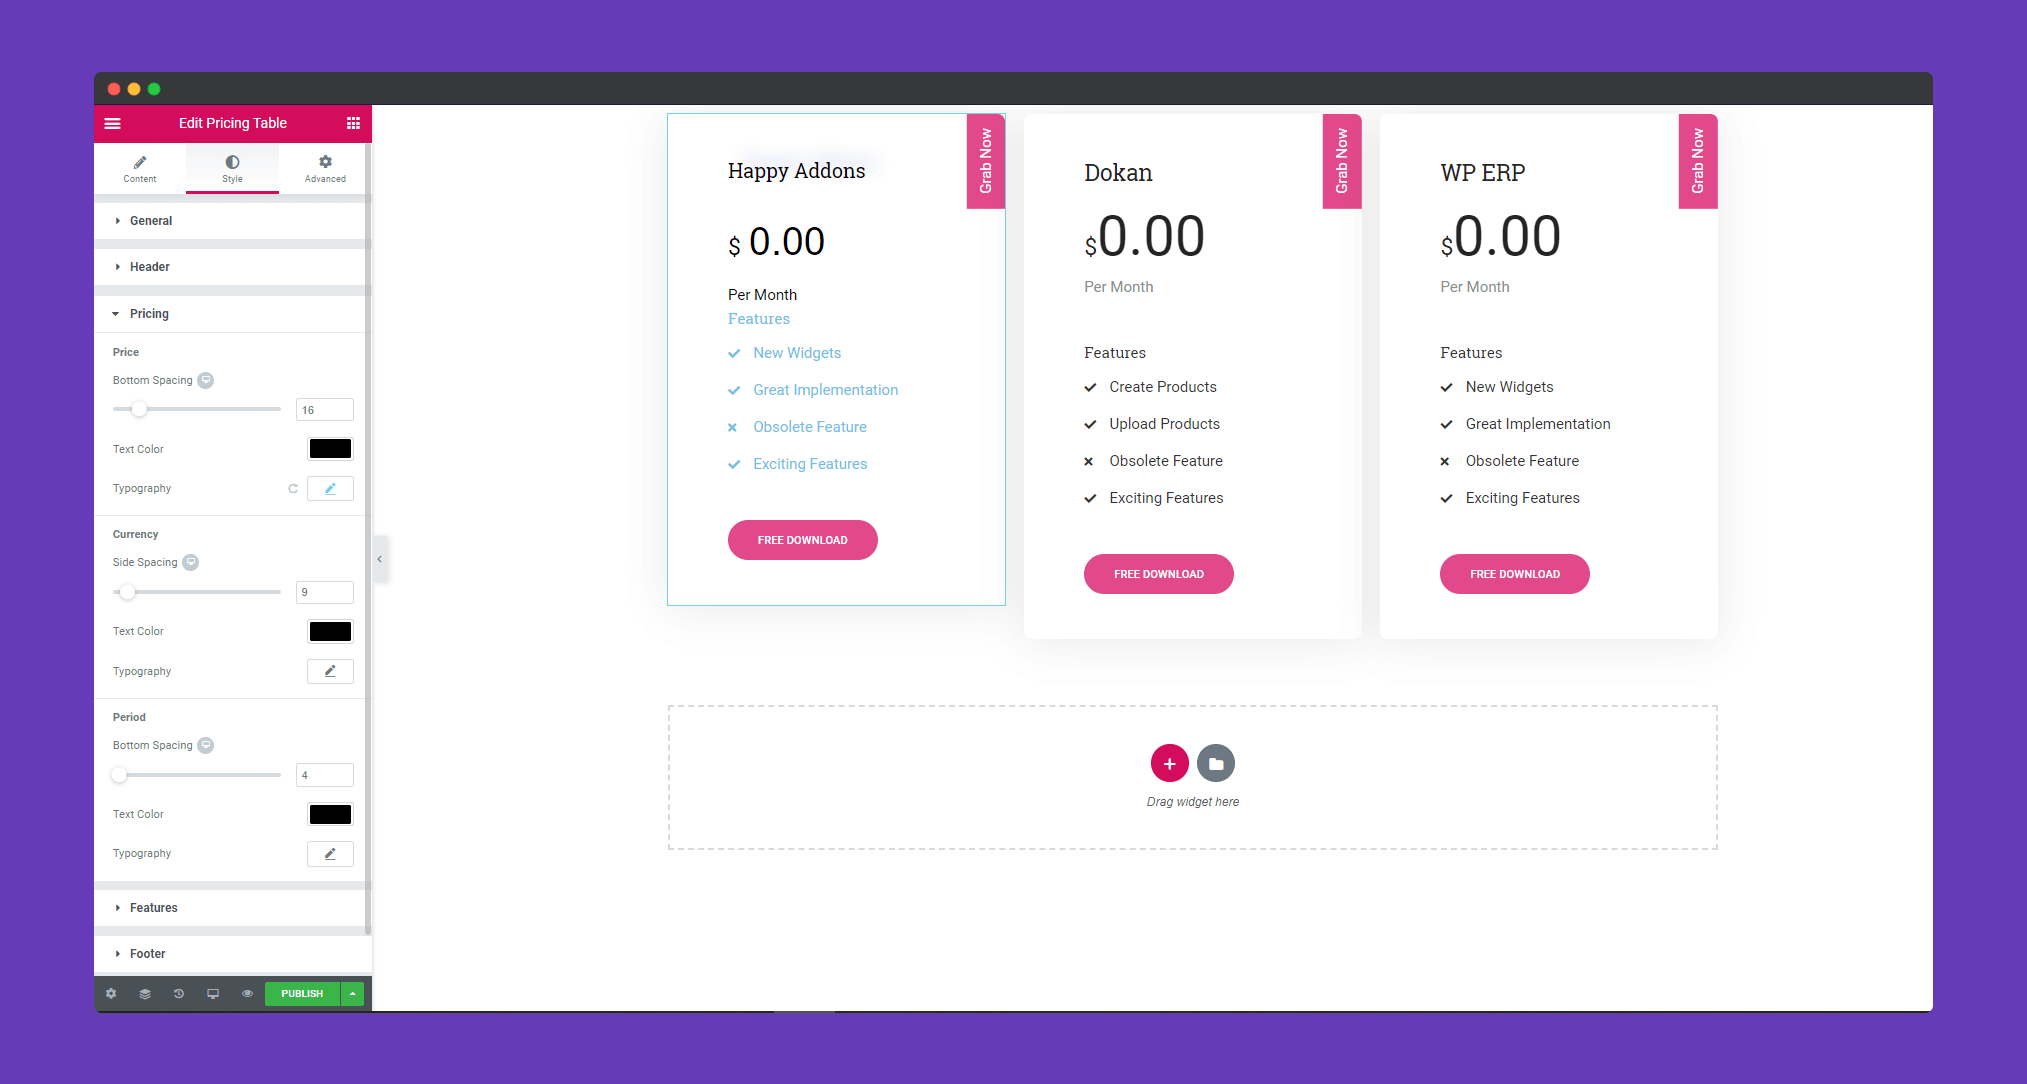
You can design your pricing in “Pricing‘. You can add space, typography, color to your price, currency, and period.
Design your ‘Features‘ .Give space, add color, type to your title and list.
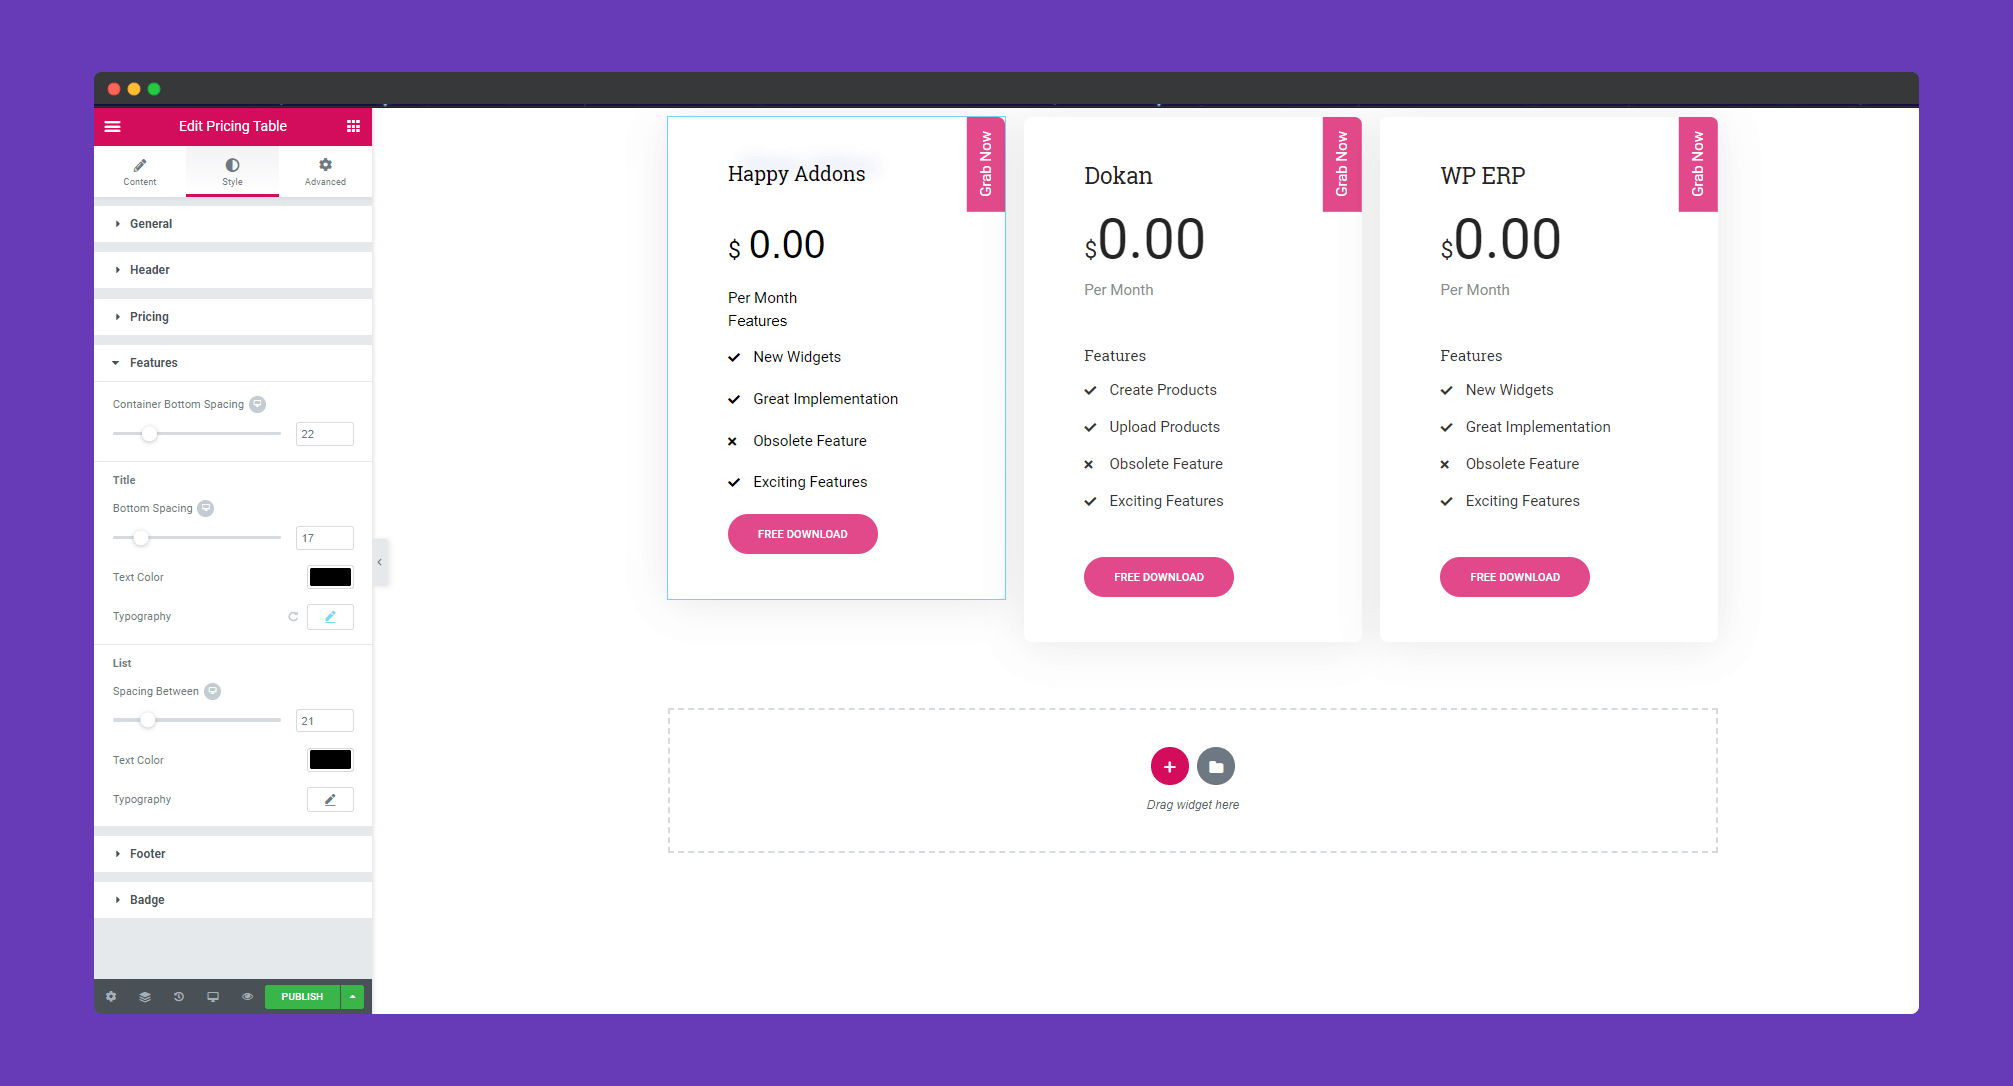
In ‘Footer‘, you can add padding to your button, add a border, border type and many more. You can give a hover effect to your button to make it slicker.
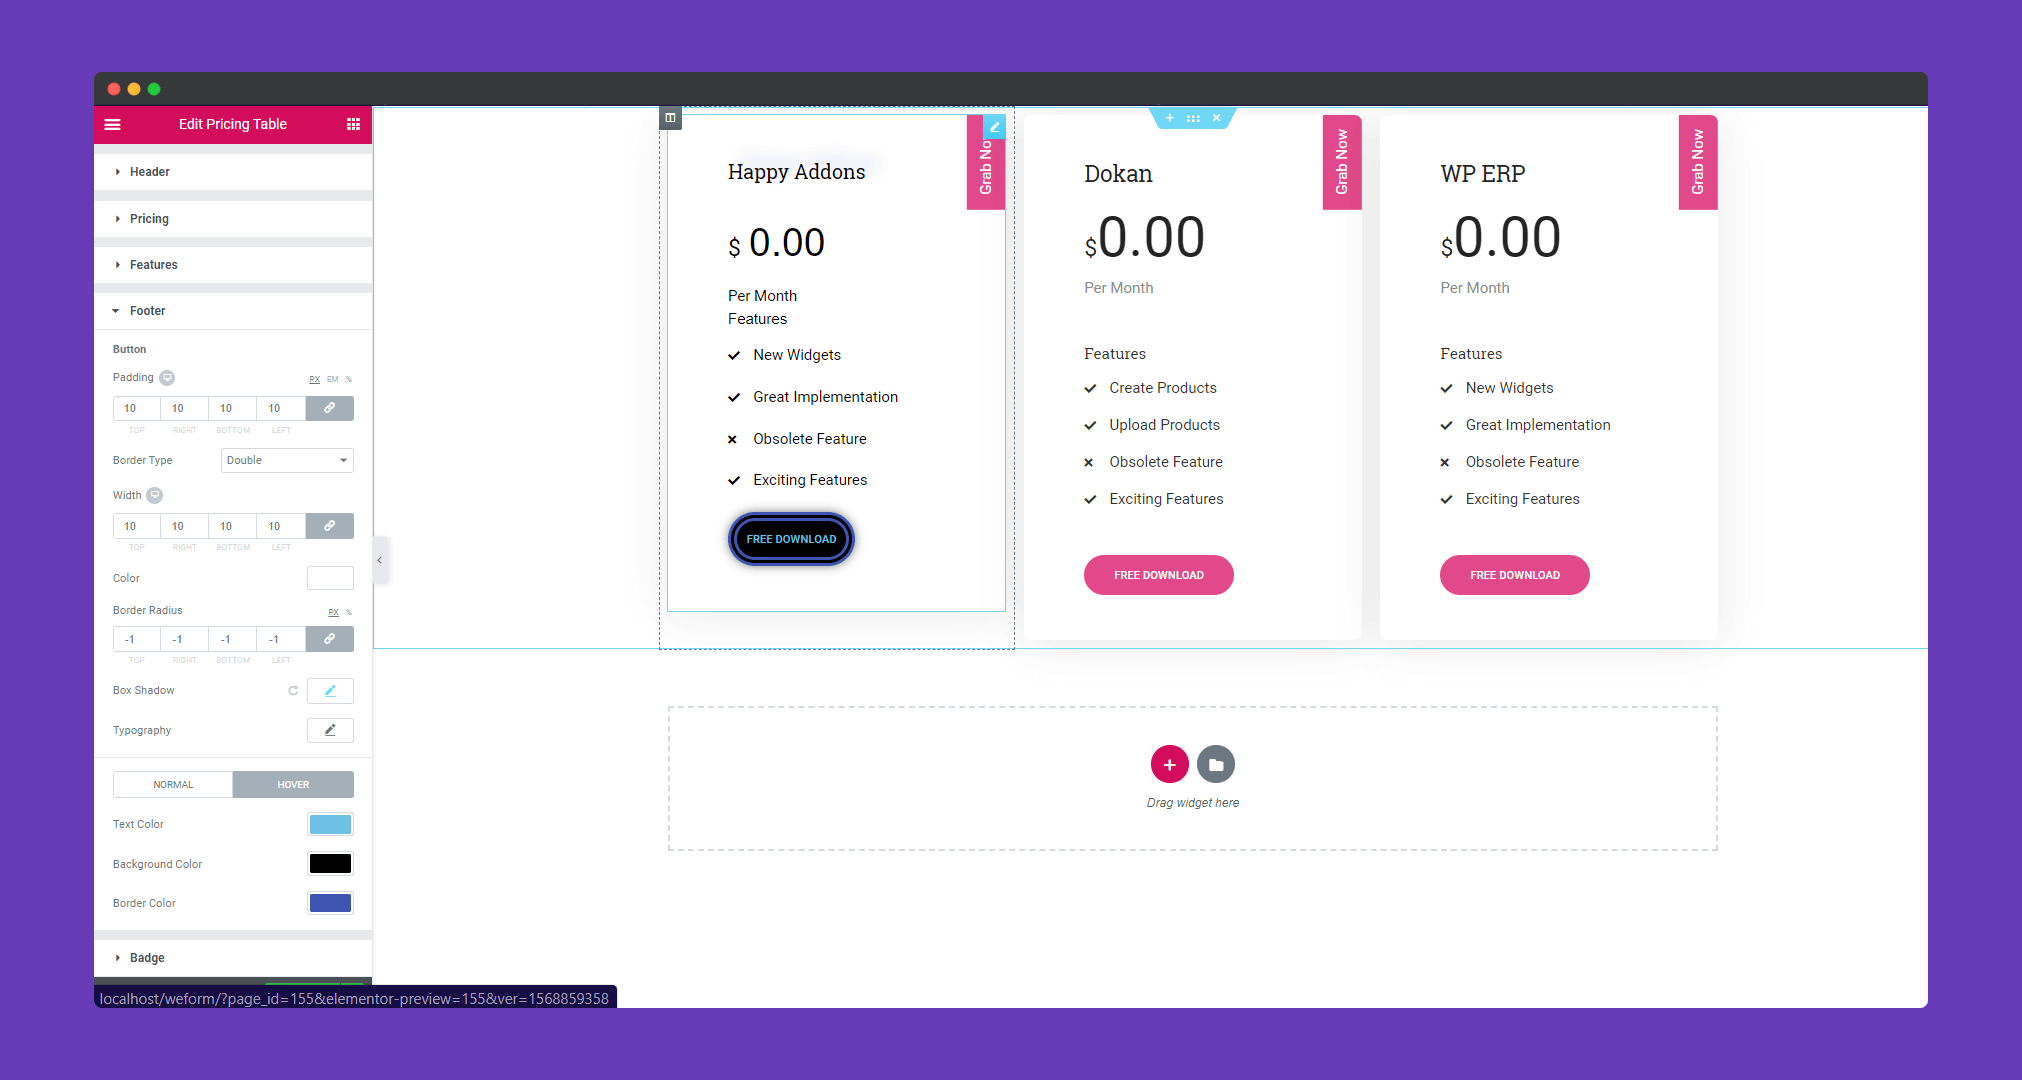
In ‘Badge‘, you can add padding to your badge, add a border, text type and many more.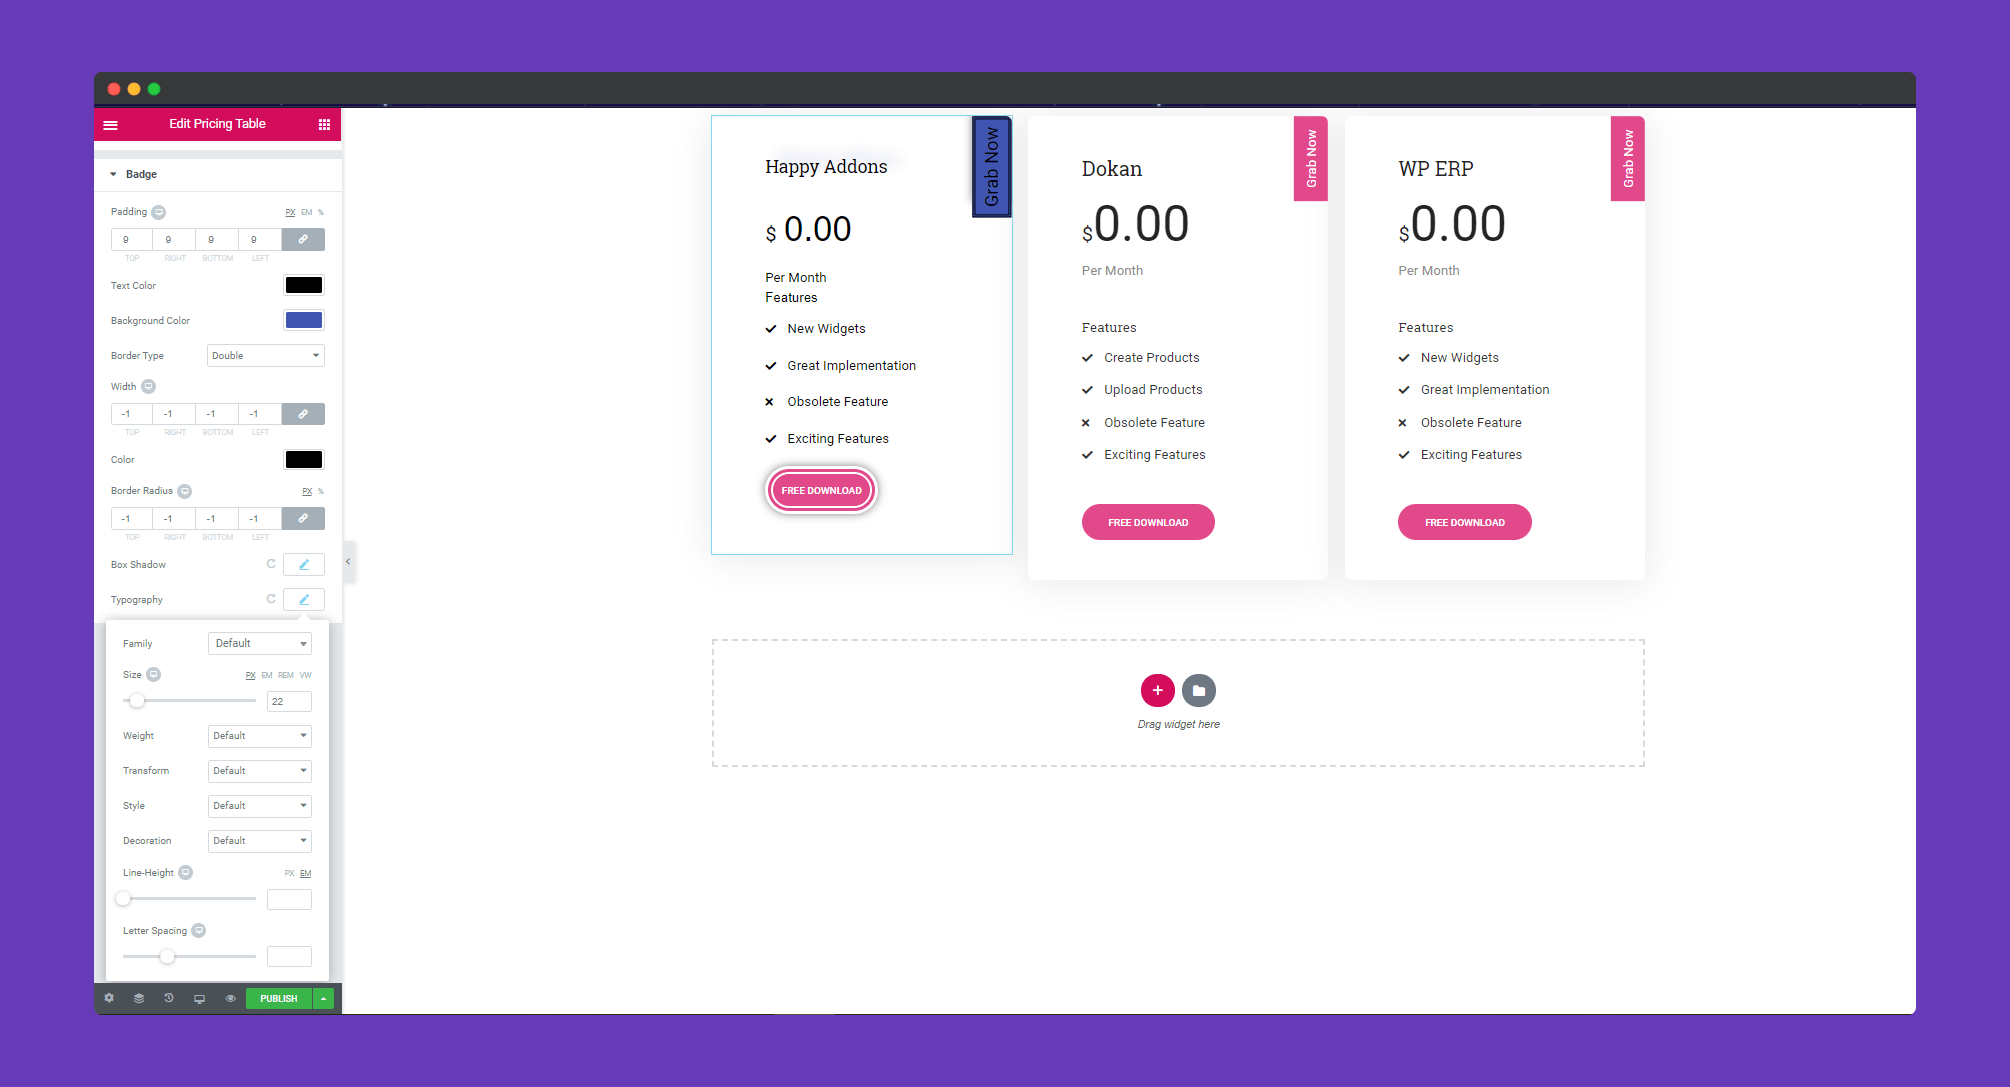
Step 4:
If you want to add motion effects, happy effects, background or make it responsive and more intriguing, click on ‘Advanced‘ to explore those options. the ‘Advanced‘ is a default feature of Elementor. Give a read to this Document to know more about Advanced features and its uses.
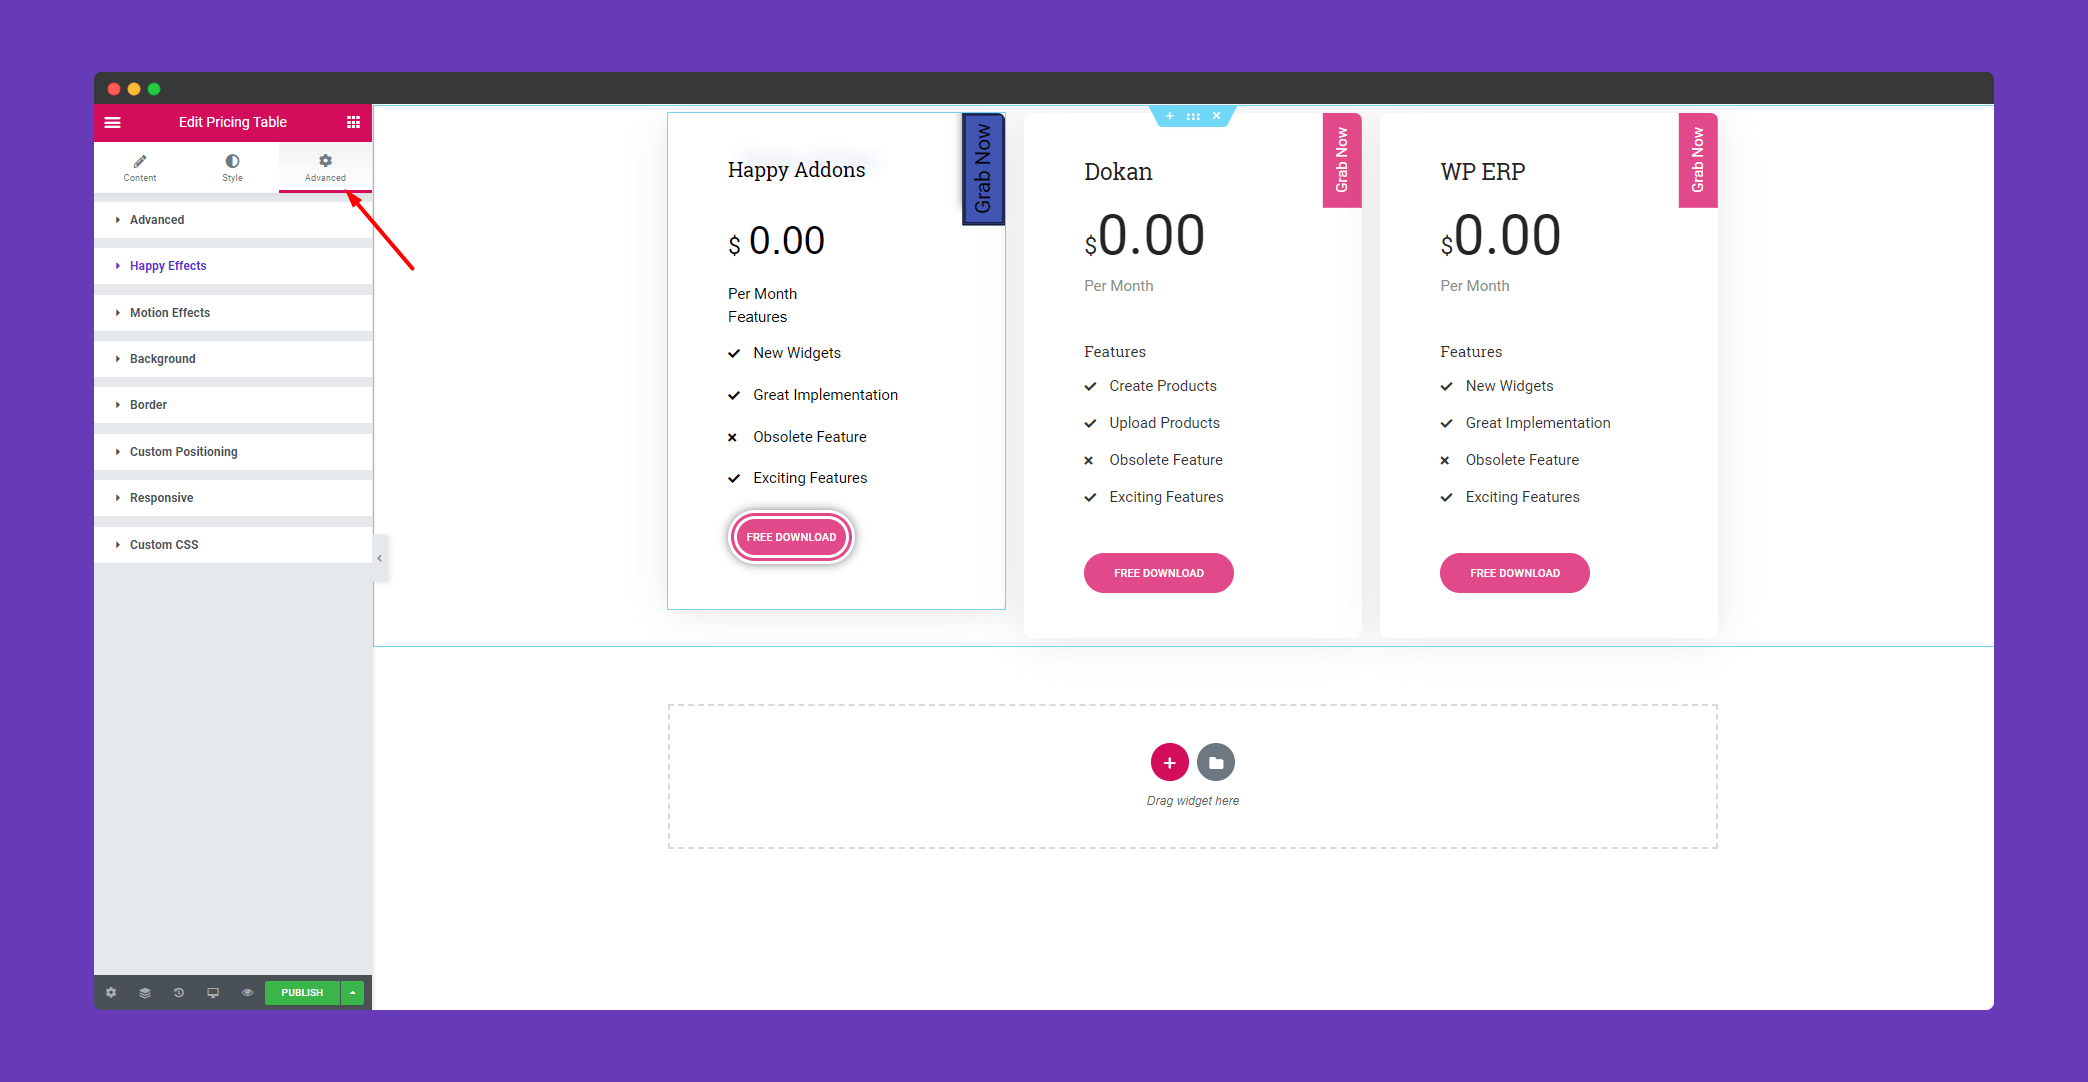
Finally. after clicking the publish button you will see the beautiful pricing tables on your page.
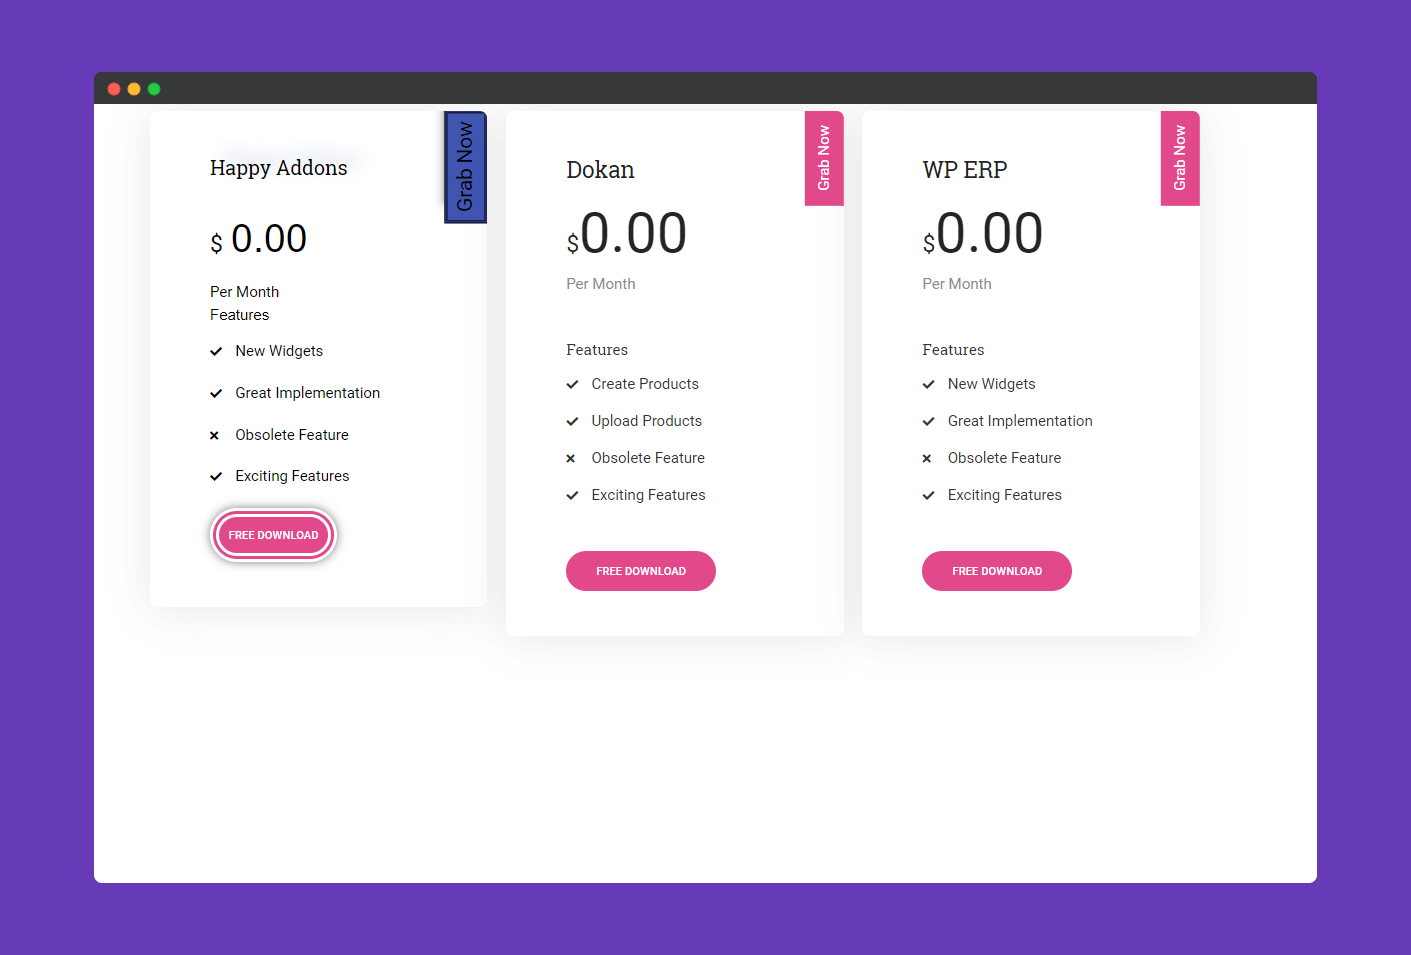
That’s it!
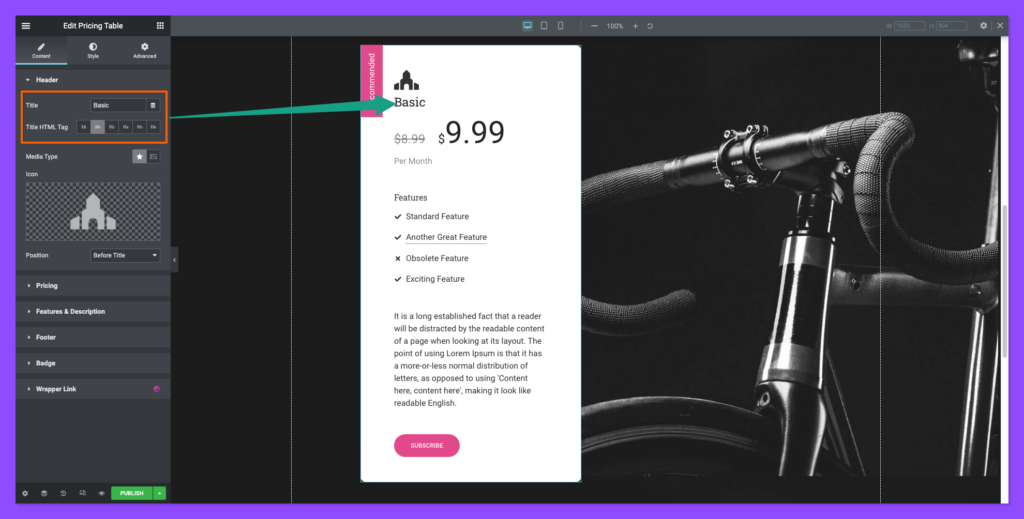
Enhancement in Pricing Table in Version v3.7.1 – 18 October 2022
Now you can select the Header tag (H1 – H6) for the pricing table heading.
