How To Use A Testimonial Widget Of Happy Elementor Addons
With the Testimonial Widget of Happy Elementor Addons, you can now create different testimonial sections for your webpage. You can give your website a different look and feel using the Happy Addons Testimonial Widget.
Using the Testimonial Widget:
You can see the below video to get an insight into how you can use the Testimonial Widget to create beautiful designs. Or you can follow the documentation, whichever you find convenient.
Step 1:
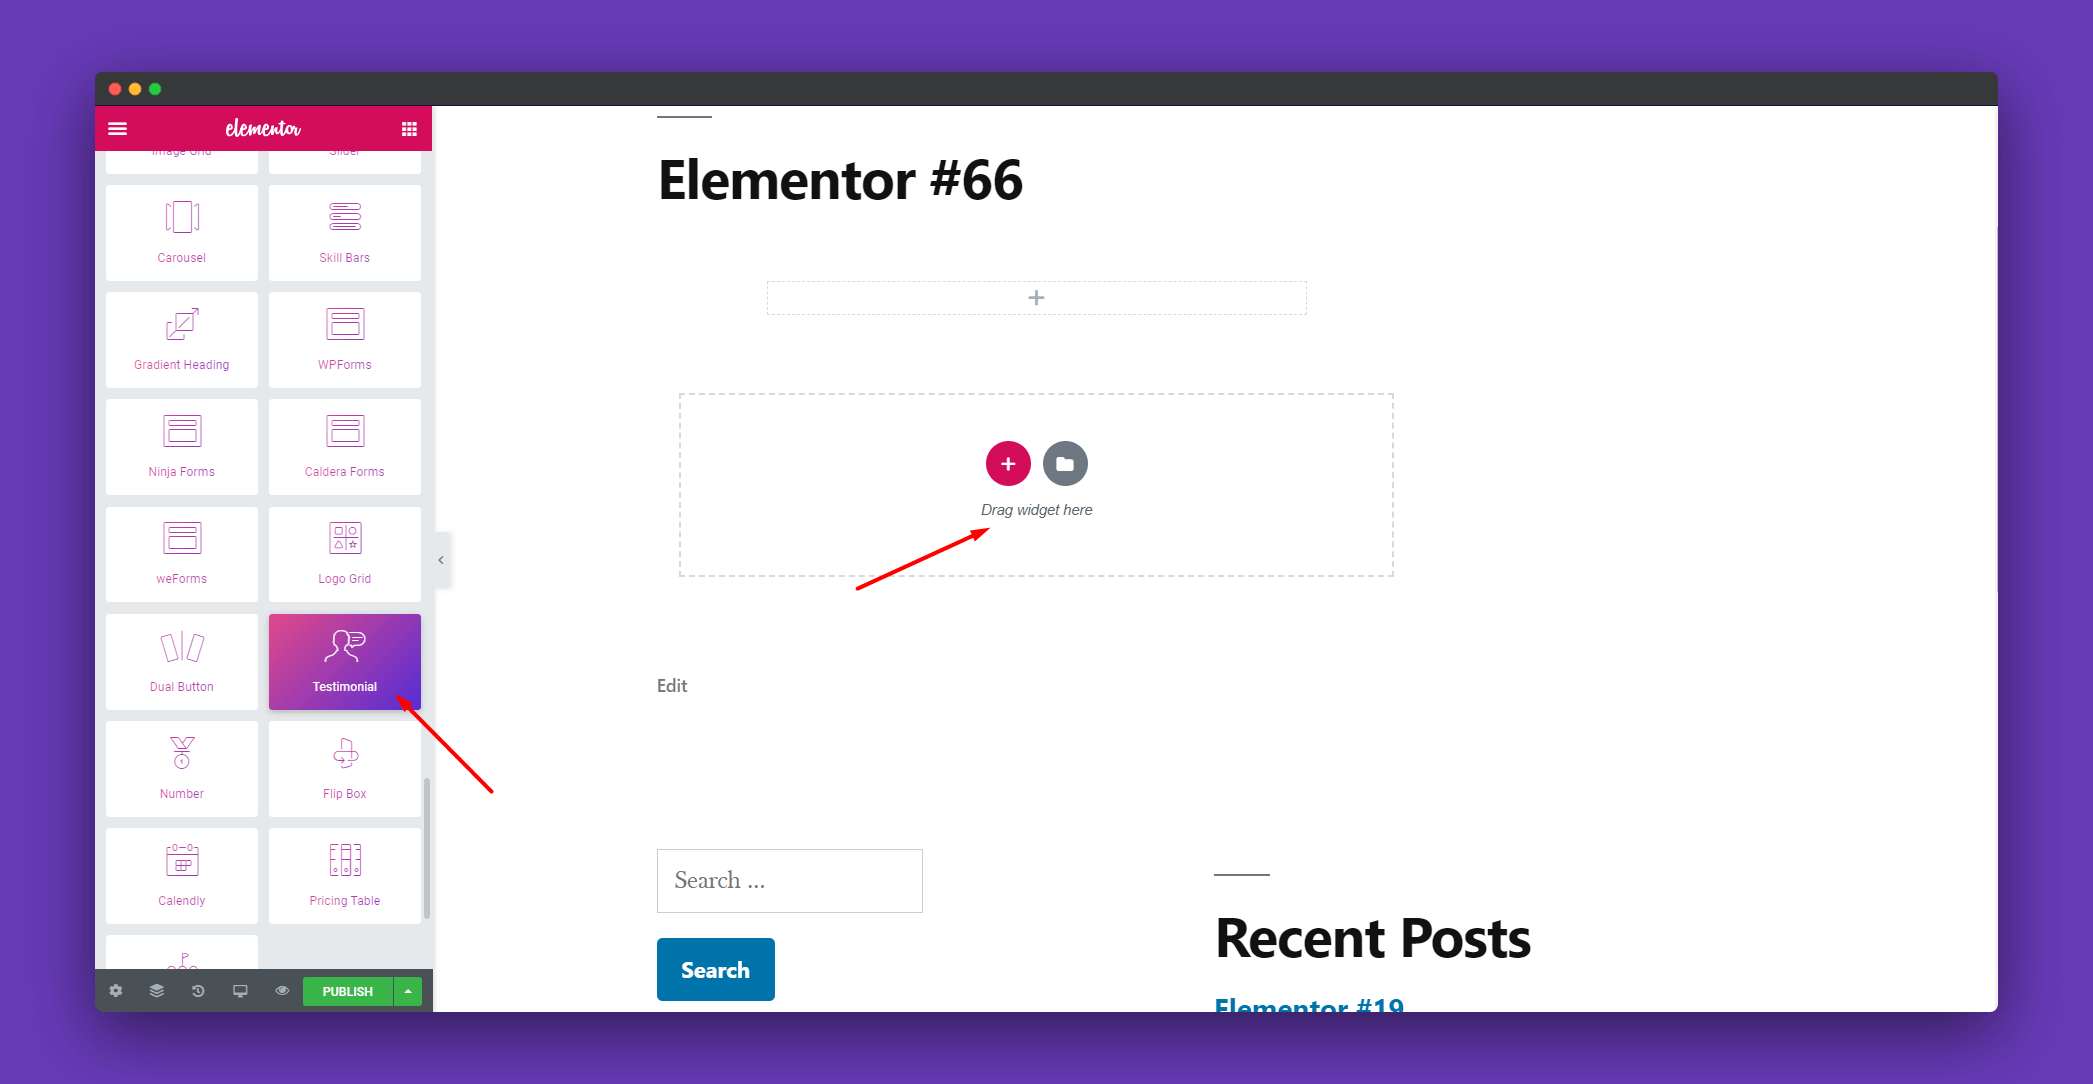
Select the Testimonial widget from the left-hand side of your menu then drag and drop it in the selected area.
Step 2:
In the Content section, you can edit the ‘Testimonial‘ and the ‘Reviewer‘.
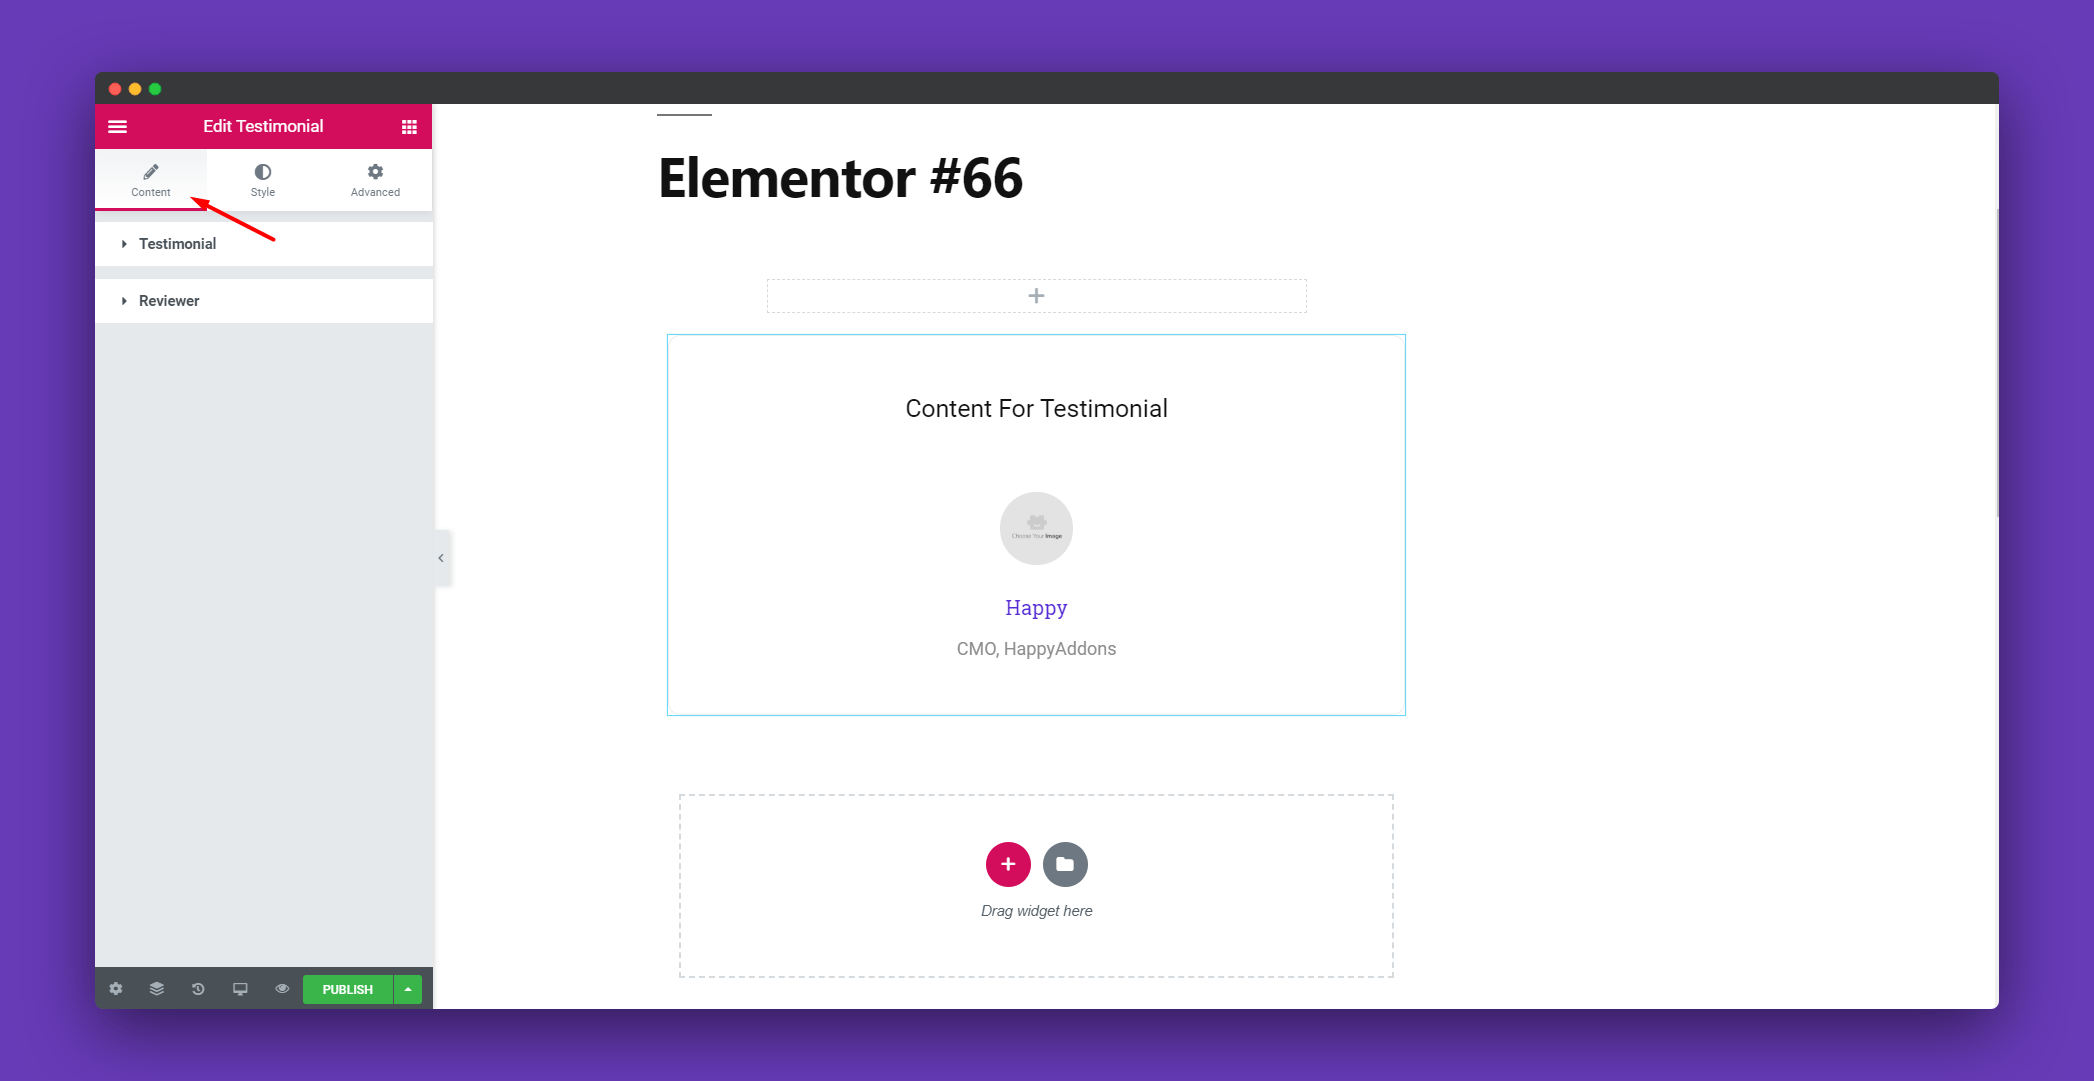
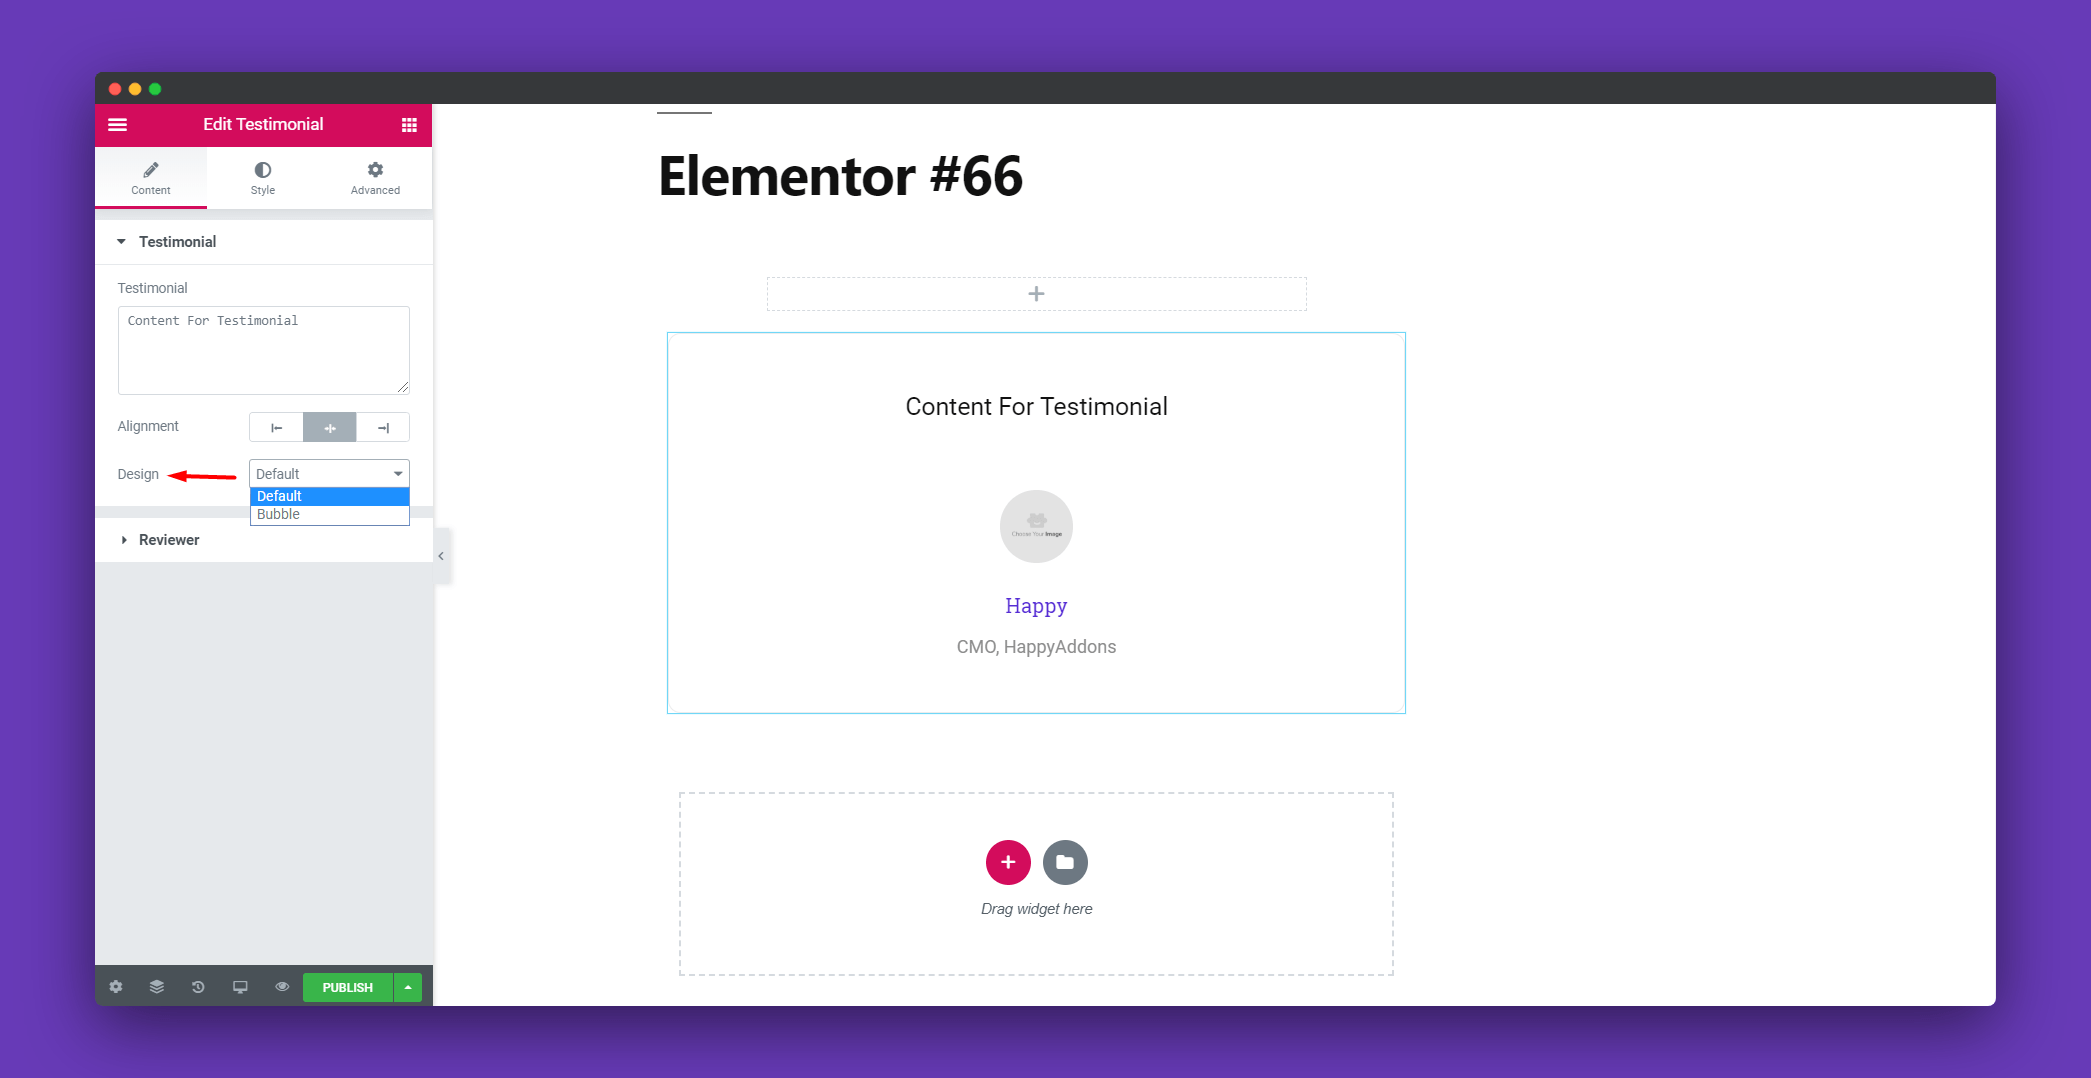
In Testimonial, you can write the testimonial, set it left right or center. You can also give it a bubbly look from Design.
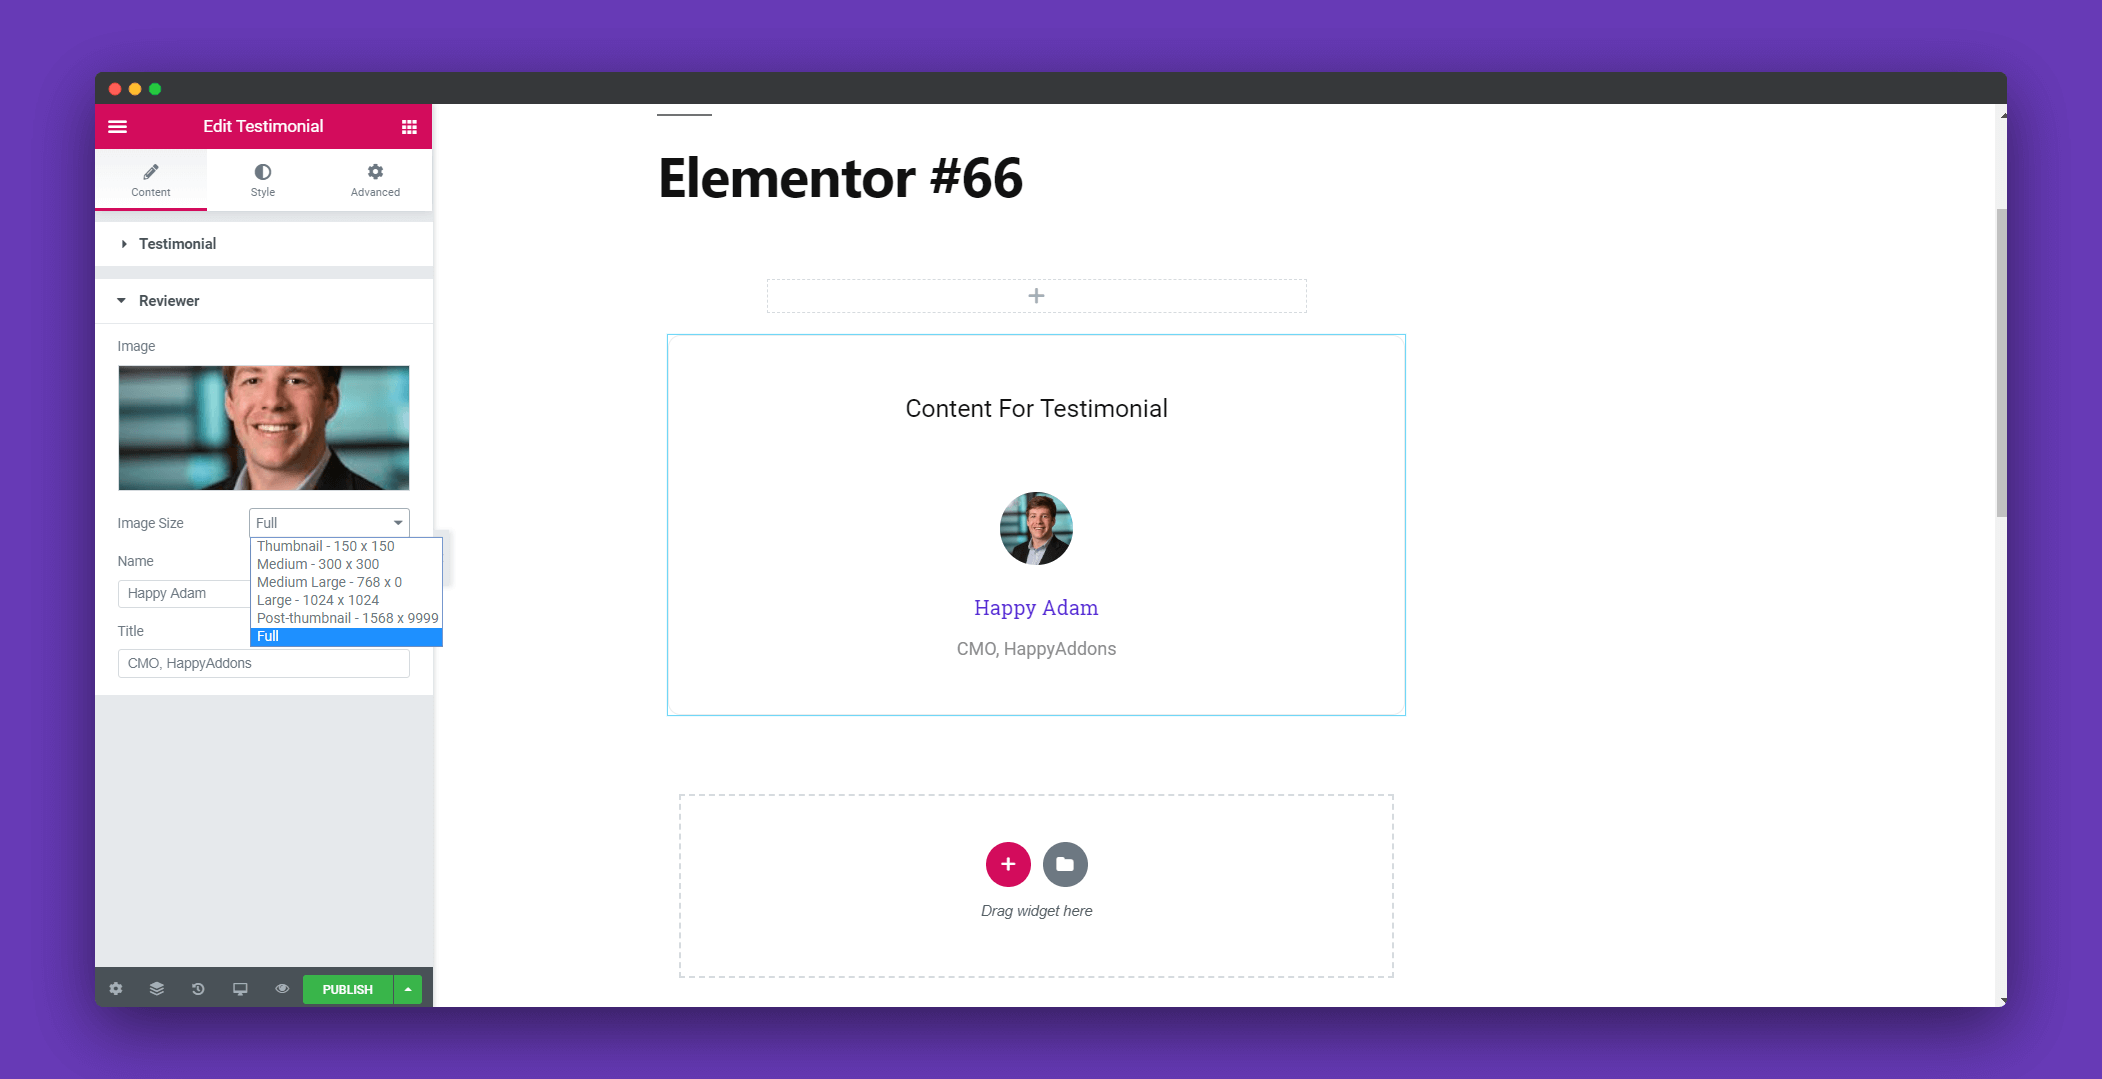
You can upload the picture of the reviewer in the Reviewer section. You can set the image size, set the reviewer name and title.
Step 3:
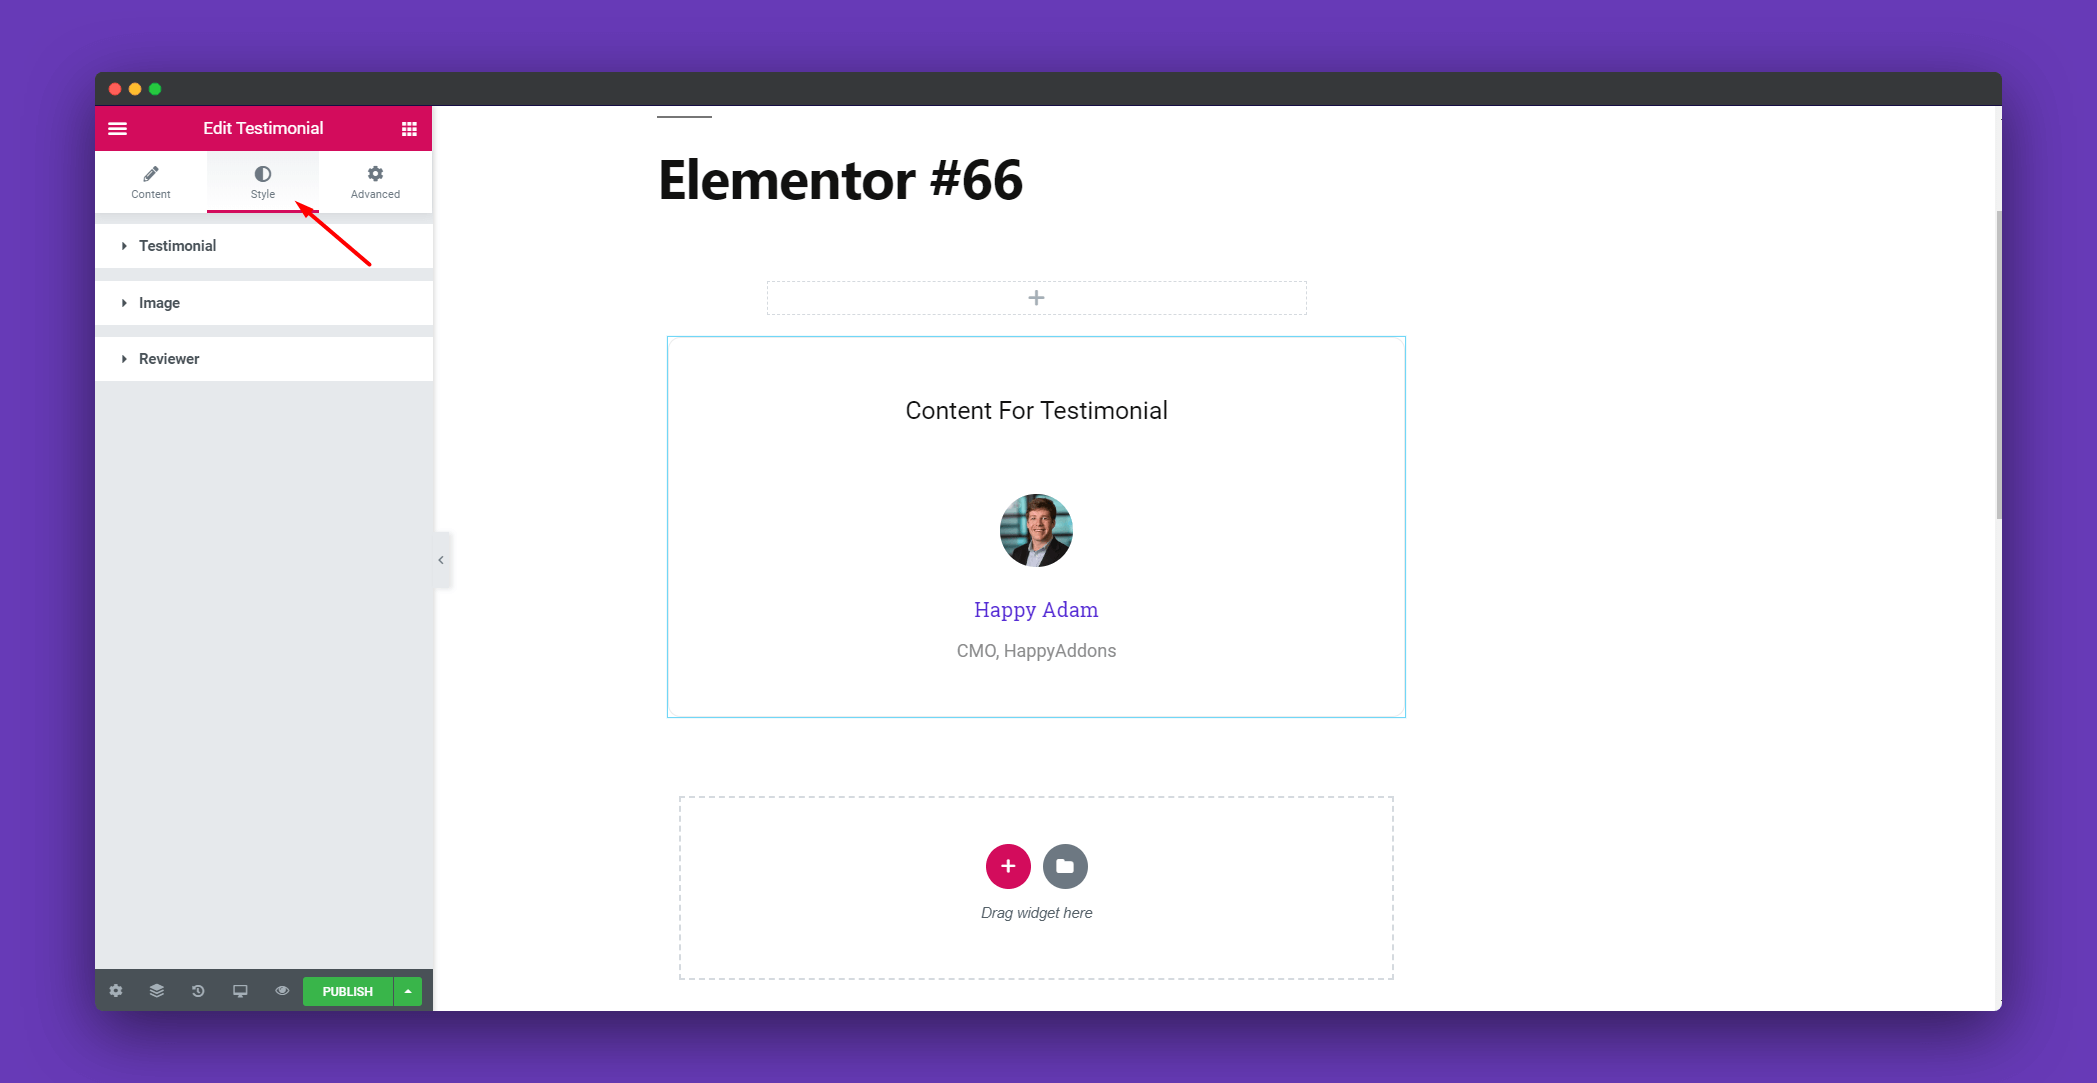
In the Style section, there are options to design the Testimonial, Image, and Reviewer separately.
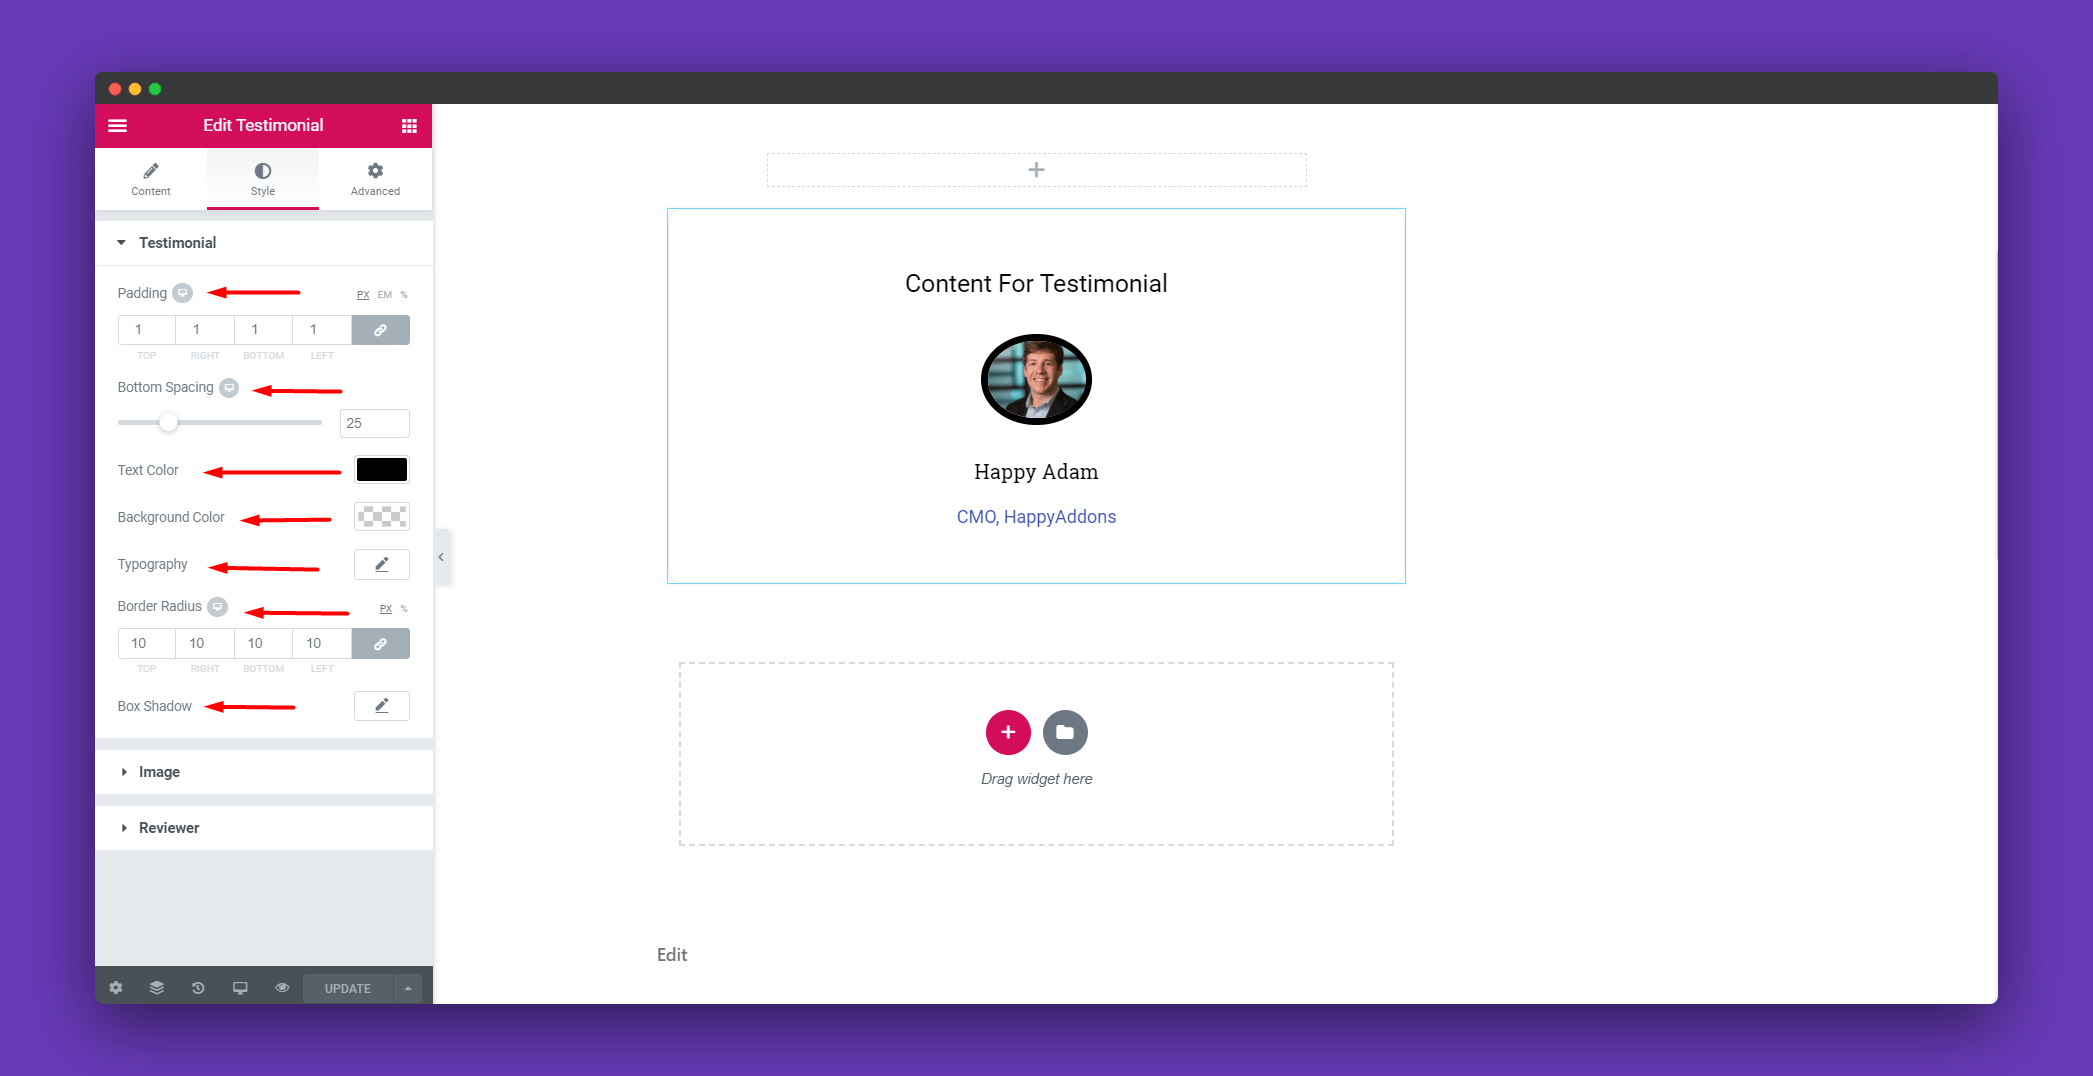
You can add padding, space from the bottom, text color, typography, background color, box-shadow in the Testimonial section.
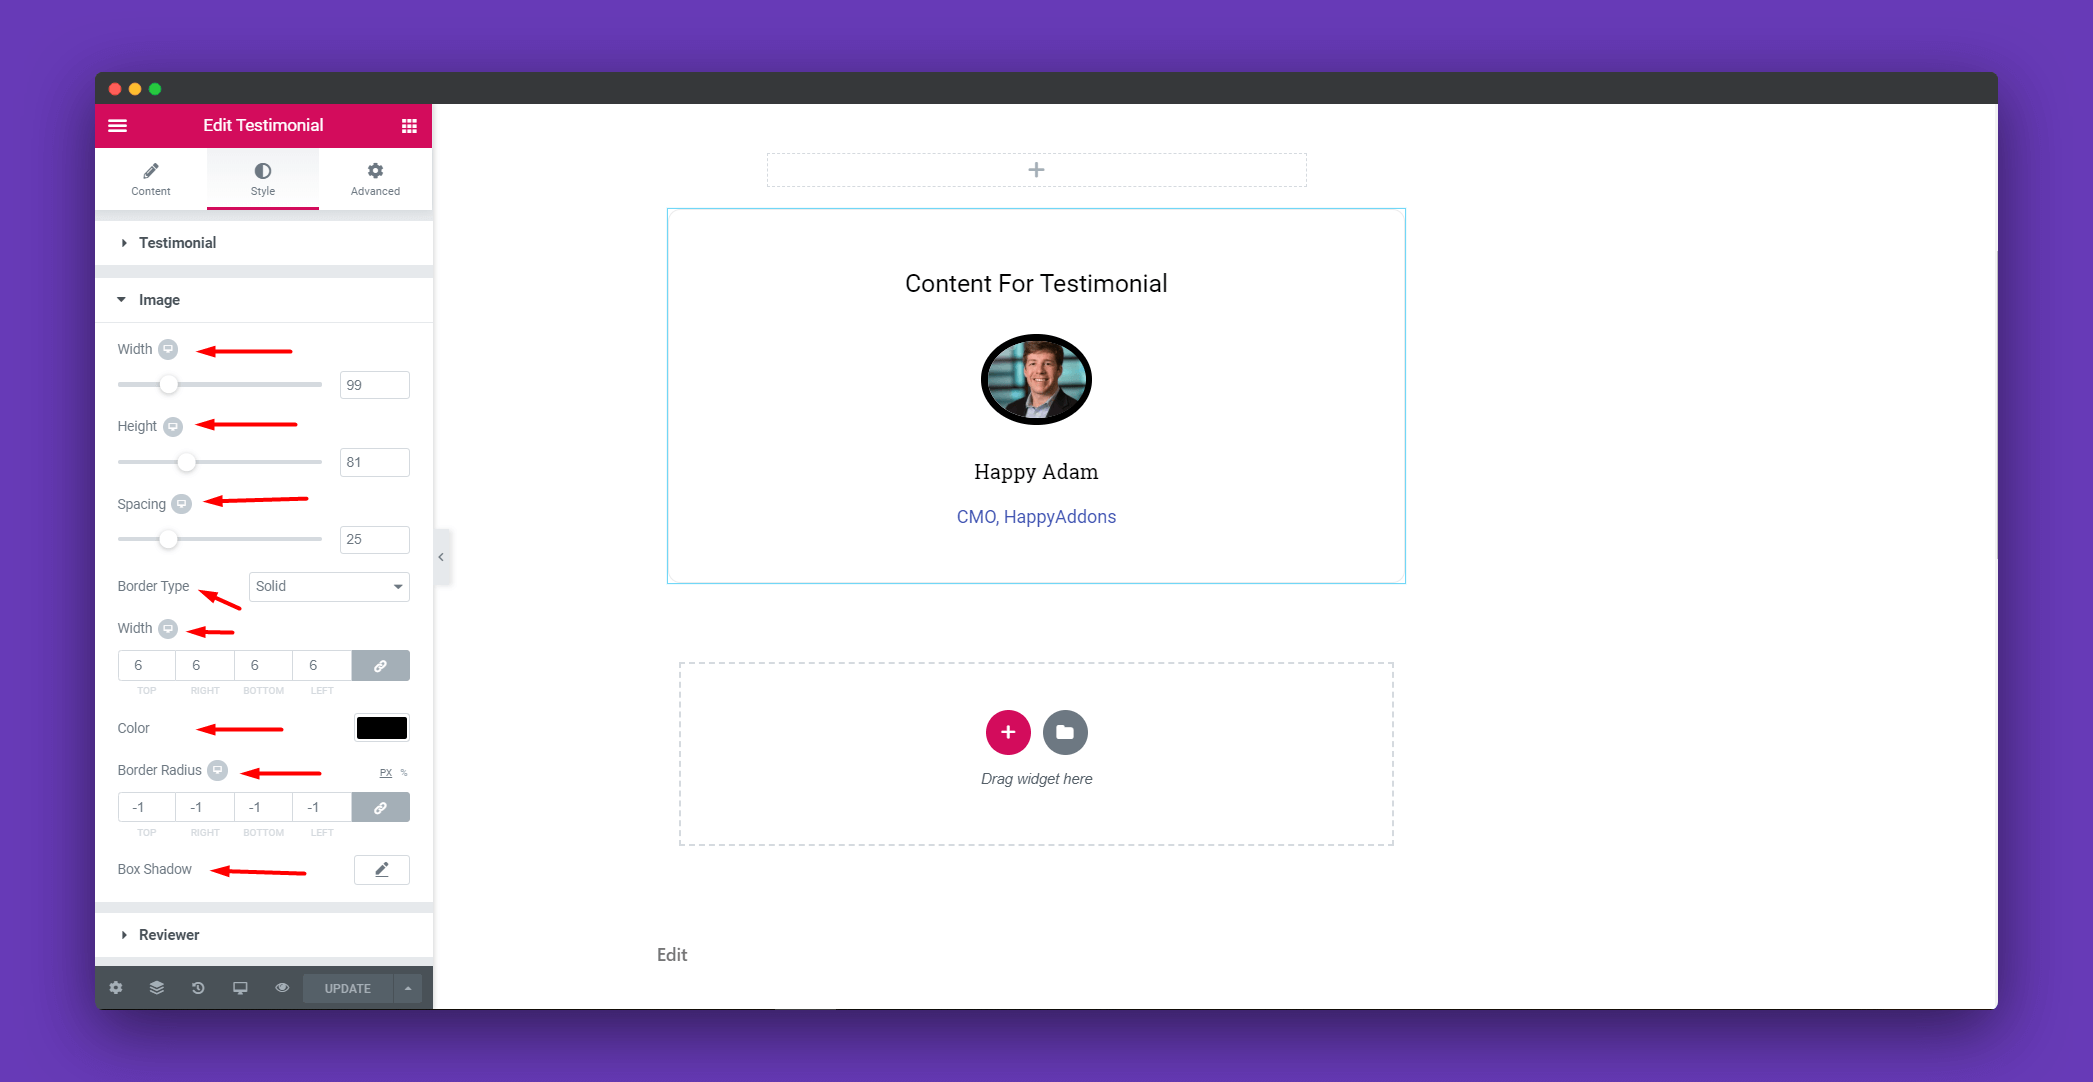
In the Image section, you can set the width, height and many other things. You can design the image per your wish.
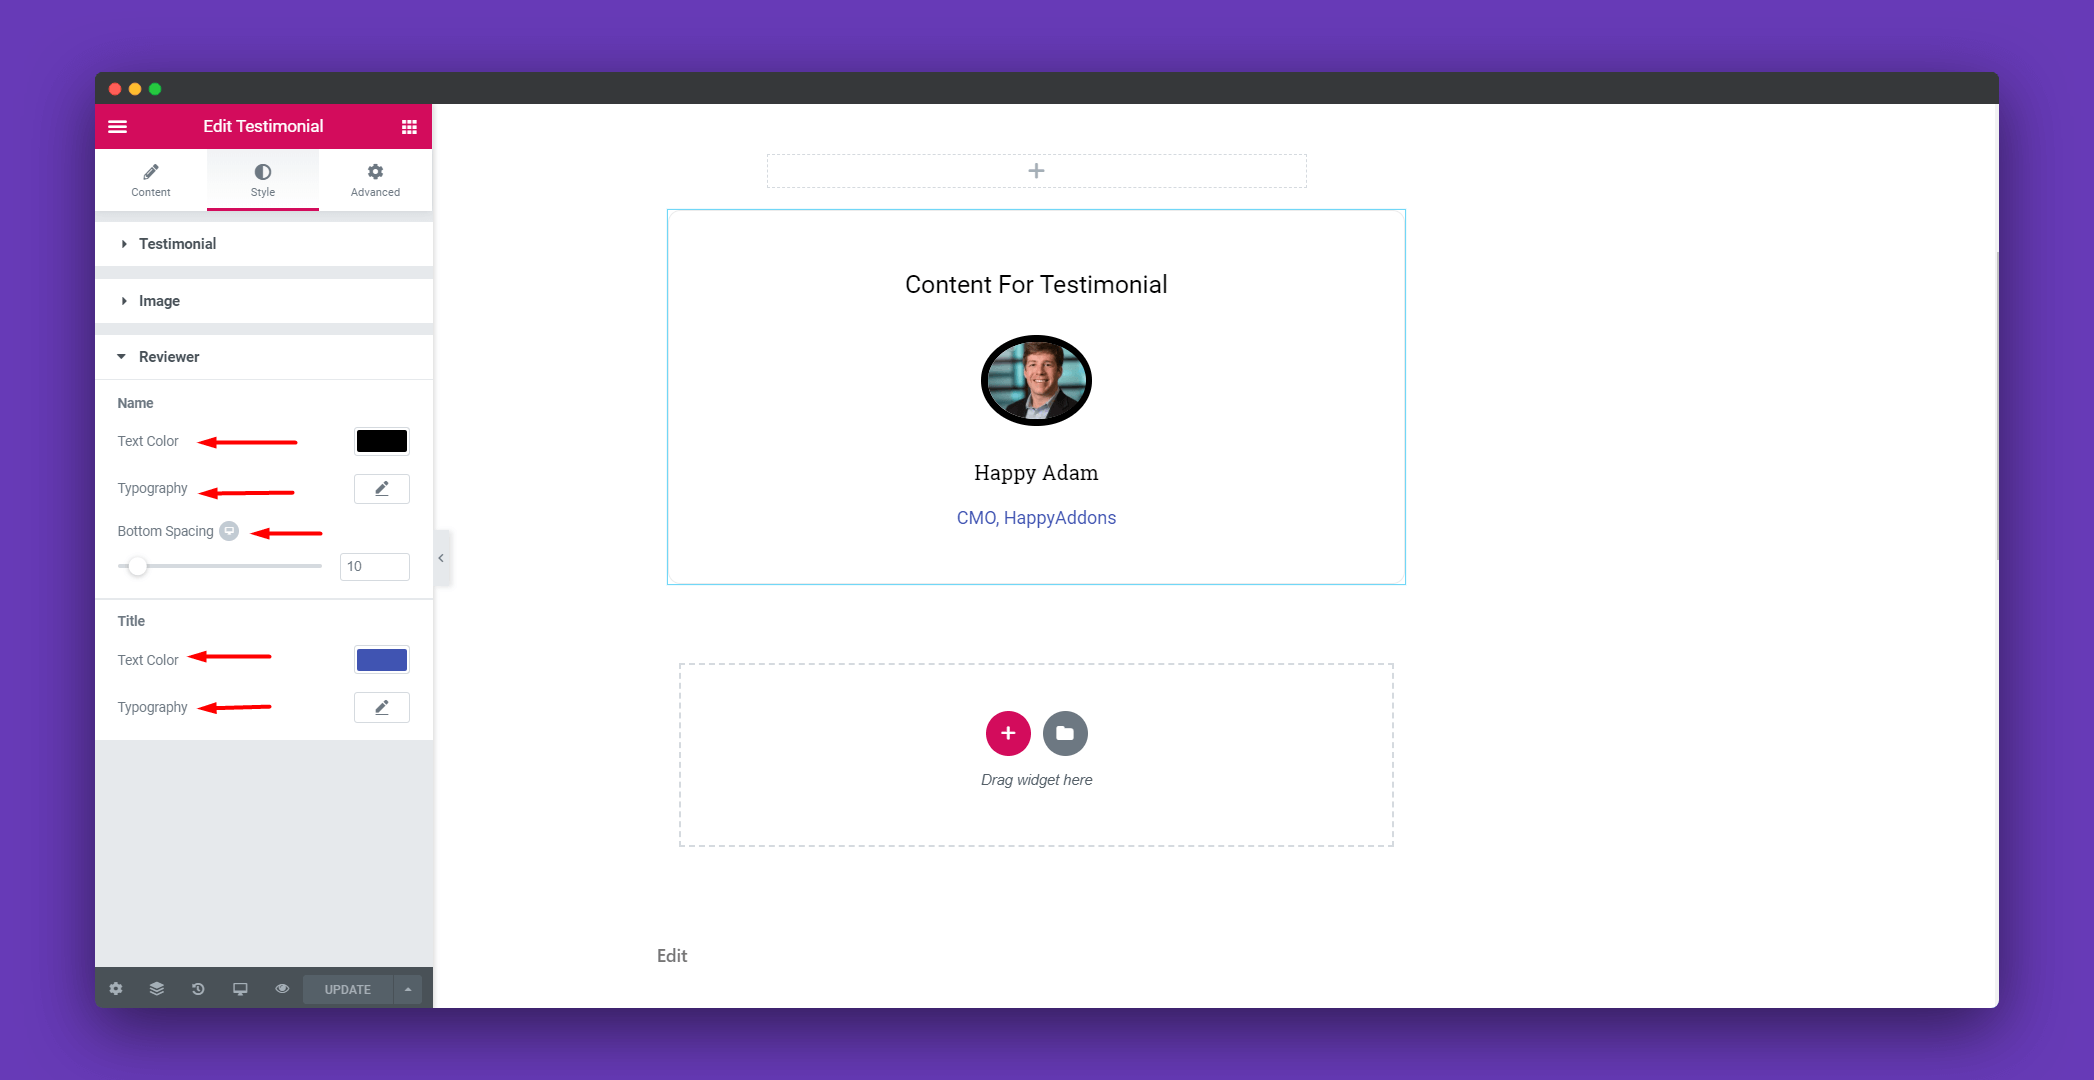
You can the text color, typography and bottom spacing of the name and the title in the Reviewer section
Step 4:
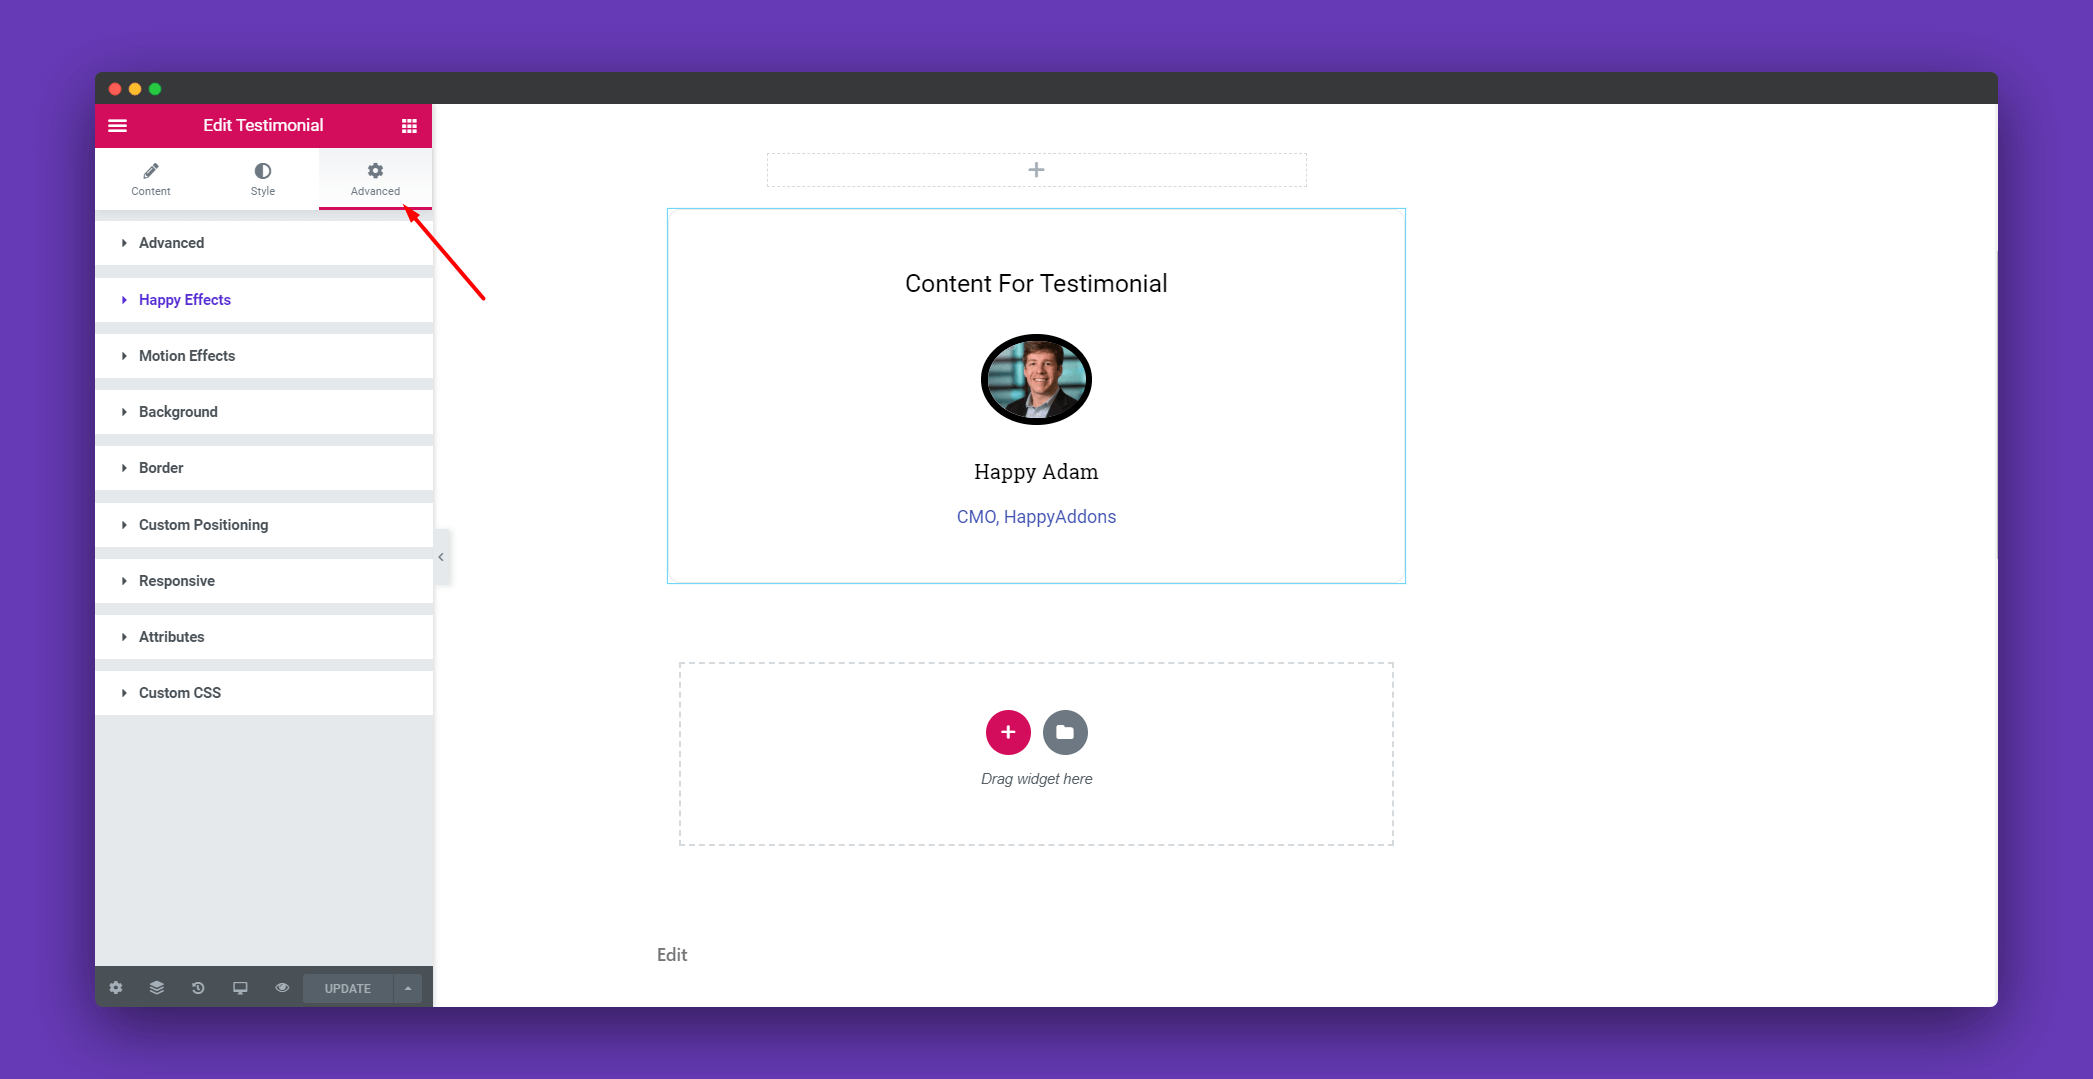
If you want to add motion effects, happy effects, background or make it responsive and more intriguing, click on ‘Advanced‘ to explore those options. the ‘Advanced‘ is a default feature of Elementor. Give a read to this Document to know more about Advanced features and its uses.
Finally, click on publish and you will get a beautiful testimonial for your page.
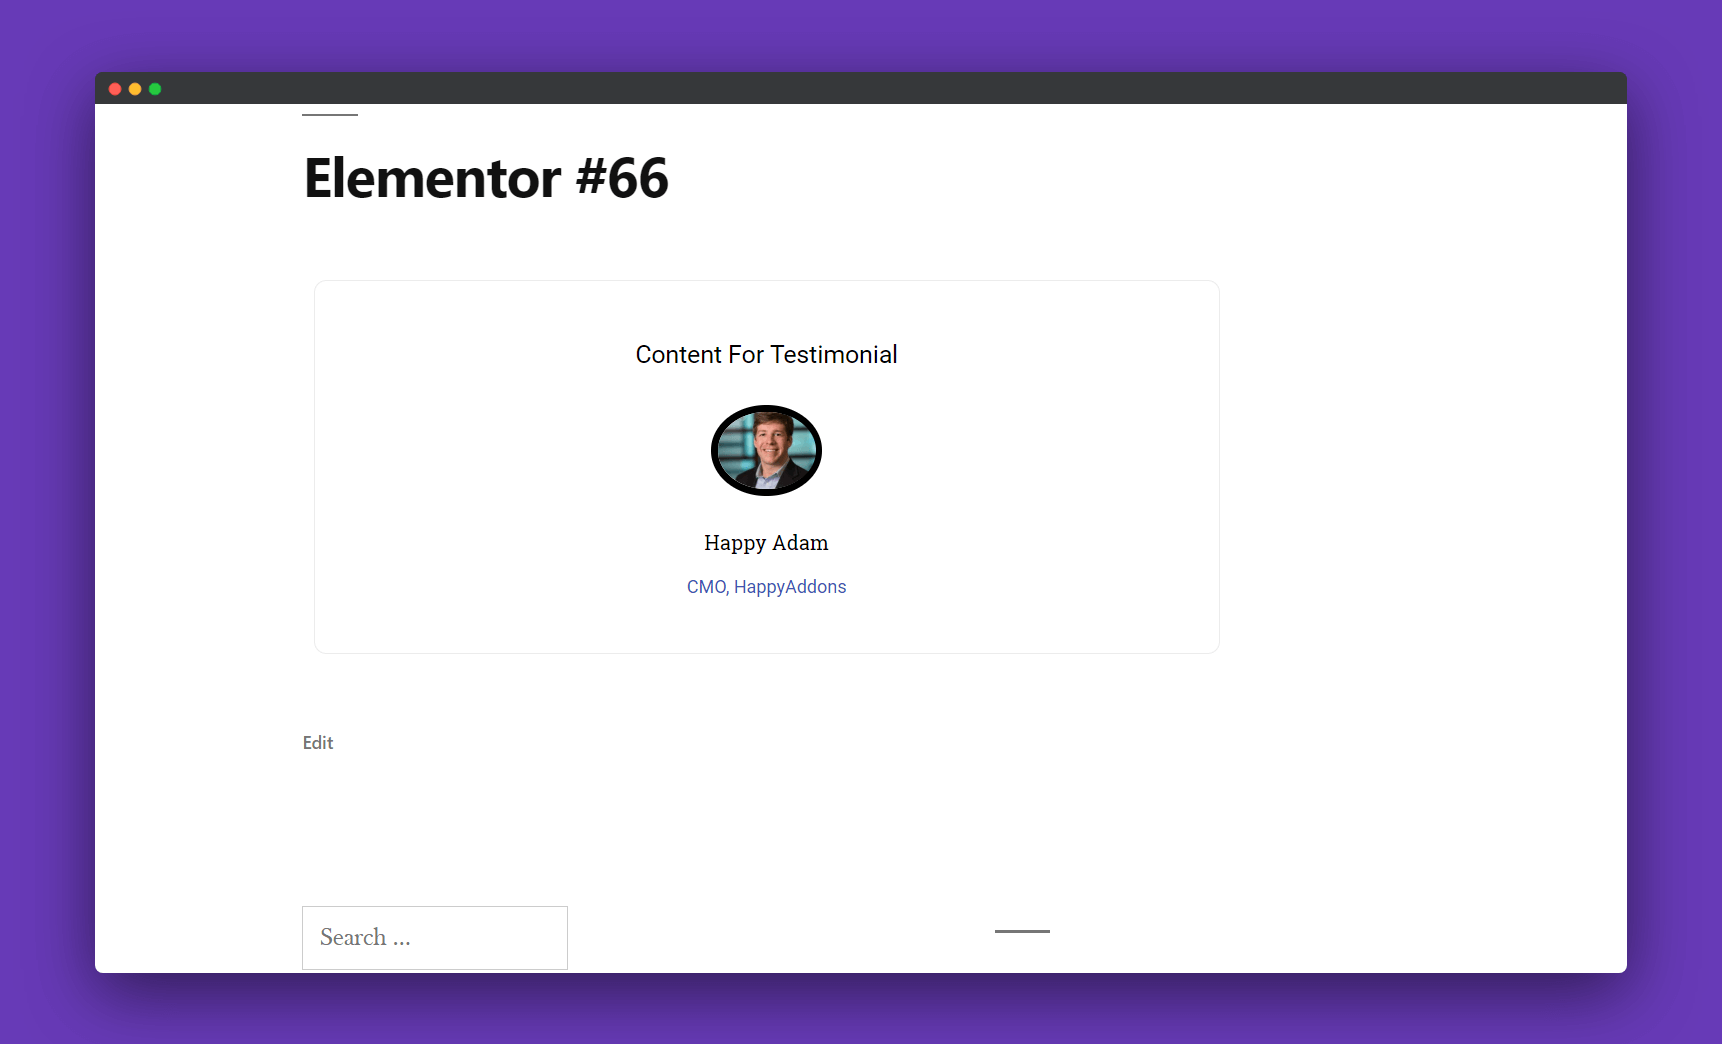
That’s it!.
