From now HappyAddons free version (v2.9.0) comes with the support of the WPML Multilingual CMS tool. You can manage your multilingual site with the help of this tool. Here is the official tutorial video by WPML on how you can use it in Elementor and the process is the same as it is.
How to Translate Elementor Pages Using WPML
Pre-requisites
To translate your web page into different languages, you need to install and active the following plugins to your website:
- Elementor
- Happy Addons
- WPML Multilingual CMS
- WPML String Translation
Let’s get started:
Configure WPML
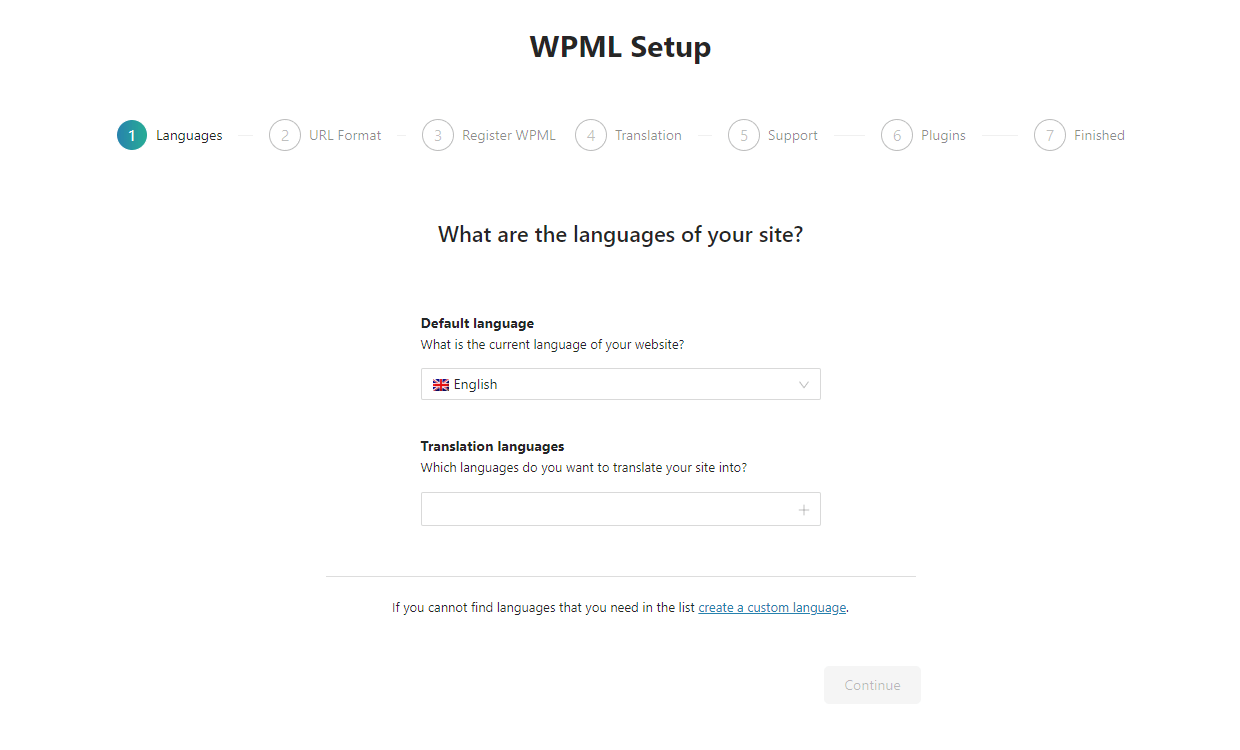
After installing & activating the plugins, you need to configure the WPML with your website. Go to the Dashboard->WPML->Setup area. On the following page, you’ll get an interface like the below image.
Here, you need to define your website’s Default language and Translation Language.
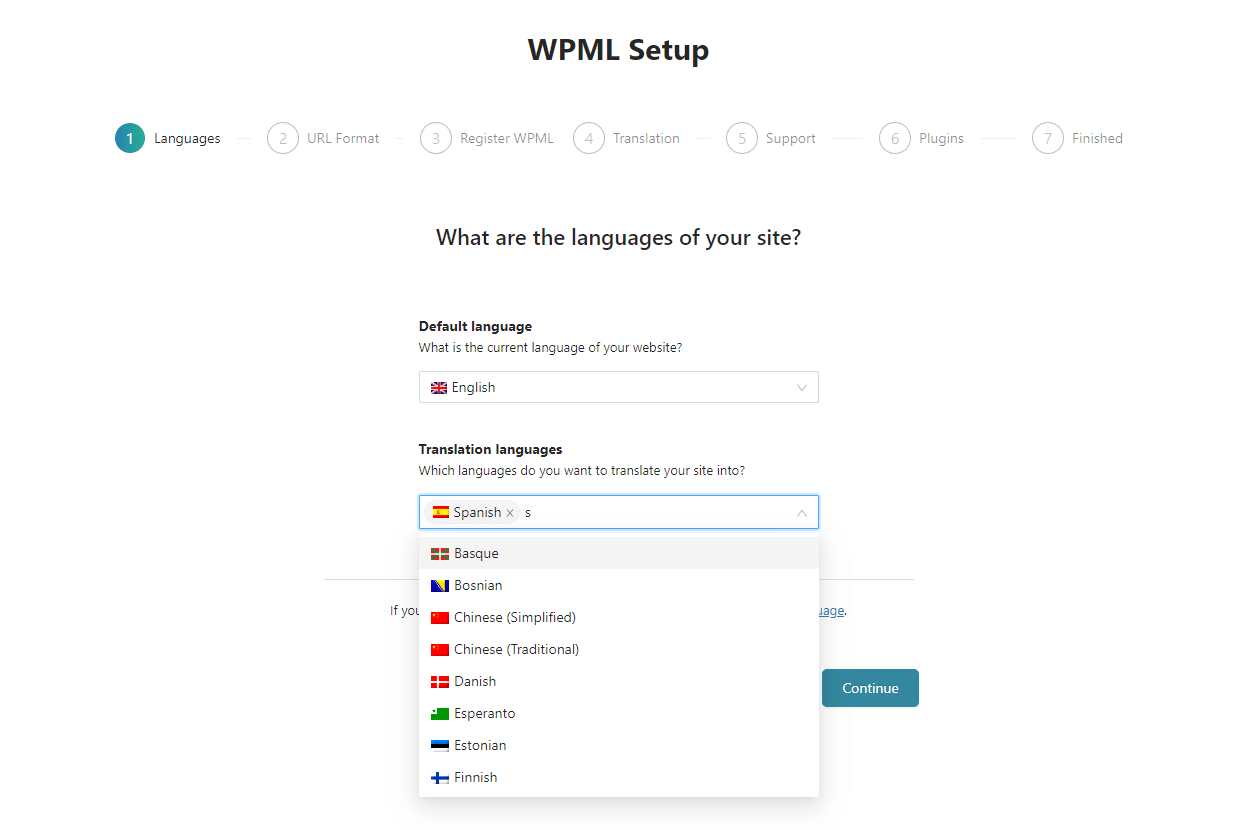
Here, we’ve set our Translation Language ‘Spanish‘. You can set your one.
You can also define the URL format of your translated website page like the below example.
- www.example.com/es/
- www.example.com/fr/
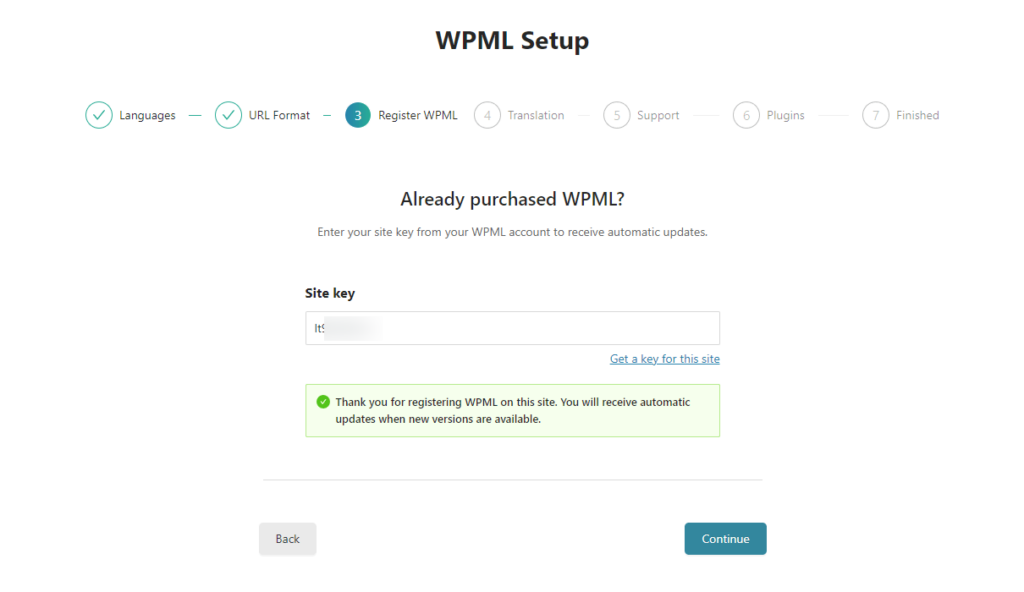
It’s time to add the Site Key provided by WPML for getting auto plugin updates.
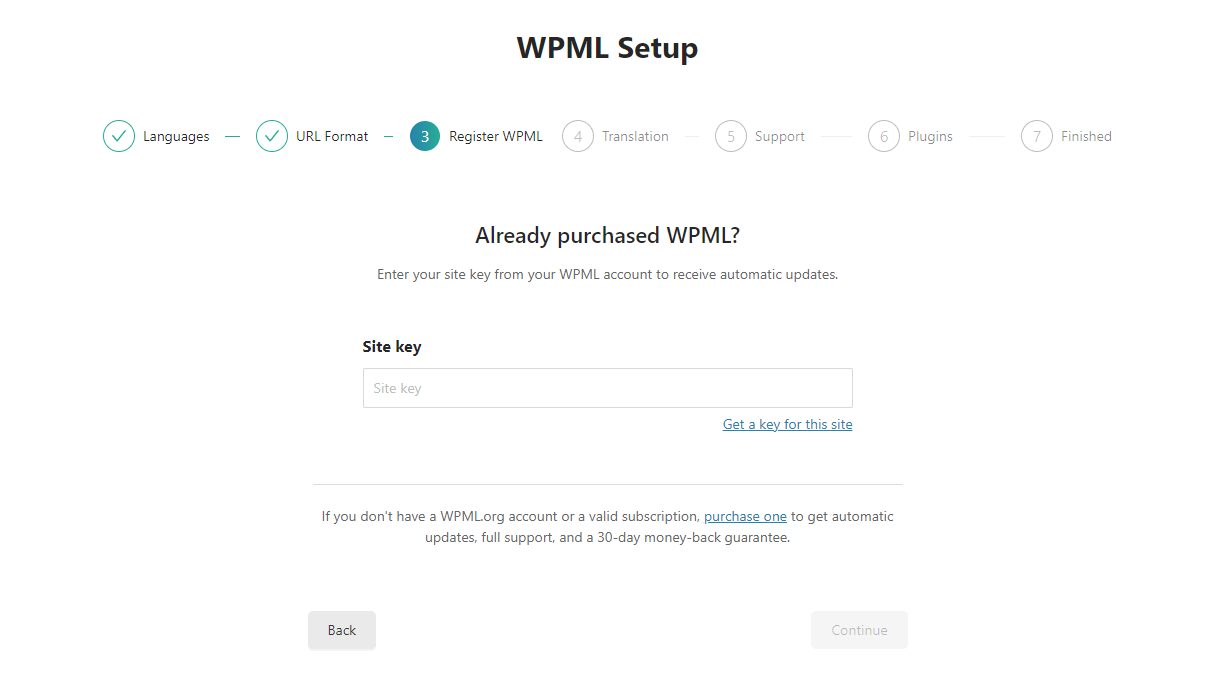
Just paste the Key and click on the Continue button.
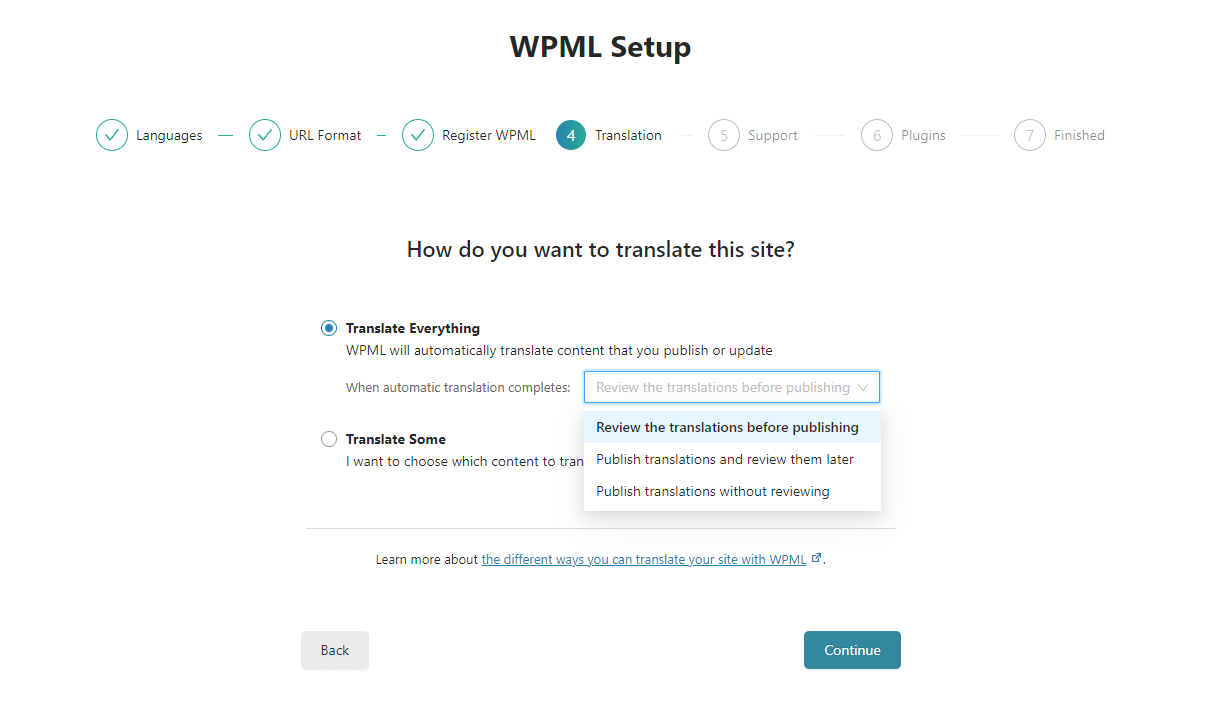
Go to the following tab to select your website translation option. Here, you get two options. You can select the Translate Everything option if you want WPML to automatically translate the contents of your site using machine translation.
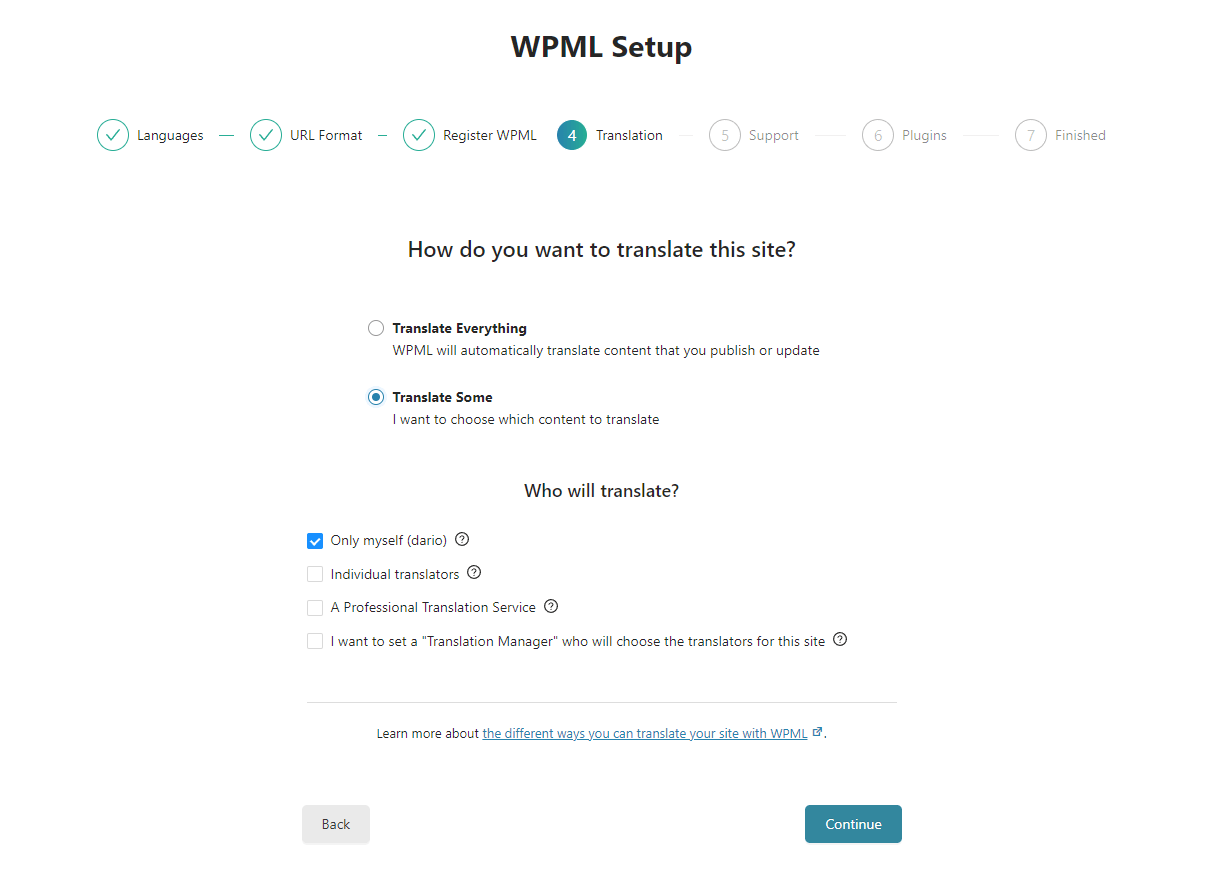
Otherwise, you can choose the Translate Some option if you want to use WPML’s native translation editor to manually input your own translations or use automatic translation at a later stage.
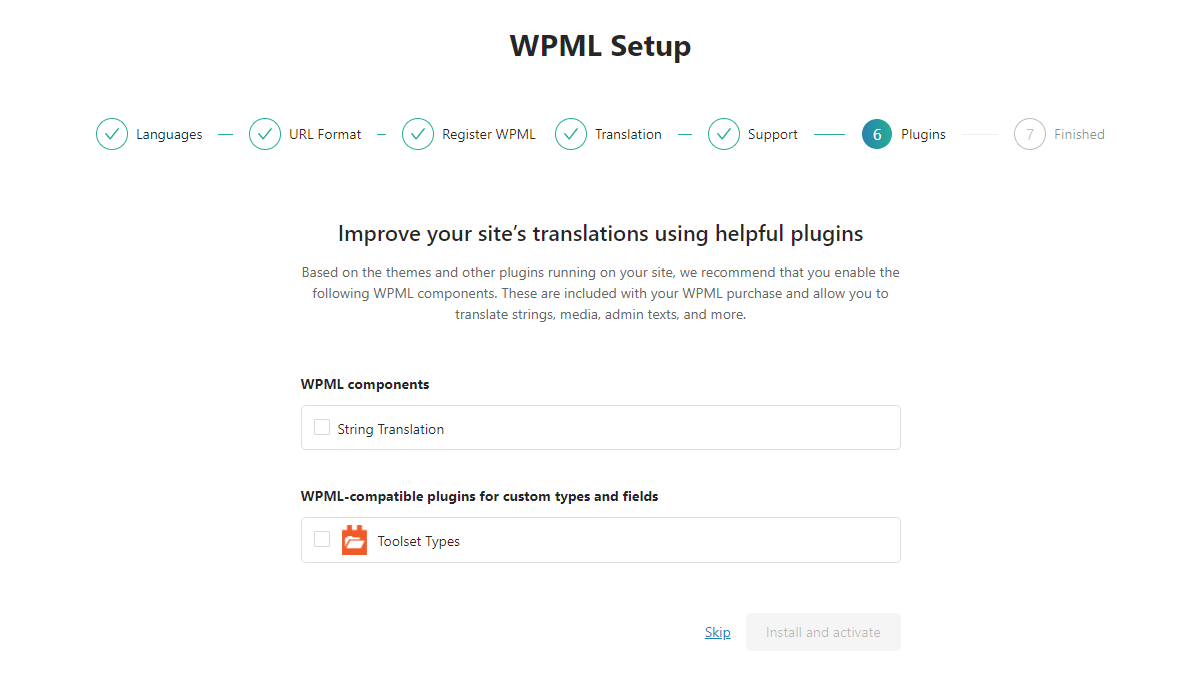
If you need to add more features in the translation process, you can install and activate the recommended plugins.
Manage WPML Settings
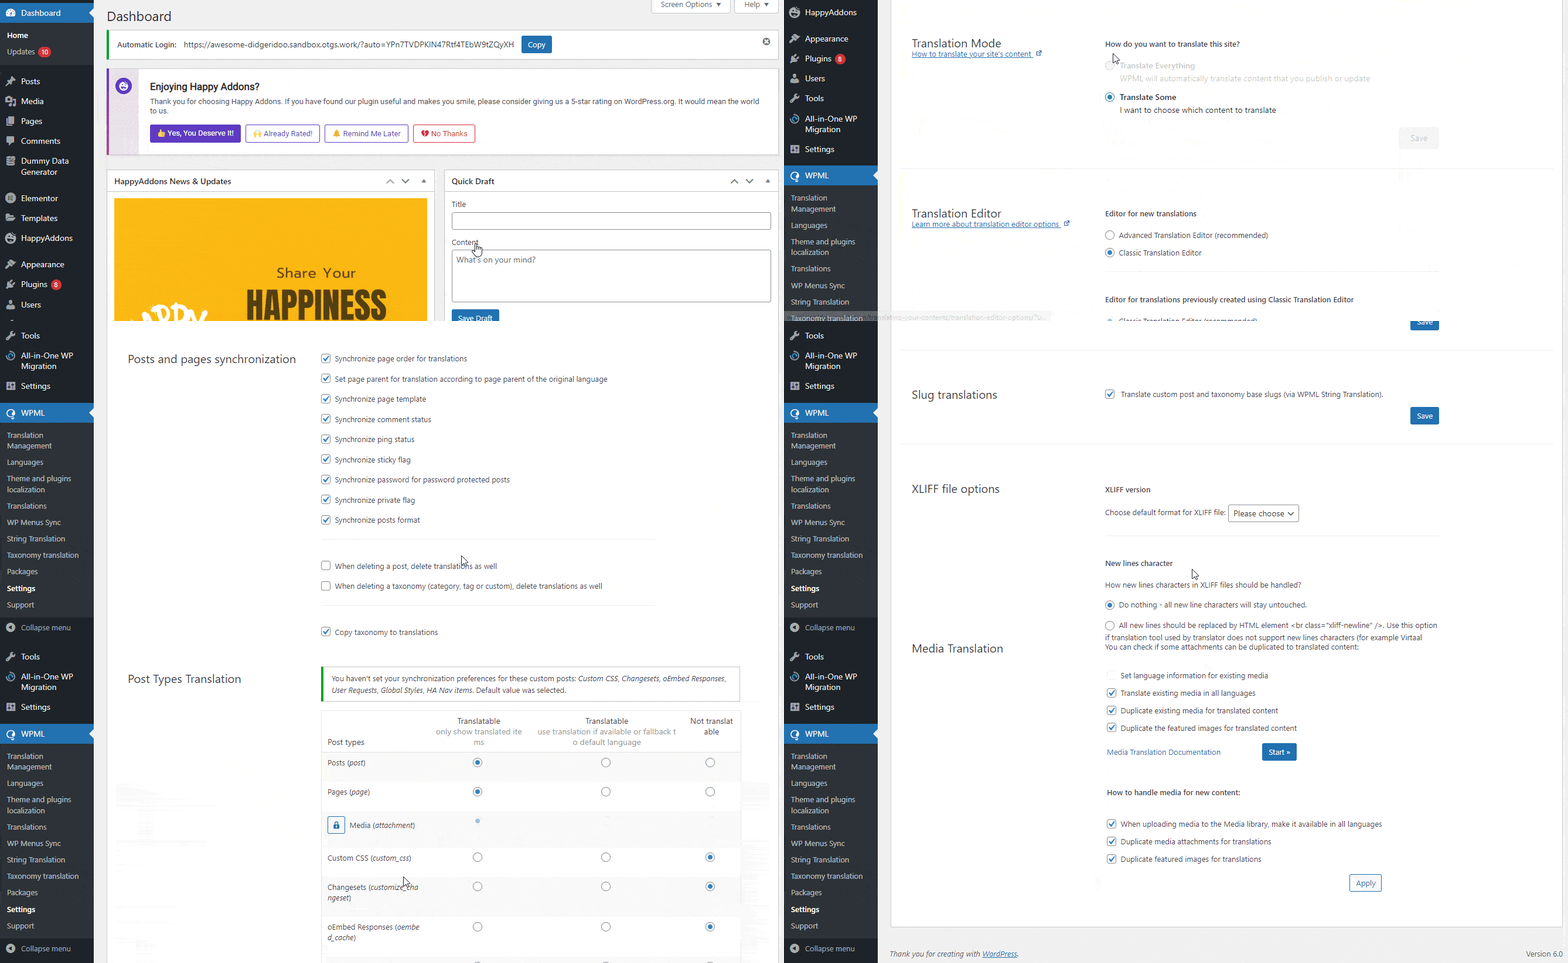
After finishing the WPML Setup, you need to define the necessary settings. Go to the WPML->Settings for managing the settings. You can follow the below image to set your WPML setting like us.
How To Add WPML Support For Elementor Pages Using Happy Addons
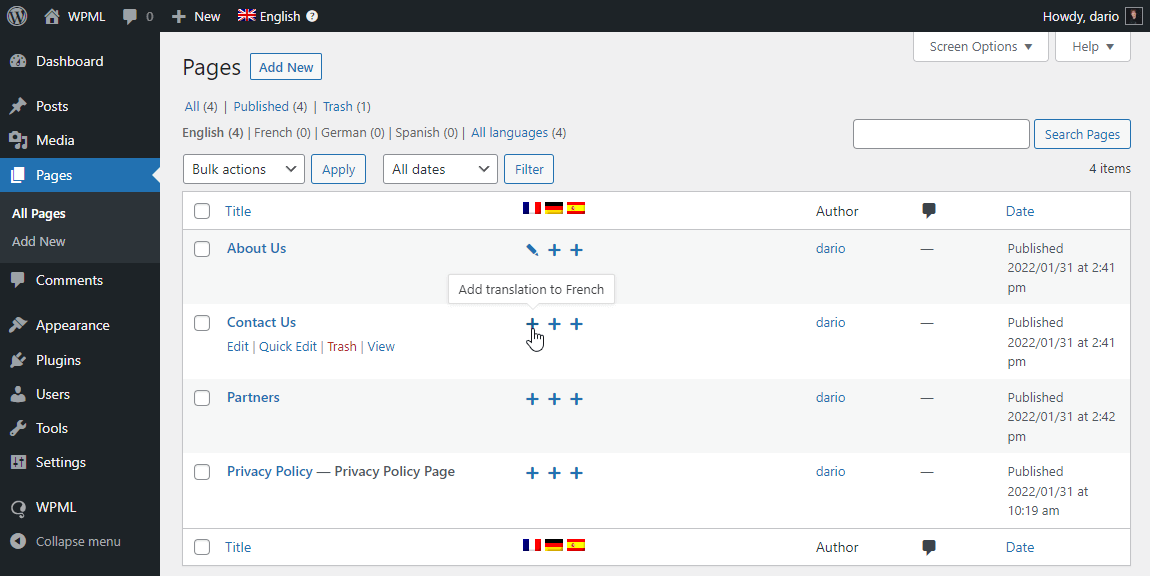
Go to the Pages->All Pages area for translating your desired pages.
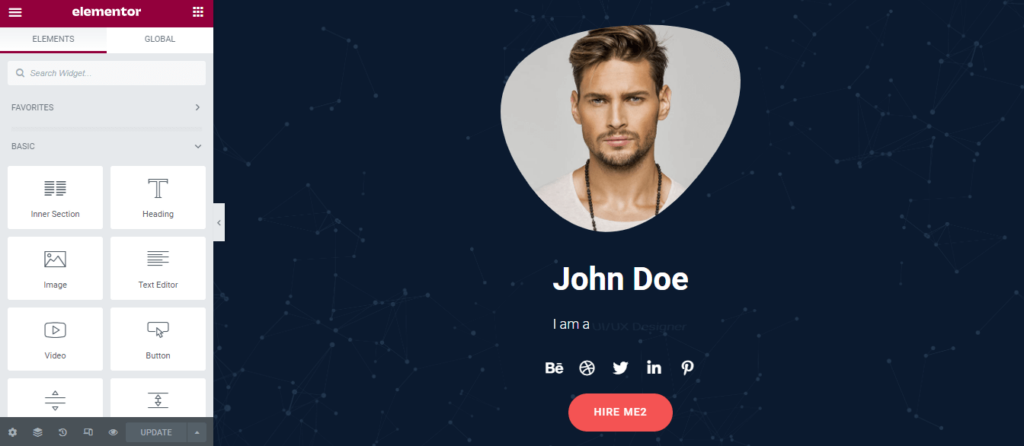
Then choose a page that you want to translate and click on the (+) icon to add the language.
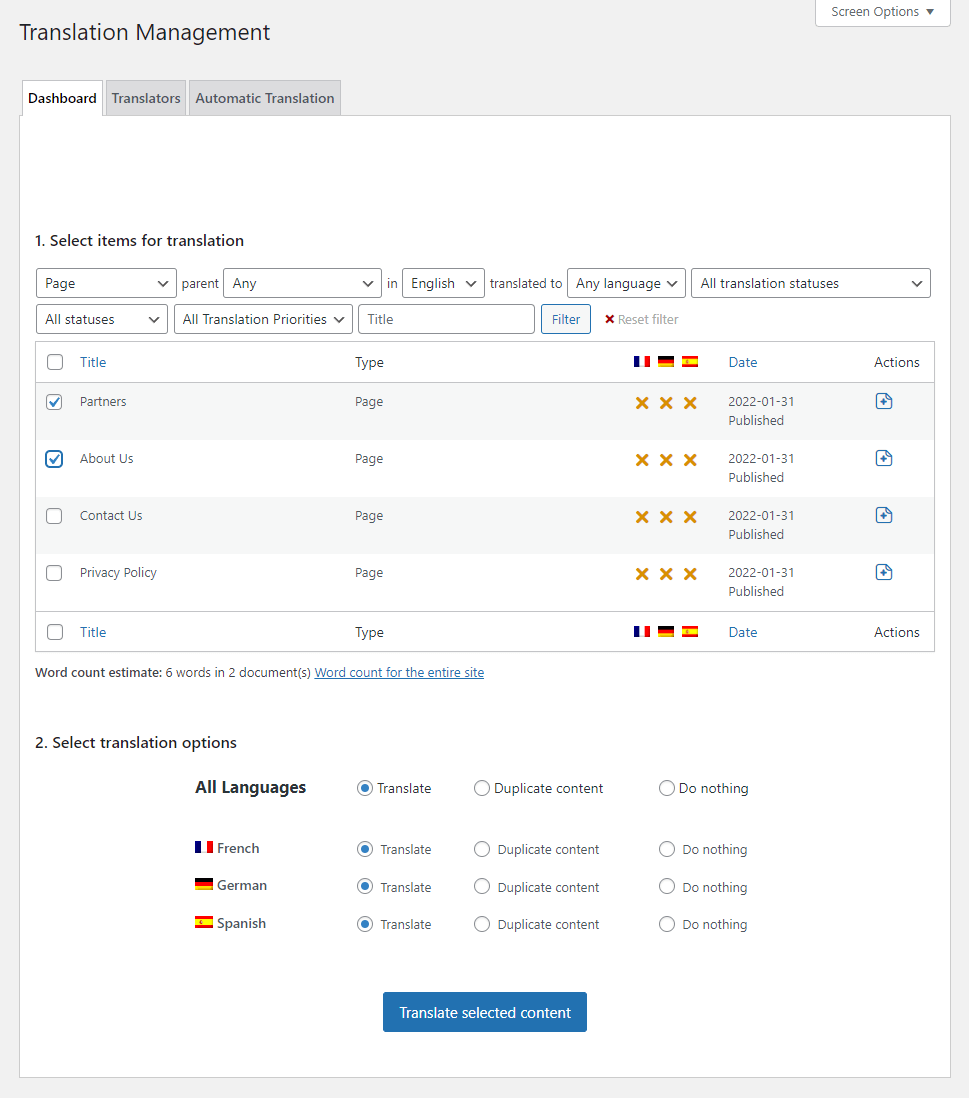
Or you can select multiple pages for translating and set translation language.
To active the translation, you need to edit the page. Then set the translation language of your page.
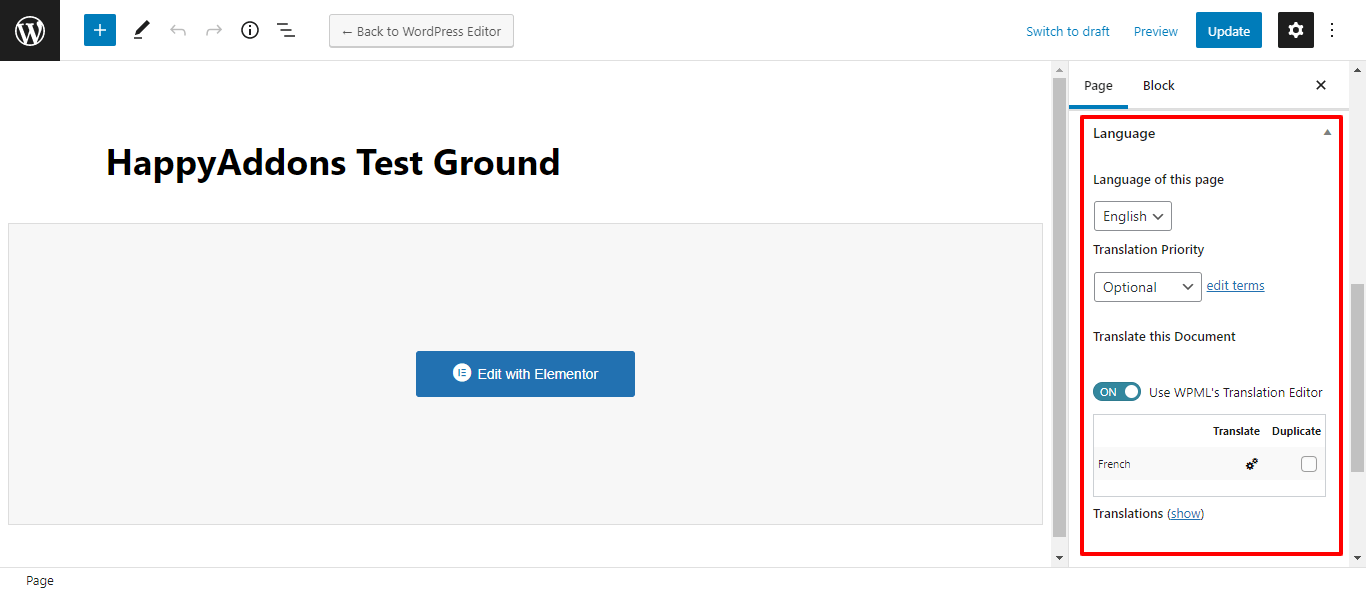
How To Translate Strings With WPML String Translation?
To translate your themes or plugins’ string text, you should go to the WPML->Theme & Plugins Localization area and define your theme and plugins name for translating the string.
Click on the Scan selected plugins for strings to scan the plugin’s strings. Wait for a while for counting the strings.
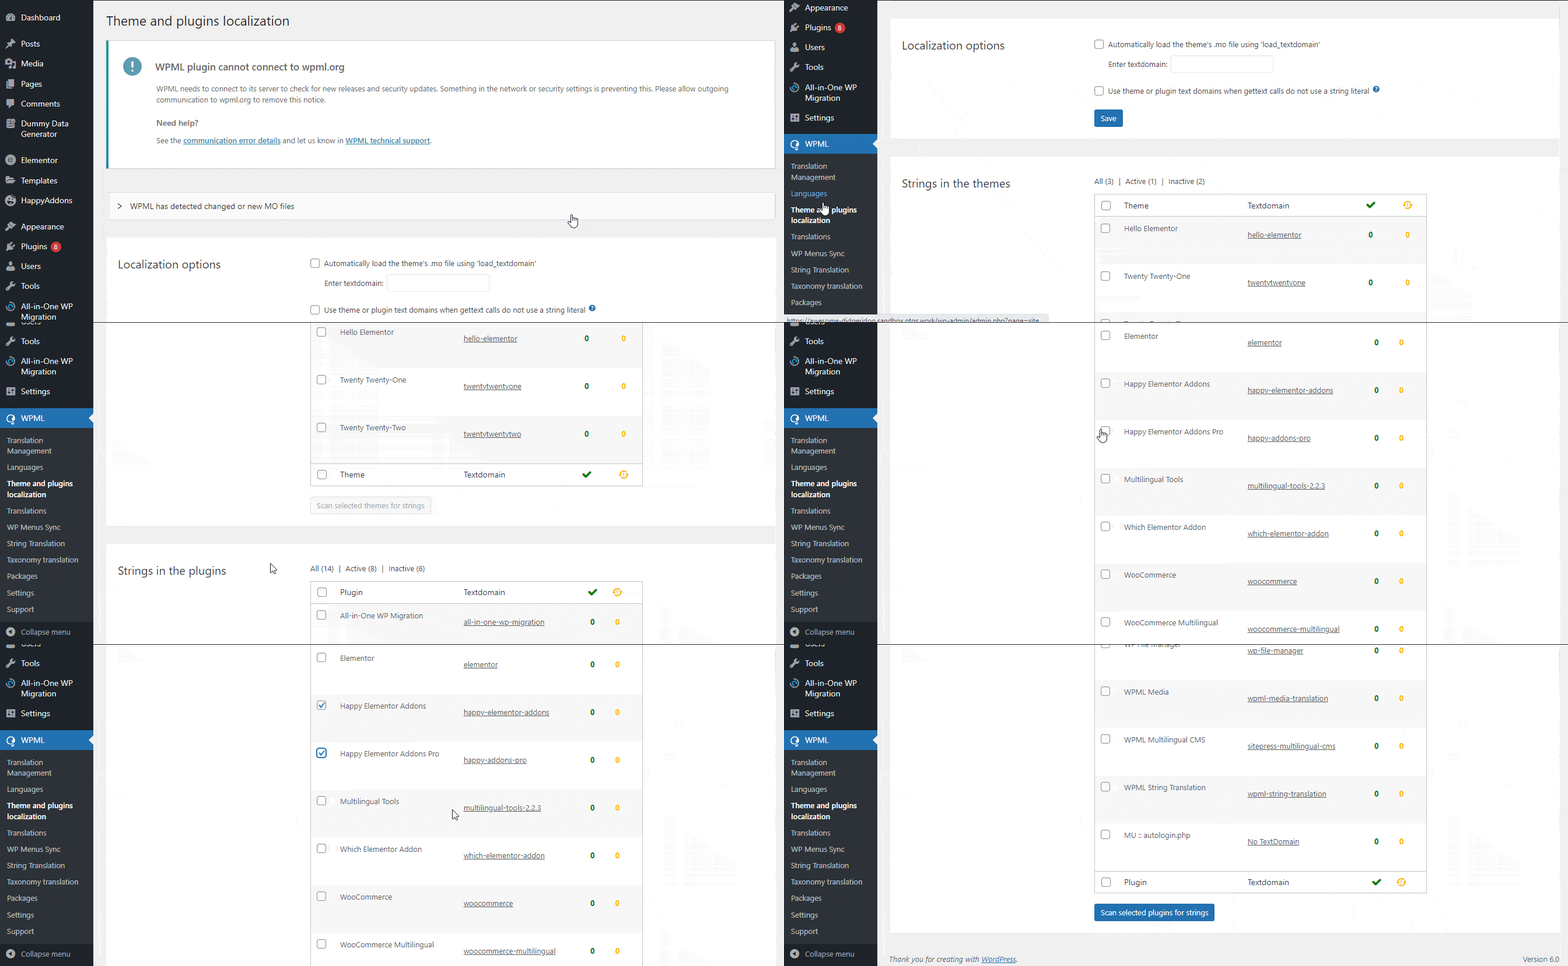
After scanning all the plugin strings, you need to go to WPML->String Translation here you’ll all the strings.
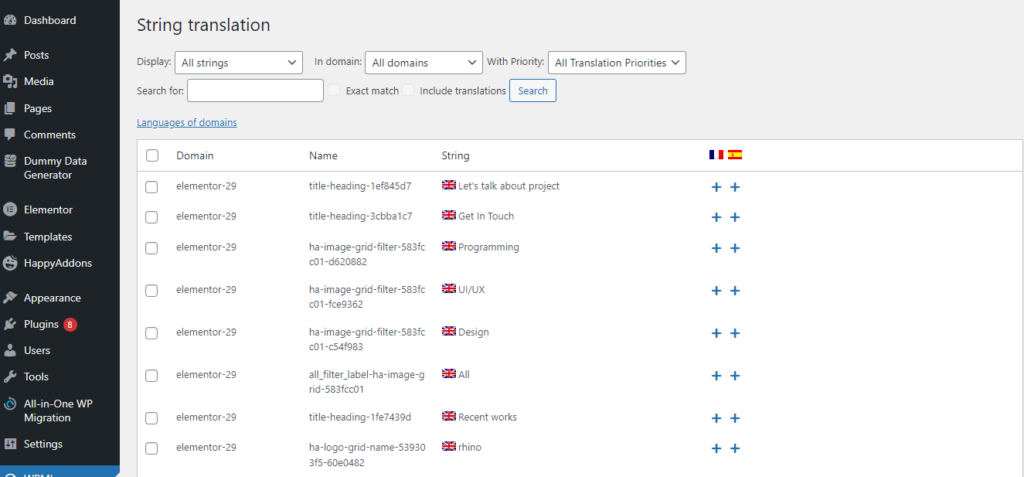
Click on the (+) icon to add the language.
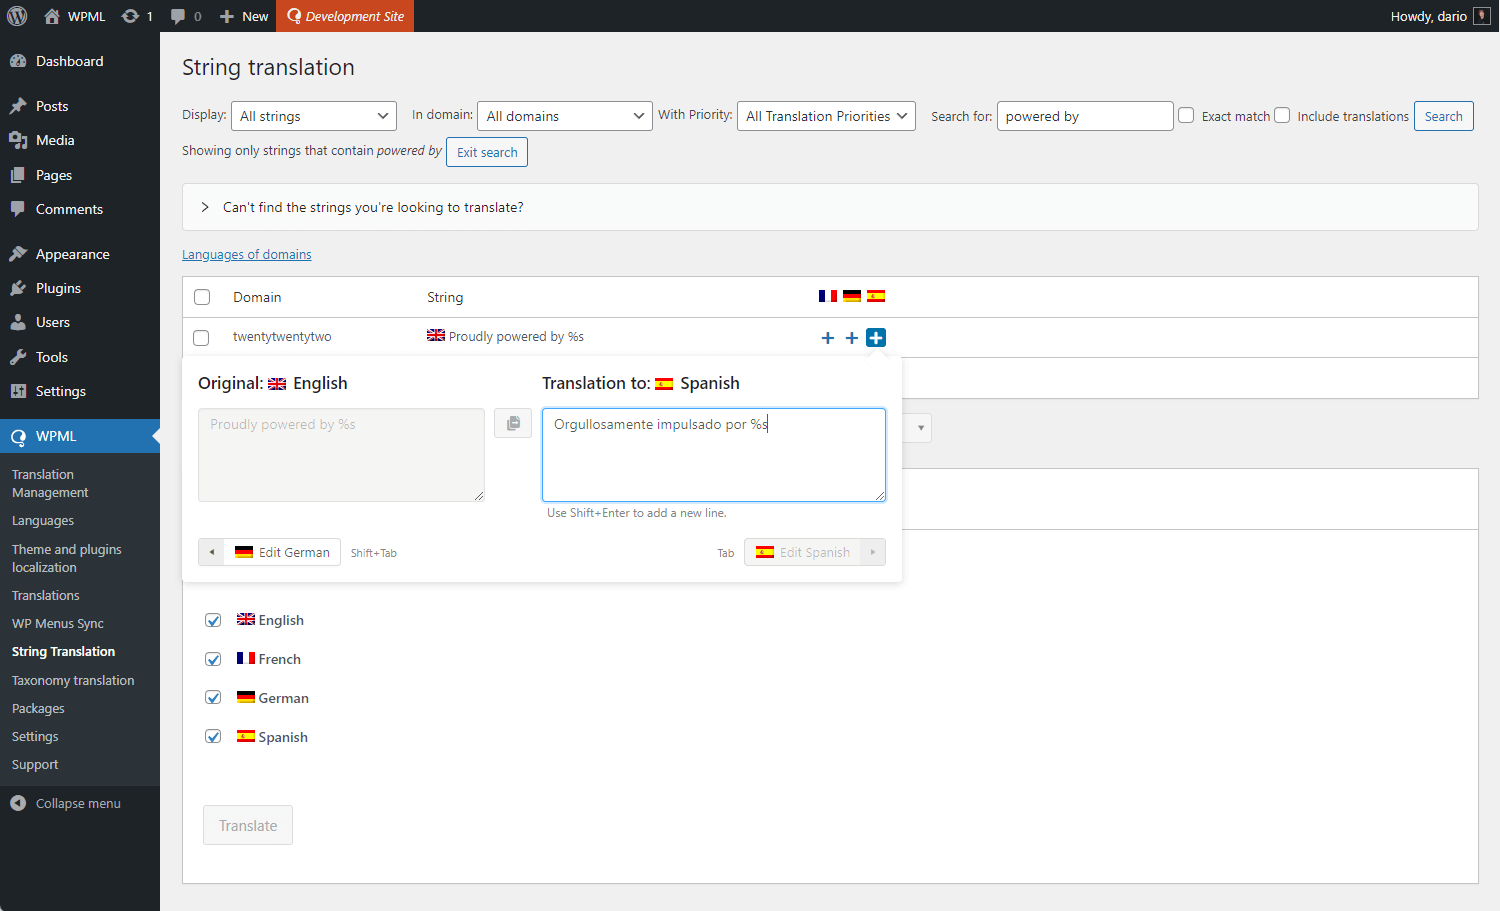
Now, you need to select the languages that will translate your website string text.
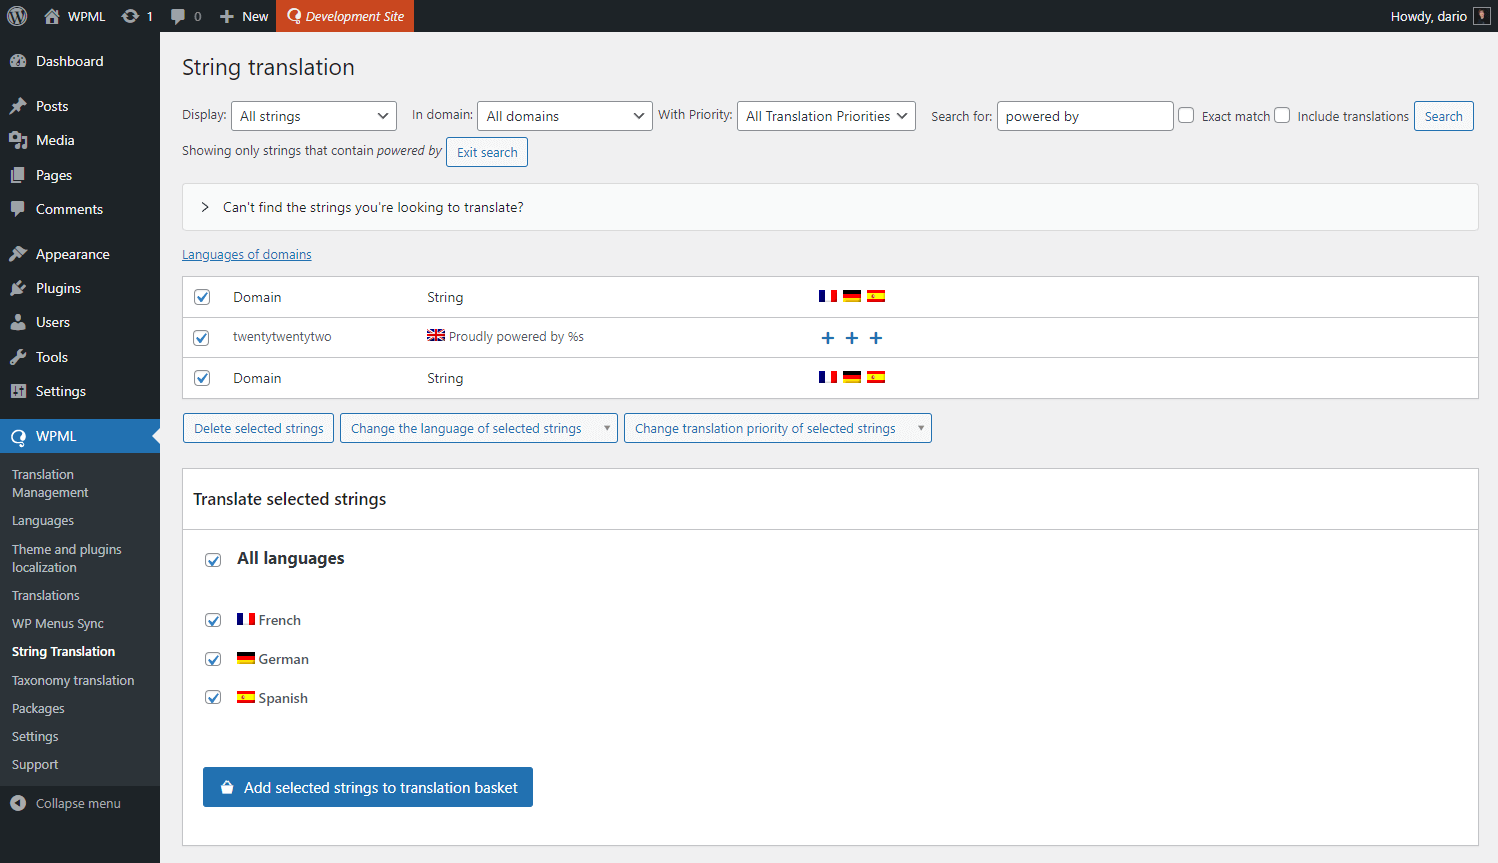
That’s it.
Translation Management
Visit the WPML->Translation Management section. Here, you can easily manage the translation languages of your website.
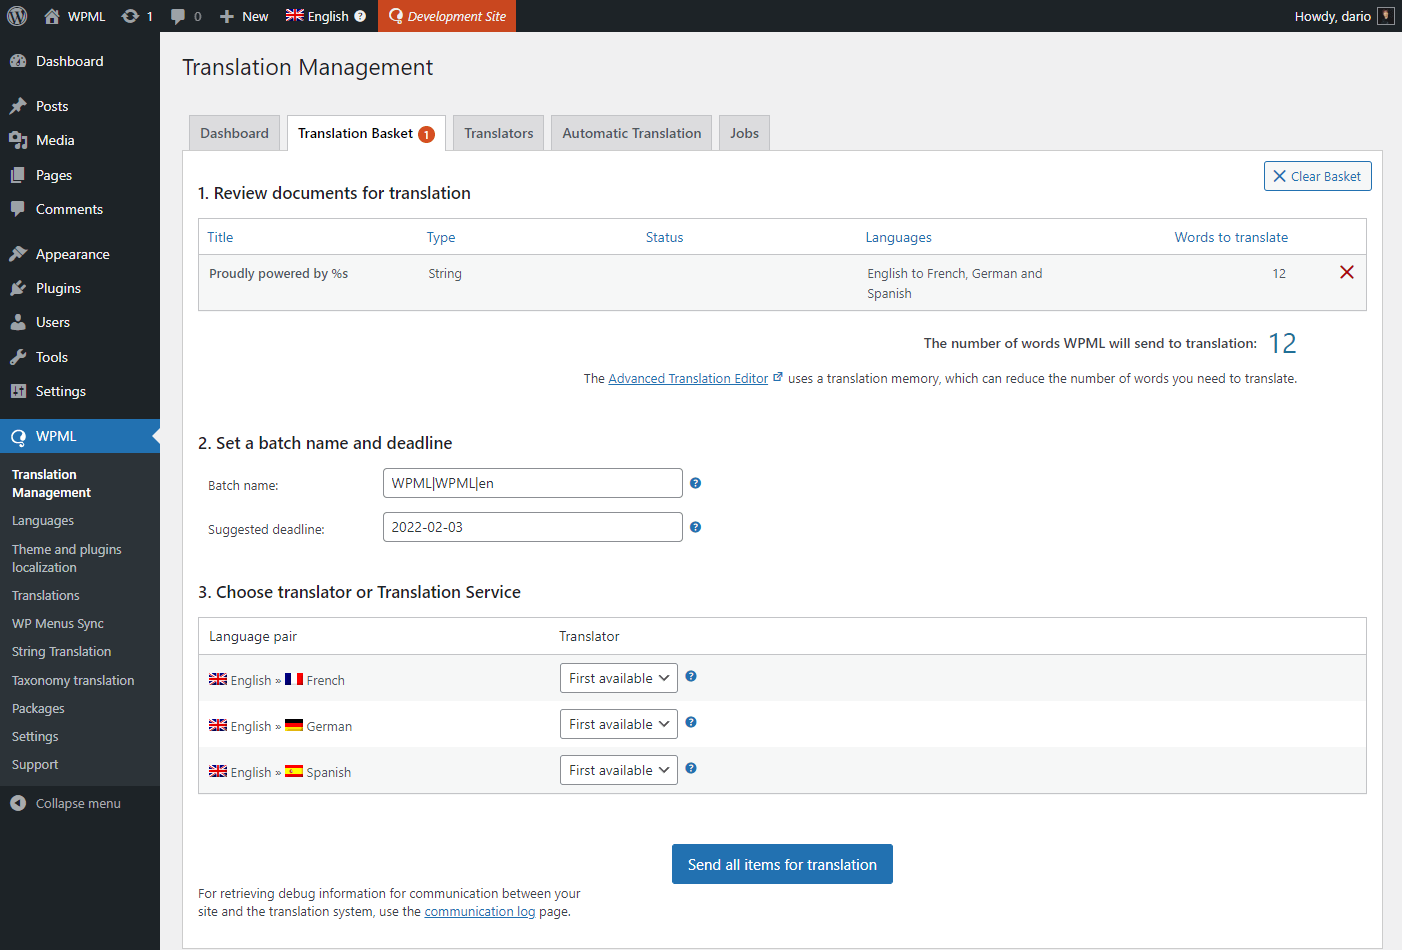
That’s all.
Final Outlook
Here is the final status of our newly translated webpage.
Check this video tutorial if you need it.
Here is a detailed guideline on how you make a multilingual website with the help of the WPML tool.
If you are looking for the official documentation please have look at it.
How to solve old pages that are not translating with WPML?
In this case, follow these steps,
- Go to the edit screen of the original page
- Do a small modification on the page content and save
- Check if the widgets are translatable now
This step is very important because it will recreate the translation job with the new configs.
Thanks.
