How to use the Remote Carousel widget of Happy Elementor Addons.
With the “Remote Carousel” widget, you can create an amazing carousel with the next/prev button. It will allow you to collaborate with other available carousels. For example, you have an image carousel. You can add the Remote Carousel to make it more functional. This is a Pro widget of happyAddons.
Note: You can have the Remote Carousel button when you have at least a carousel widget available on your site. To connect a Remote Carousel with other carousels, they both need to have the same Unique ID. Follow the below guidance for detail.
Pre-Requirements
In order to enable the Remote Carousel, you need to have,
- Elementor
- HappyAddons
- HappyAddons Pro
Remote Carousel Support:
Almost all the carousels (both free and pro) have the support of a Remote carousel. For your acknowledgment, we have enabled the Remote Carousel for the following carousel widgets:
- Image Carousel
- Team Carousel
- Testimonial Carousel
- Logo Carousel
- Twitter Feed Carousel
- Post Carousel
- Product Carousel
- Product Category Carousel
- EDD Product Carousel
- EDD Product Category Carousel
Now let’s go and create a new Remote Carousel. To create an amazing Remote Carousel section, follow these simple steps:
Step 1:
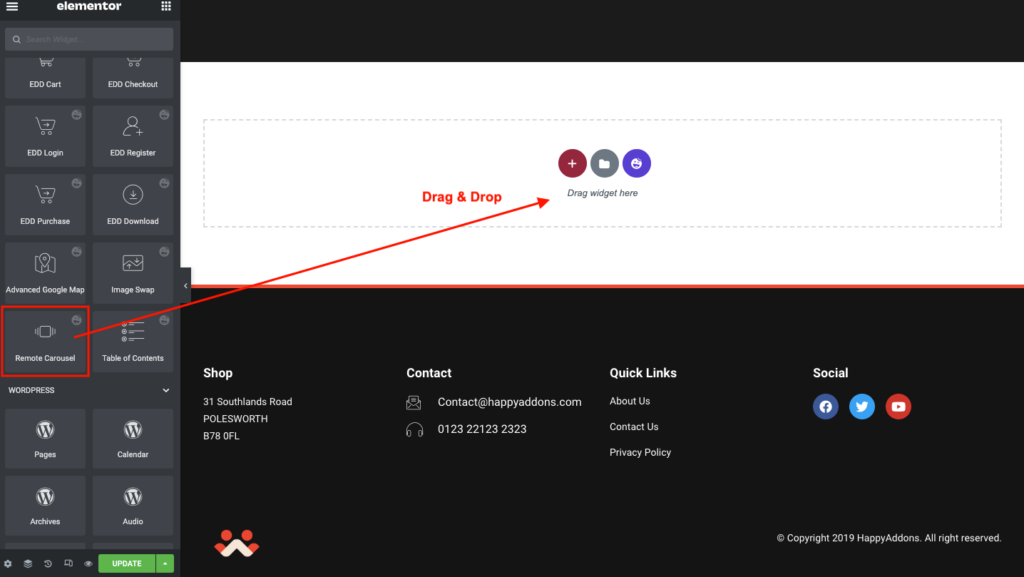
Drag and drop the Remote Carousel widget from the Elementor widget panel.
Step 2:
Now go to the content section of the widget and you will find the following options to edit.
You can change the button text, alignment, Icon, and Icon spacing. One of the amazing features is you can set the image as the button thumbnail.
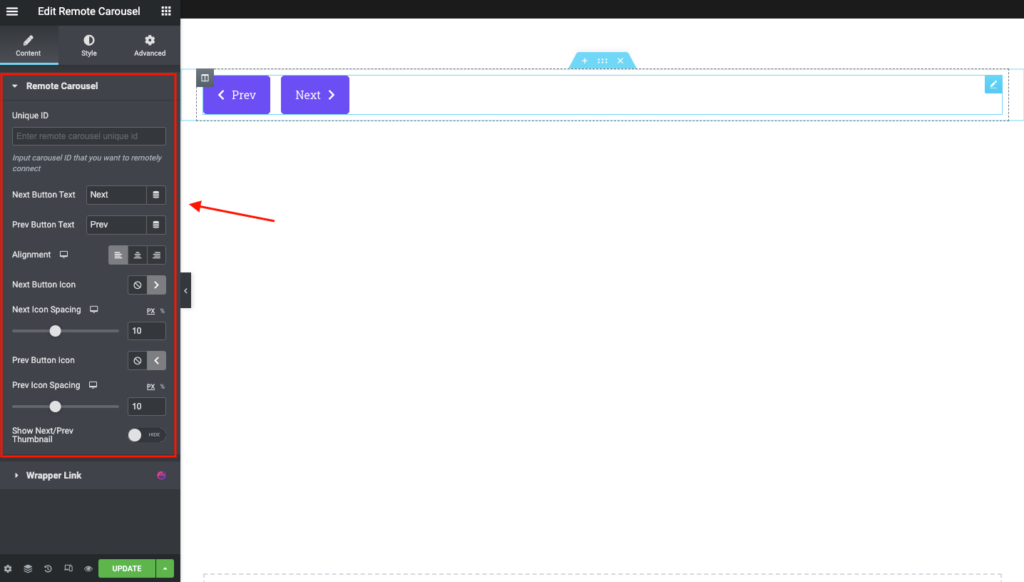
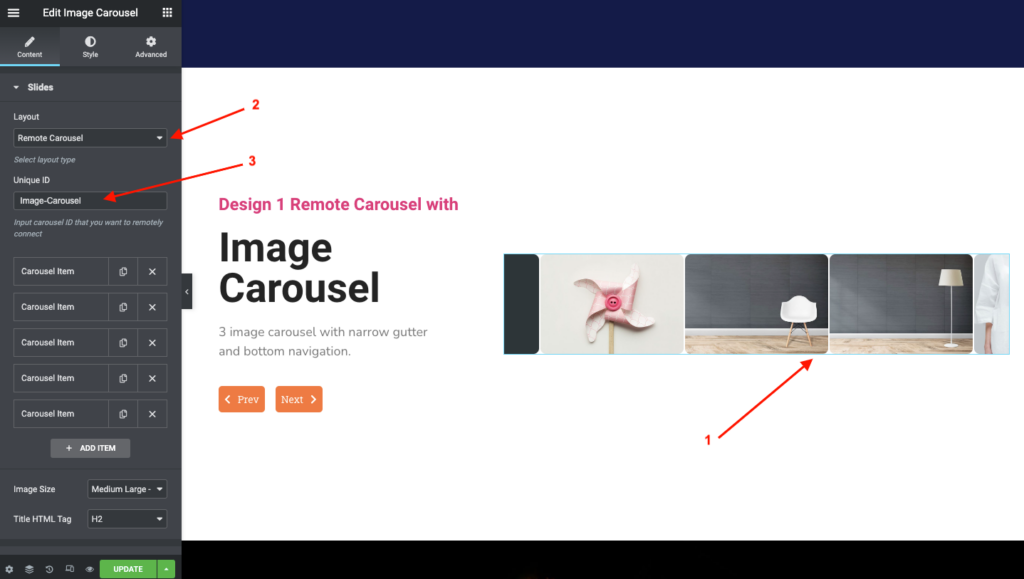
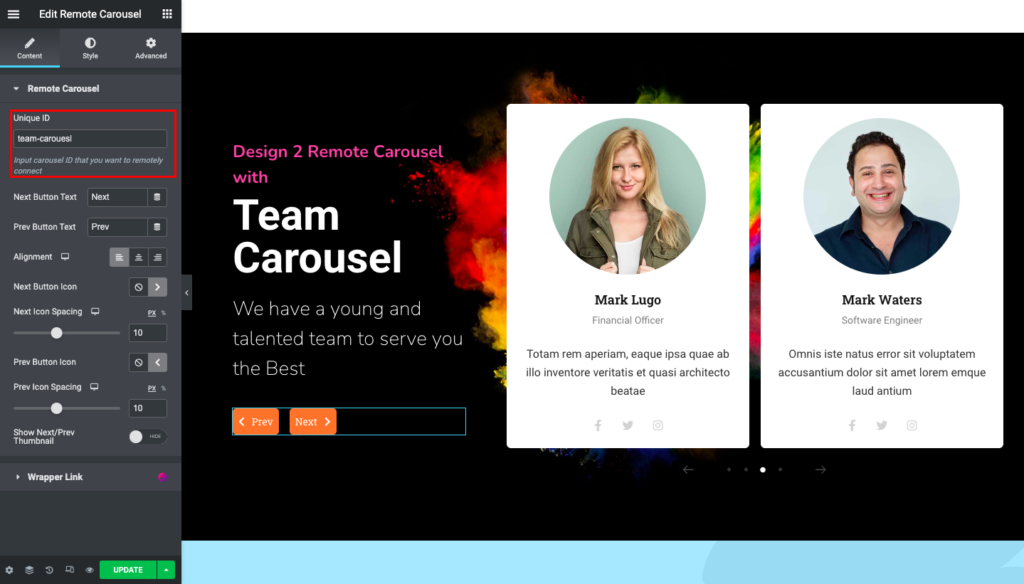
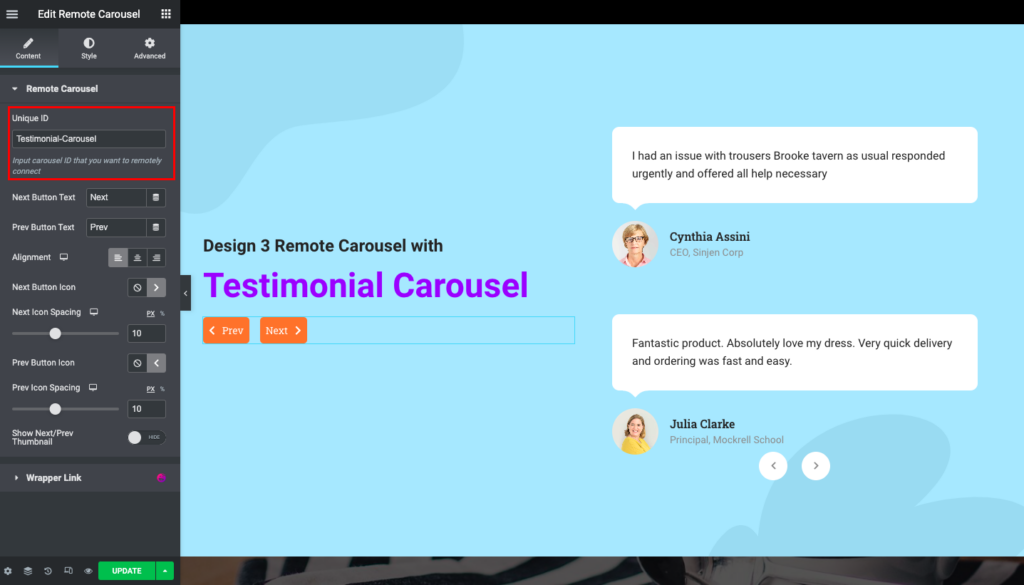
Among all of the options, the most important option is a Unique ID. With this Unique ID, you will be connected to the desired carousel. Such as, you want to connect the Remote Carousel with our Image Carousel. In this case, both the Remote Carousel and Image Carousel Unique ID have to be the same.
Step 3:
Now you need a carousel. Look at the image below:
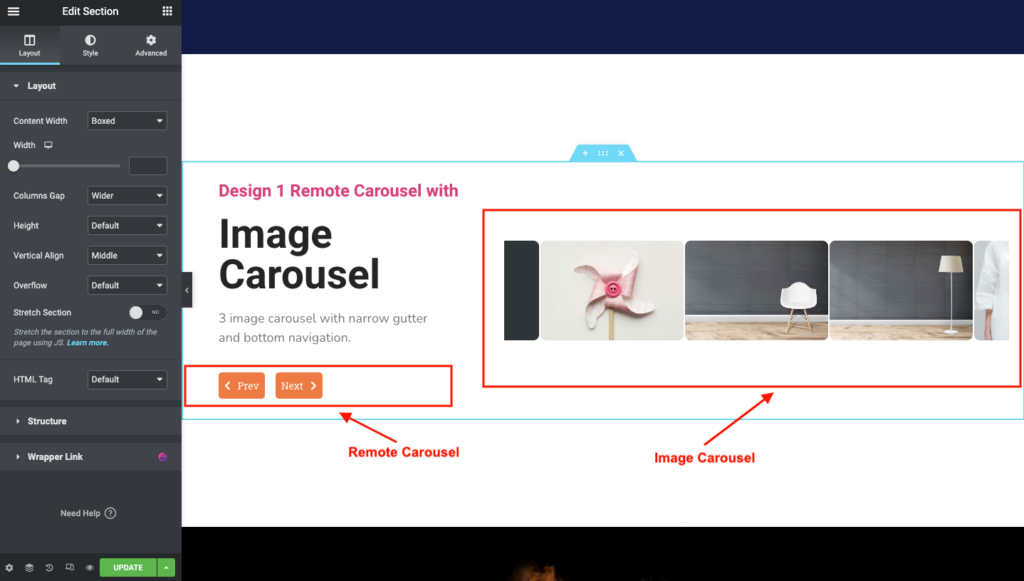
I am using the Image Carousel widget here with the Remote Carousel. I have taken the 2-column Elementor section. You can see from the picture that on the right side, there is an Image Carousel. On the left, there is the header, text editor, and none other than our Remote Carouse.
You can use the remote carousel anywhere on the page/section.
Step 4:
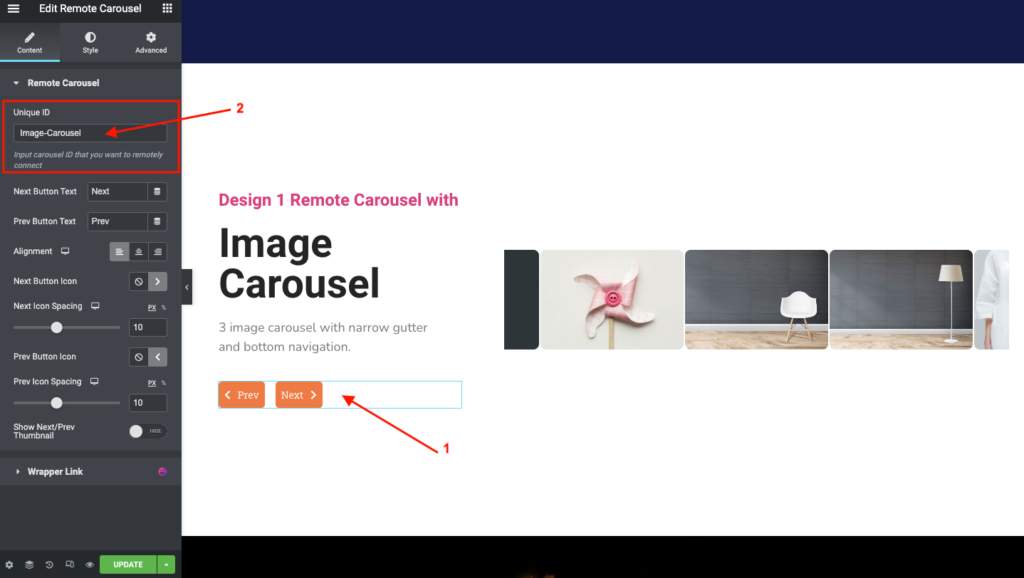
This is the most important part of the configuration. Navigate to Remote Carousel Editor. Add a Unique ID. Make sure that the id wasn’t used anywhere else.
For Example,
I need the Remote Carousel with the Image Carousel. So I have added the Unique ID as “Image-Carousel”.
Step 5:
Navigate to the Image Carousel Editor. Select the Carousel type as Remote Carousel.
Now add the same Unique ID that you have added for the Remote Carousel in Step 4.
For my case, I have added “Image-Carousel” as the Unique ID.
That’s it. You are all done. You have successfully connected the Remote Carousel to your Image Carousel.
Styling the Remote Carousel:
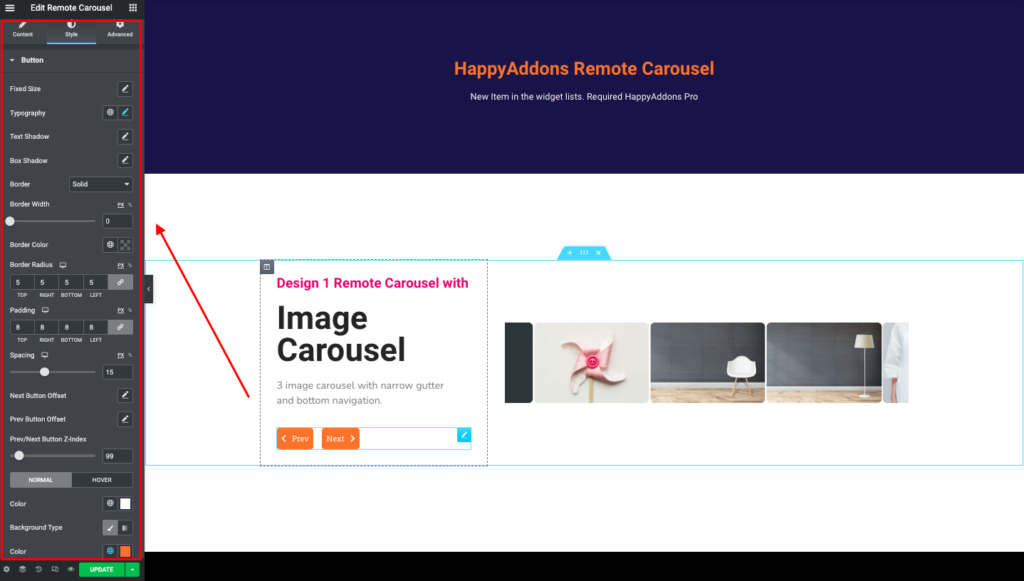
You can style your Remote Carousel button as same as other Elementor widget style editing. You can change the size of the button, Typography, Text shadow, Box Shadow, Border & Radius.
You can control the padding of the button, Spacing between the next & previous buttons, Button Offset, Z-Index, etc.
Besides, you can change the color of the button text, background color, etc.
As per the above guidelines, you can create the rest of the other carousels with Remote Carousel.
Examples:
- Team Carousel with Remote Carousel.
- Testimonial Carousel with Remote Carousel.
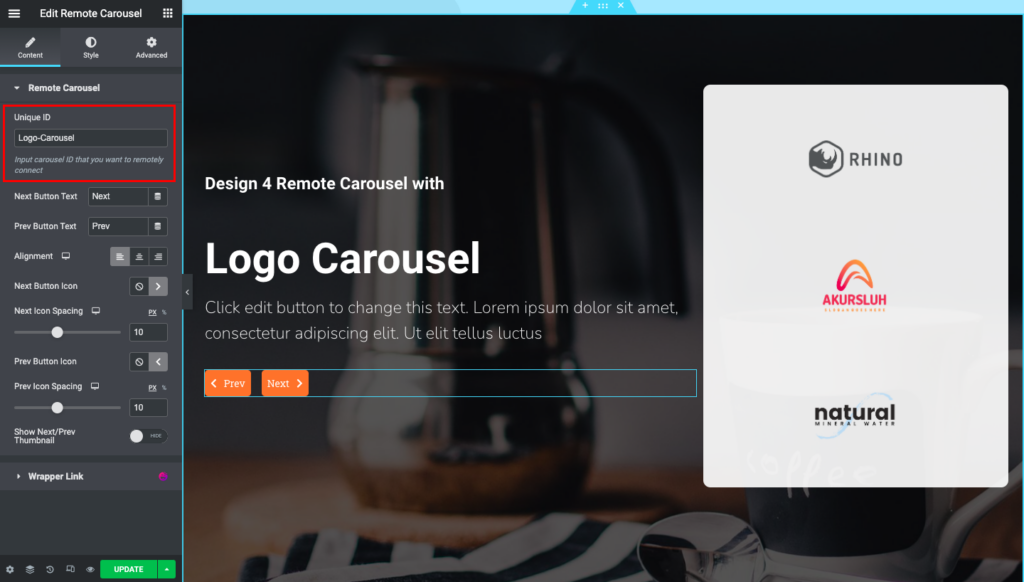
- Logo Carousel with Remote Carousel.
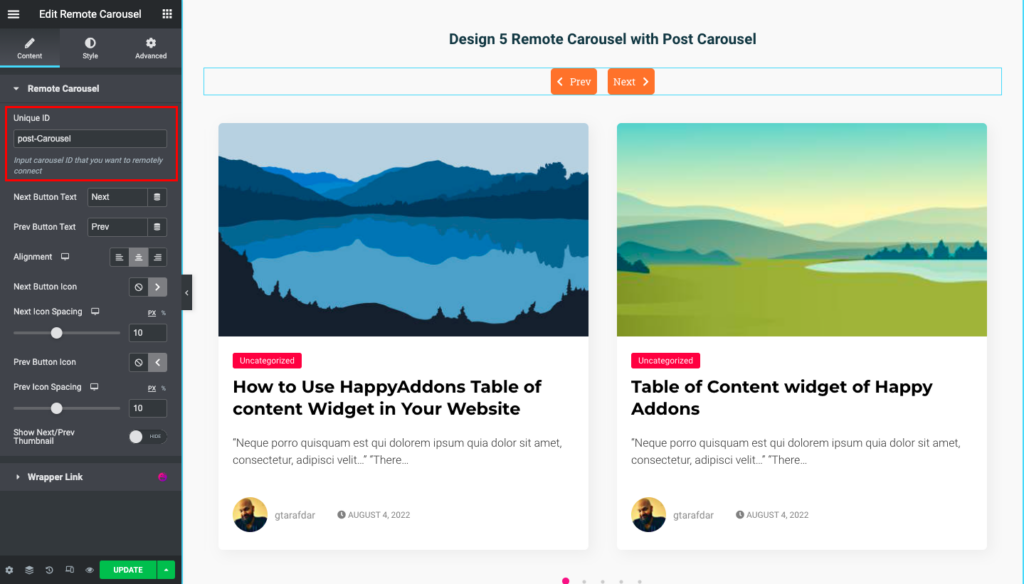
- Post Carousel with Remote Carousel.
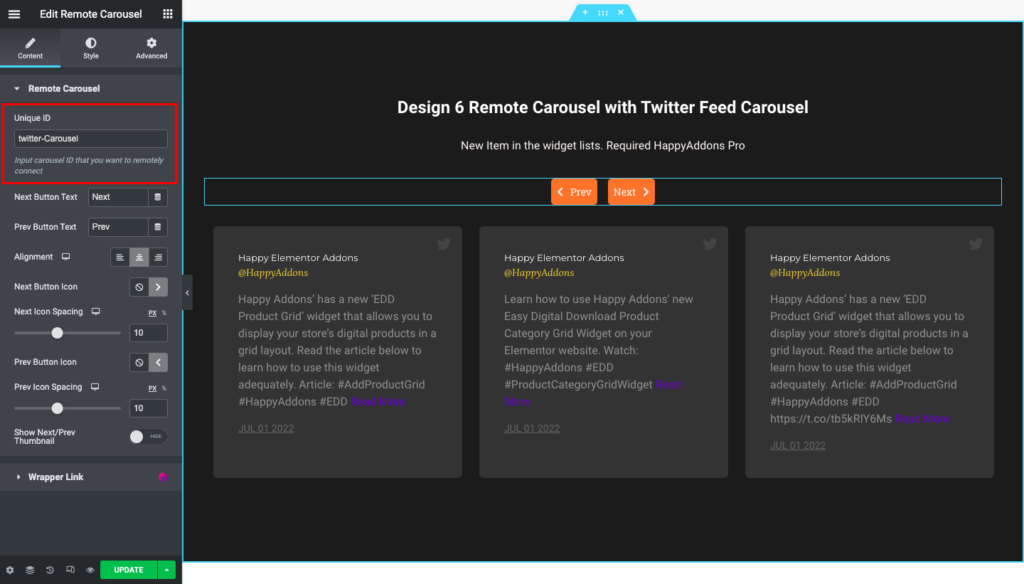
- Twitter Feed Carousel with Remote Carousel.
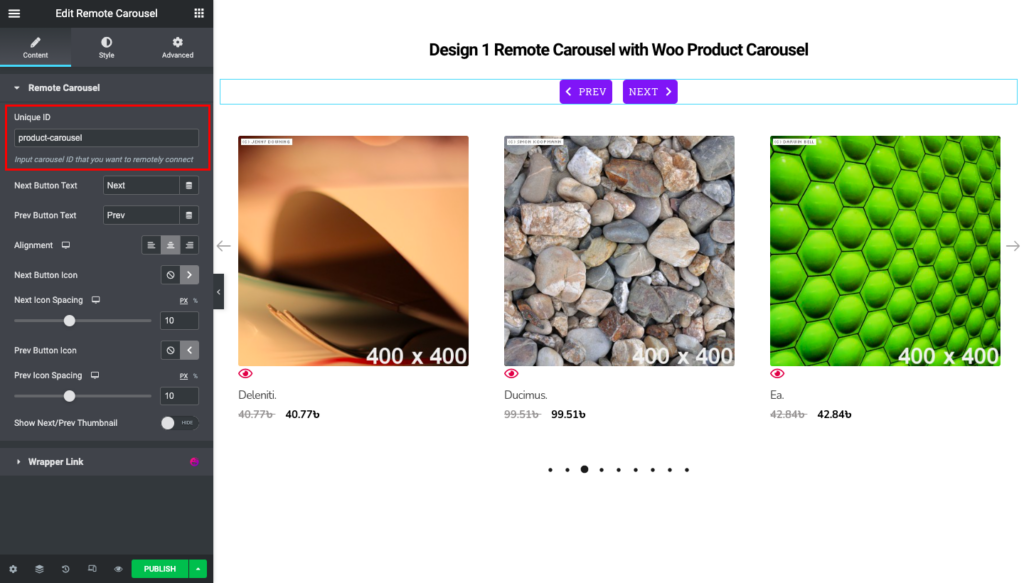
- WooCommerce Product Carousel with Remote Carousel.
- WooCommerce Product Category Carousel with Remote Carousel.
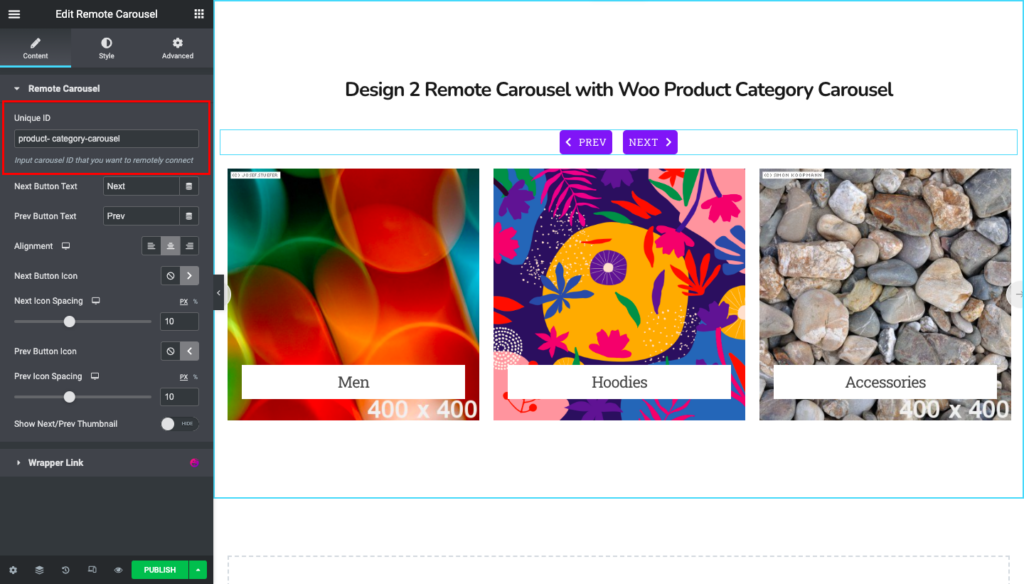
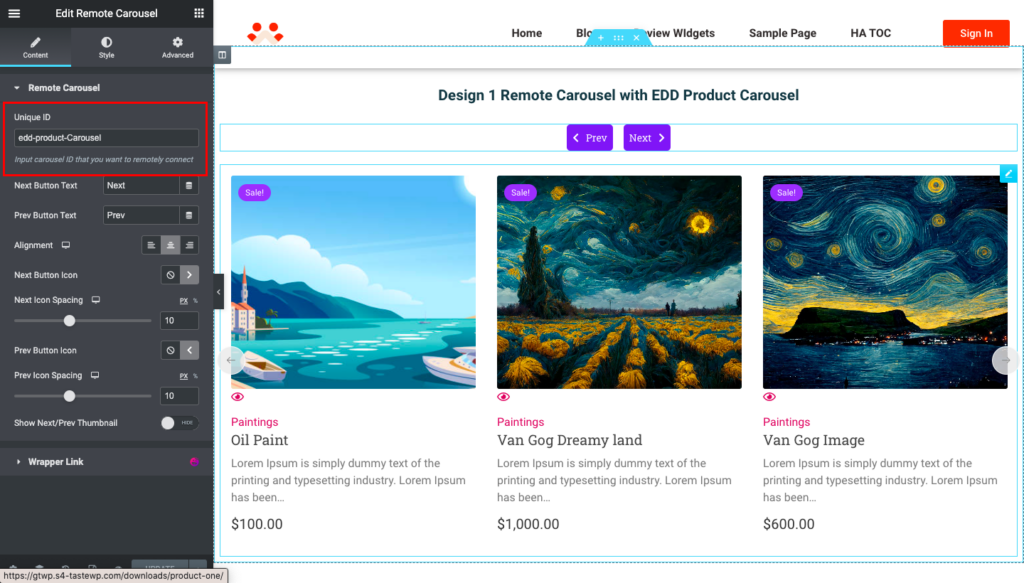
- EDD Product Carousel with Remote Carousel.
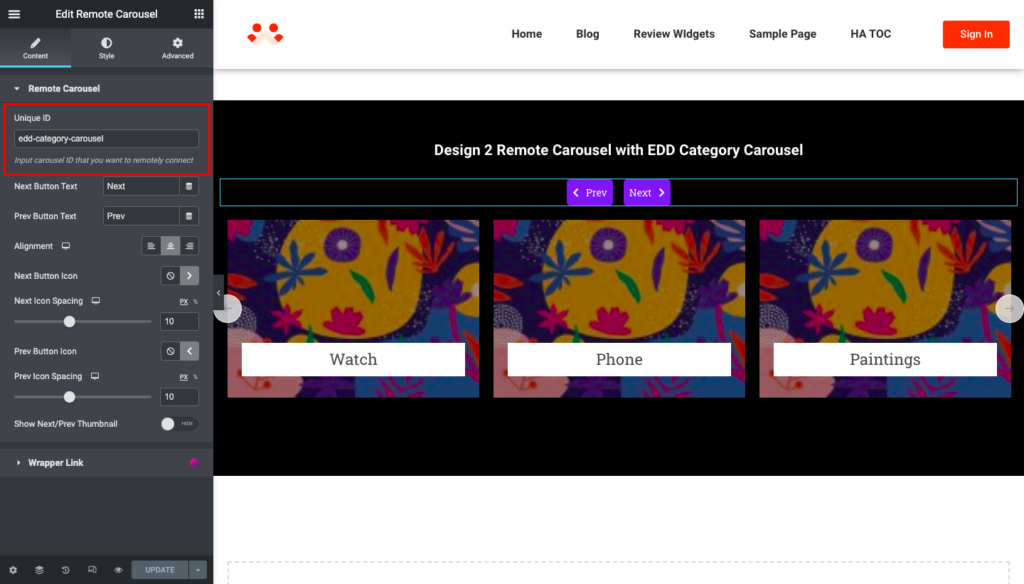
- EDD Product Category Carousel with Remote Carousel.
That’s all. You are now using our Remote Carousel perfectly.
