Using the Post tiles widget of Happy Addons Pro, you can easily feature your most interesting blog posts in a stylish way.
You just need to follow the basic instructions step by step and you will be up and running in no time.
Using Post Tiles Widget
Step One:
To start the process, first of all, you need to select the widget from the left sidebar of the screen. And then drag it to the design canvas.
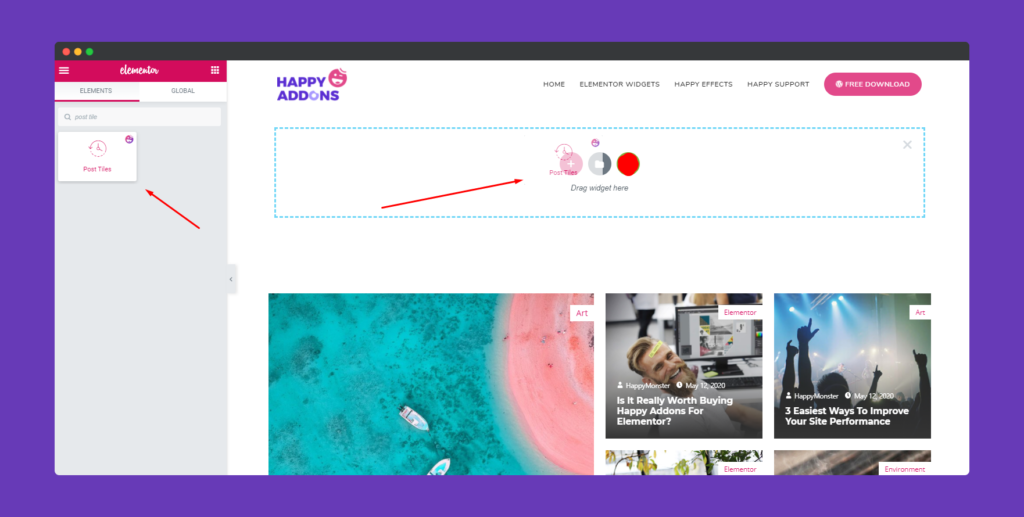
So after adding the widget, you’ll see that all your website’s posts will appear here under any one of the post templates.
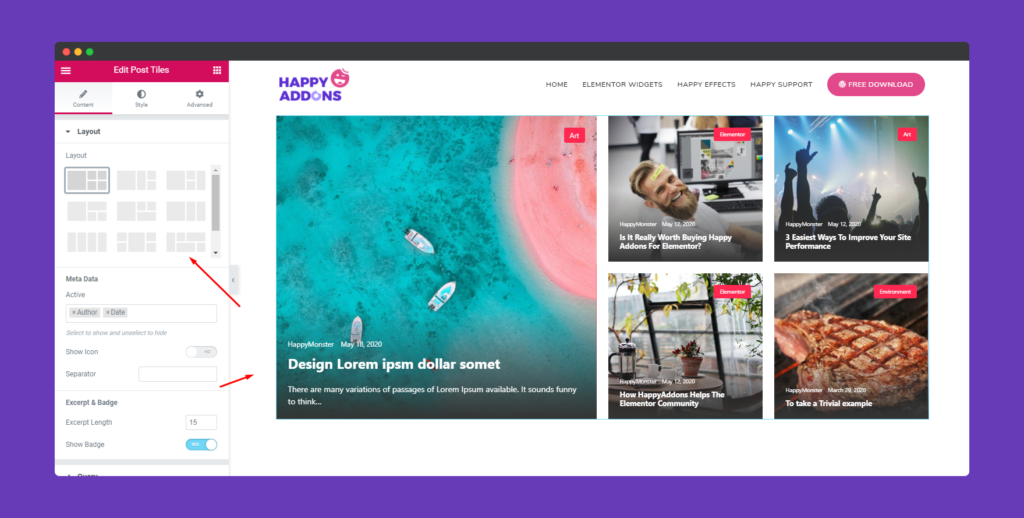
Step Two:
Next, you’ll get three options in the content section. Layout, Query, and Wrapper Link.
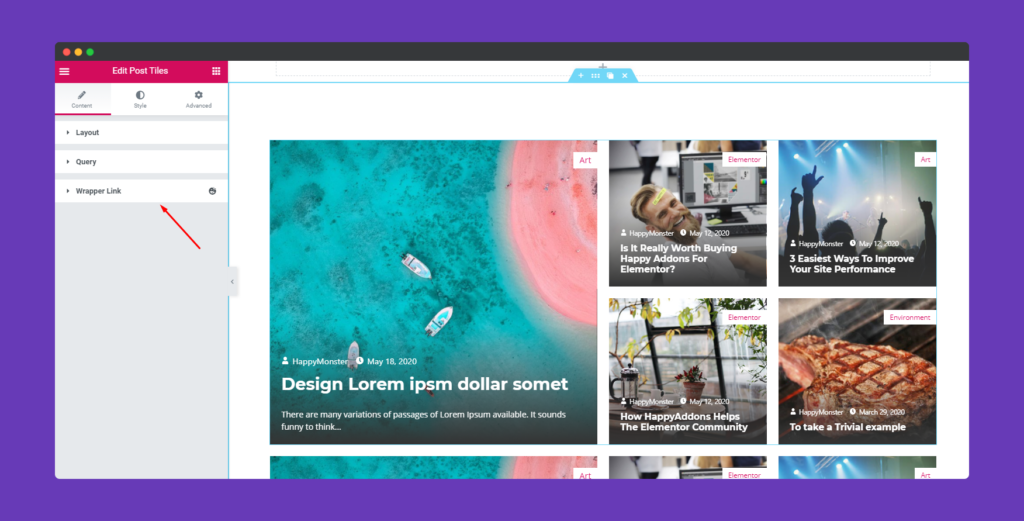
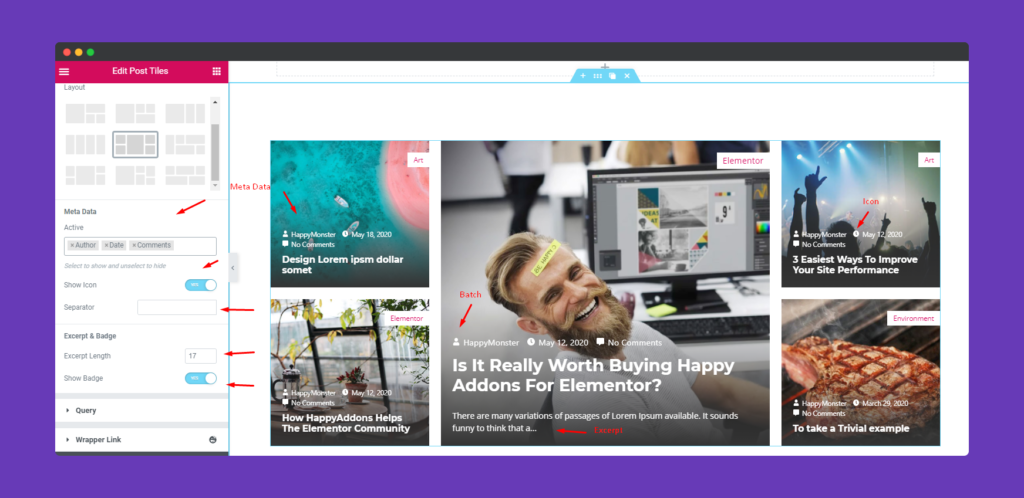
Now click on the layout option. Here you can change the layout according to your own way. So experiment with different layouts to give the best look to showcase your posts.
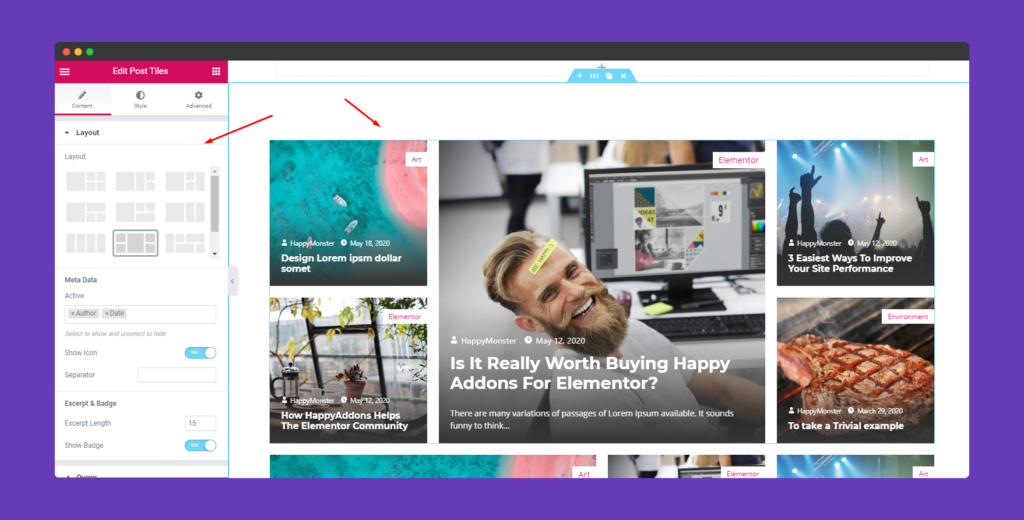
Under the layout option, you can customize certain things. For example, Meta data, Icon, Batch, Excerpt etc.
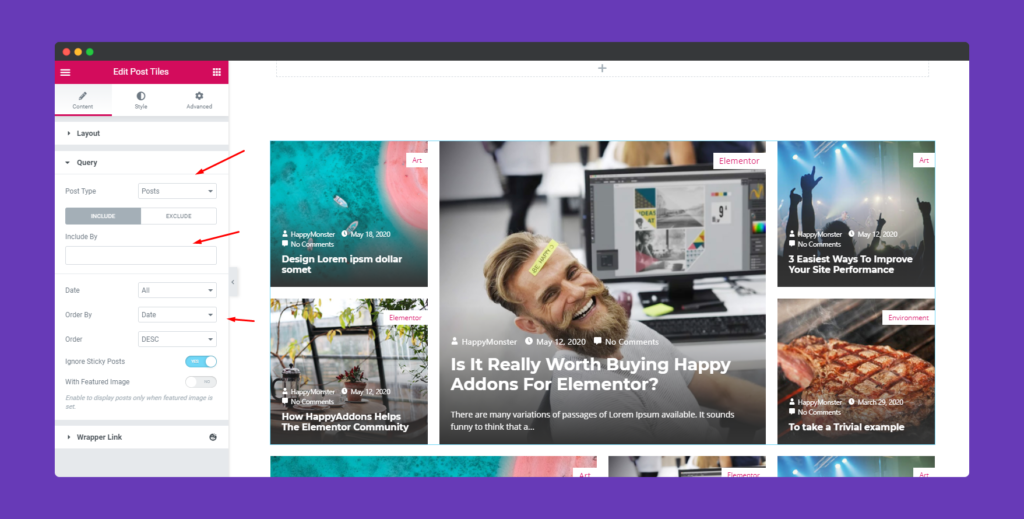
Next, tap on the query. Here you can also do certain things to apply on your post. Such as you can Include or exclude posts, pages or other manual sections.
Categorize the post according to the dates, orders, and also enable featured & sticky posts.
Step Three:
Well, enough with the structure, now it’s time to stylize the widget. So let’s see how to apply different things within a quick time.
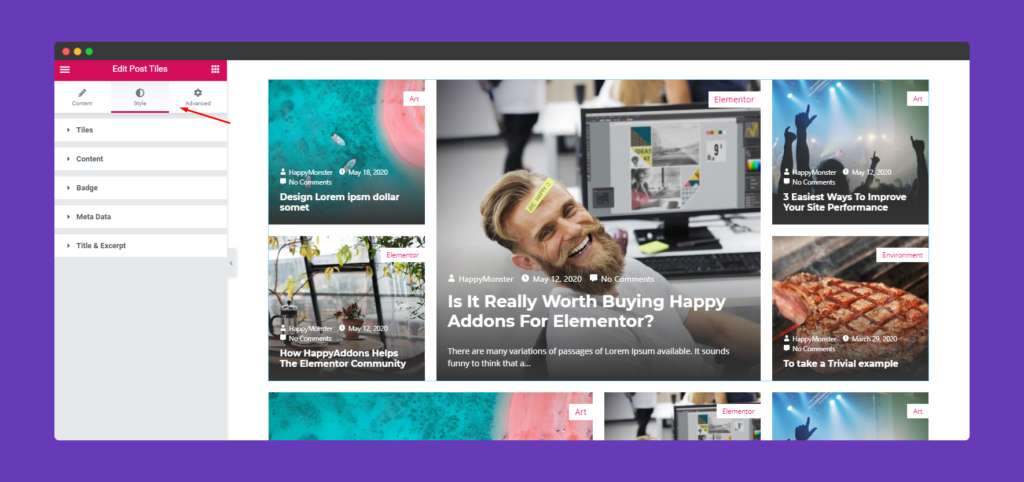
To do that click on the style section. Here you’ll get five options to customize. And they are:- Tiles, Content, Badge, Meta Data, and Title & Excerpt.
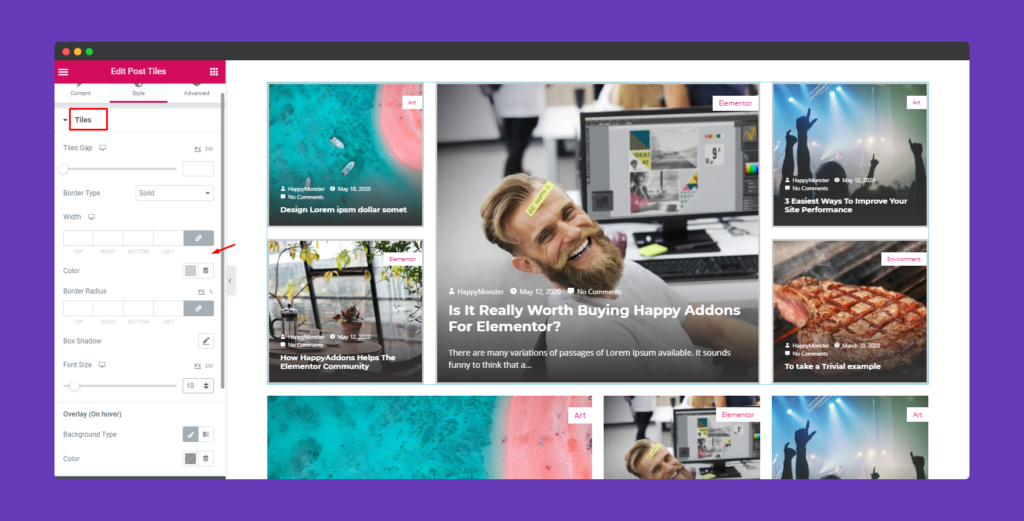
So the first thing option that you’ll see is Tiles. Here you can customize the structure of the design. For example, Tiles gap, Border Type, Width, Border color, Border radius, Box-shadow, Background type & color, etc.
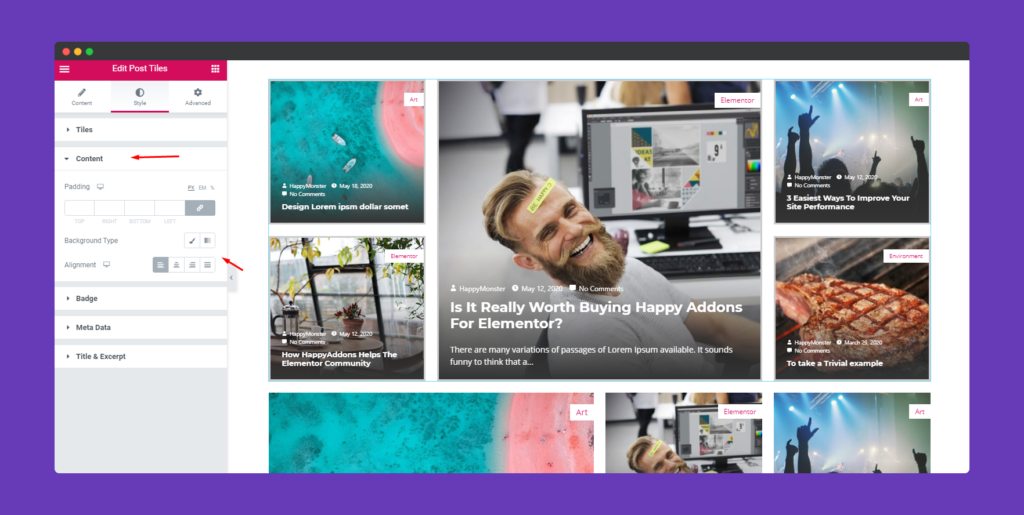
Next, tap on the content option. Here you can customize content in the design such as its padding, margin, background type, and alignment, etc.
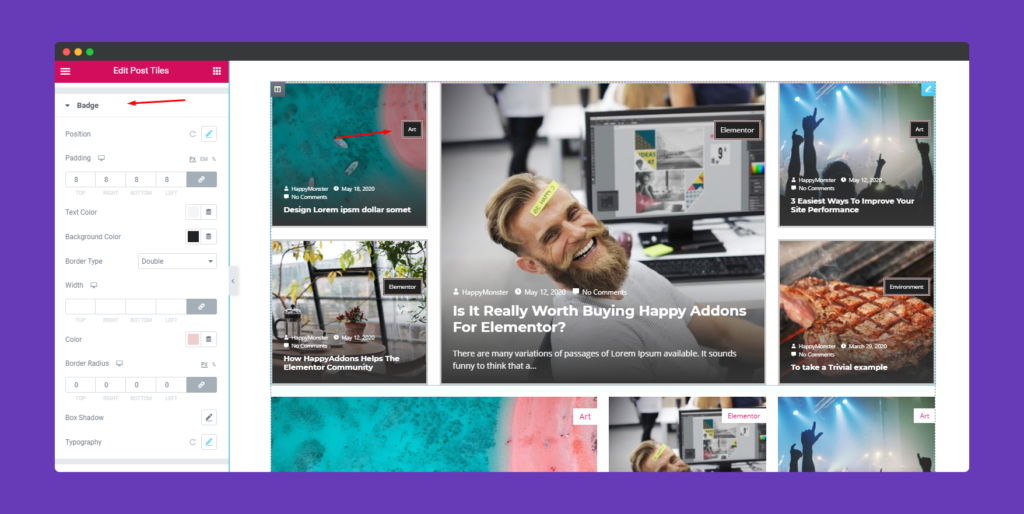
To customize content badge, tap on it and the options will appear. As you can see we have out some value on it. Change its position, padding, Border, Border type, Border color, Width, Radius and Typography.
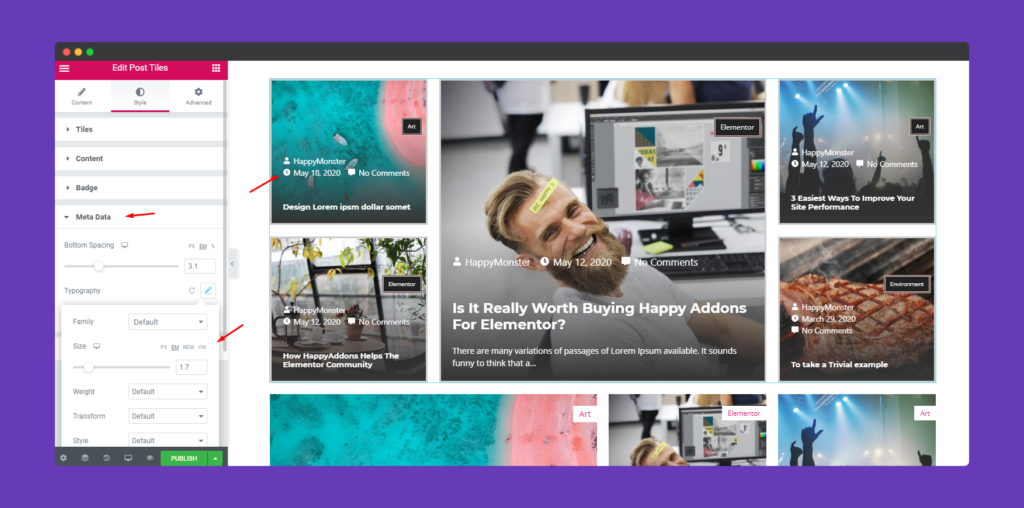
In the Meta Data option, you can customize and edit its spacing, color, and typography.
Last we have Title & Excerpt to customize. Same way you can also customize certain things such as bottom spacing, typography, text-shadow, text-color, color, Excerpt, & Typography.
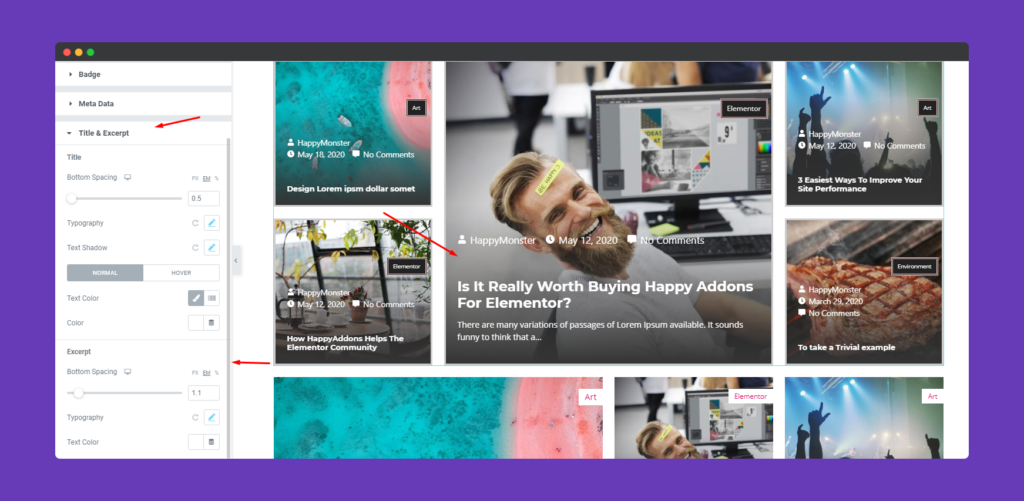
Note: Title & Excerpt will only apply on the feature image. So this feature will not be applicable to other images.
Step Four:
If you want to add motion effects, happy effects, background or make it responsive and more intriguing, click on ‘Advanced‘ to explore those options. the ‘Advanced‘ is a default feature of Elementor. Give a read to this Document to know more about Advanced features and its uses.
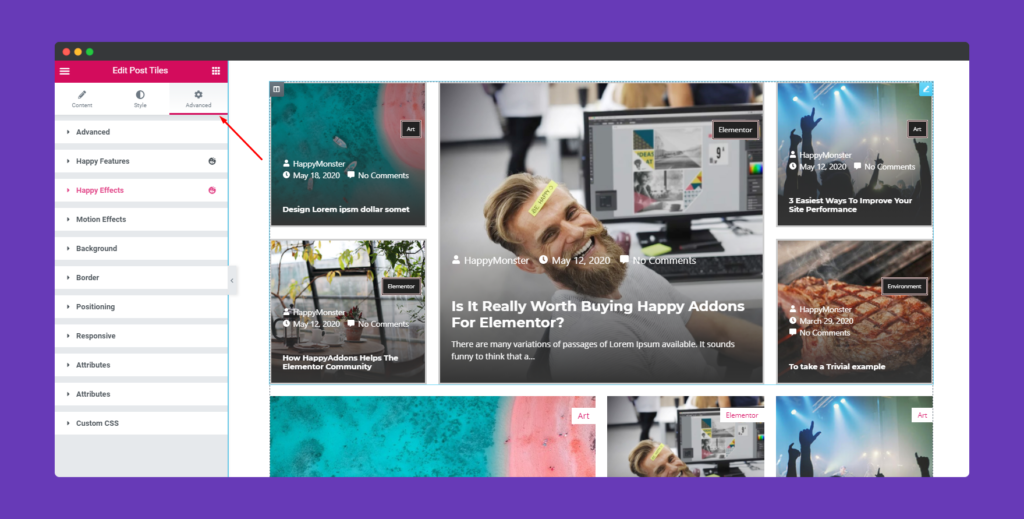
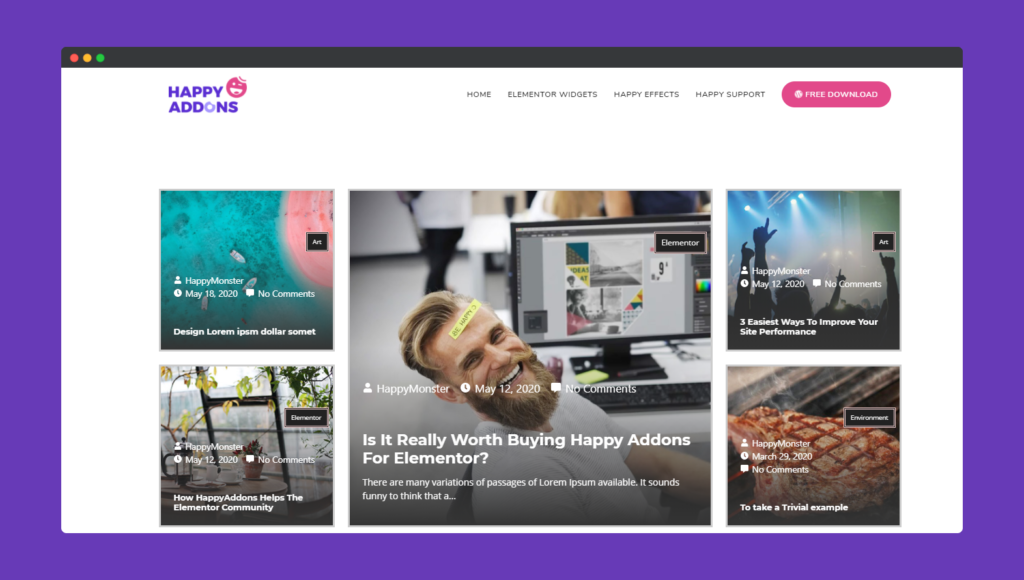
So after finalizing the design, you can publish it. Here’s how the final look will be.
Update in v2.6.1 – 18 October 2022
Advance Post Queries & Query ID integration with this Post Tile Widgets is now available in this version of v2.6.1.
Go to your function PHP file. Then add this below code.
function custom_query_callback( $args ) {
	// Modify the posts query here
	return $args;
}
add_filter( "happyaddons/tiles-post/{$query_id}", "custom_query_callback", 10, 1 );
// Filter Posts by the Posts' order in a Smart Post List Widget.
function my_query_by_post_order( $args ) {
	$args['order'] = "DESC";
	return $args;
}
add_filter( "happyaddons/tiles-post/{$query_id}", "my_query_by_post_order", 10, 1 );
That’s it!
