Happy Addons Facebook Feed widget lets you display your Facebook posts in an amazing way. So, from now on you can personalize your Facebook feed any way you like and also make it appealing to your audience with this new pro widget.
Let’s see how to set up.
Generate Facebook Page Id & Access Token
First and foremost, to display your Facebook feeds you need to acquire your page id and access token. So, at first, you need to create your Facebook page.
Next, log in to your Facebook account go to the Facebook Developers Account. There you need to create an App. So click on the My App button.

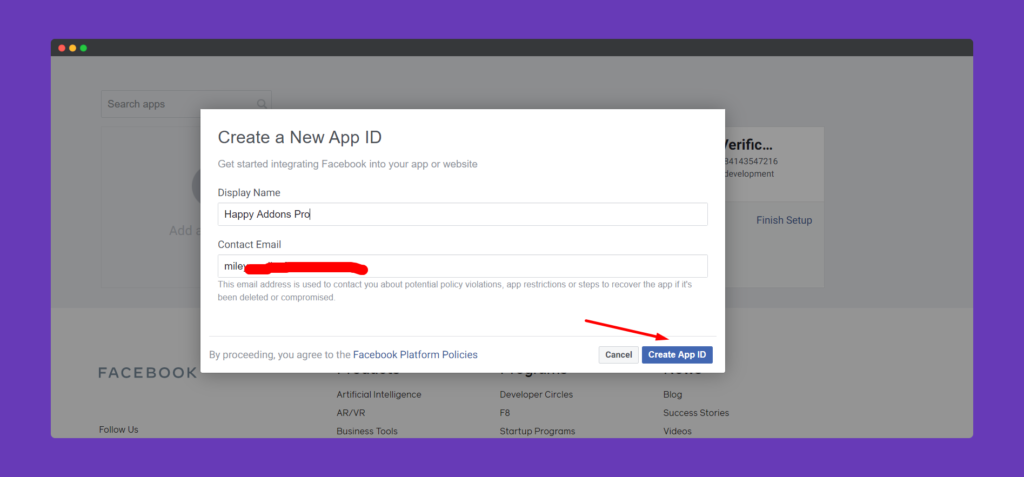
Add your app display name, and your contact email. Hit Create App ID to finish.
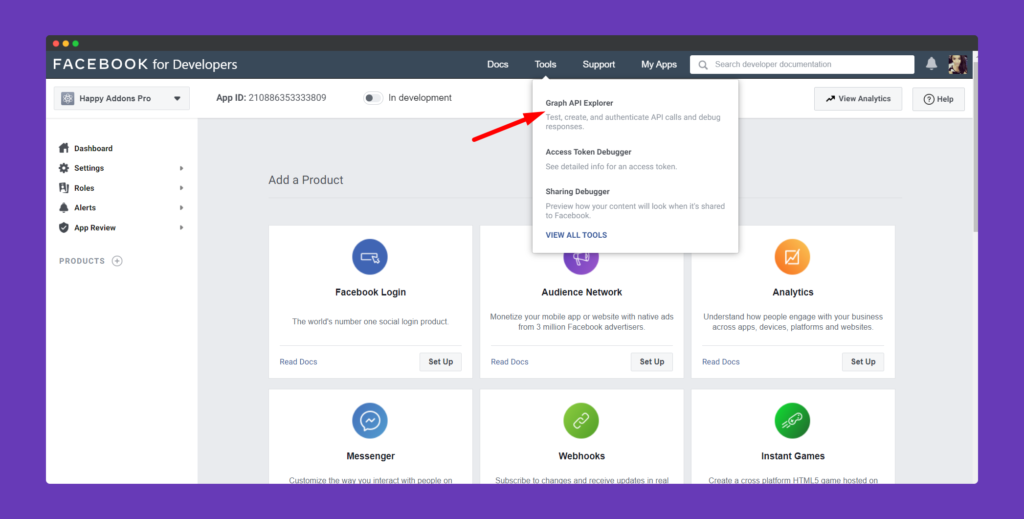
In order to Generate Page Access token, click on Tools and select Graph API Tools.
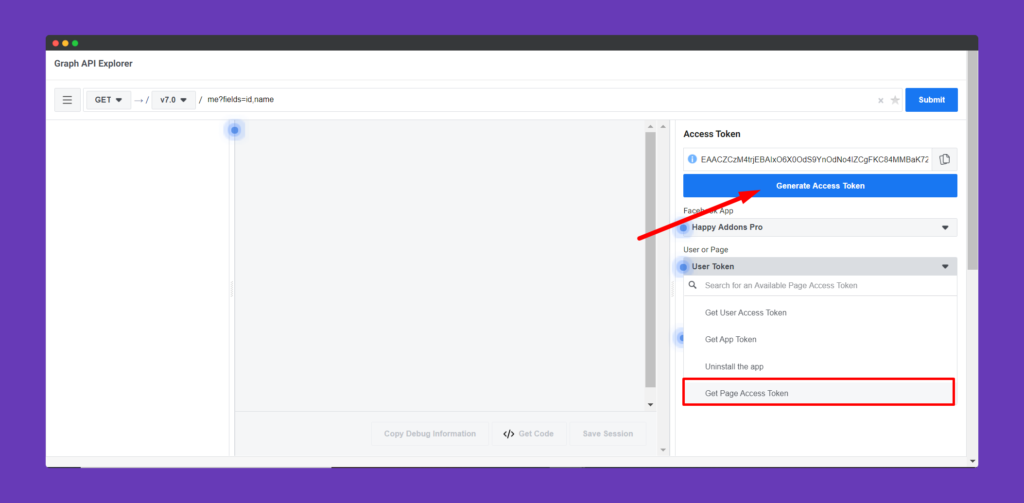
On the next page click on Generate Access Token, also select Get Page Access Token from the drop down menu.
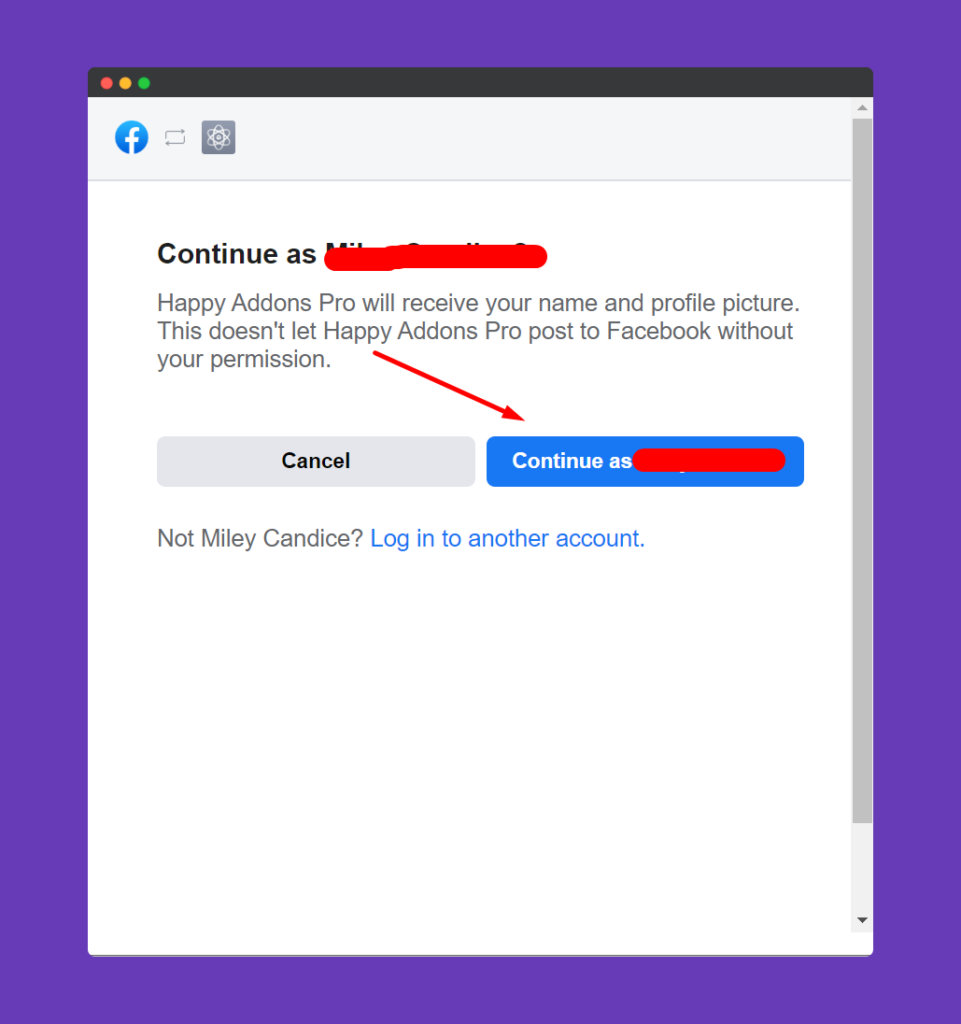
You will get a pop-up window after selecting Get Page Access Token. Select Continue As Your Id Name.
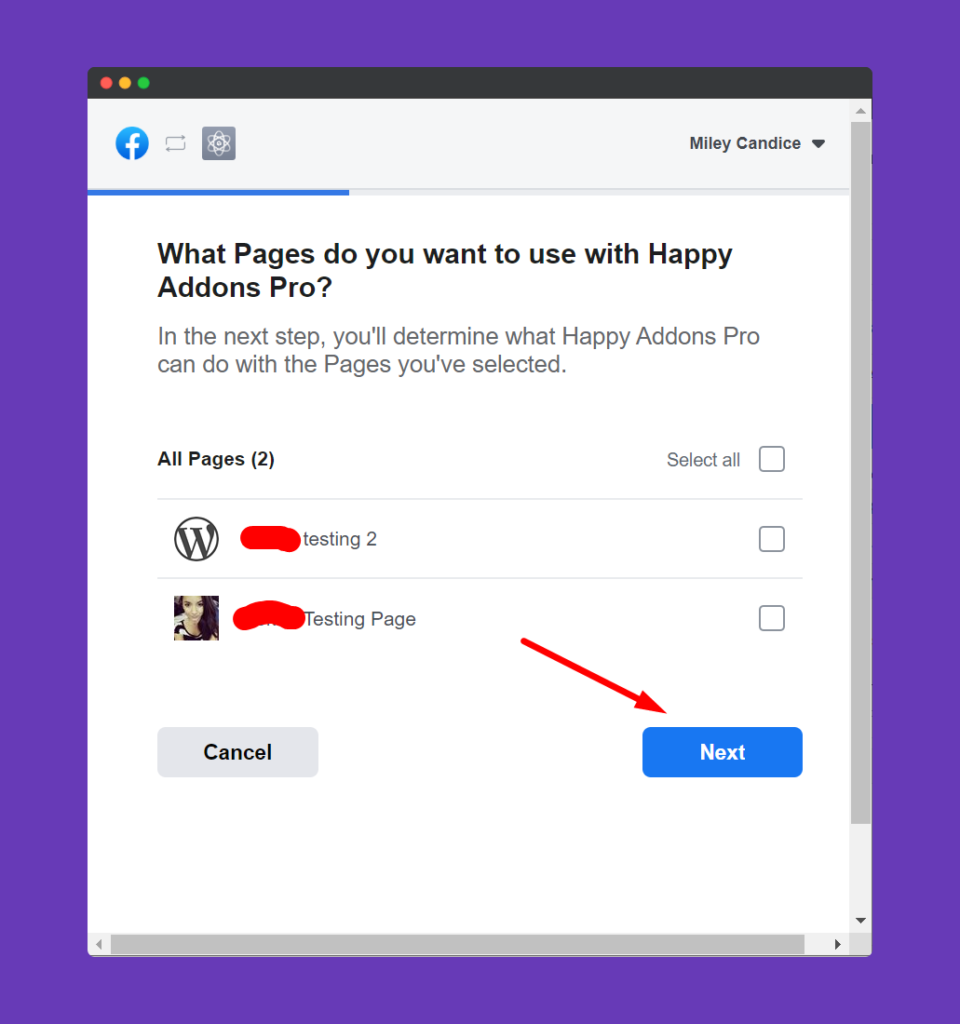
If you have multiple pages, select the one you want to fetch posts from. Click on Next.
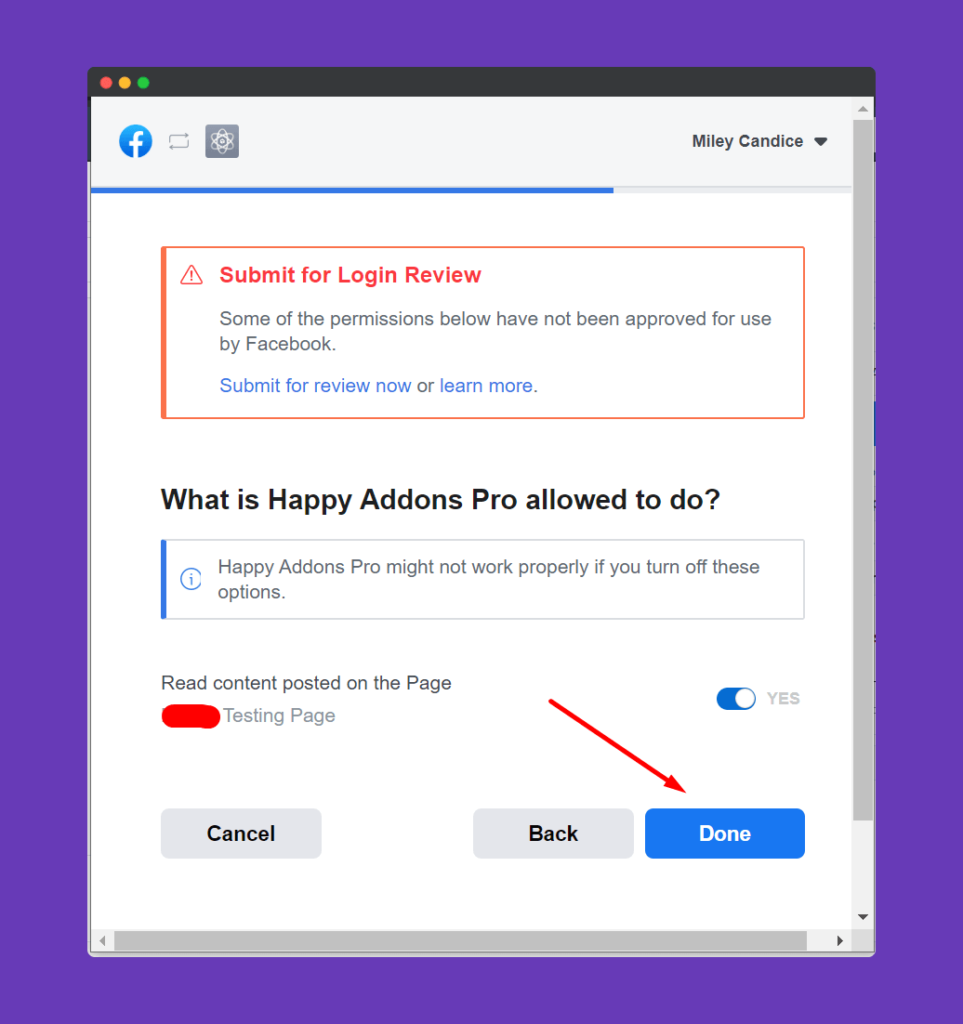
Select YES for “Read content posted on the page” and hit Done to finish.
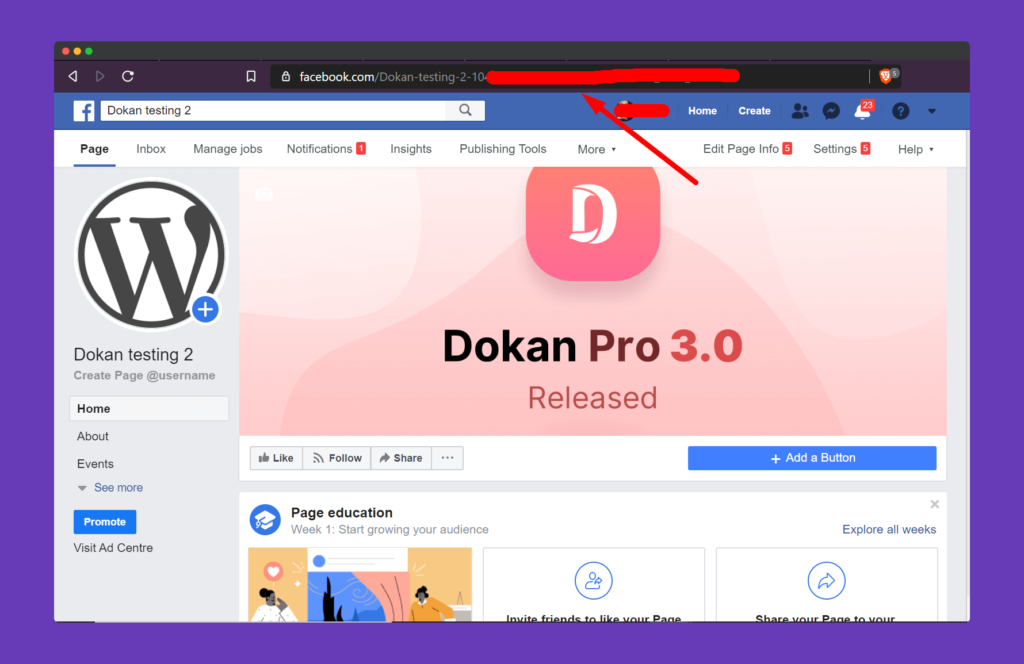
To collect your Facebook Page ID, first of all, go to your Facebook page. Then, from the URL bar, simply just copy the page URL.
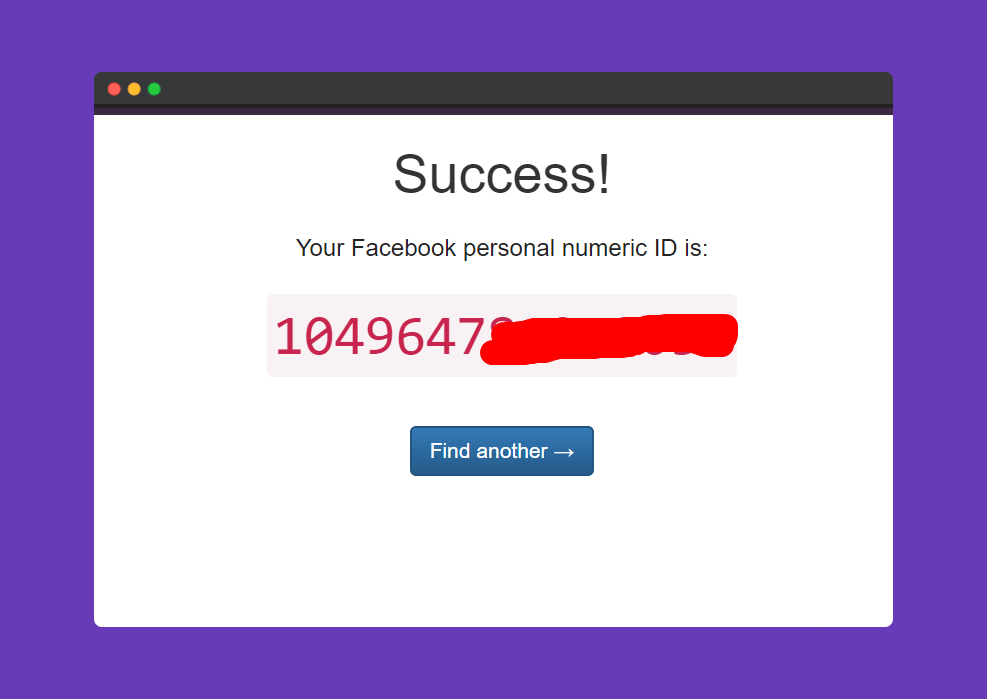
Now, you can visit this site: Randomtools or Smallseotools and paste your Facebook Page URL. Then, hit the ‘Find Numeric ID’ button.
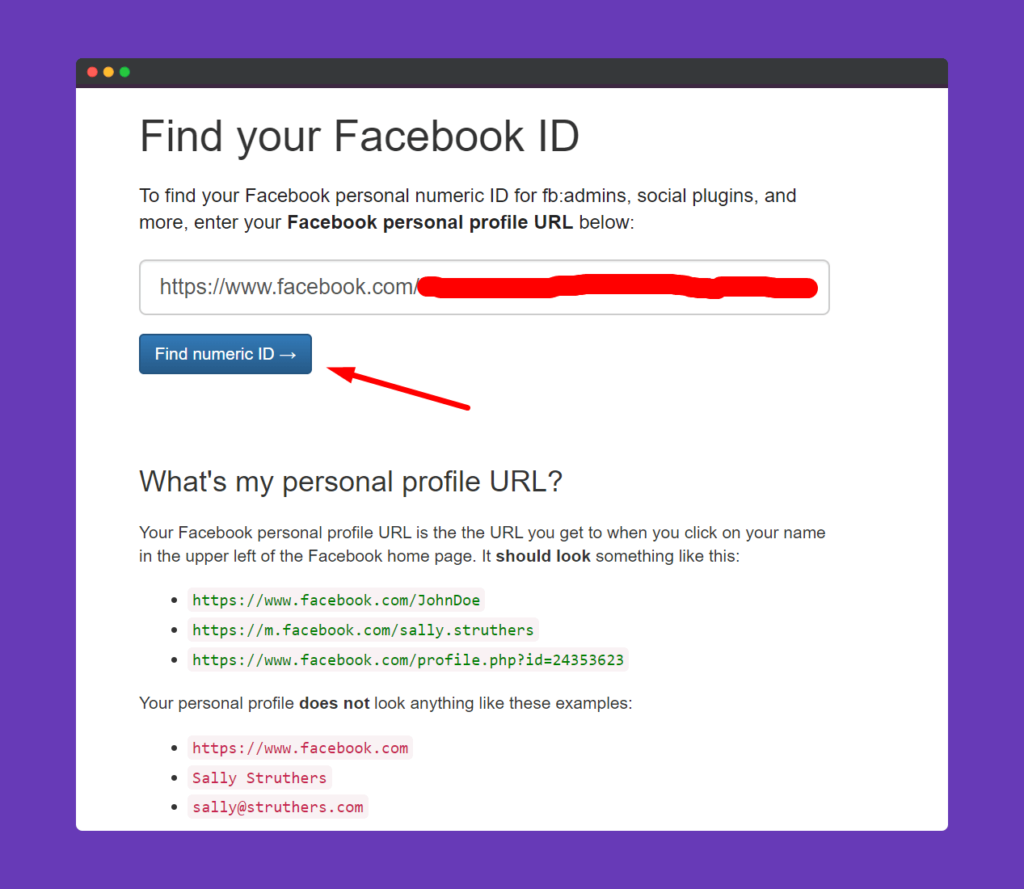
You will find you page id from there.
You are done with the Page ID and Access Token. Now we can get onto the set up of the Happy Addons Facebook Feed widget.
Note: If you do not verify Facebook Page Token, then the token will not work for a long time.
How to Utilise Facebook Feed
Step 1:
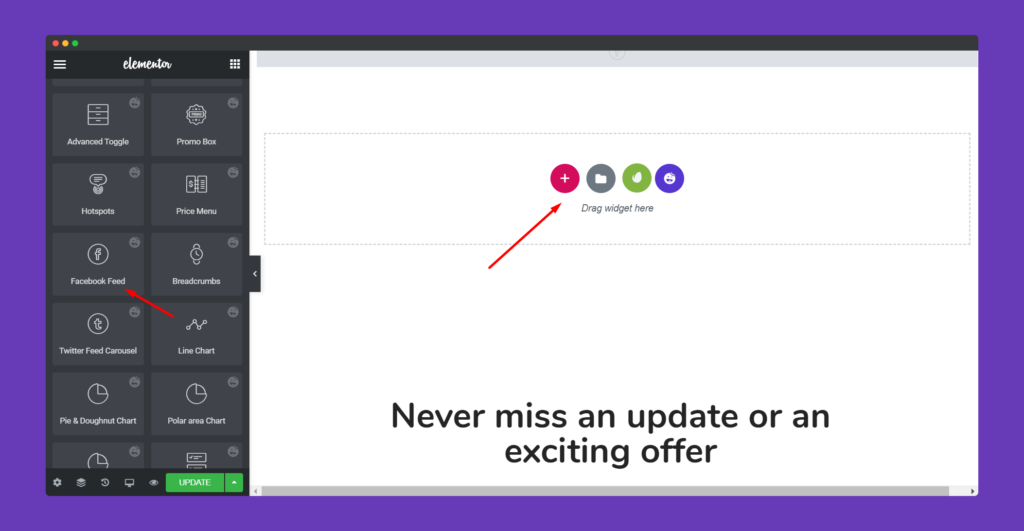
Select the Facebook Feed widget from the menu bar on the left-hand side of the screen then drag and drop it in the selected area.
Step 2:
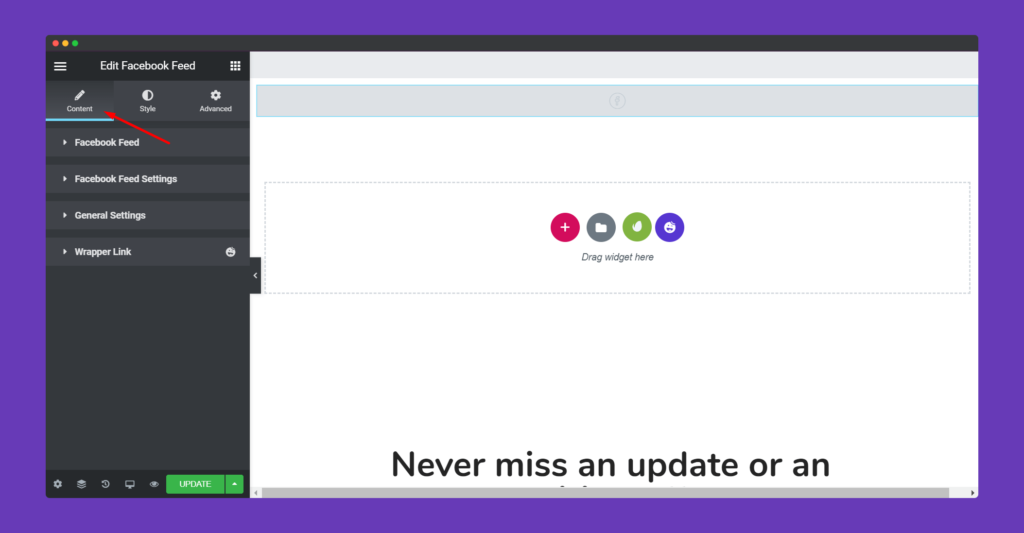
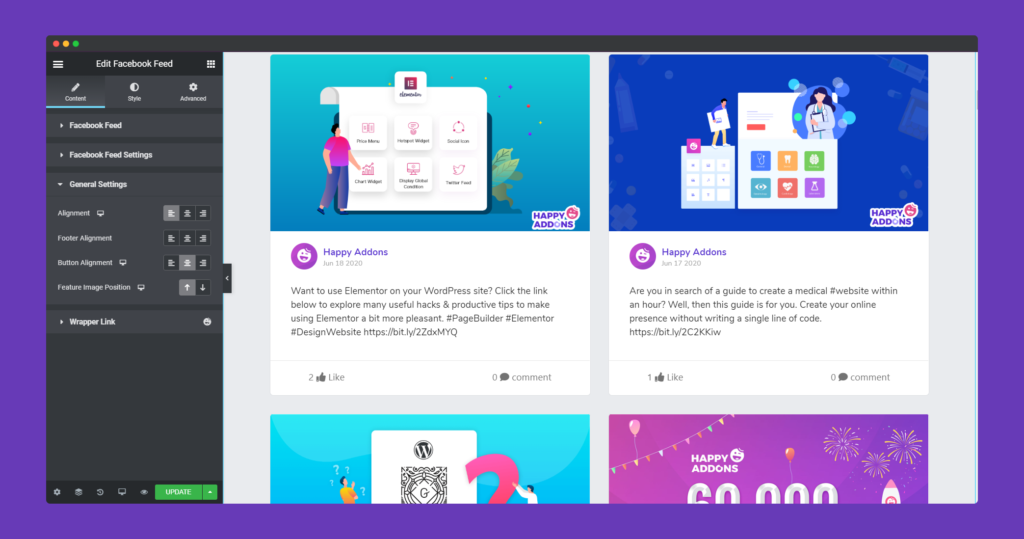
In the ‘Content‘ section, you will find options to edit ‘Facebook Feed‘, ‘Facebook Feed Settings‘, ‘General Settings’, ‘Wrapper Link’.
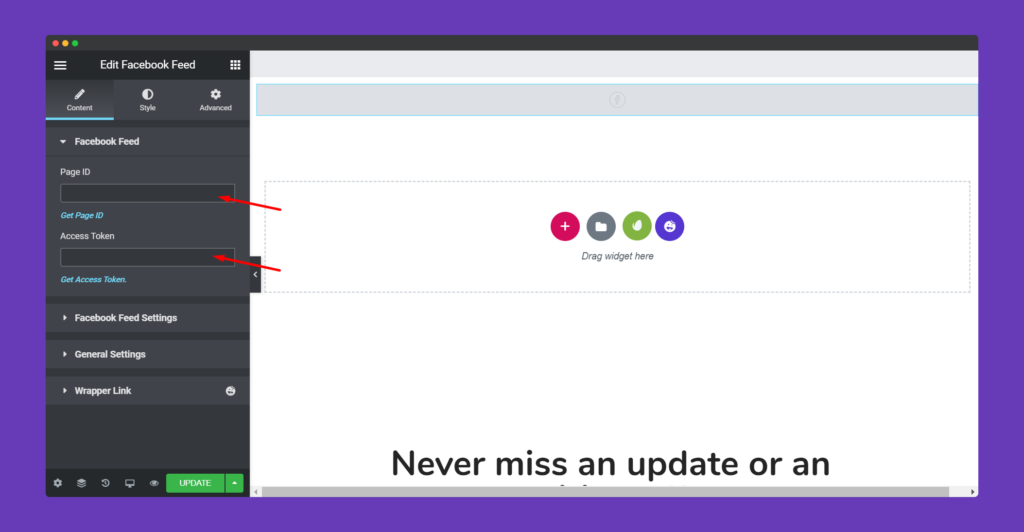
Add your Page Id and Access Token in the Facebook Feed option.
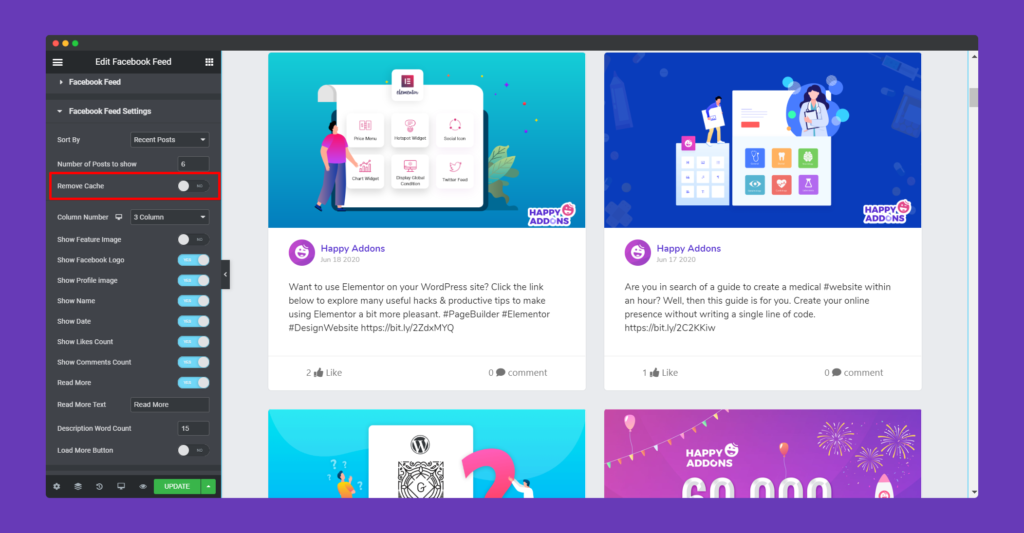
In the Facebook Feed Settings option, you can decide your column number, enable Facebook logo, Feature image, date, name, likes count and many more. There is also a Remove Cache option. If you have a verified page then you can enable this option. Otherwise it’s better to disable the option.
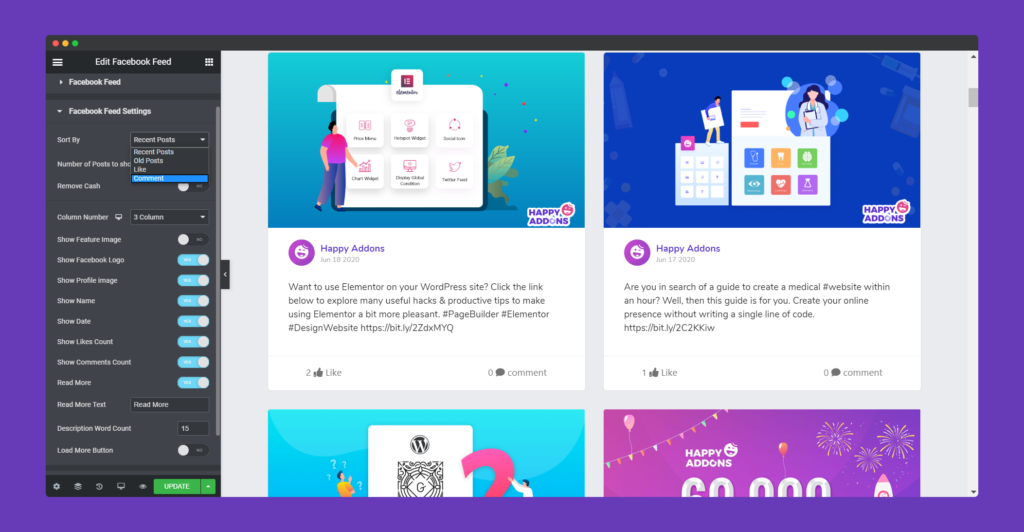
You can sort your posts by,
- Recent Posts
- Old Posts
- Likes
- Comments
In the General Settings option you can align your posts, feature image position, footer, button.
Step 3:
In the ‘Style‘ section, you will have options to design ‘ Common’,’Feature image’, ‘ User Infor’, ‘Content’,’ Footer and Button’.
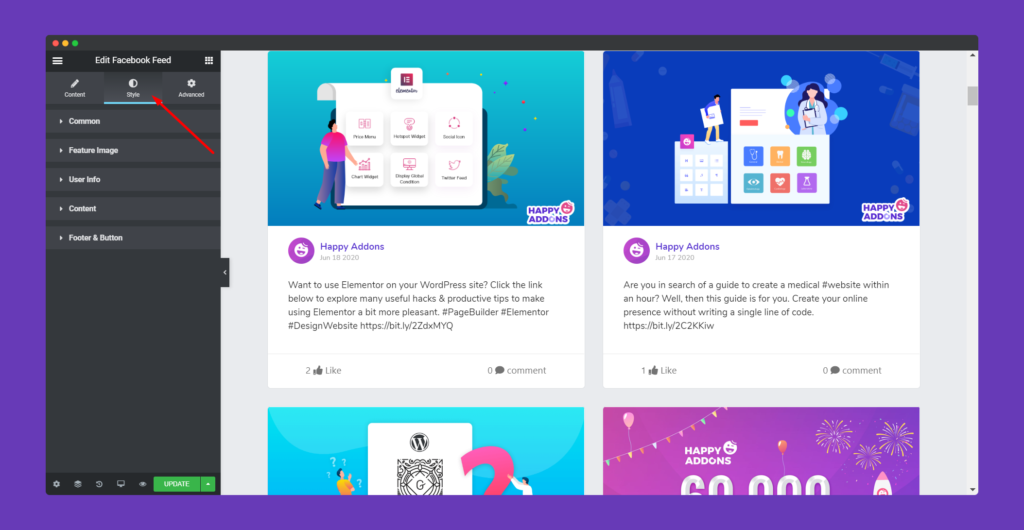
In the Common option, you can add space between posts, padding, border type, width, color, box shadow, background, background overlay and many more.
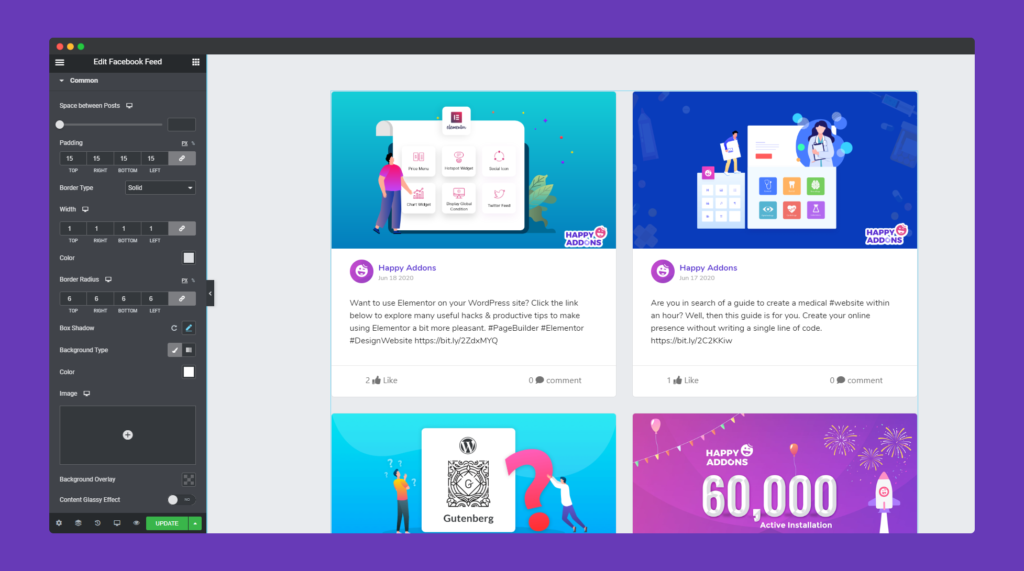
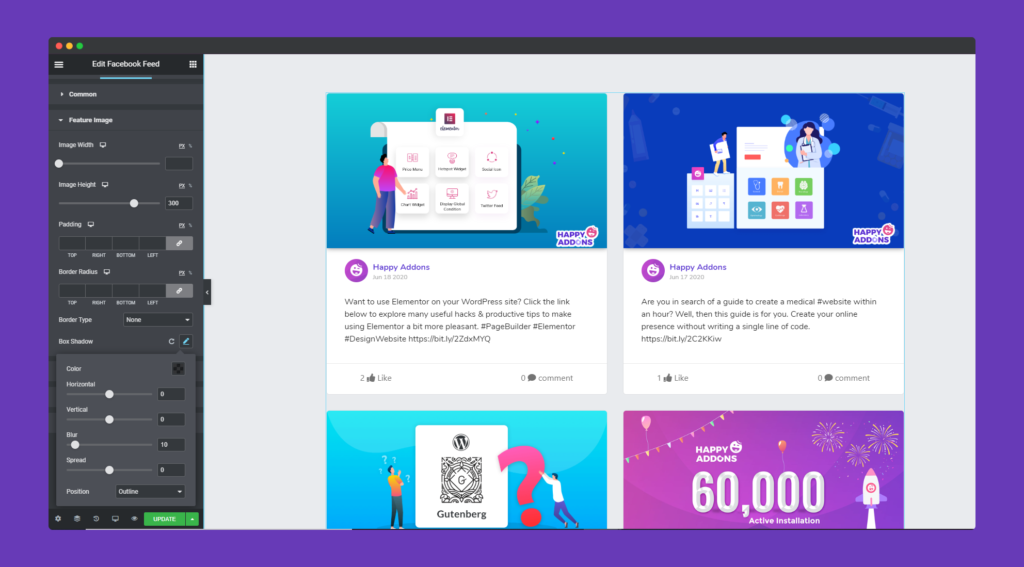
Also, in the Feature Image option you can design the image using image width, height, padding, border radius, box shadow and many more.
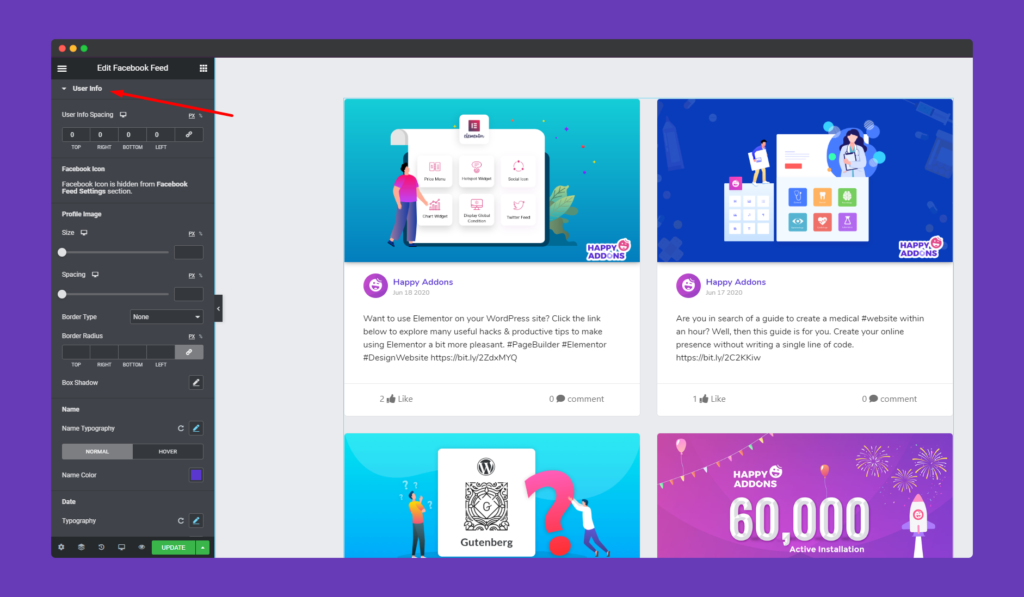
The User Info option lets you add info spacing, profile image size, border radius, typography, etc to stylize your section.
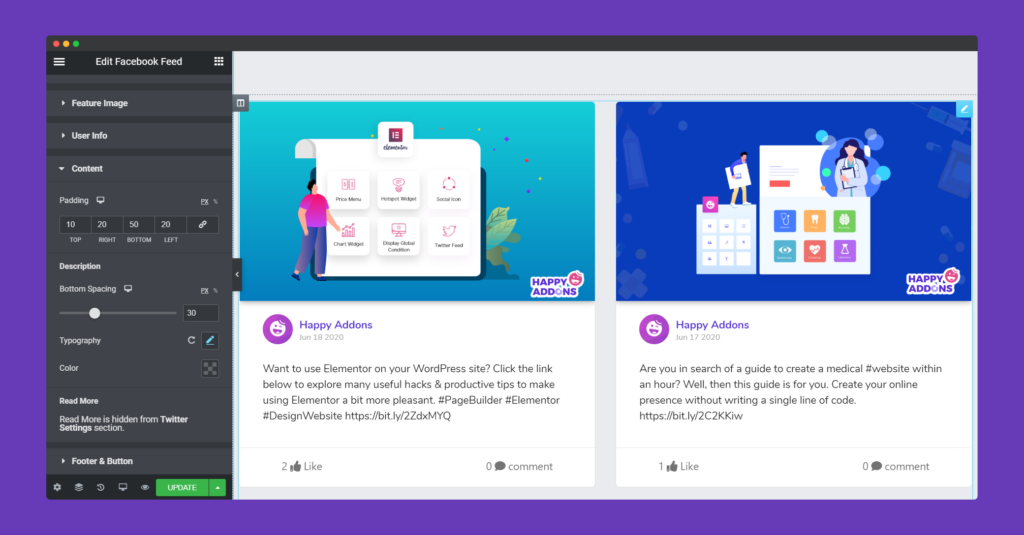
You can add padding, bottom spacing, typography for your content in the Content option.
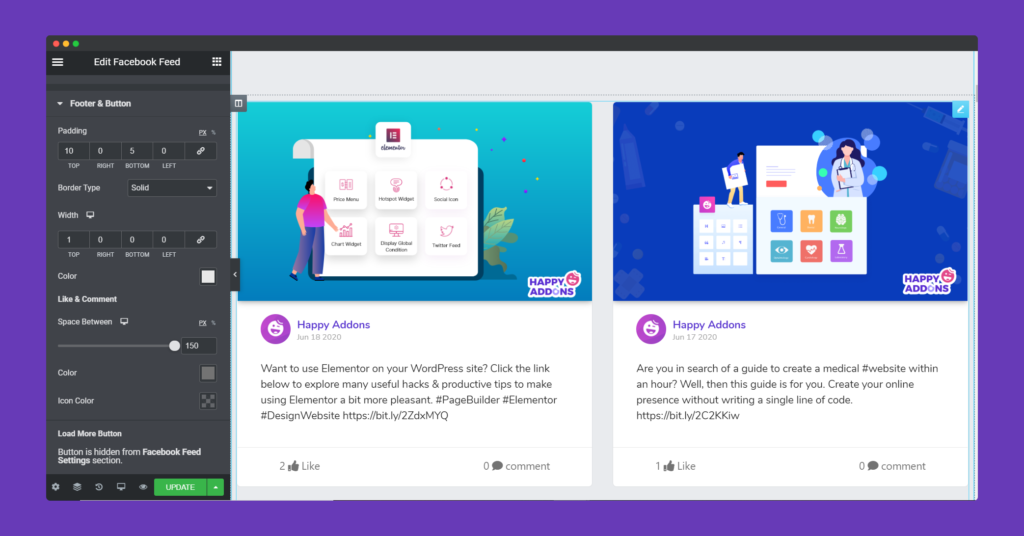
For your Footer and Buttons, you can add padding, width, color, space between like and comments, icon color.
Step 4:
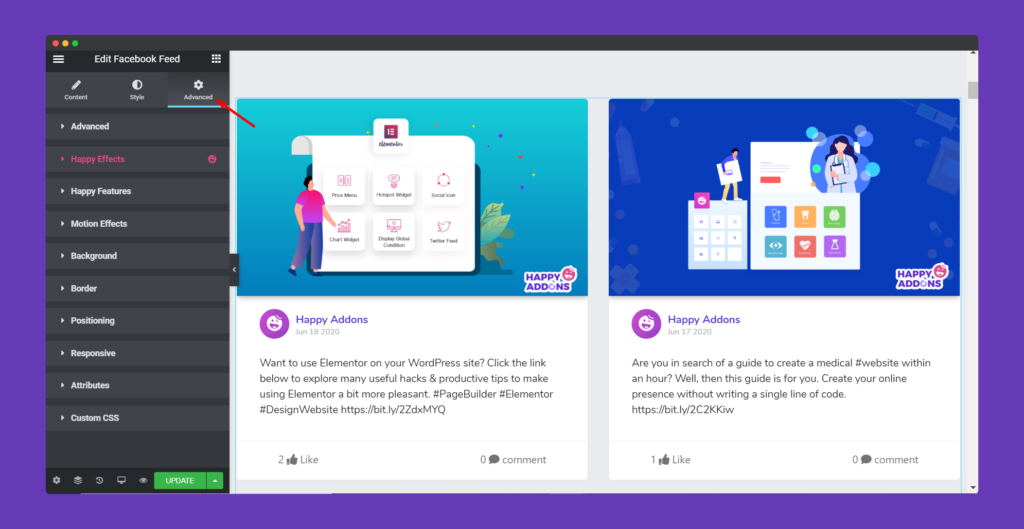
If you want to add motion effects, happy effects, background or make it responsive and more intriguing, click on ‘Advanced‘ to explore those options. the ‘Advanced‘ is a default feature of Elementor. Give a read to this Document to know more about Advanced features and its uses.
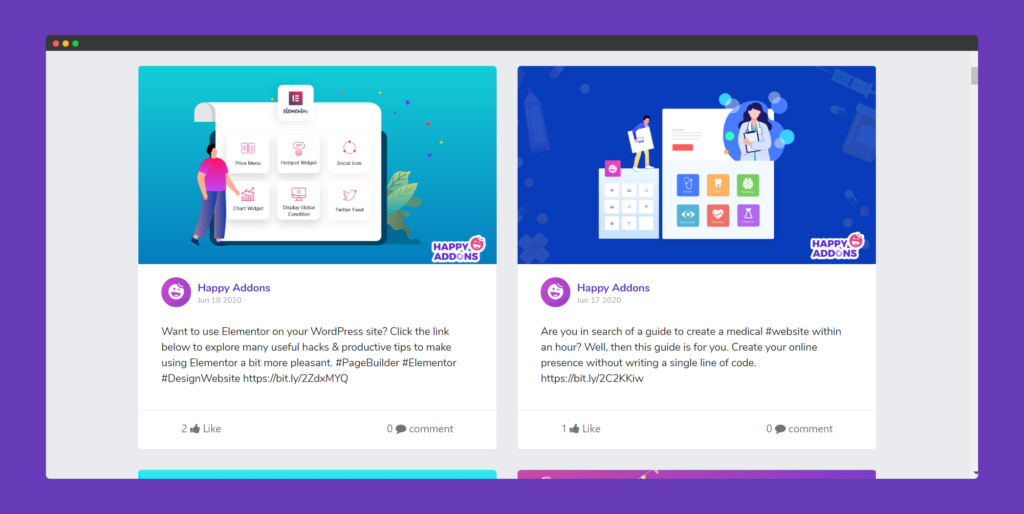
Finally, after clicking the publish button you will see the beautiful posts from your Facebook Feed on your webpage.
That’s it.
Check out this video,

