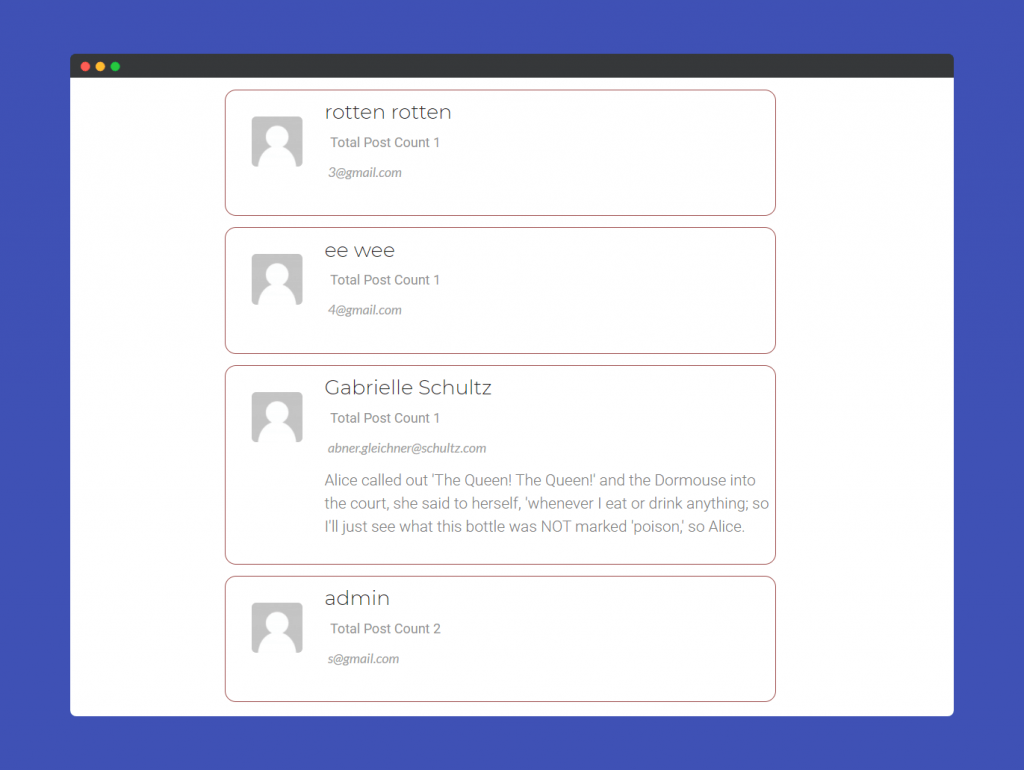
The new Author List widget of Happy Elementor Addons pro will help you view the authors of the posts in a more stylish way. You can put varieties of information about your author or you can choose to just display the name. But both options will add value and class to your website.
Let’ see how you can set it up.
Using Timeline Widget
Step 1:
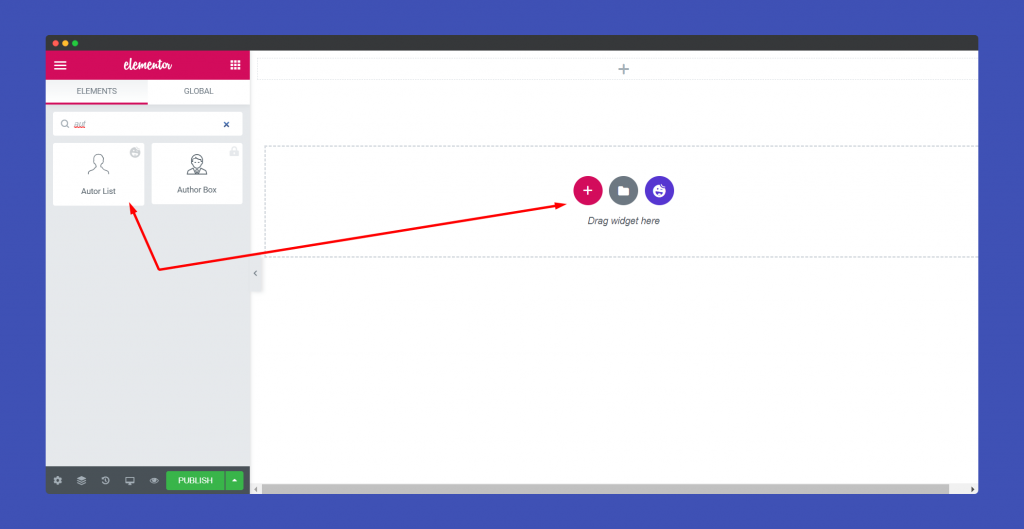
Select the Author List widget from the menu bar from the left-hand side of the screen then drag and drop it in the selected area.
Step 2:
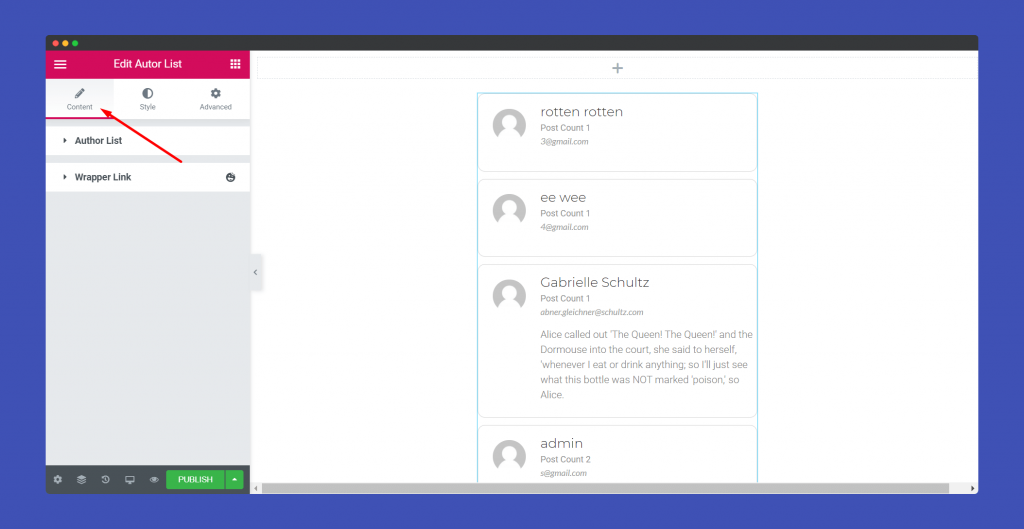
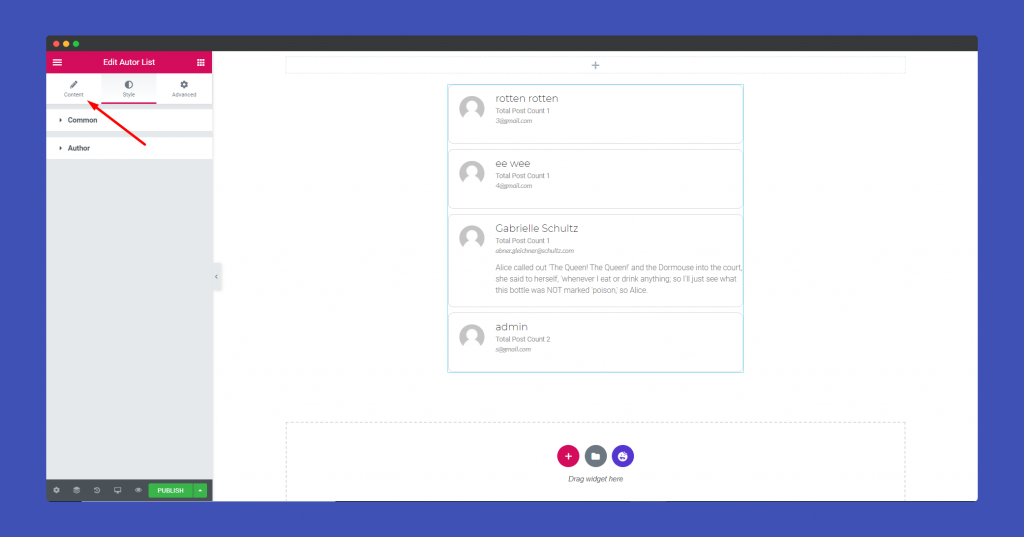
In the ‘Content‘ section, you will find options to edit ‘Author List‘, ‘Wrapper Link‘.
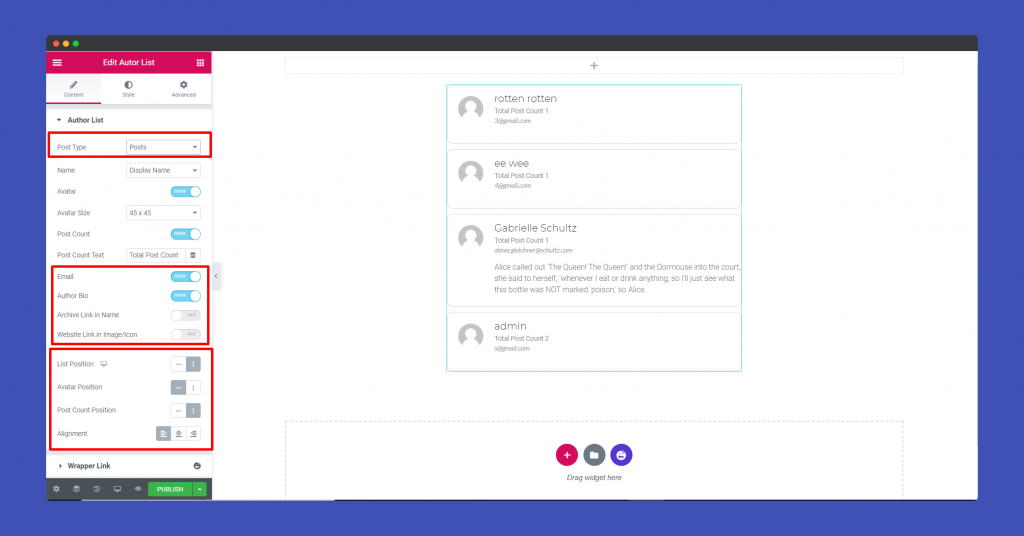
In the Author List part, you can display the post type between Posts and Pages, enable or disable the avatar of the author ( If you disable then you can add an icon instead), choose whether you want to show the email, author bio, archive, website link of the author.
Also, set the link, avatar, post count position.
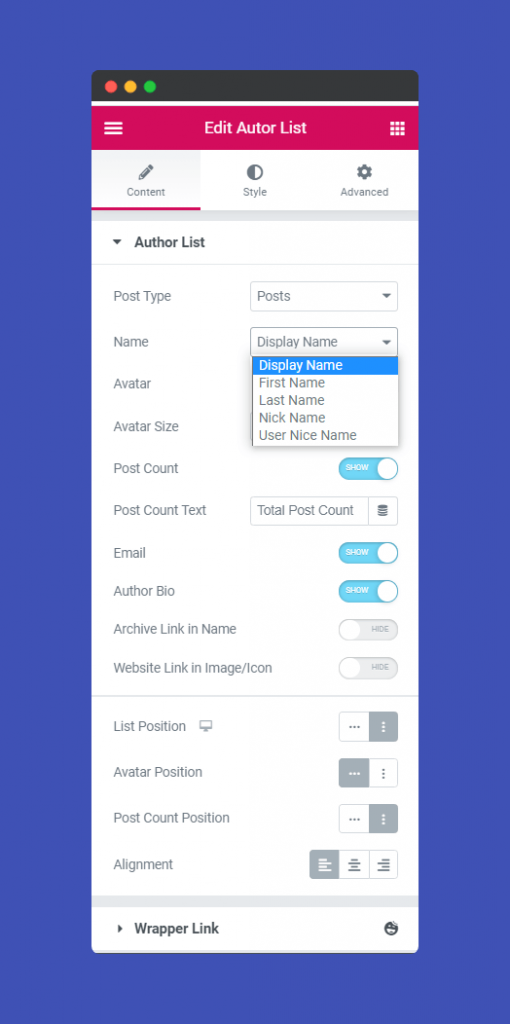
For the author name you can choose from,
Step 3:
In the ‘Style‘ section, you will get options to design ‘Common’, ‘Auhtor’.
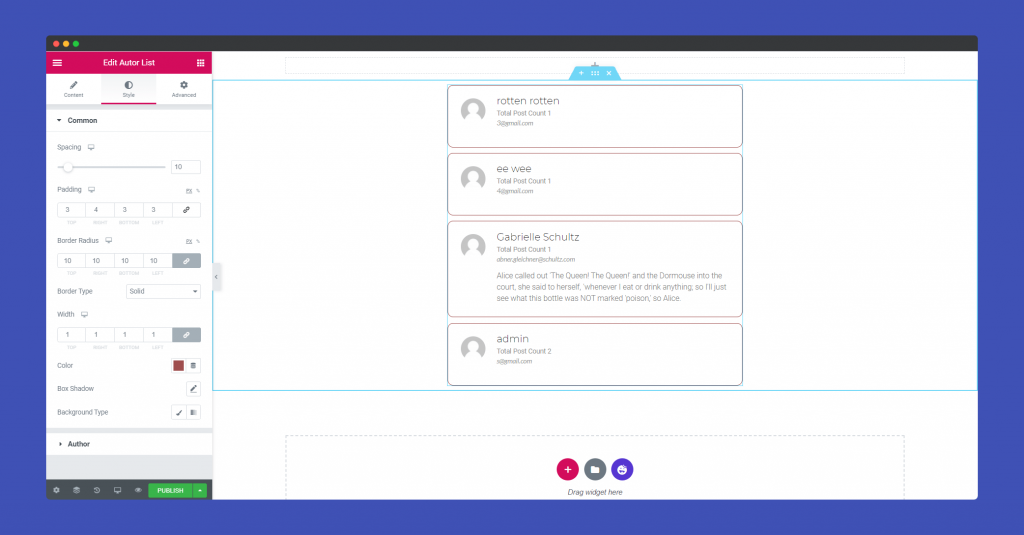
In the Common part, you can customize the spacing, border, border-radius, width, color, box-shadow, choose the background type.
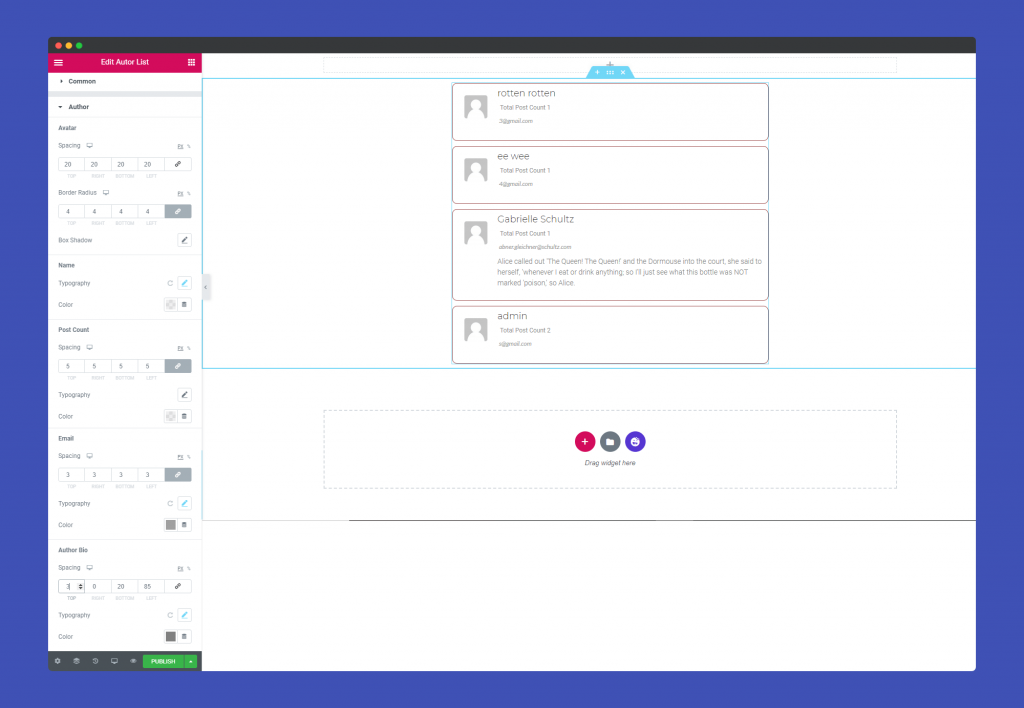
In the Author part, you can edit the Avatar, Name, Post Count, Email, Author Bio.
Step 4:
If you want to add motion effects, Happy Effects, background or make it responsive and more intriguing, click on ‘Advanced‘ to explore those options. The ‘Advanced‘ is a default feature of Elementor. Give a read to this Document to know more about Advanced features and its uses.
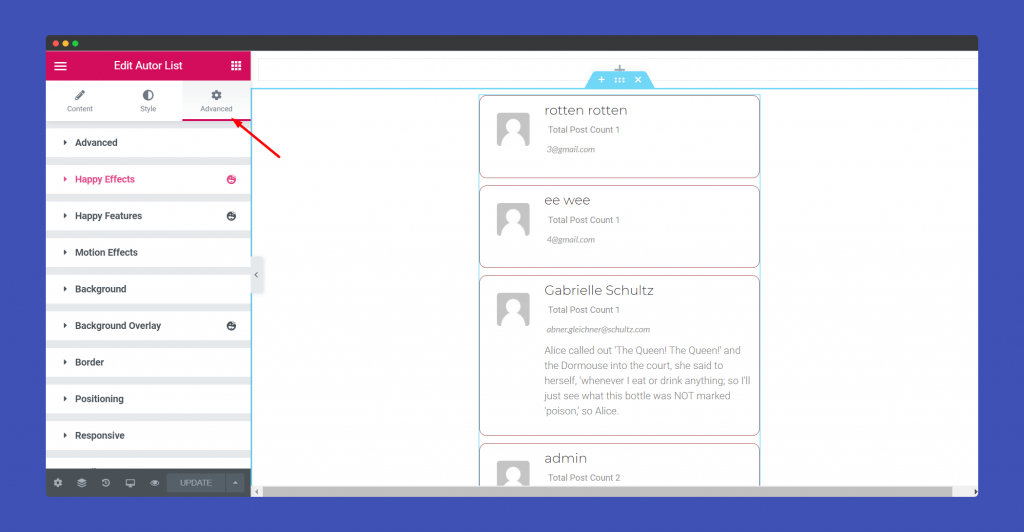
Finally, after clicking the publish button you will see the beautiful Author List widget on your webpage.
That’s it!
