How to Use the Flip Box Widget of Happy Elementor Addons
With the new Flip Box Widget of Happy Elementor Addons Pro, give your webpage a more sleek look with stylish pictures in front and backside of a flip box. Create designs that will blow people’s minds and will make your webpage stand out from the rest.
Using Flip Box
Step 1:
Select the flip box widget from the menu bar on the left-hand side of your screen then drag and drop it in the selected area.
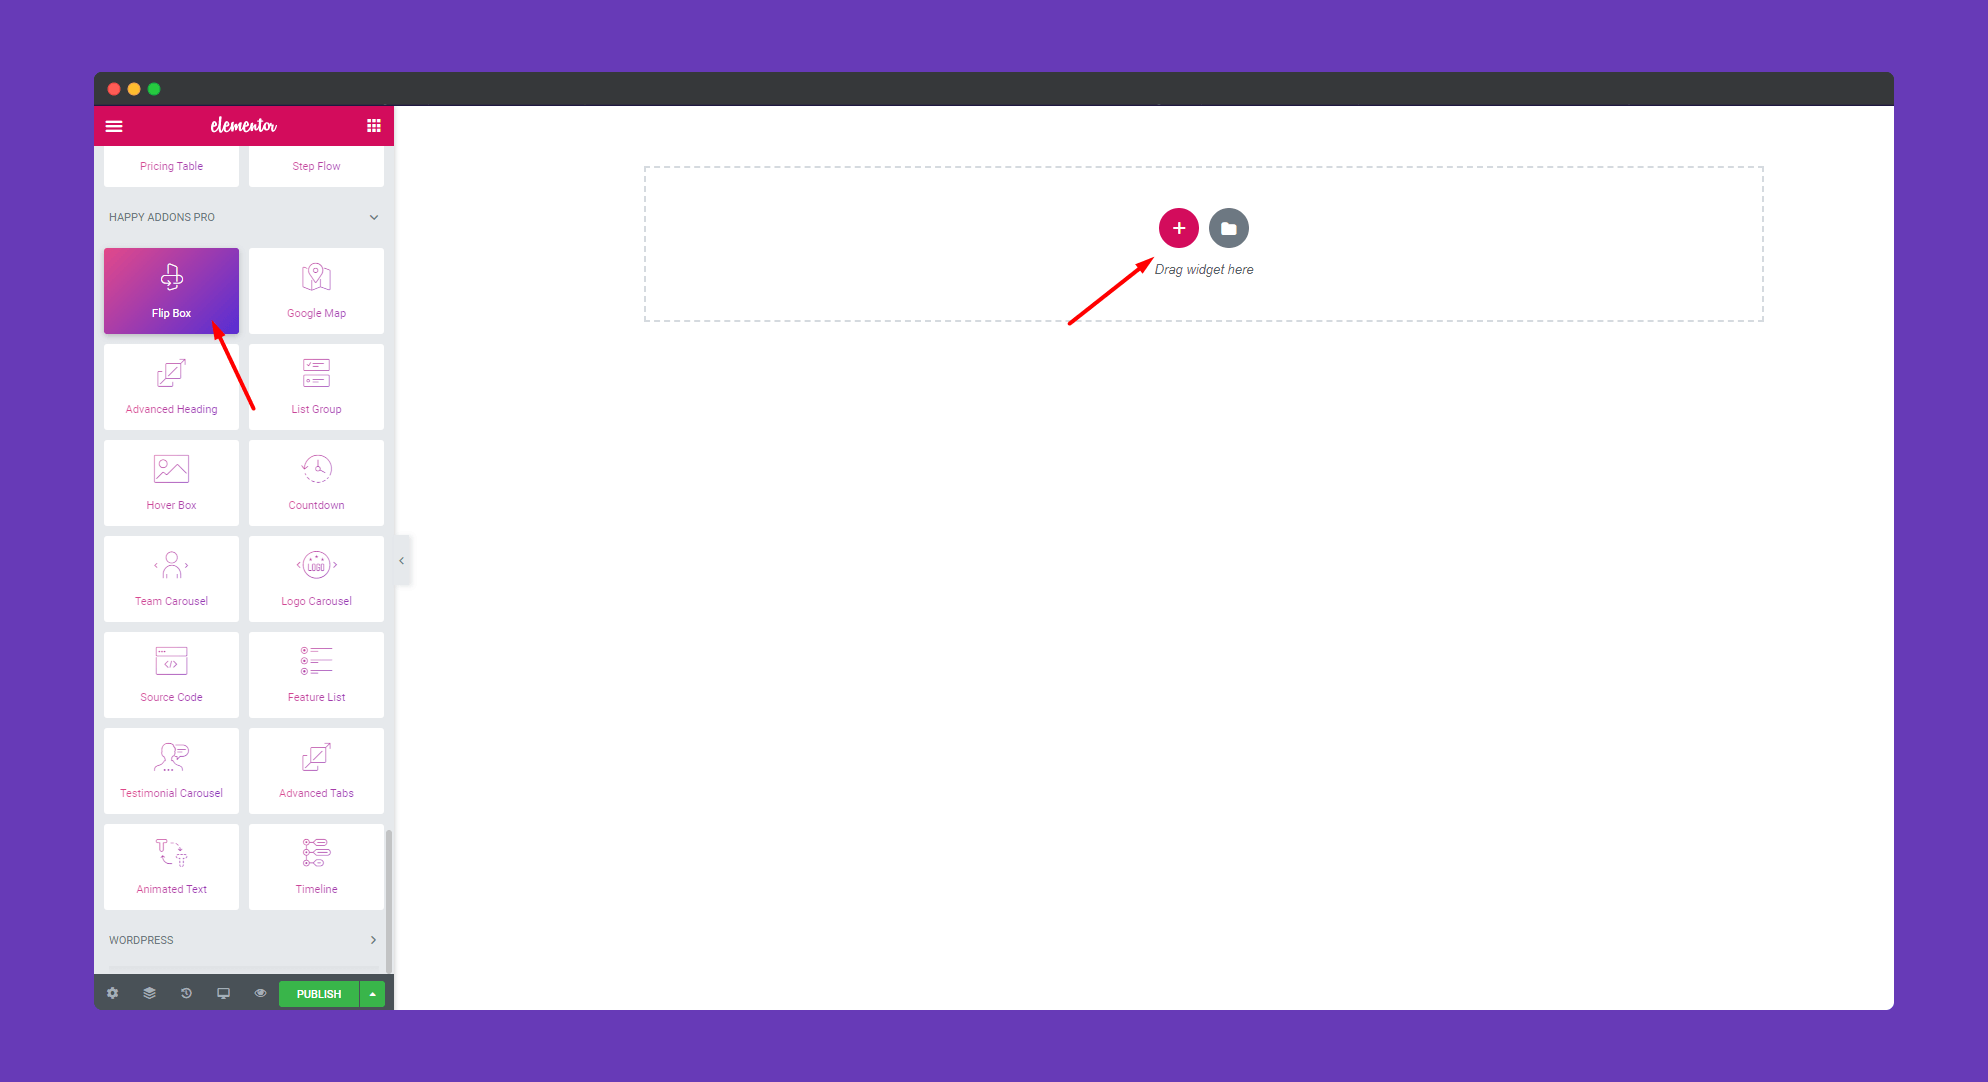
Step 2:
In the ‘Content‘ section, you will get options ‘Design’, ‘ Front Side’, ‘Back Side‘, and ‘Settings‘ to edit them.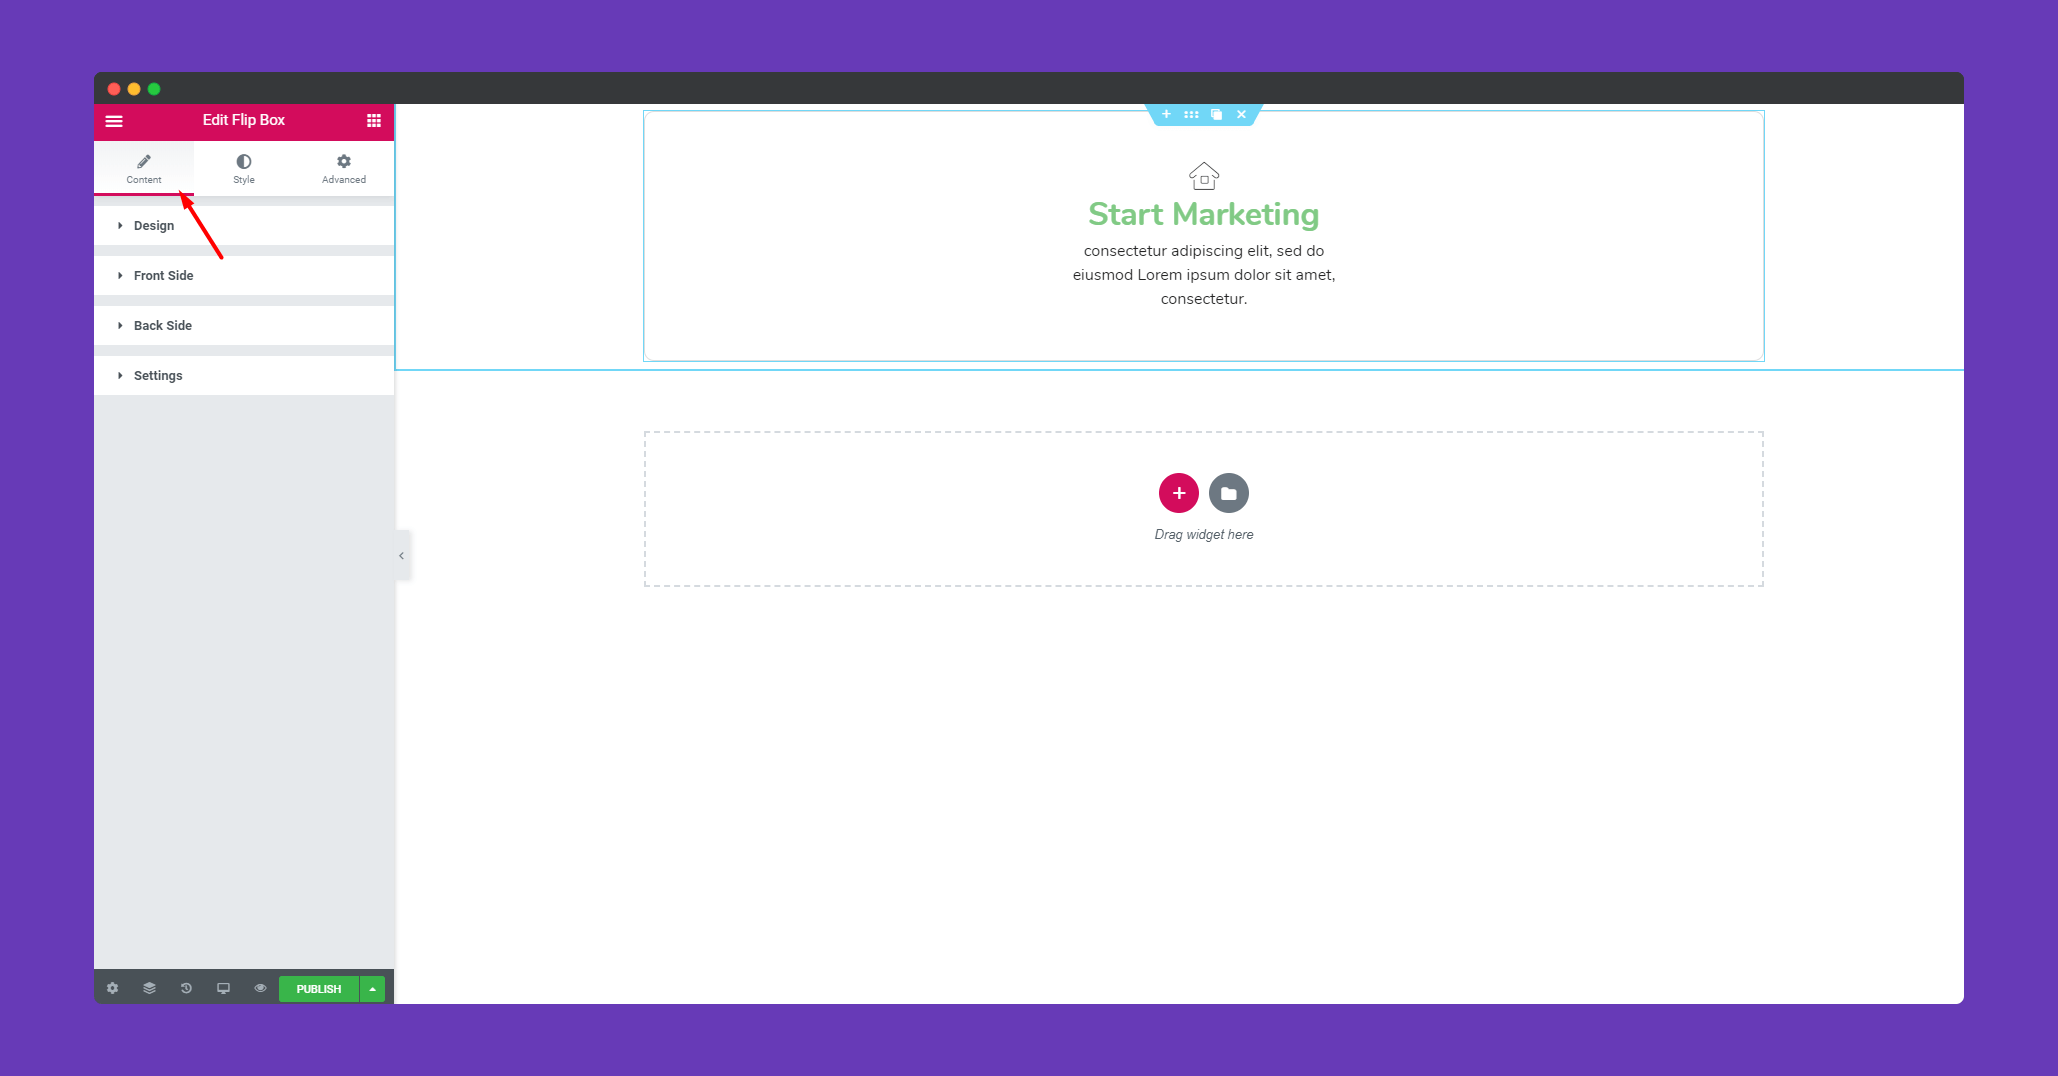
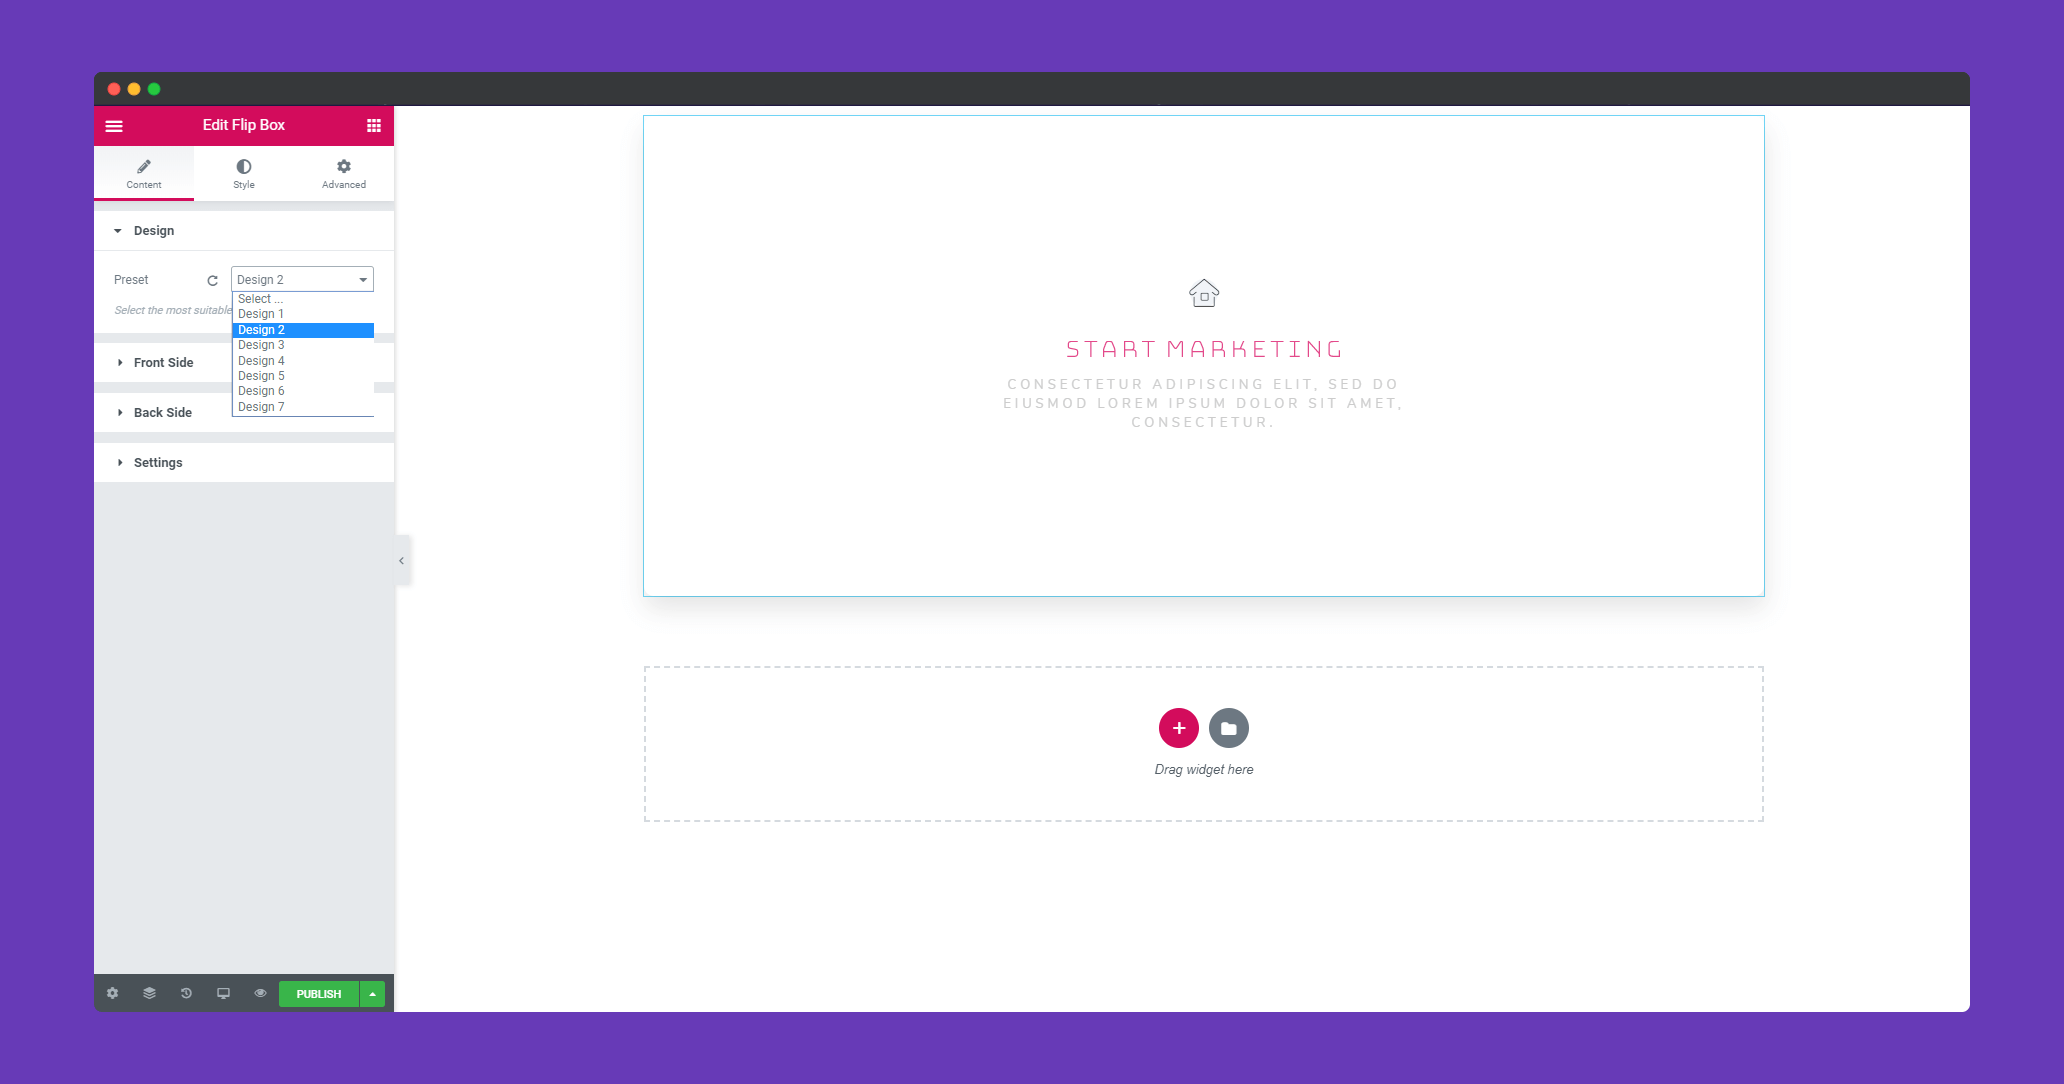
In ‘Design‘, you will get some preset design. you can use them to make your widget more beautiful.
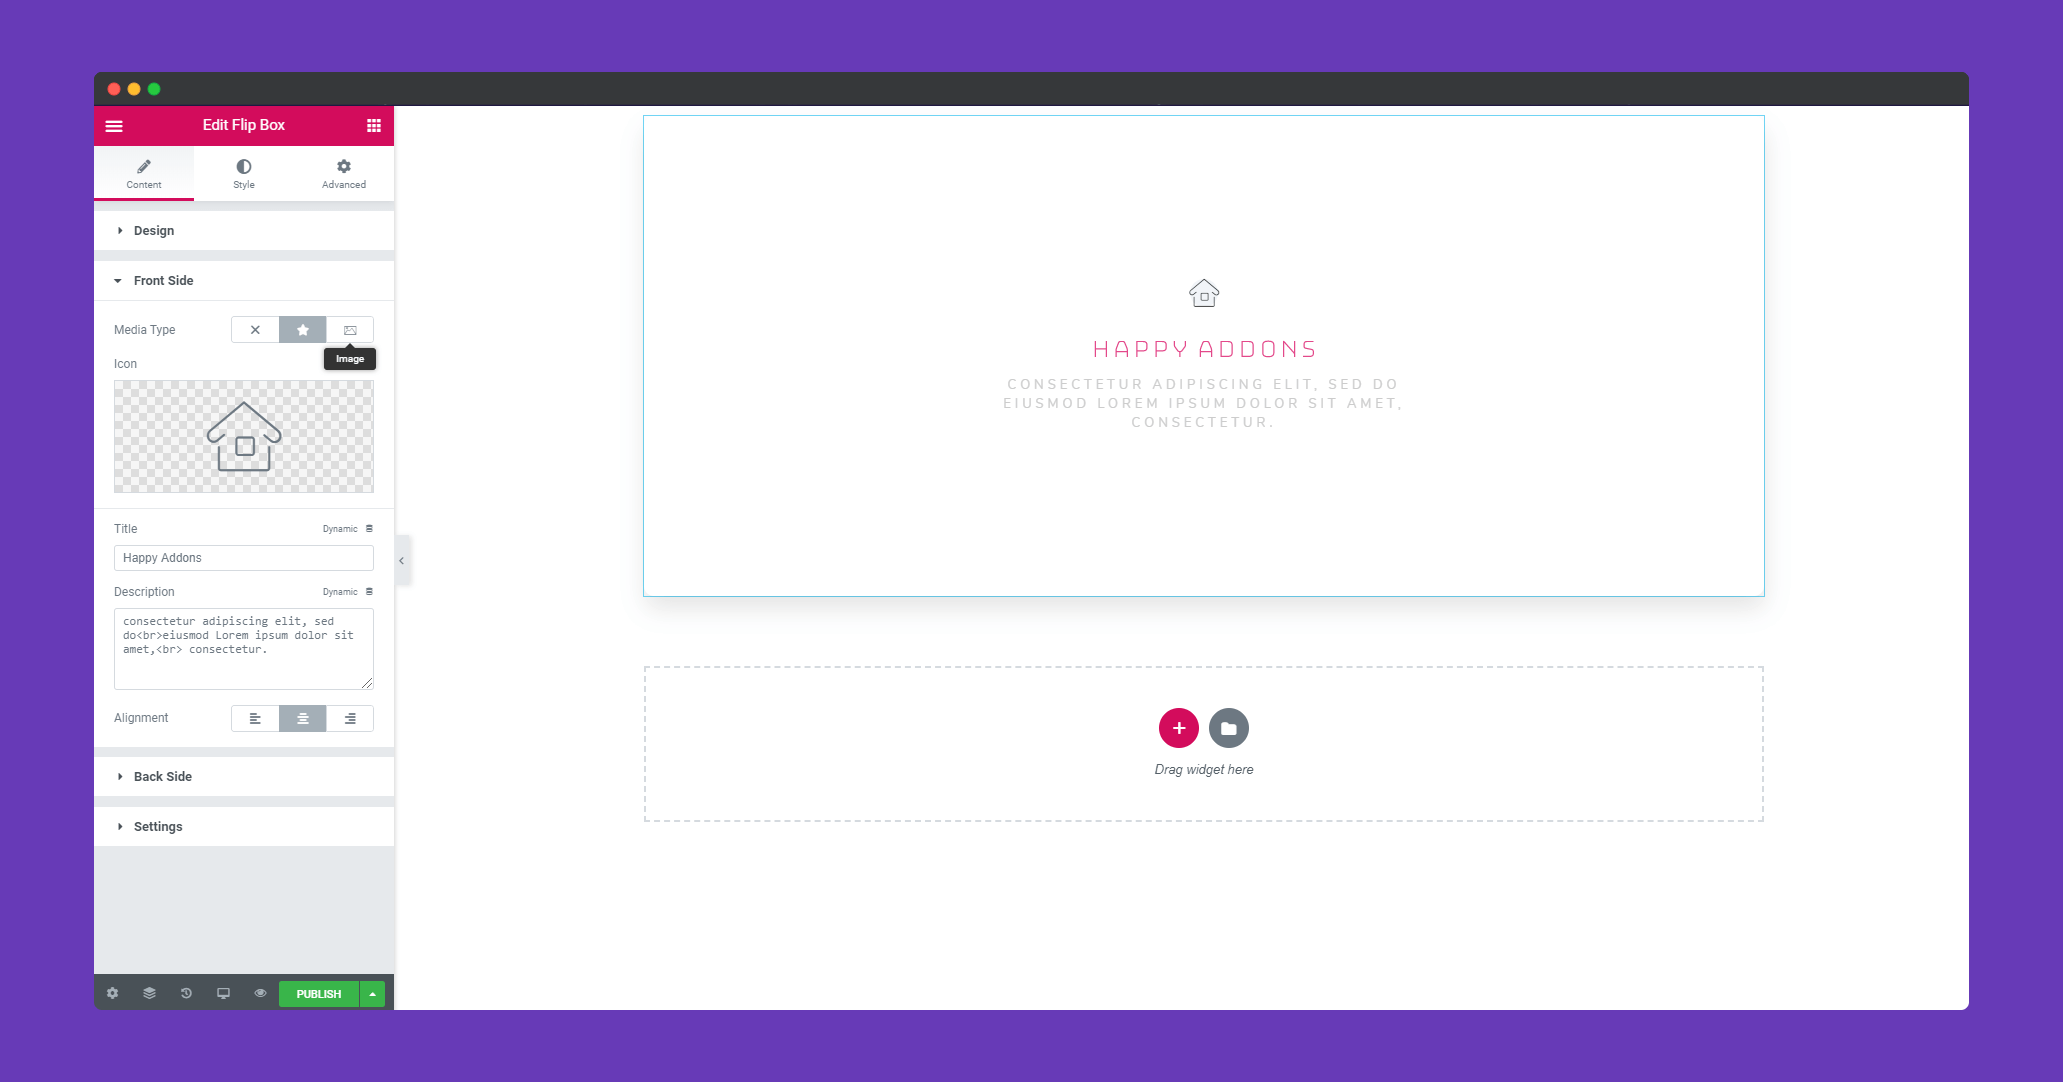
In ‘ Front Side‘, you can upload an image or an icon, give a title and the description and align the text.
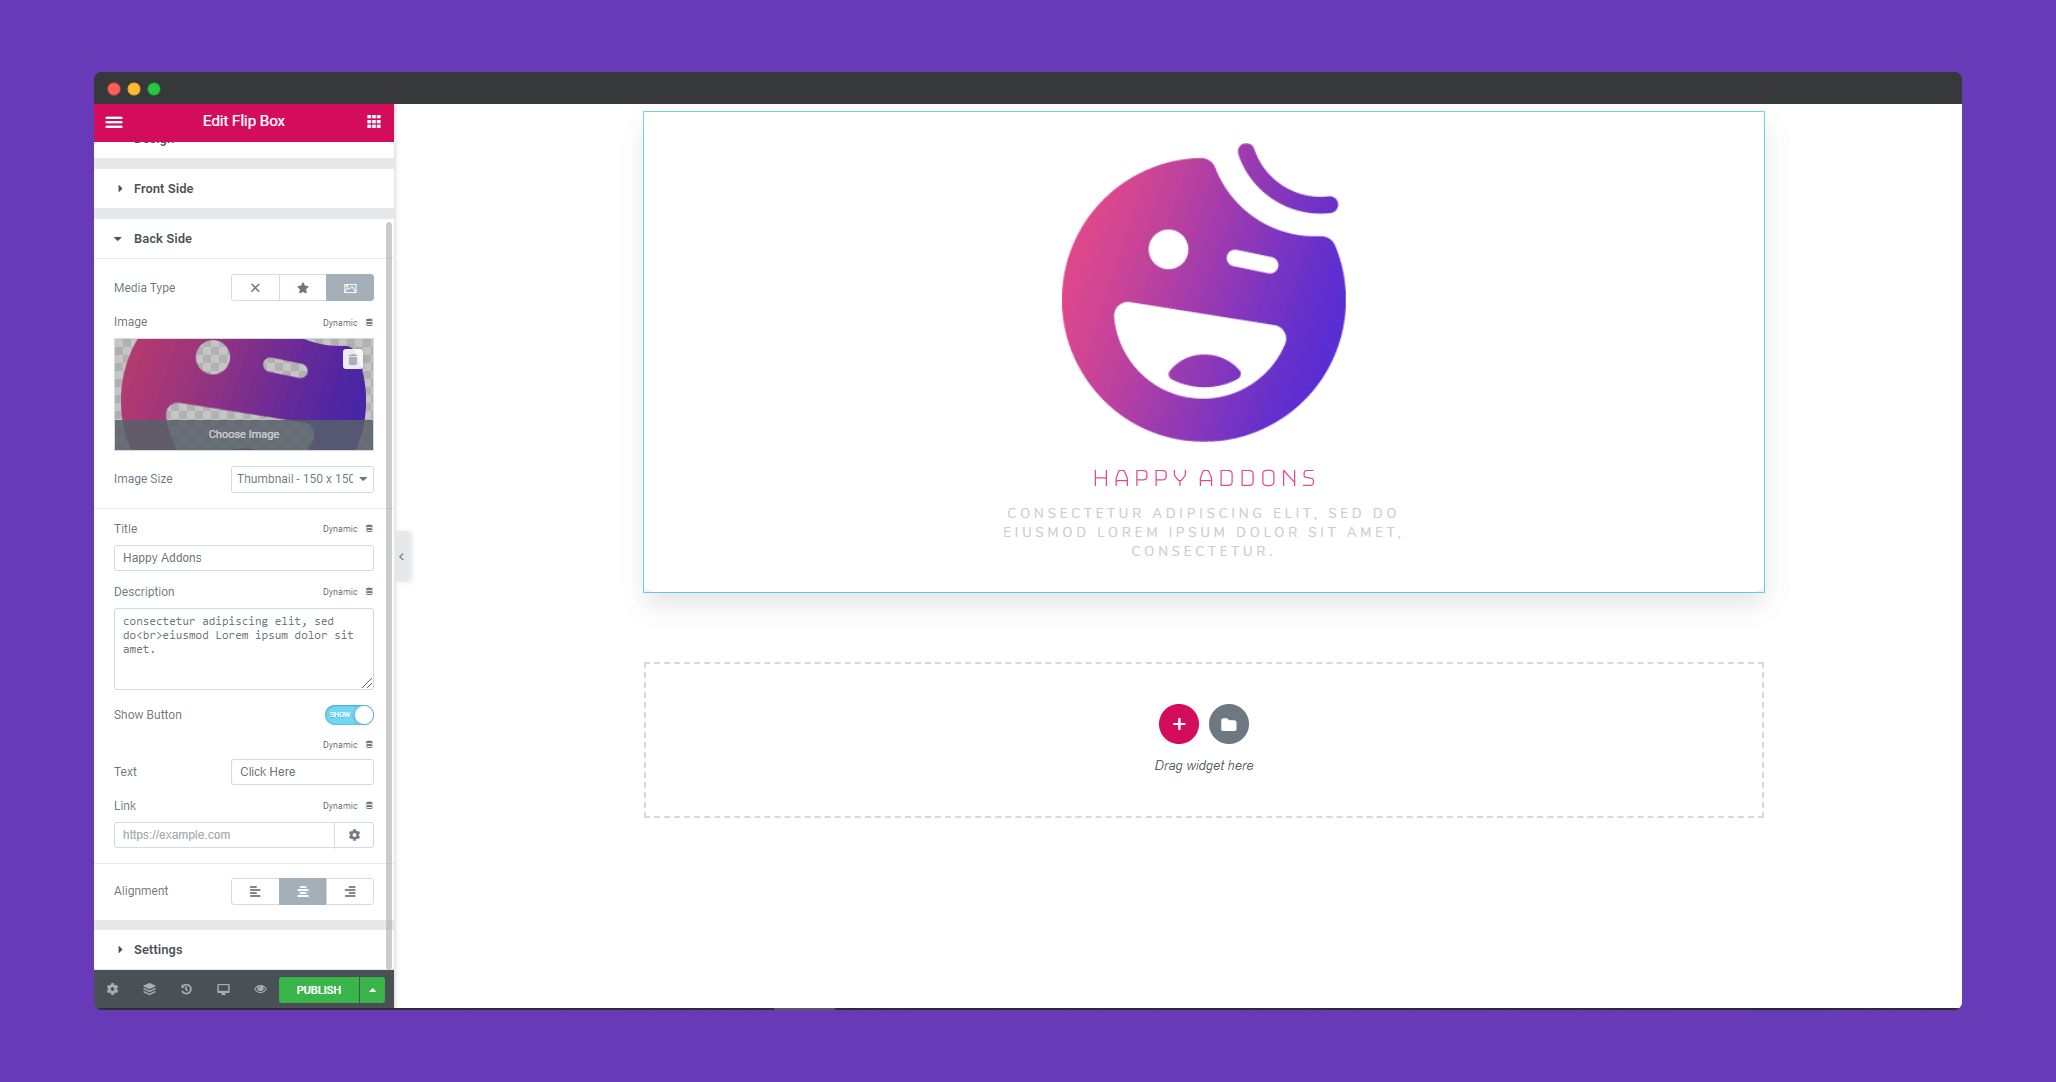
In the ‘Back Side‘, you will get the same options as ‘Front Side‘. But here you will get an extra option for a button. Click on ‘Show Button’ to enable the button.
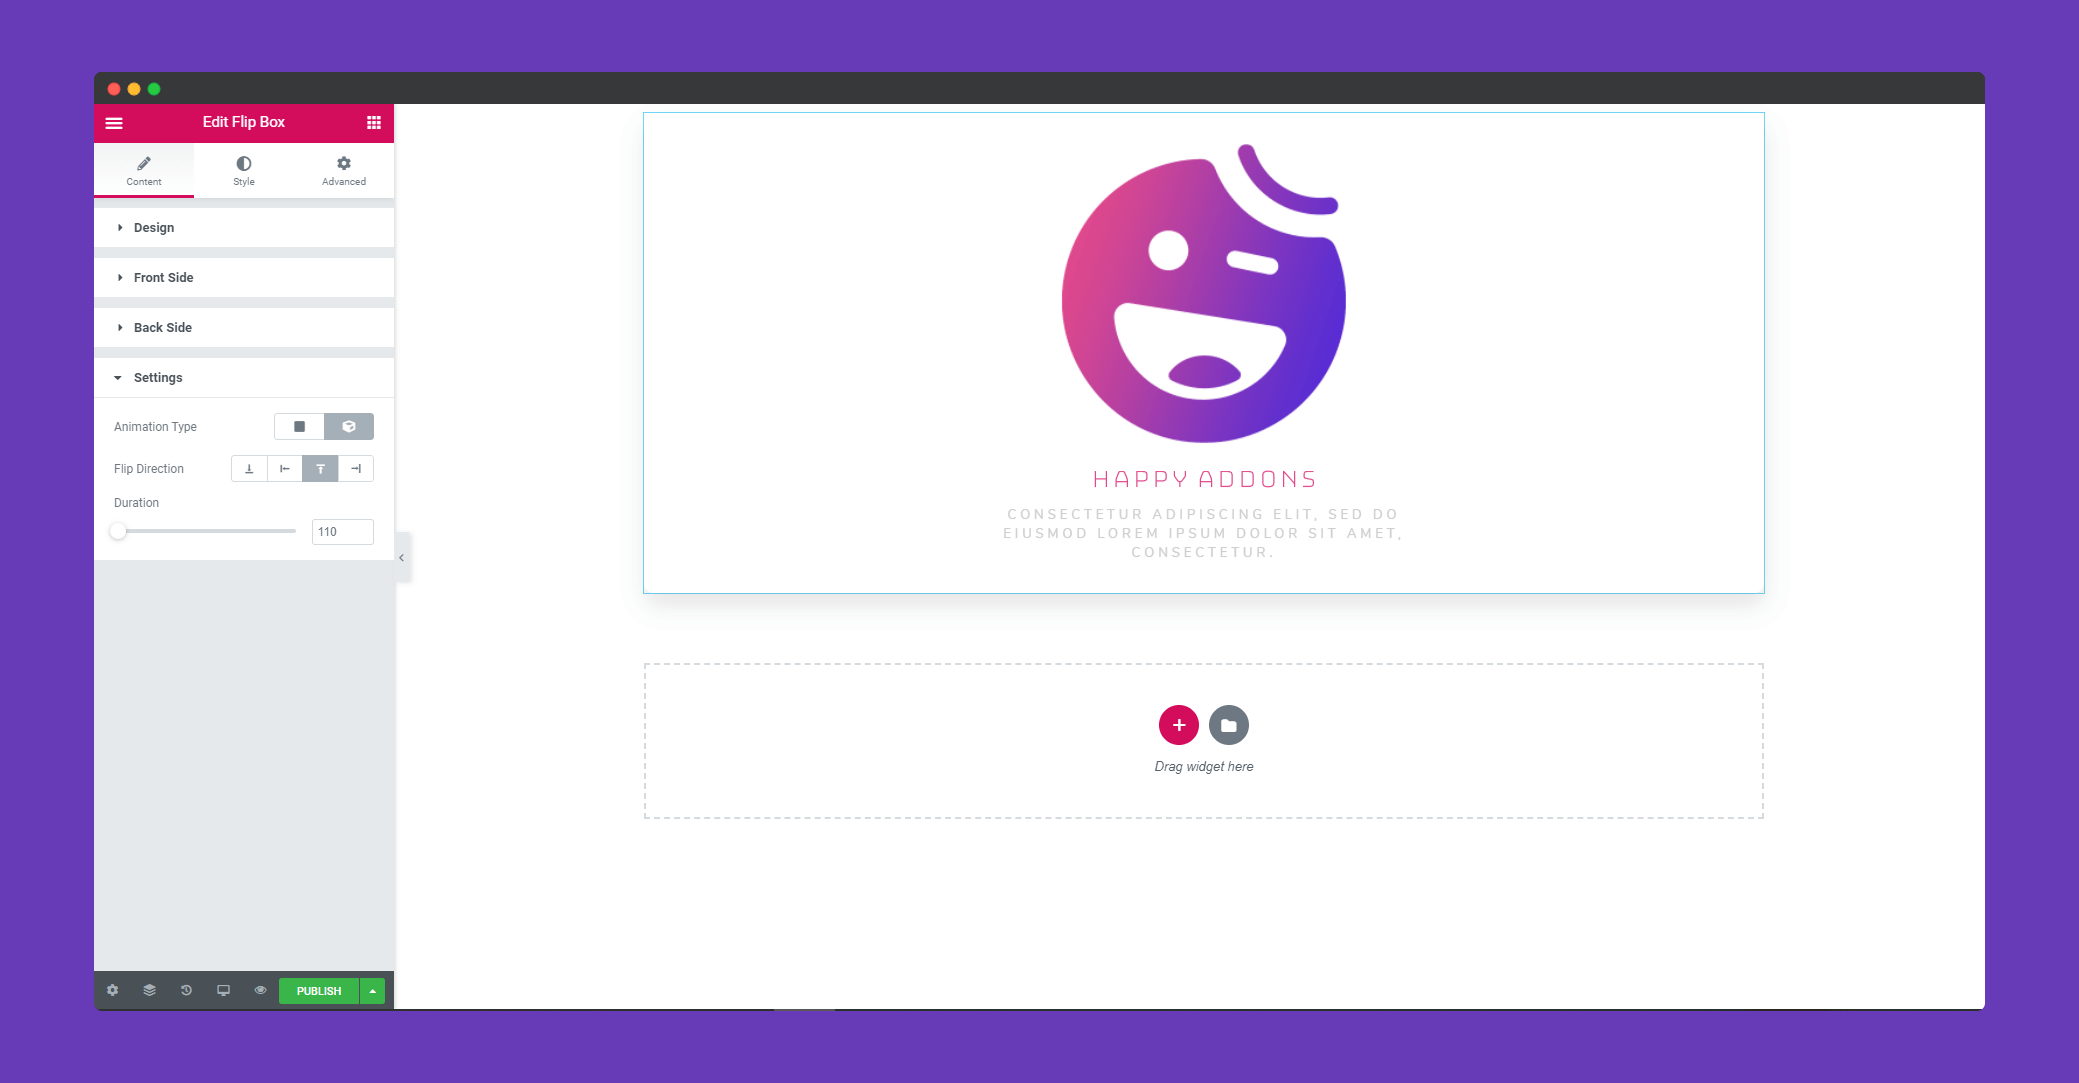
In ‘Settings‘, you can set animation speed, flip direction and duration.
Step 3:
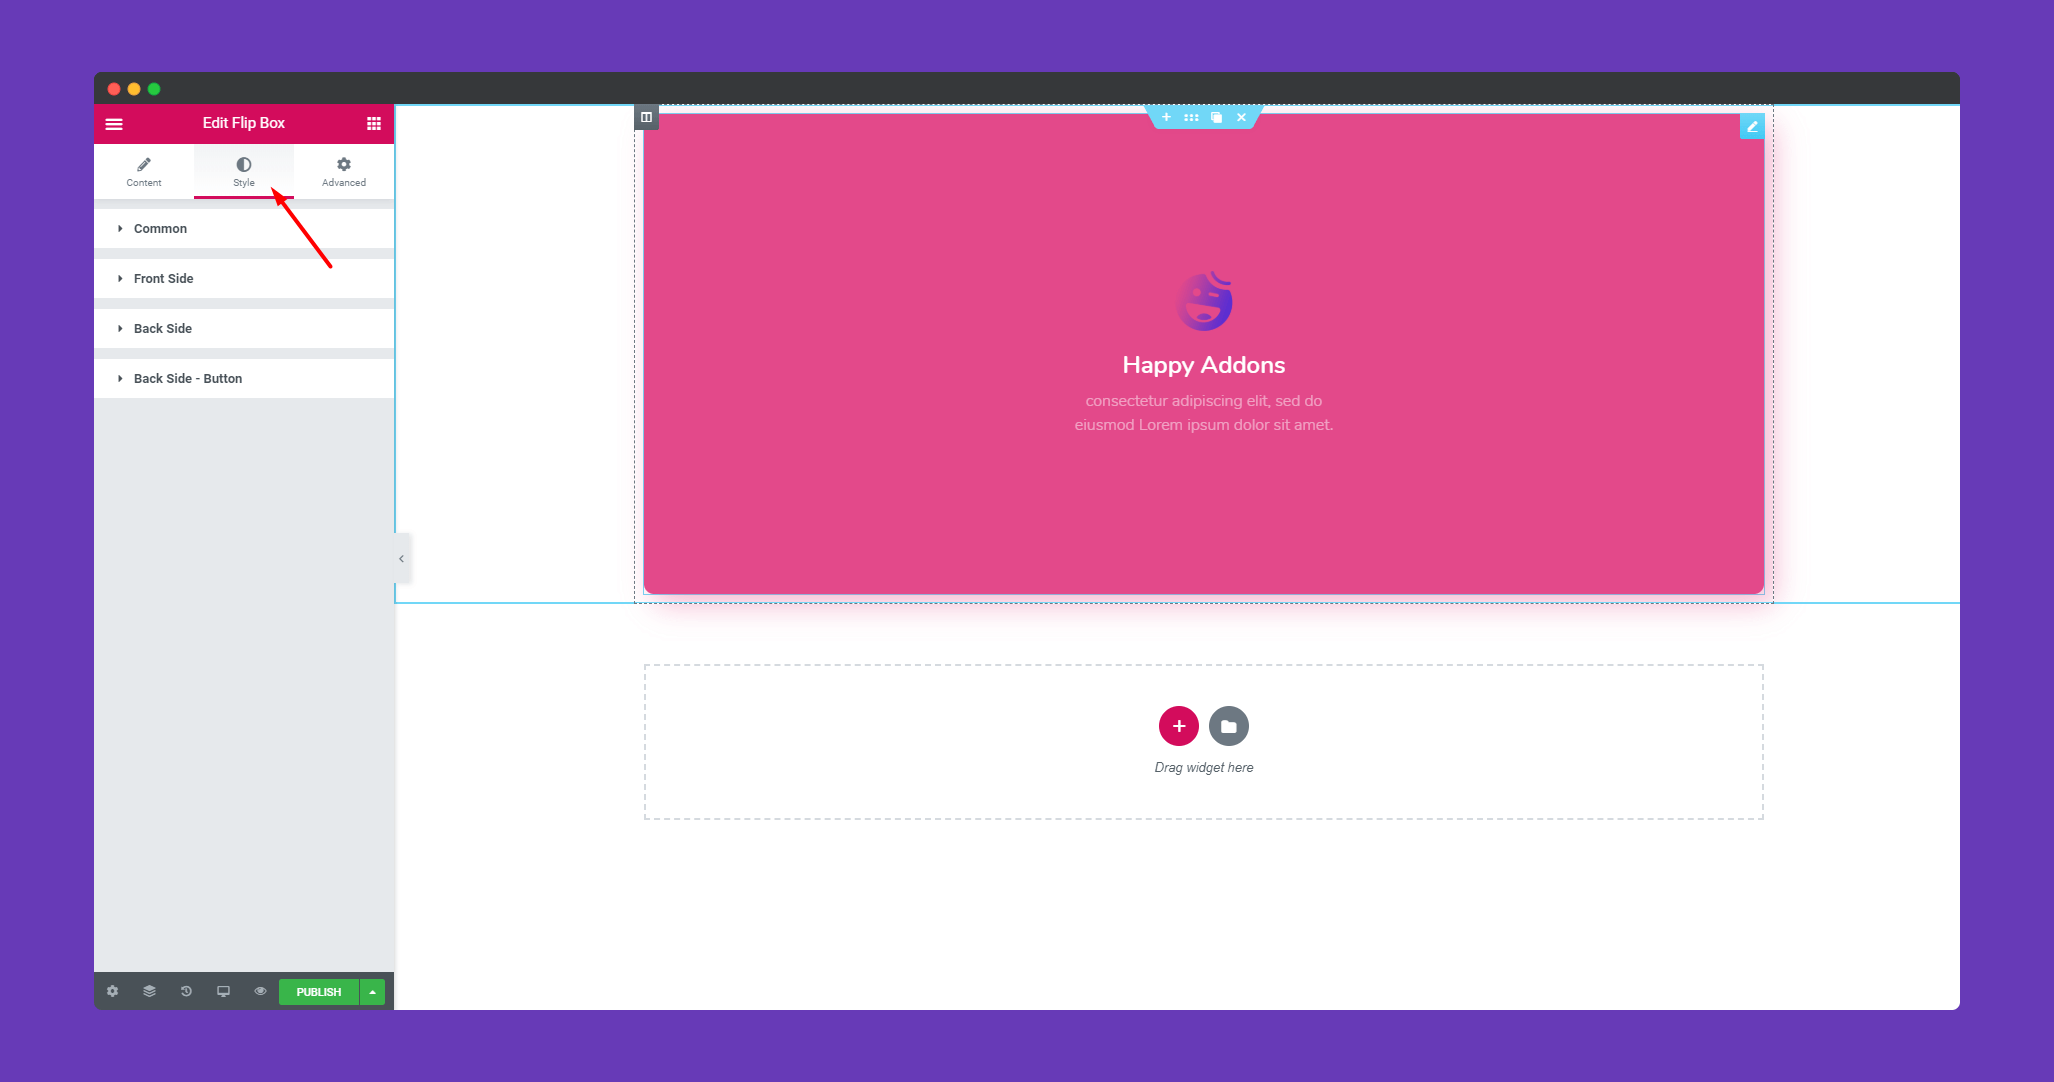
In the ‘Style‘ section, you will get options to design ‘Common’,’Front Side’,’ Back Side‘, and ‘Back Side-Button’.
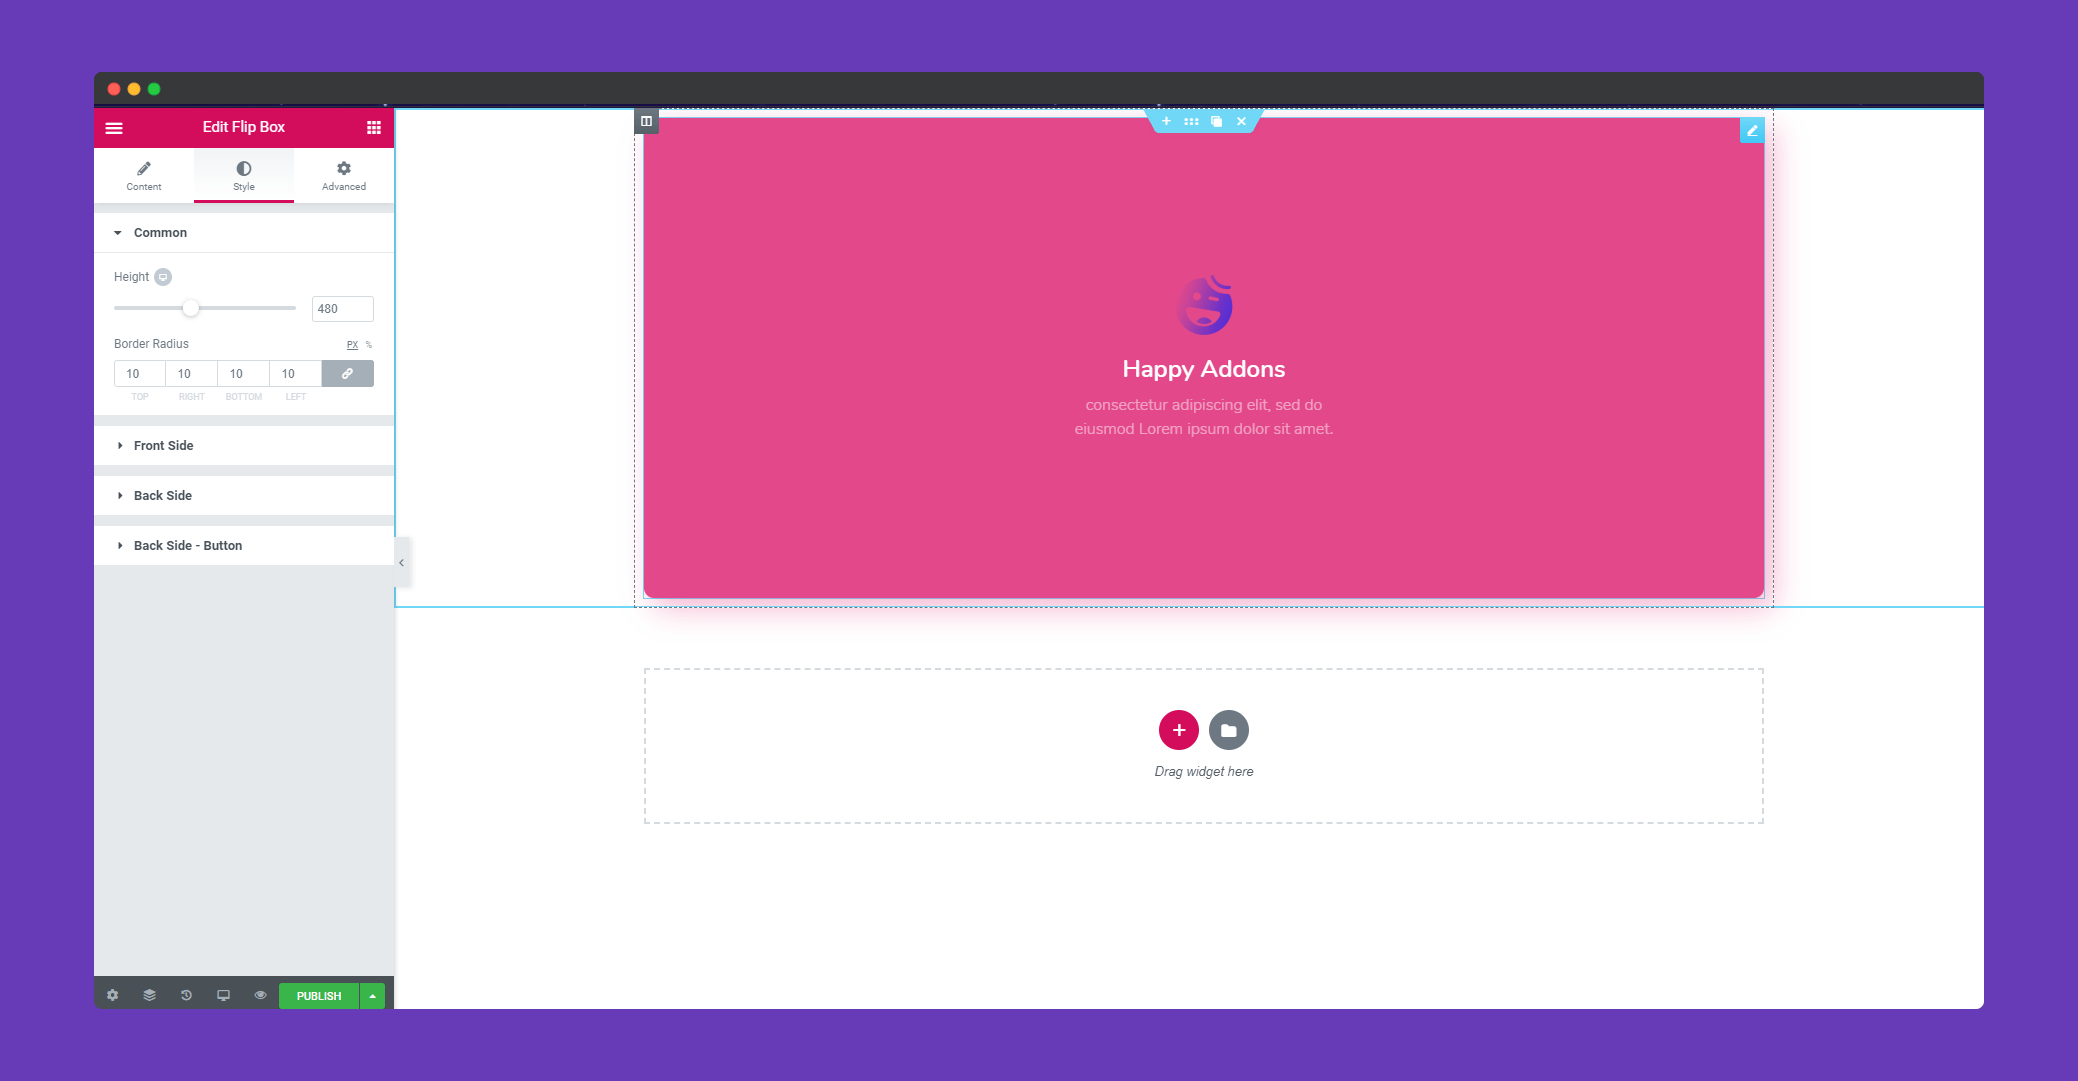
In ‘Common‘, you can set height and border-radius.
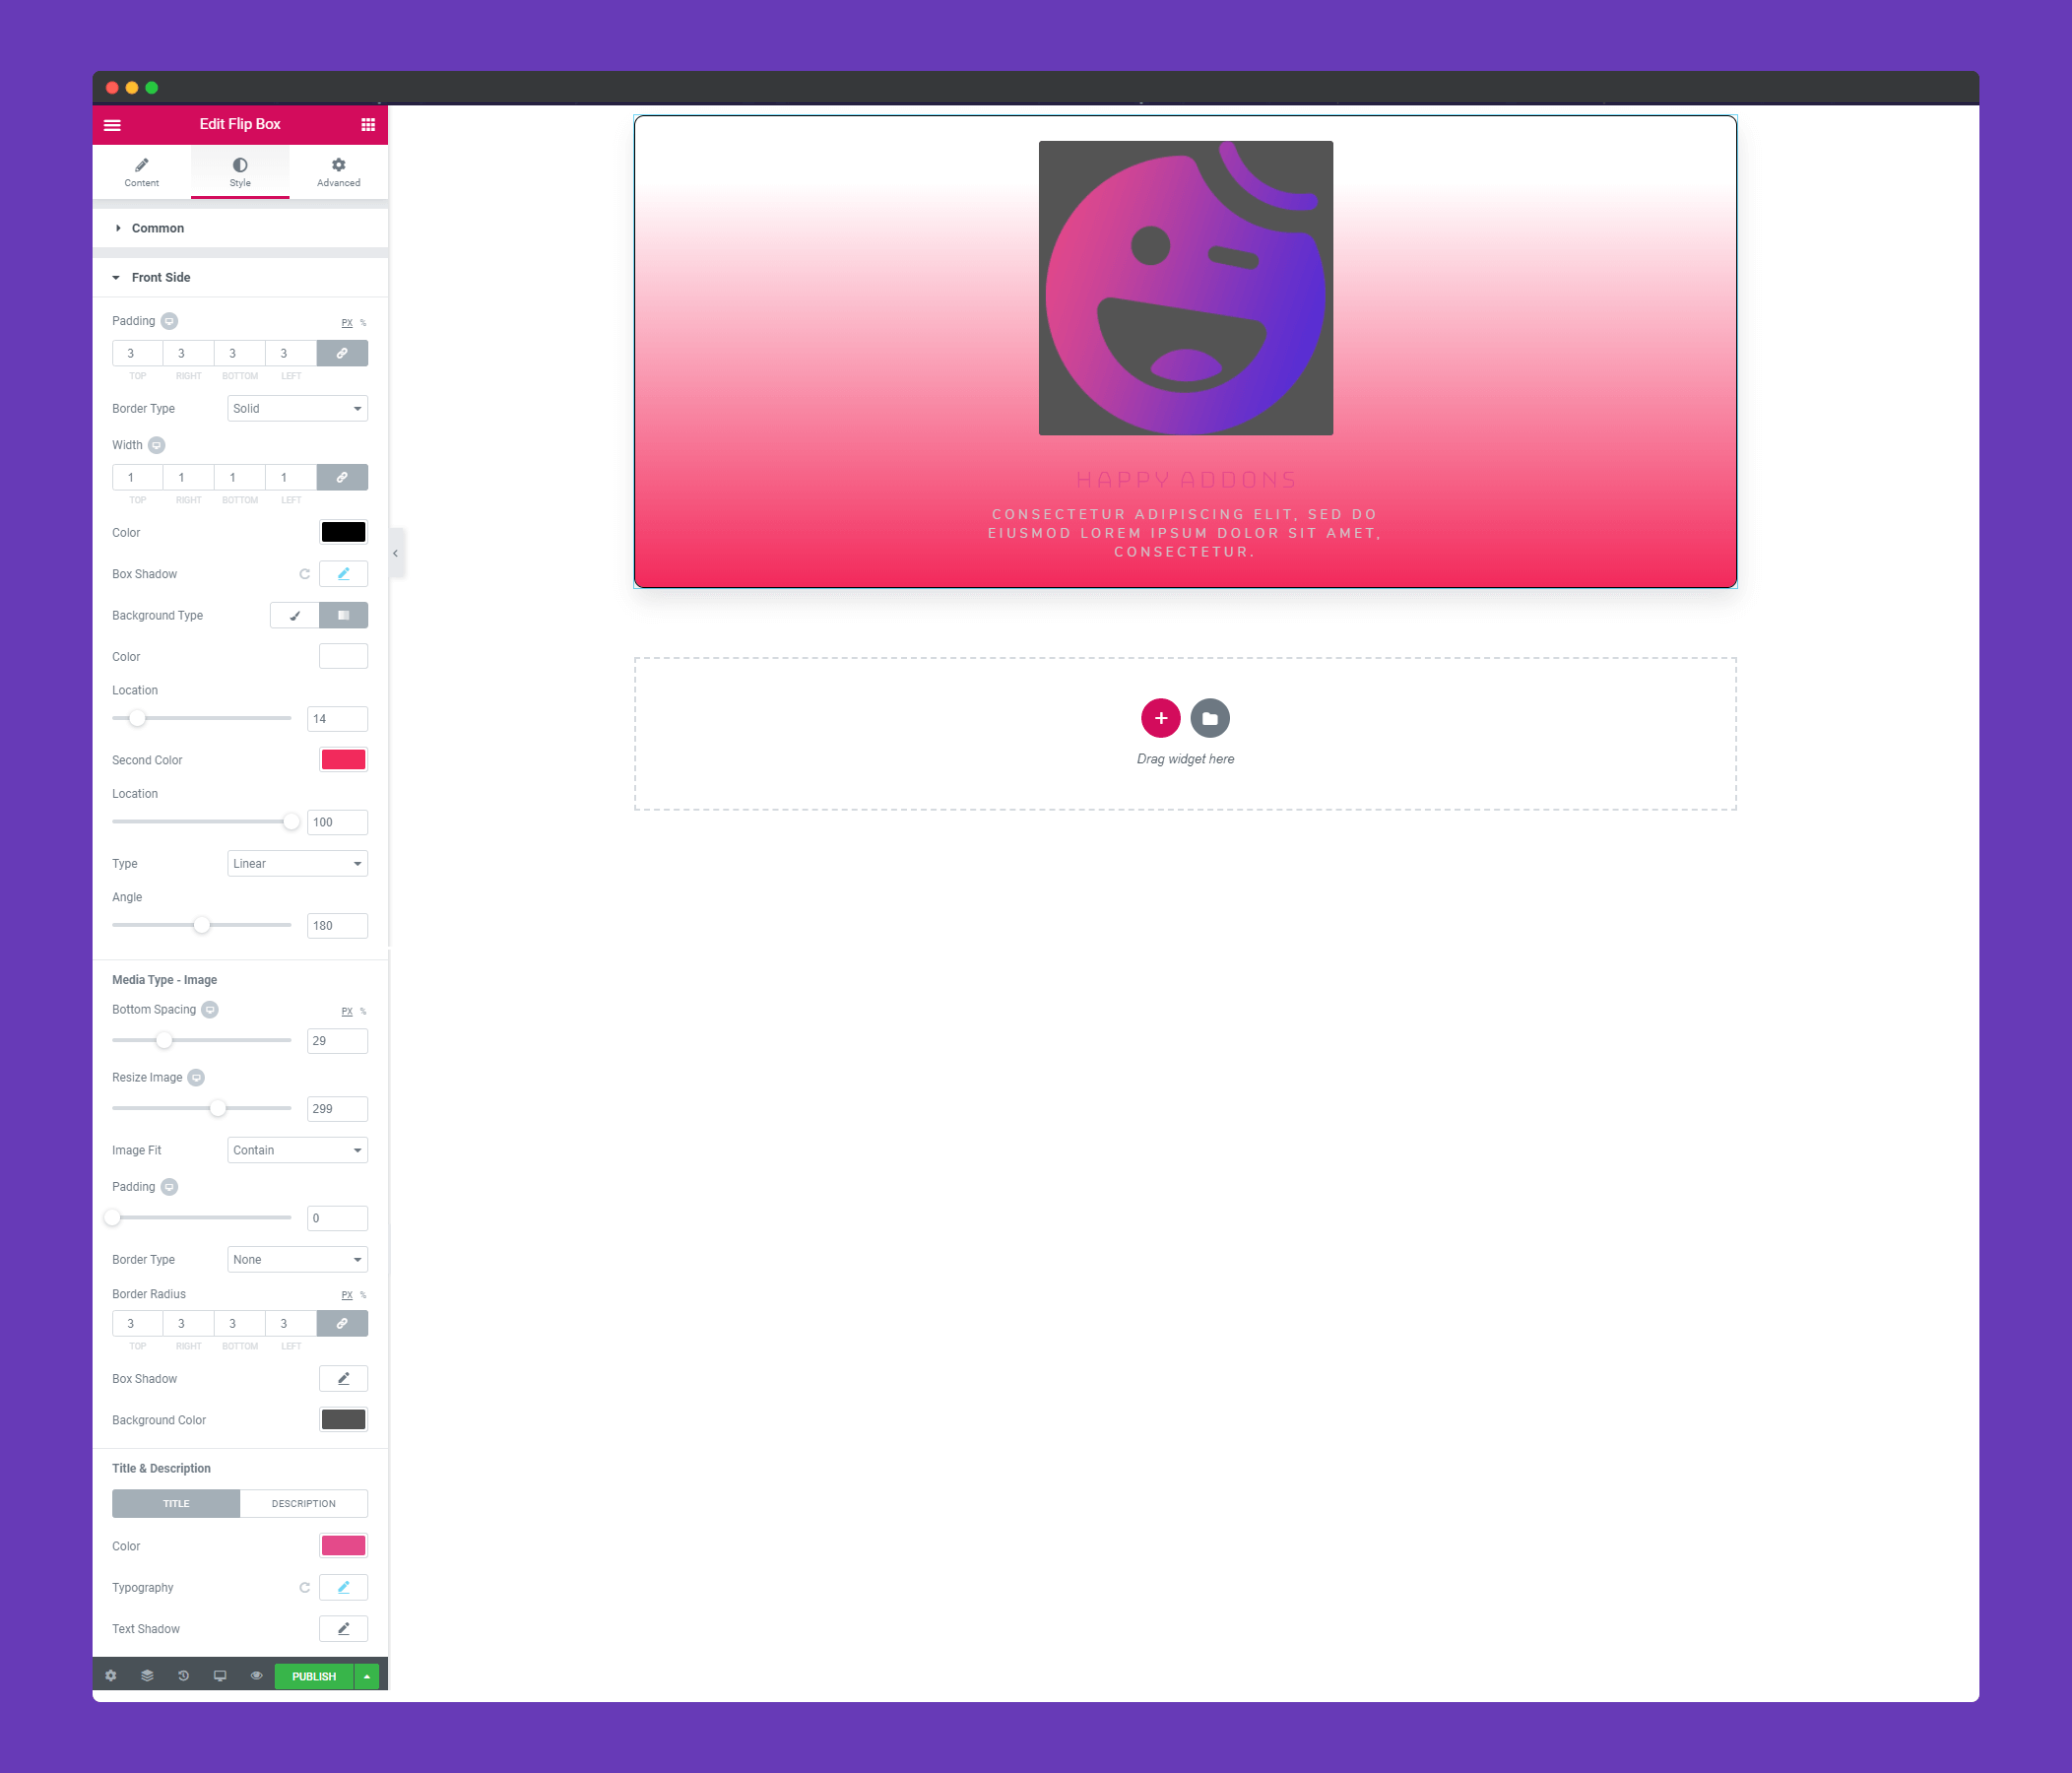
In ‘Front Side‘ you can add padding, border, color, box-shadow, background type and many more. You can add spacing, resize the image, add padding, border to the image. You can color, use typography for title & description.
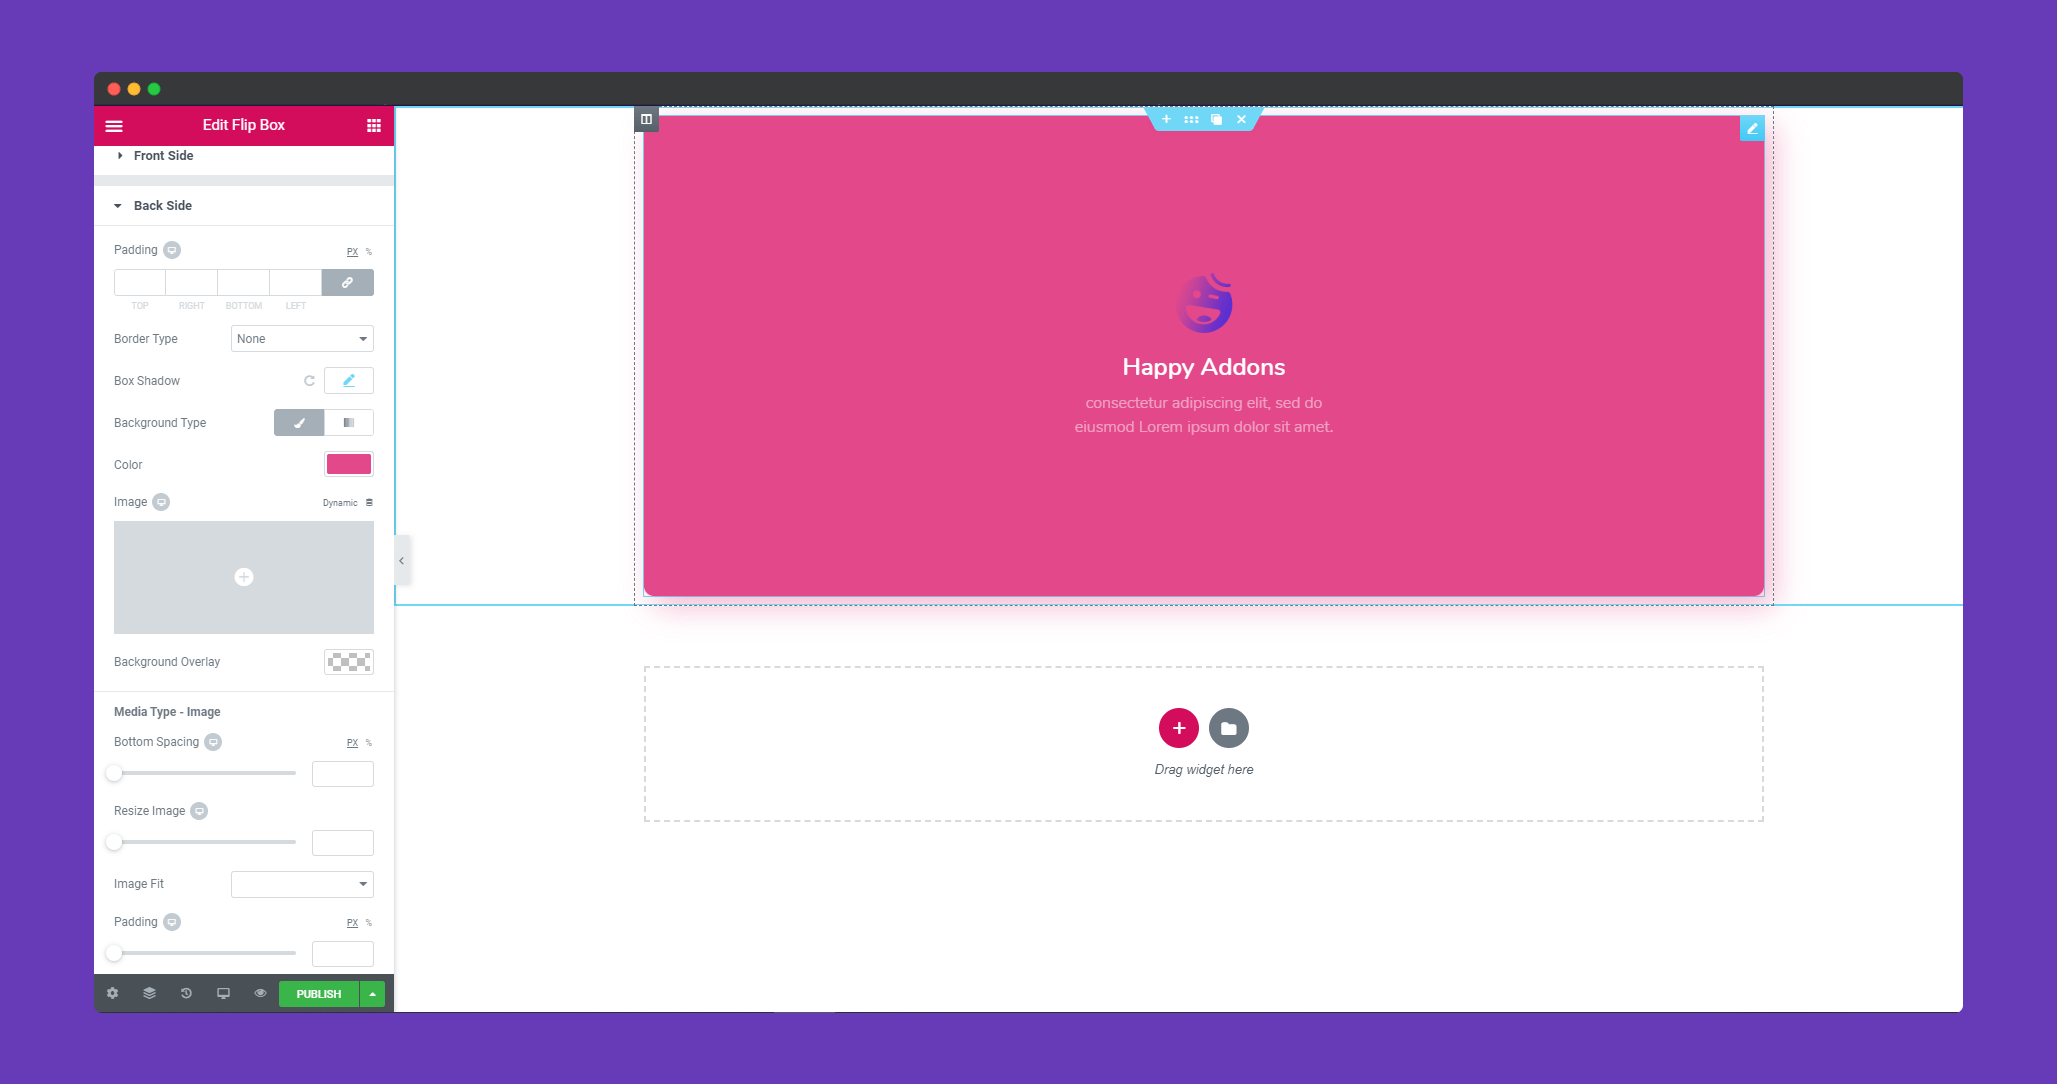
The same options for ‘Back Side‘ also.
You can choose font, size, weight, line height, letter spacing with typography.
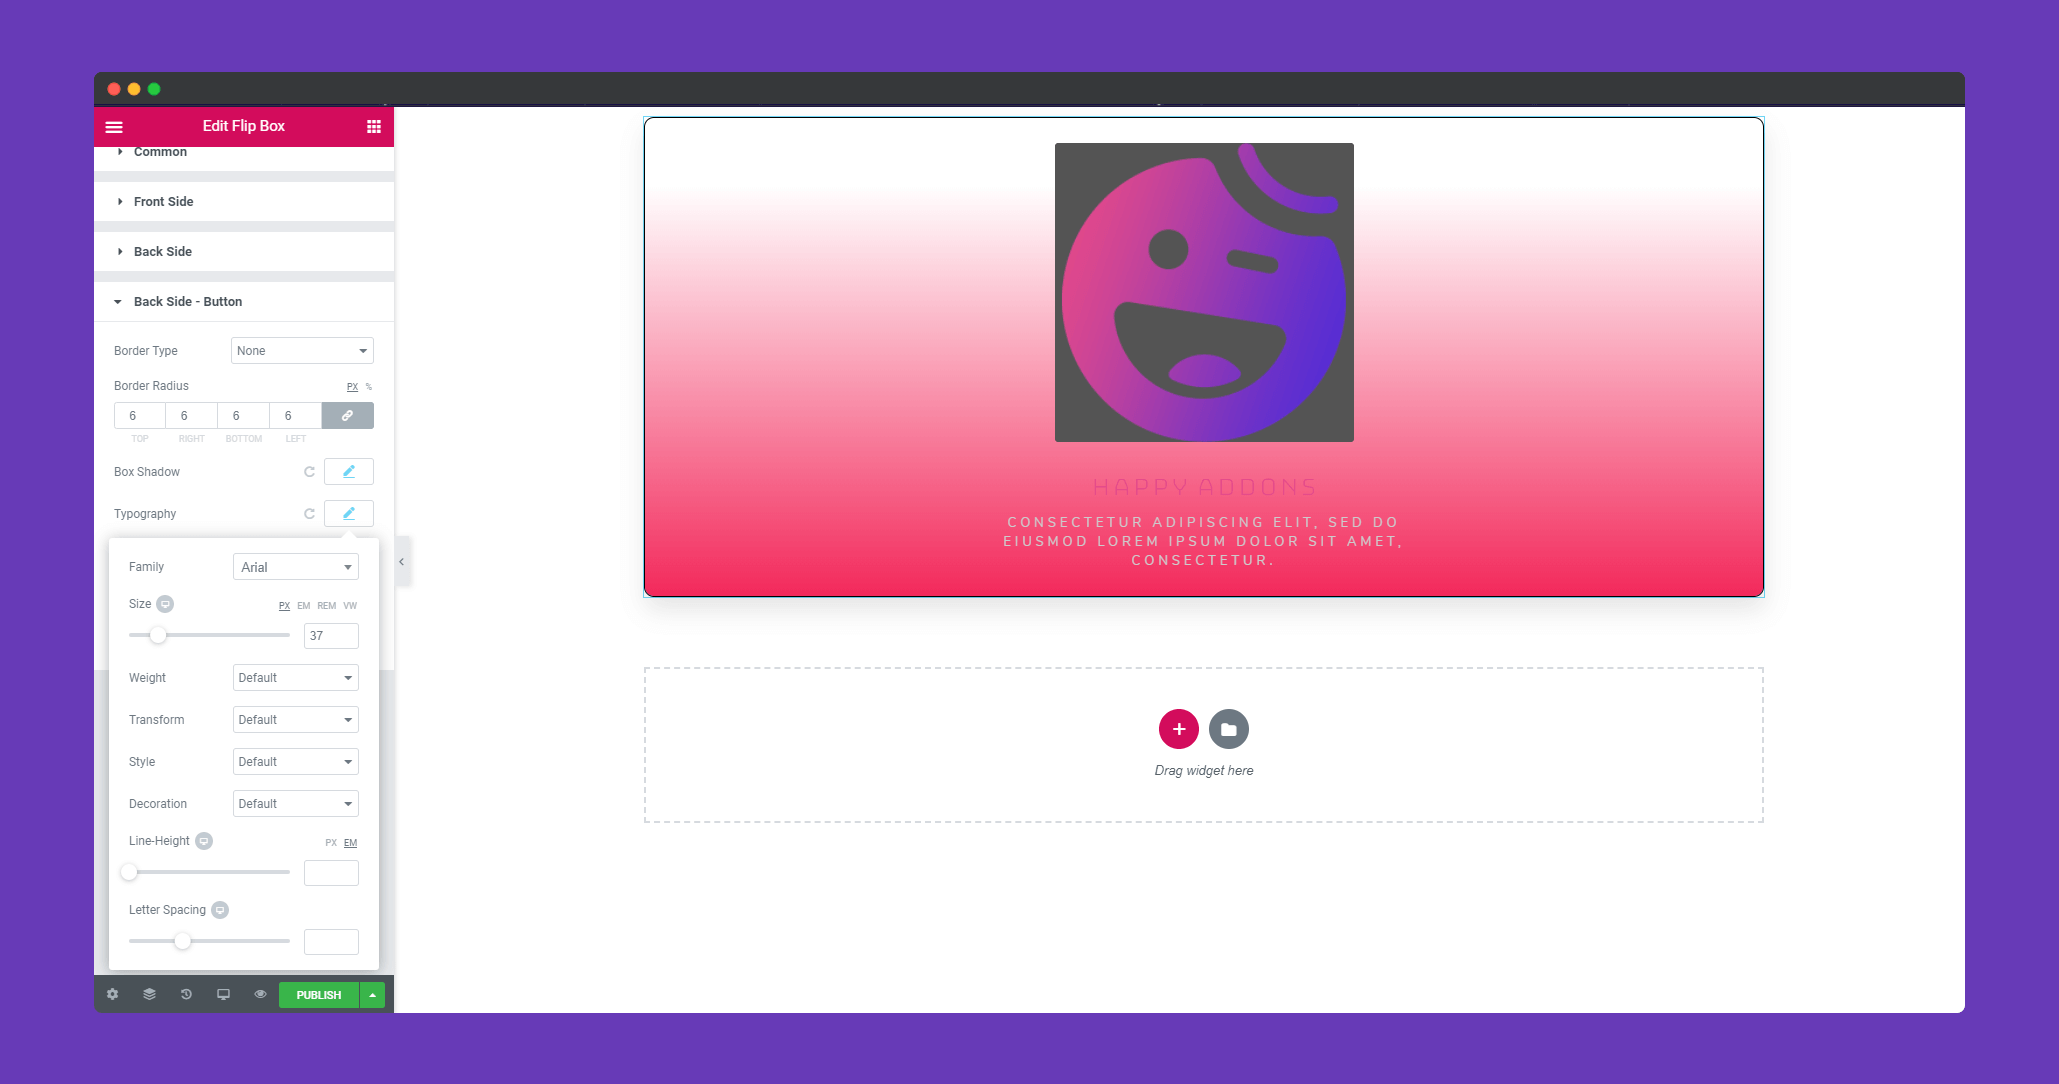
In ‘Back Side -Button‘, you can add a border, box-shadow, use typography. You can add a hover effect if you want.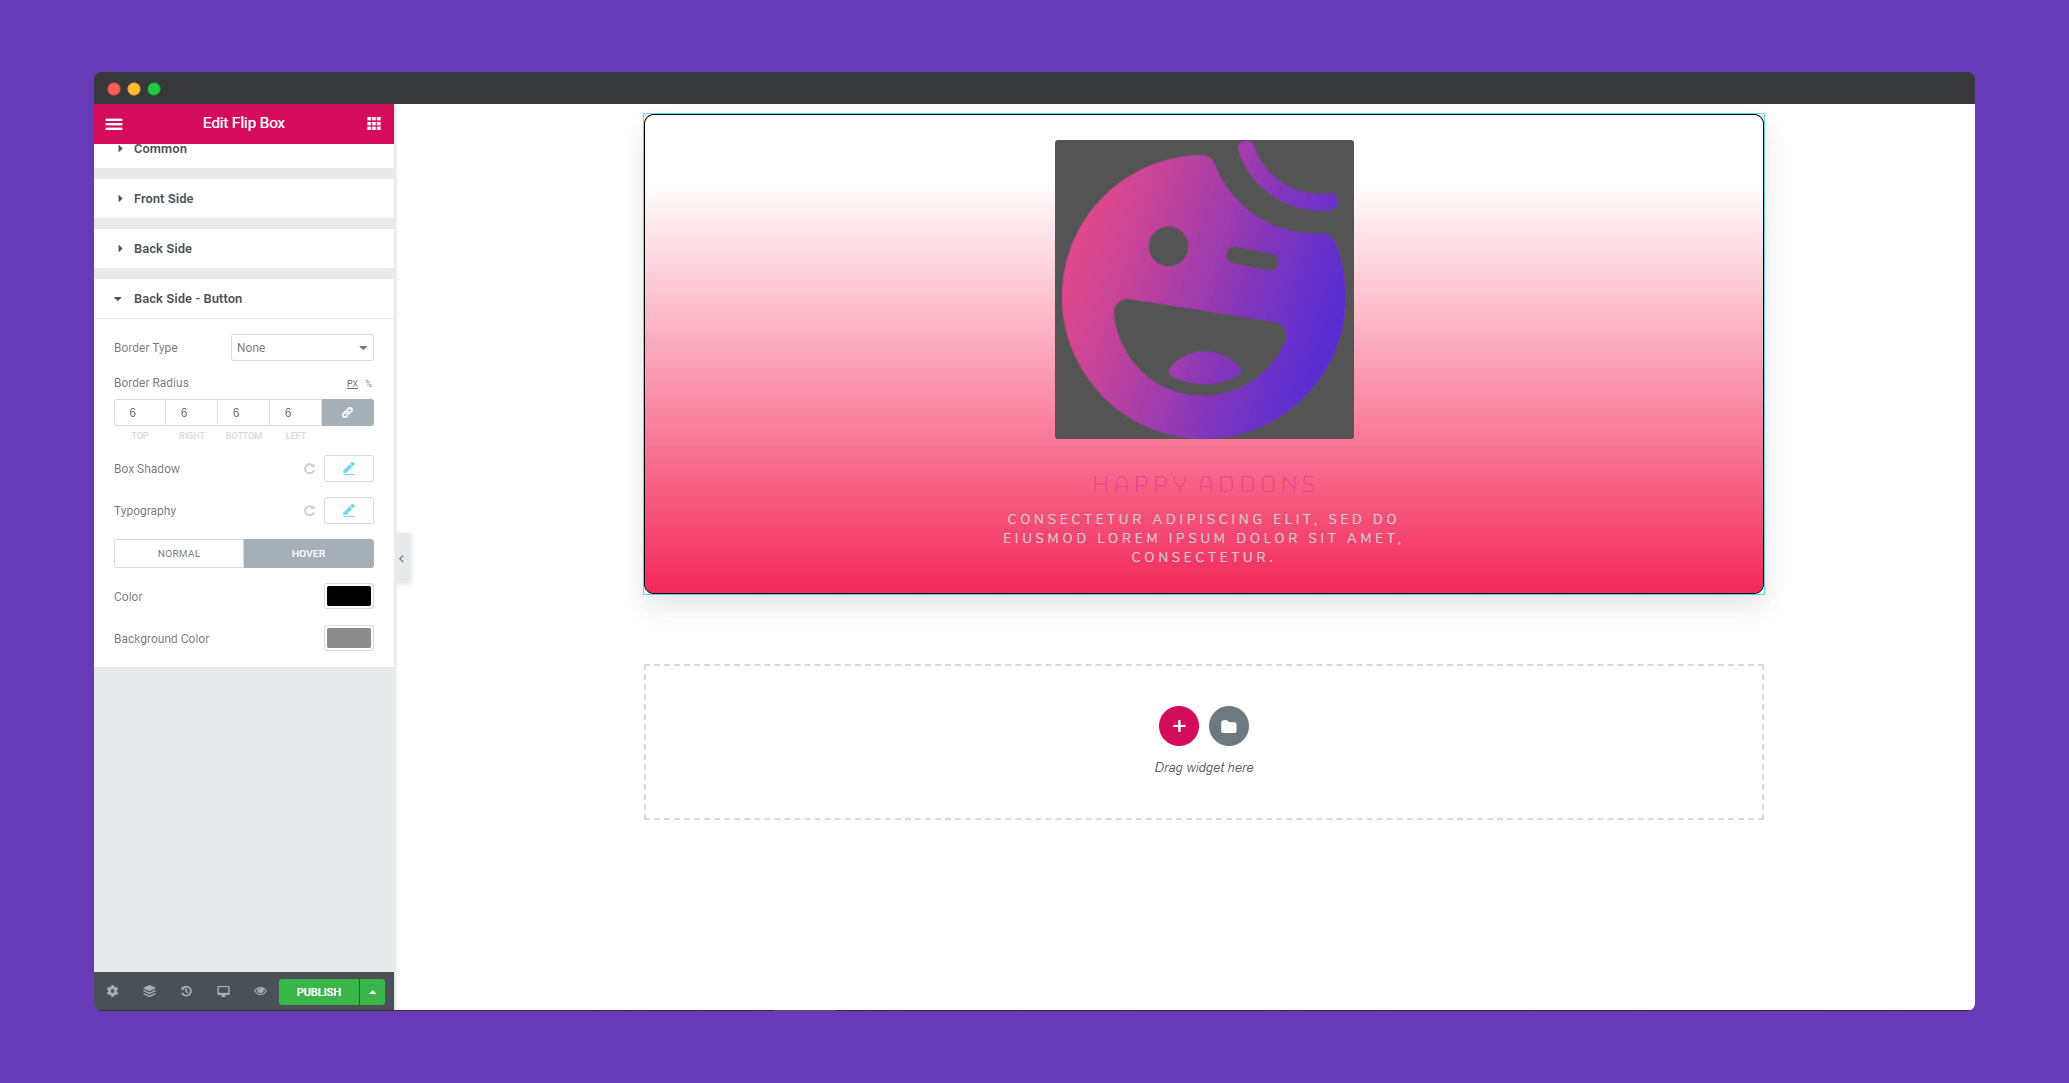
Step 4:
If you want to add motion effects, happy effects, background or make the page responsive, click on ‘Advanced‘ to explore those options. the ‘Advanced’ is a default feature of Elementor. Give a read to this Document to know more about Advanced features and its uses.
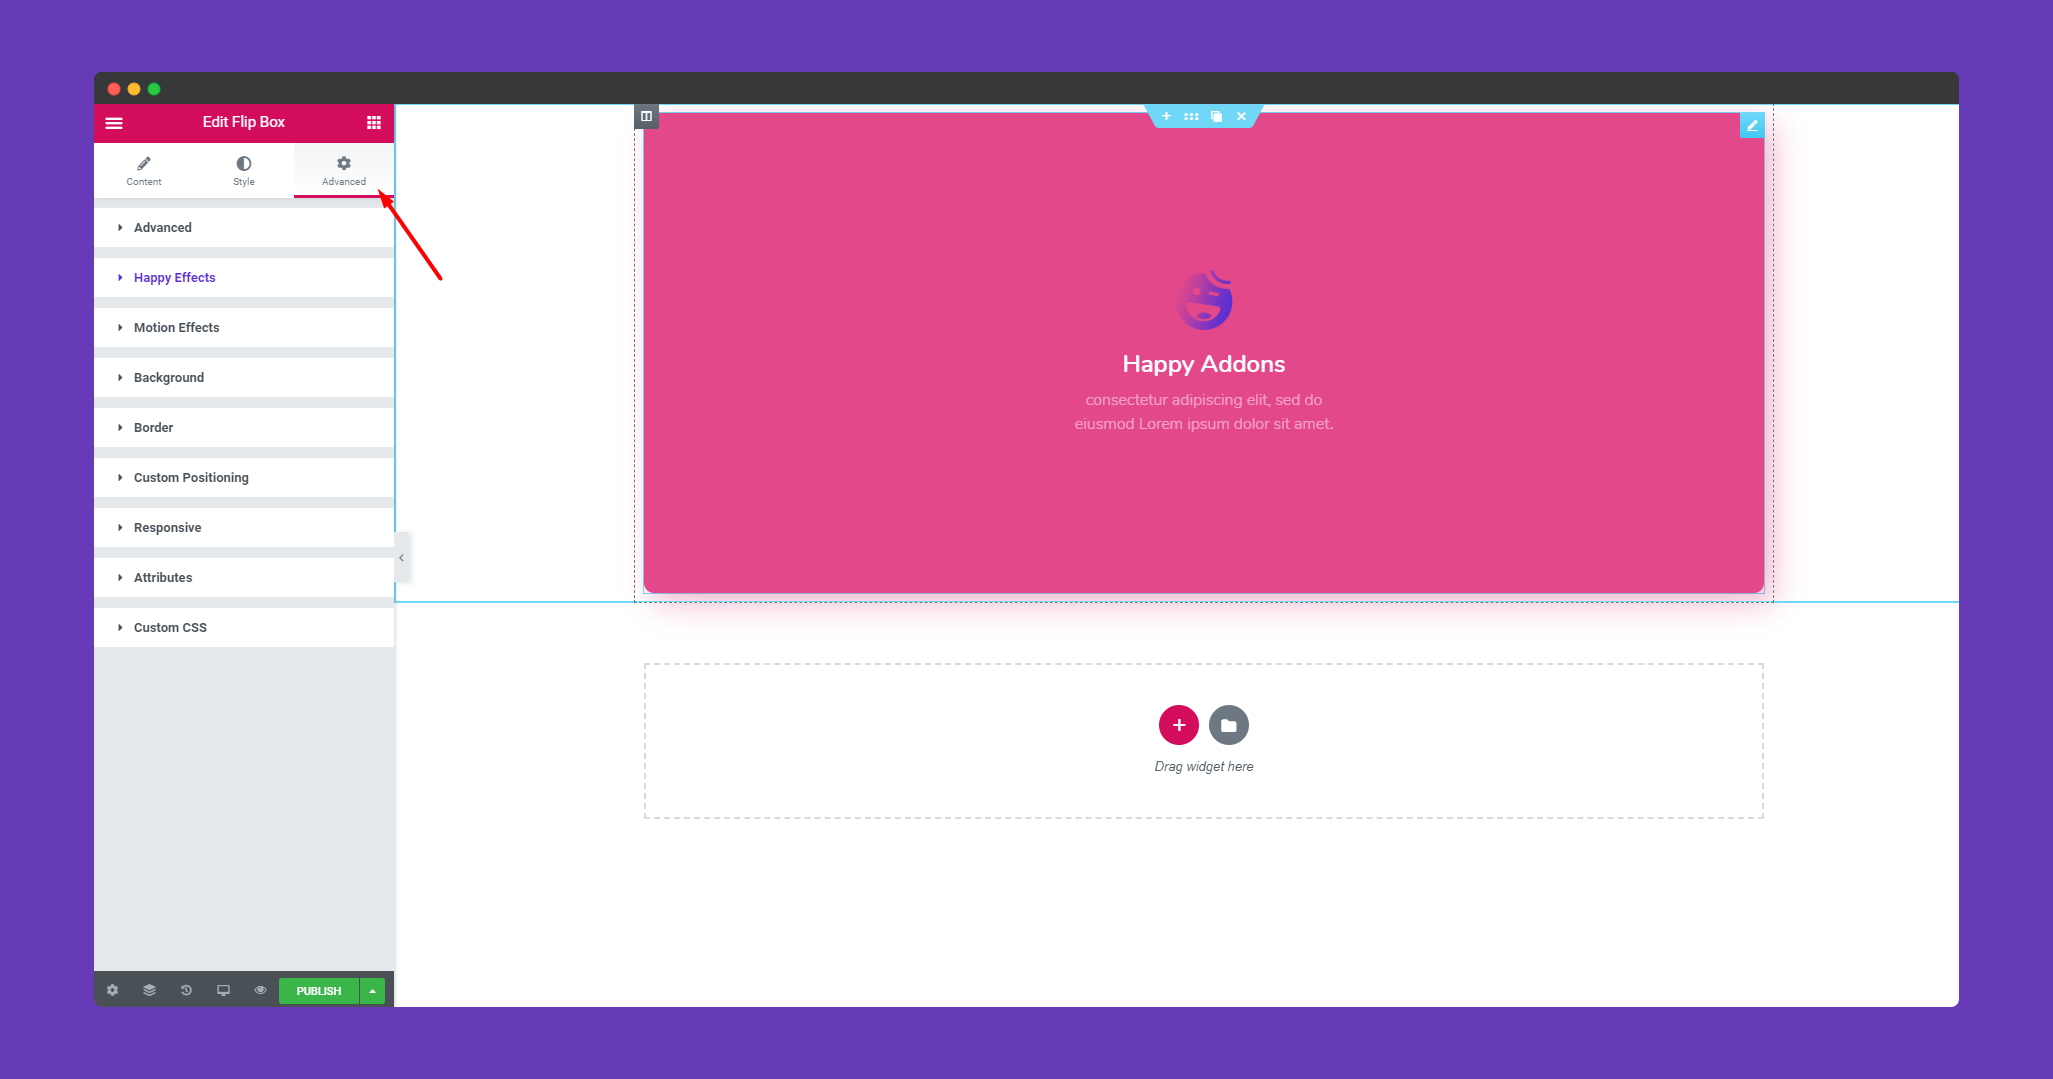
Finally, after clicking the publish button you can see the beautiful flip box on your webpage.
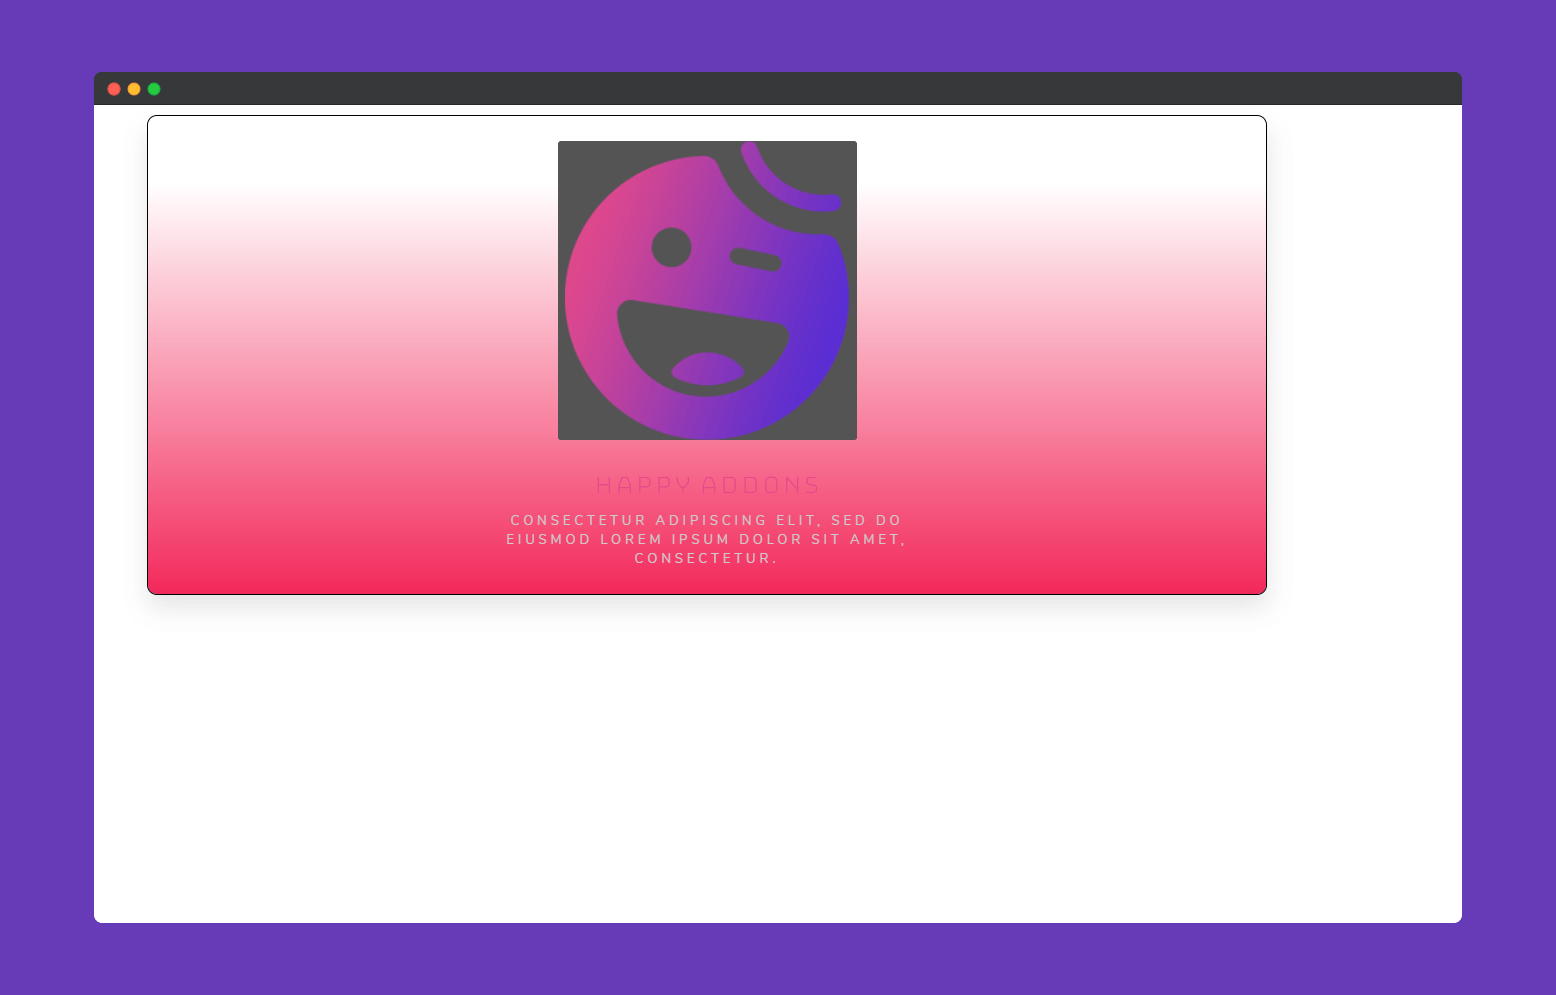
That’s it!
