Using the Post Grid widget of Happy Addons Pro, you can seamlessly showcase your blog in different stylish ways. Therefore, it will increase your blog standard to the next level and make your blog post more appealing to the visitors.
So let’s see quickly how you can make the best use of this feature.
Using Post Grid Widget
Step one:
Like all other Happy Addons widgets, this widget is also requires only drop-drag to get started initially.
So navigate to your Elementor page, and select the widget from the left side of your screen and drag it on the screen.
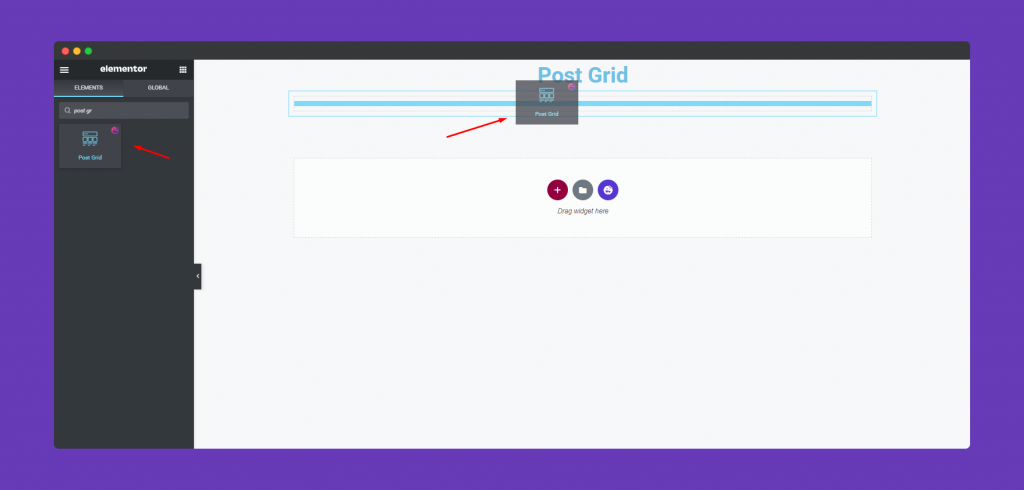
After adding the widget, you could see that your posts are already appearing next to the right side of the screen. Also, customizing options are available to edit.
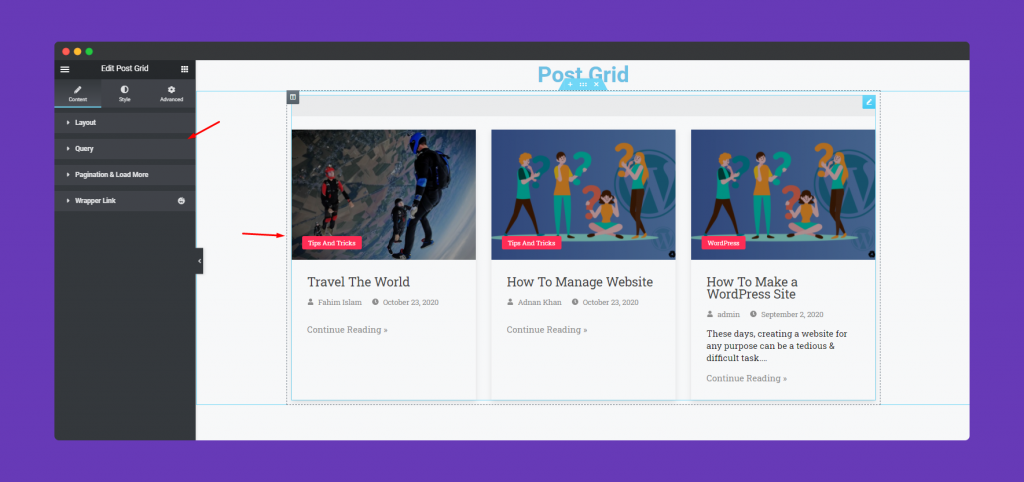
So move on to the next step.
Step Two:
Layout:
Next, in the layout section, you’ll be able to use 7 different skins for your posts.
- Classic (default)
- Hawai
- Standard
- Monastic
- Stylica
- Outbox
- Crossroad
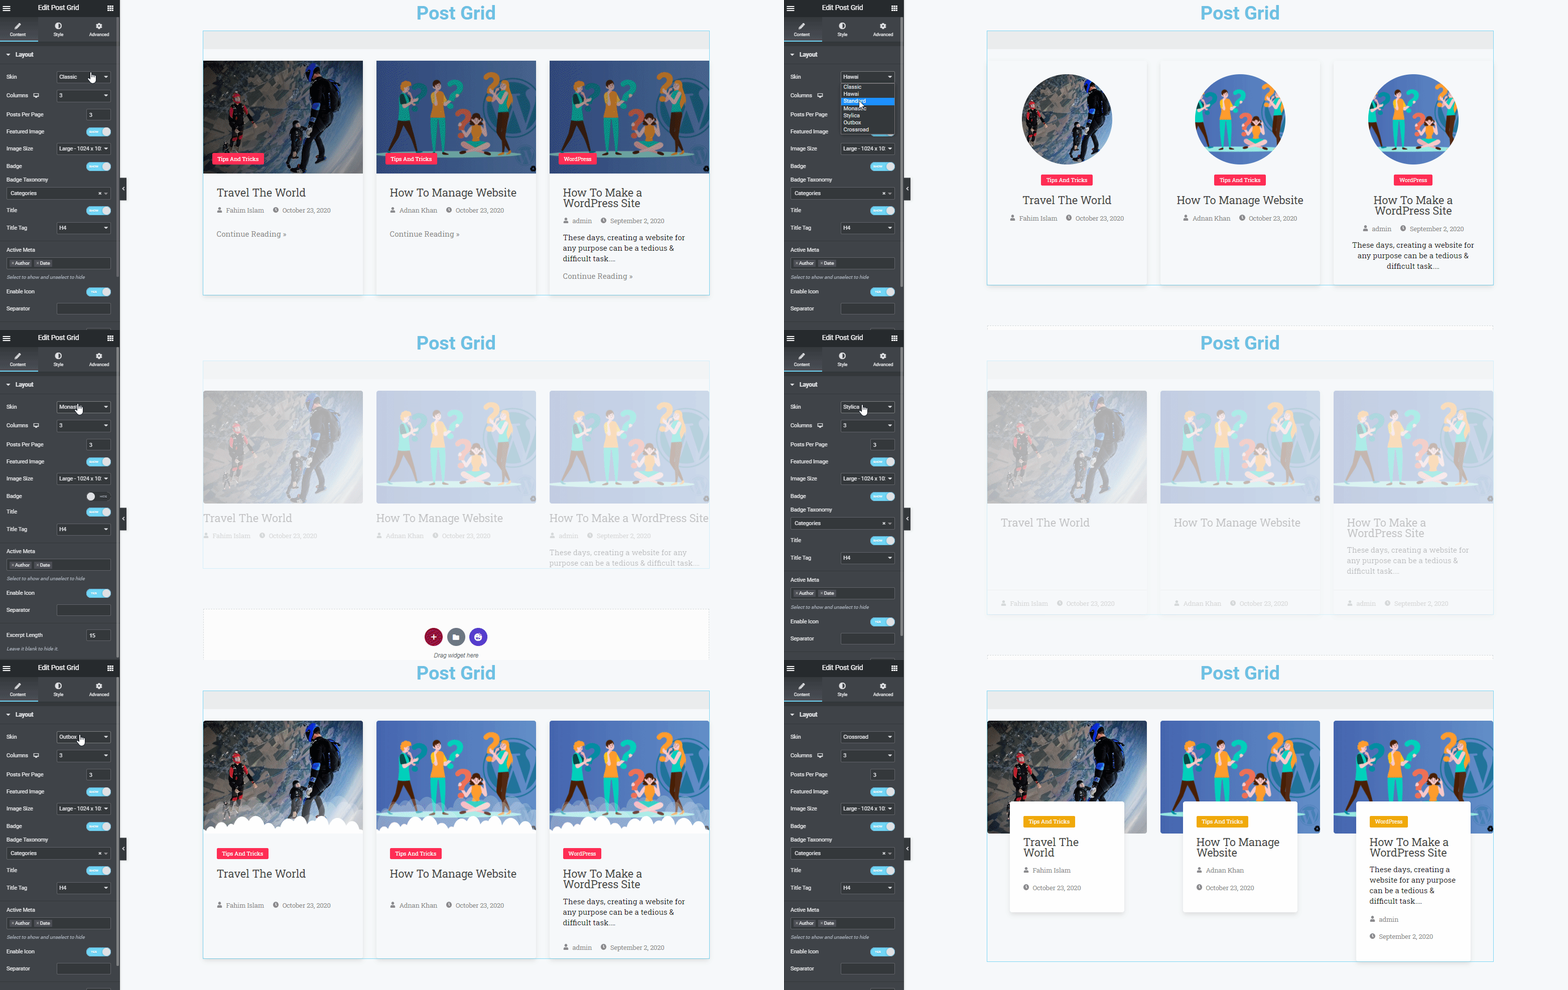
Here you can also perform certain things to give a better look at your blog post view. For example, you can set the column, activate feature image, badge, select badge taxonomy, hide or show title, title-tag, meta-data, hide or show icon, and enable separator, etc.
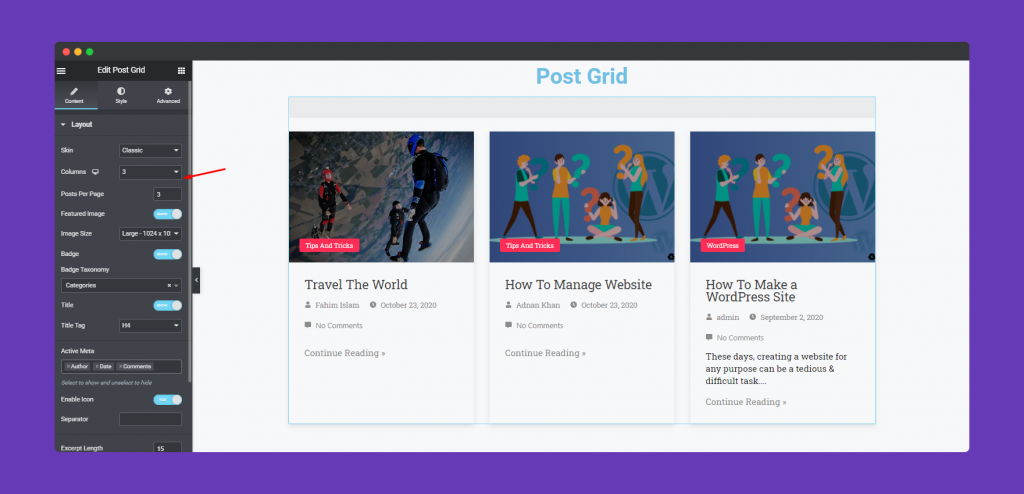
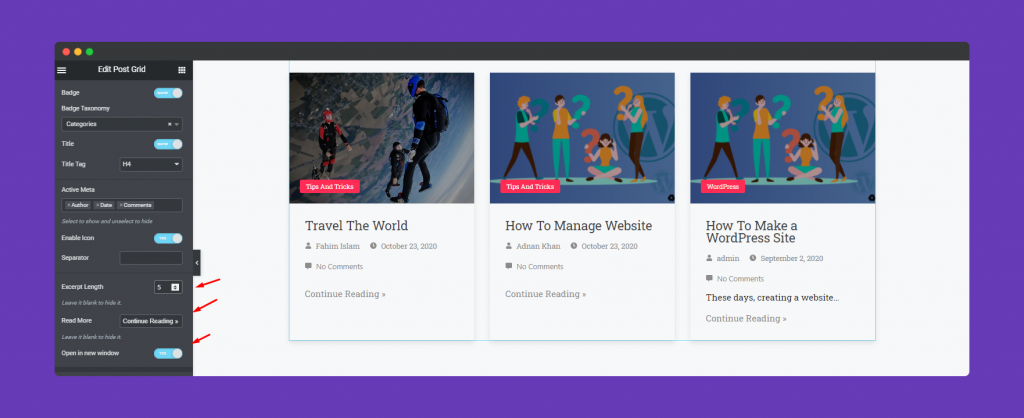
In the last part of the layout section, you can also set the excerpt limitation, customize Read more button and choose whether your post will be opened in a new window or not.
Query:
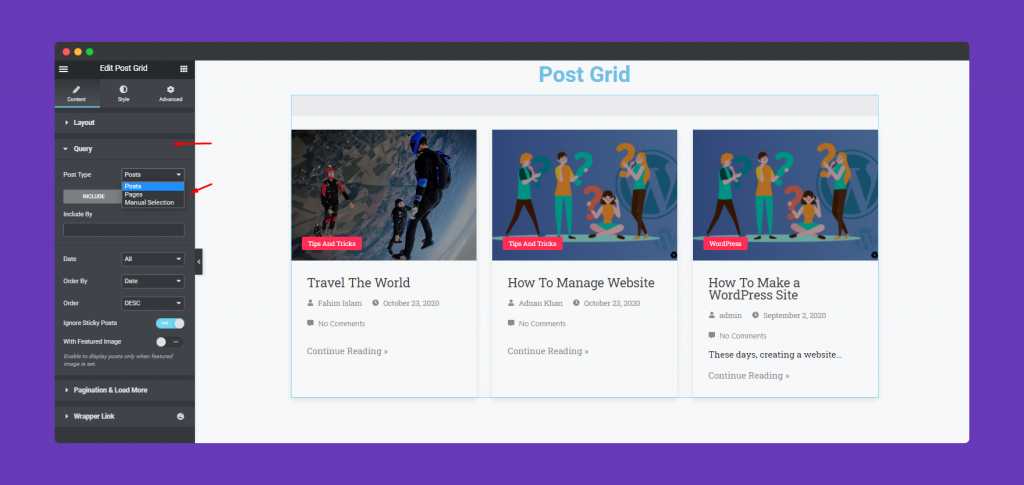
This section is the most important part of this feature. You need to carefully select the post type. Here are three types of option for you. Post type – Posts, Pages, Manual Selection. Do make sure that you’re selecting posts, in this case. Because you’re going to show the post as a grid view not pages.
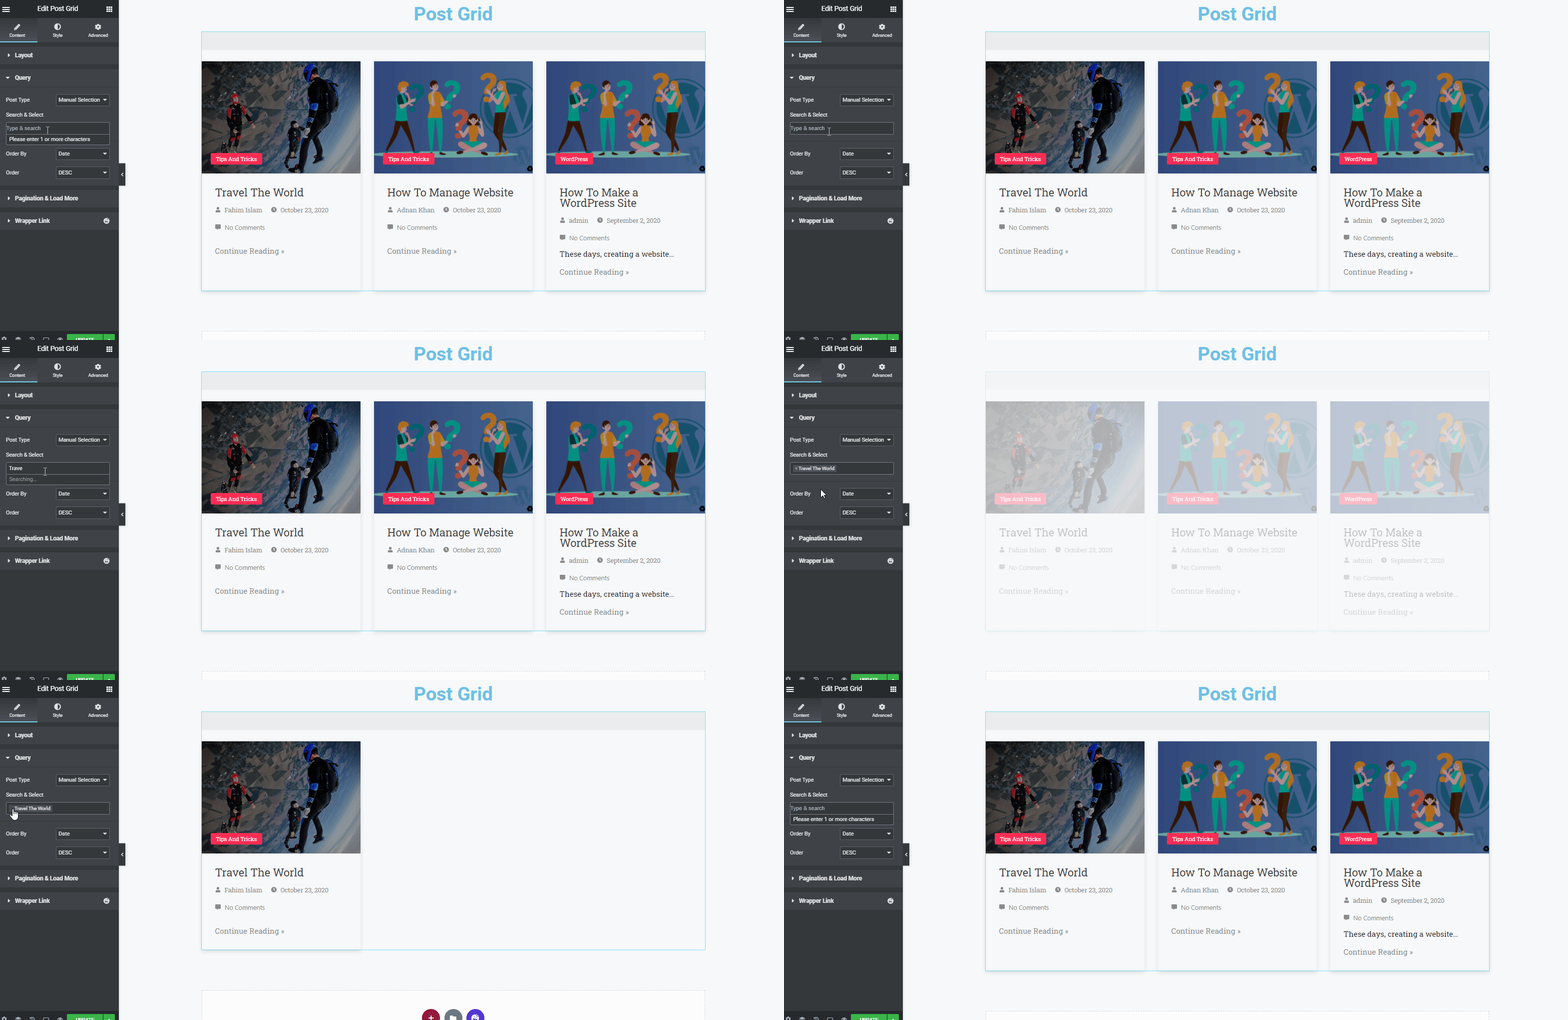
Or if you want to select the post manually, then search for it and then choose the query. After you cancel the manual selection, then it will take its previous place.
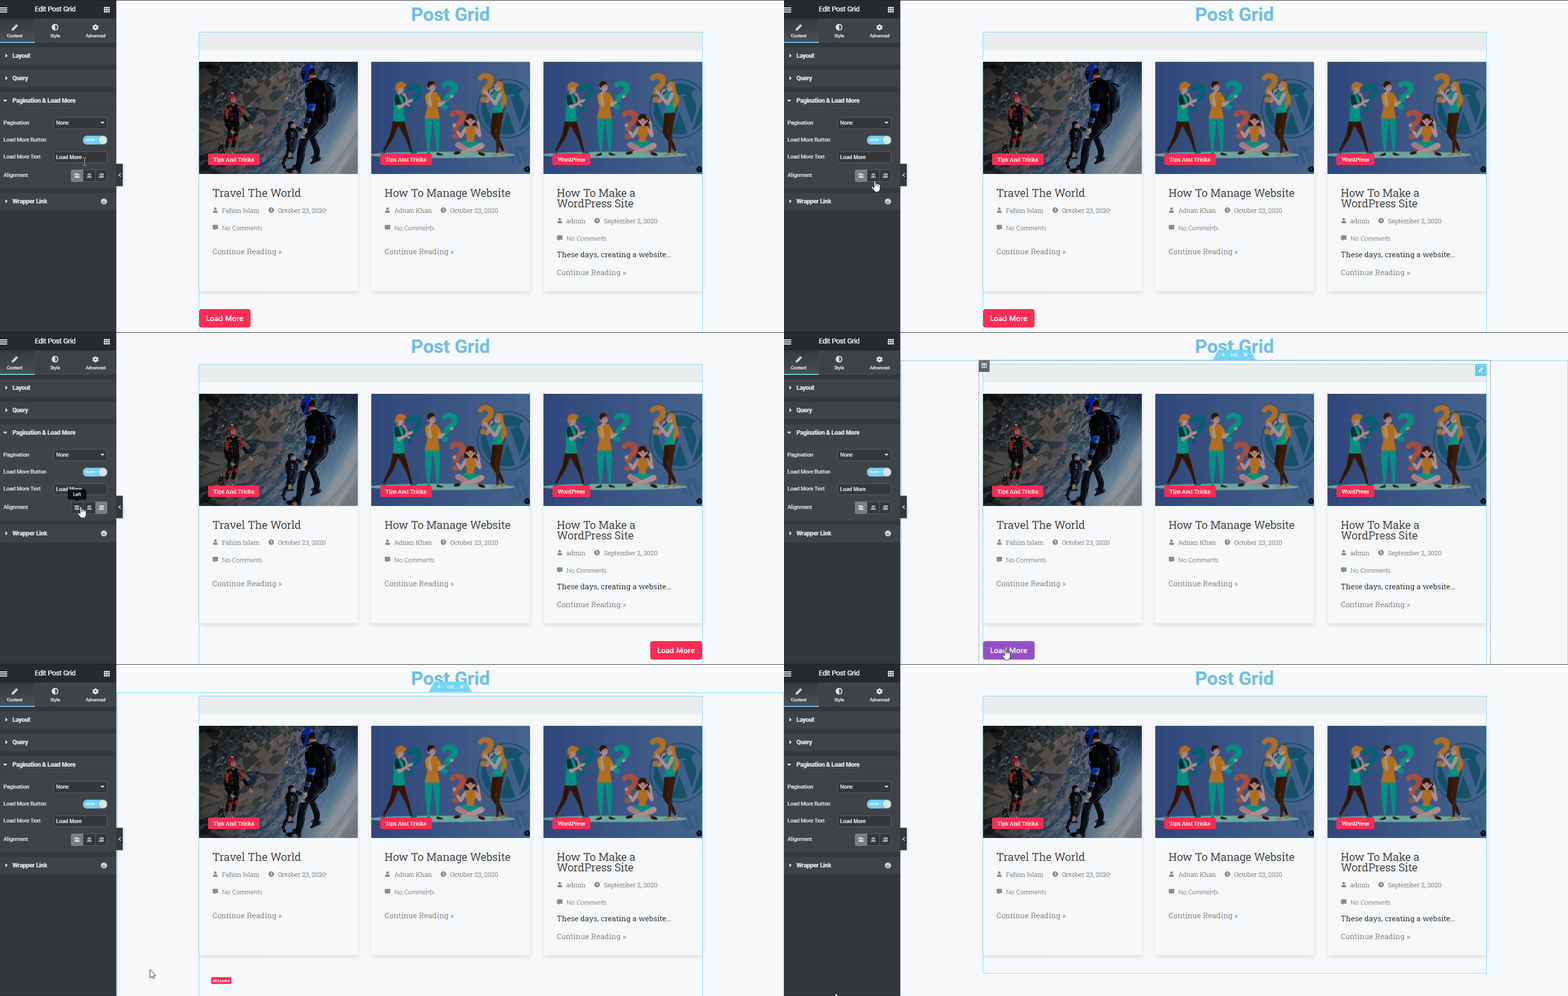
Pagination & Load More
Here you’ll get 4 different paginations. Each of these paginations have different features. So make sure you’re using your desired pattern.
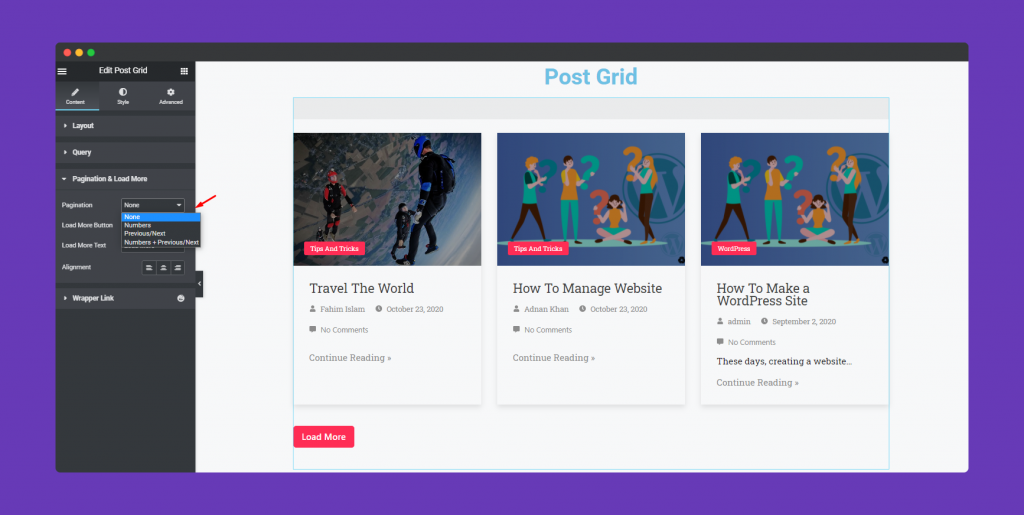
Interesting Part: While your page is done with the loading, if you click on the button, it will automatically disappear.
Wrapper Link
To know how Wrapper link works, check out the link now
Step Three:
So after done with eh primary customization, now its time to stylize the design a bit more. Okay, let’s see how to do it.
To do that tap on the Style Button.
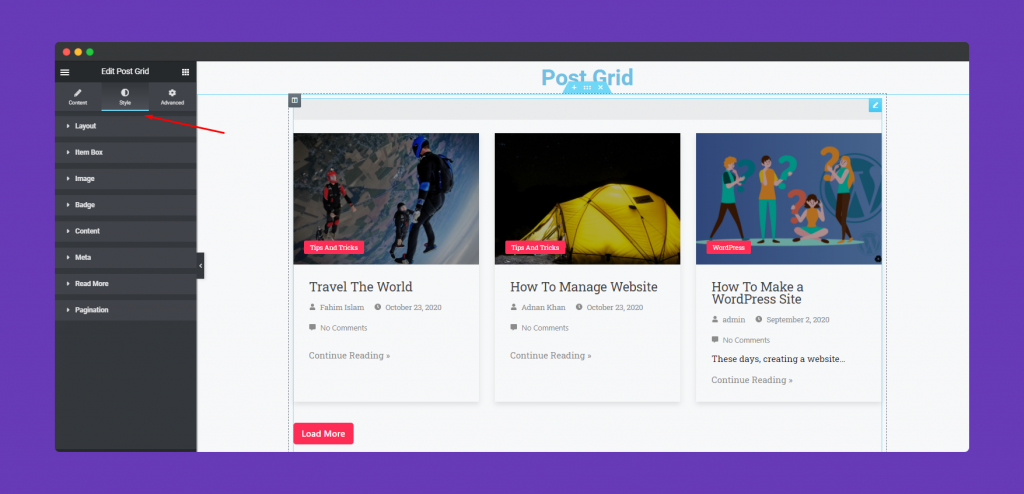
First we have column & row. So you can give the preferable size.
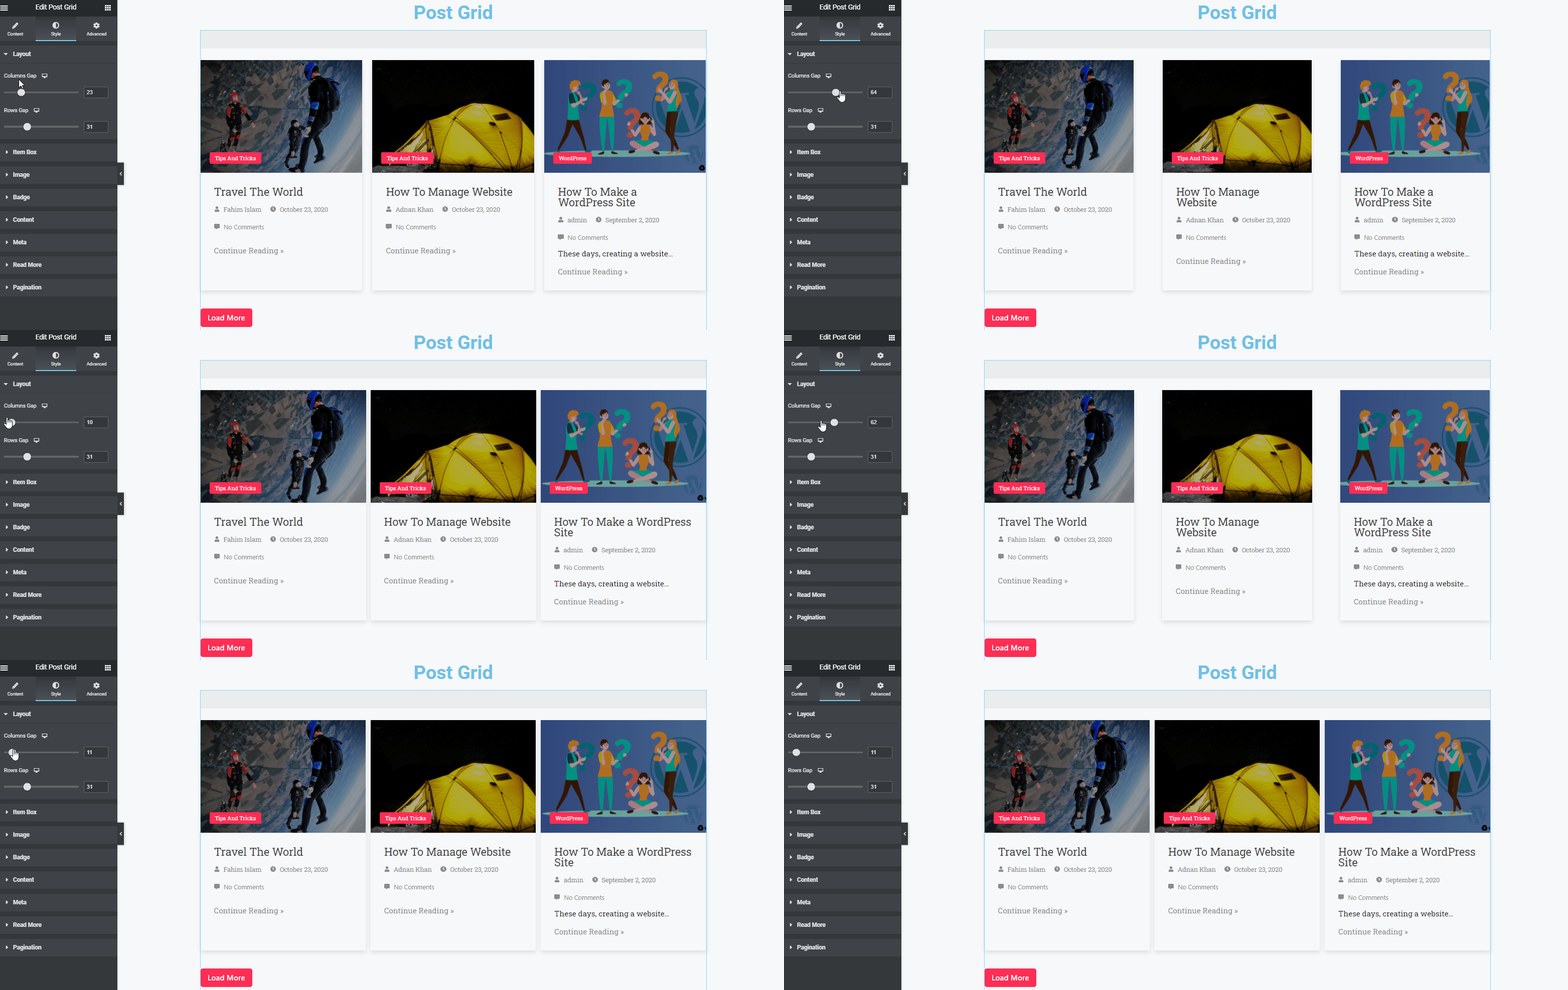
Then in the Item Box section, you can customize margin, padding, box-shadow, border, border-type, border-radius, height, and width, etc.
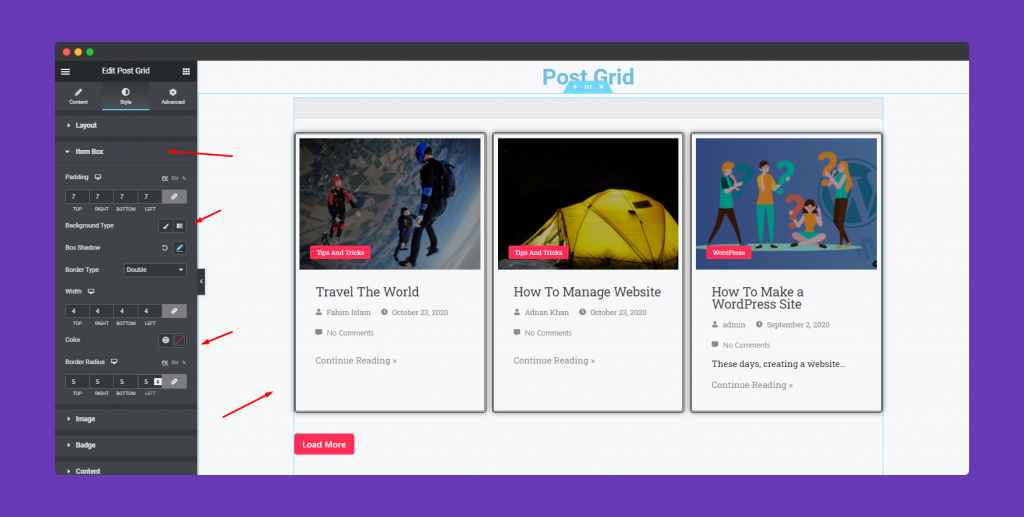
Next tap on the Image option to customize your blog image and modify the look. For example, height, margin options, border, border-type, border-radius, and CSS filters, etc.
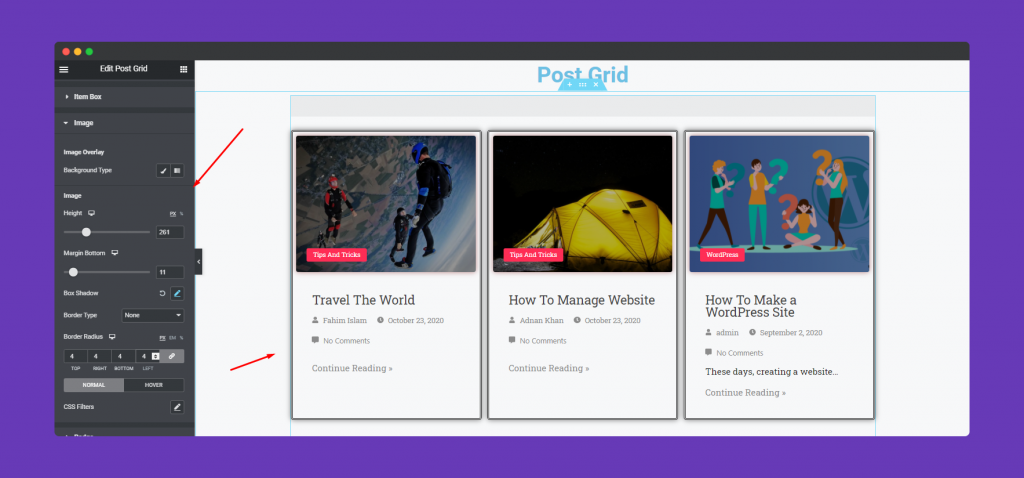
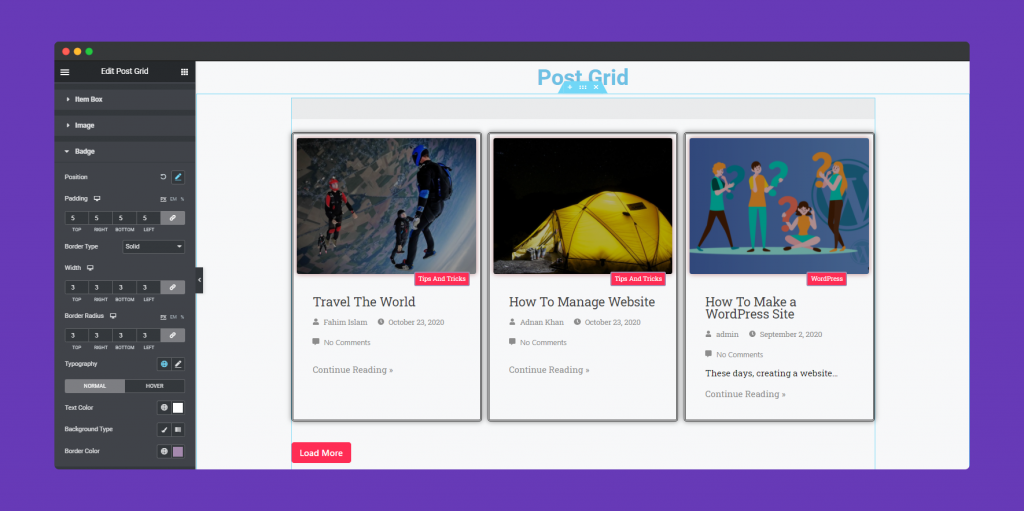
To stylize the Badge, tap on the Badge section. And then change its padding, margin, its position, border-type, width, border-radius, typography, badge’s text colors, and more.
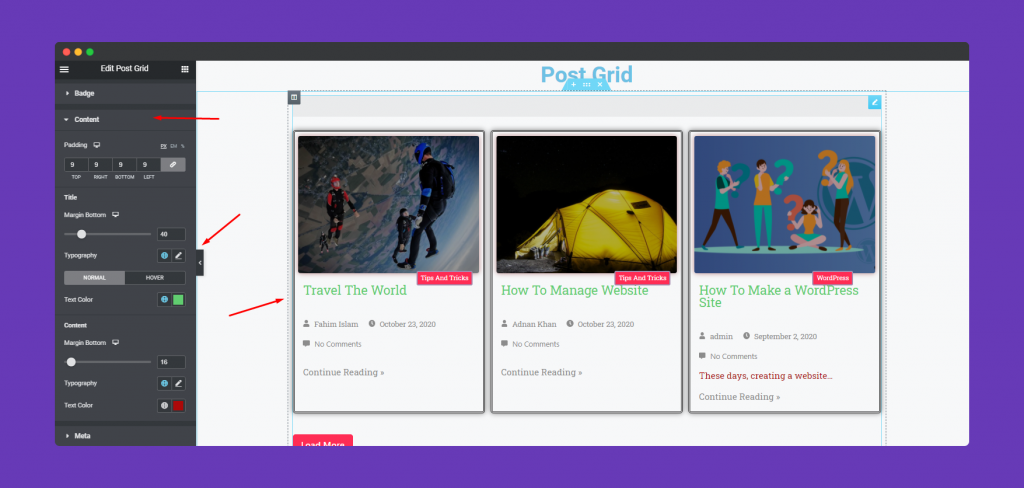
Same thing goes for when you’ll stylize Content. Yes, you can certainly change its margin, padding, margin bottom, typography, text color, text margin-padding, and colors, etc.
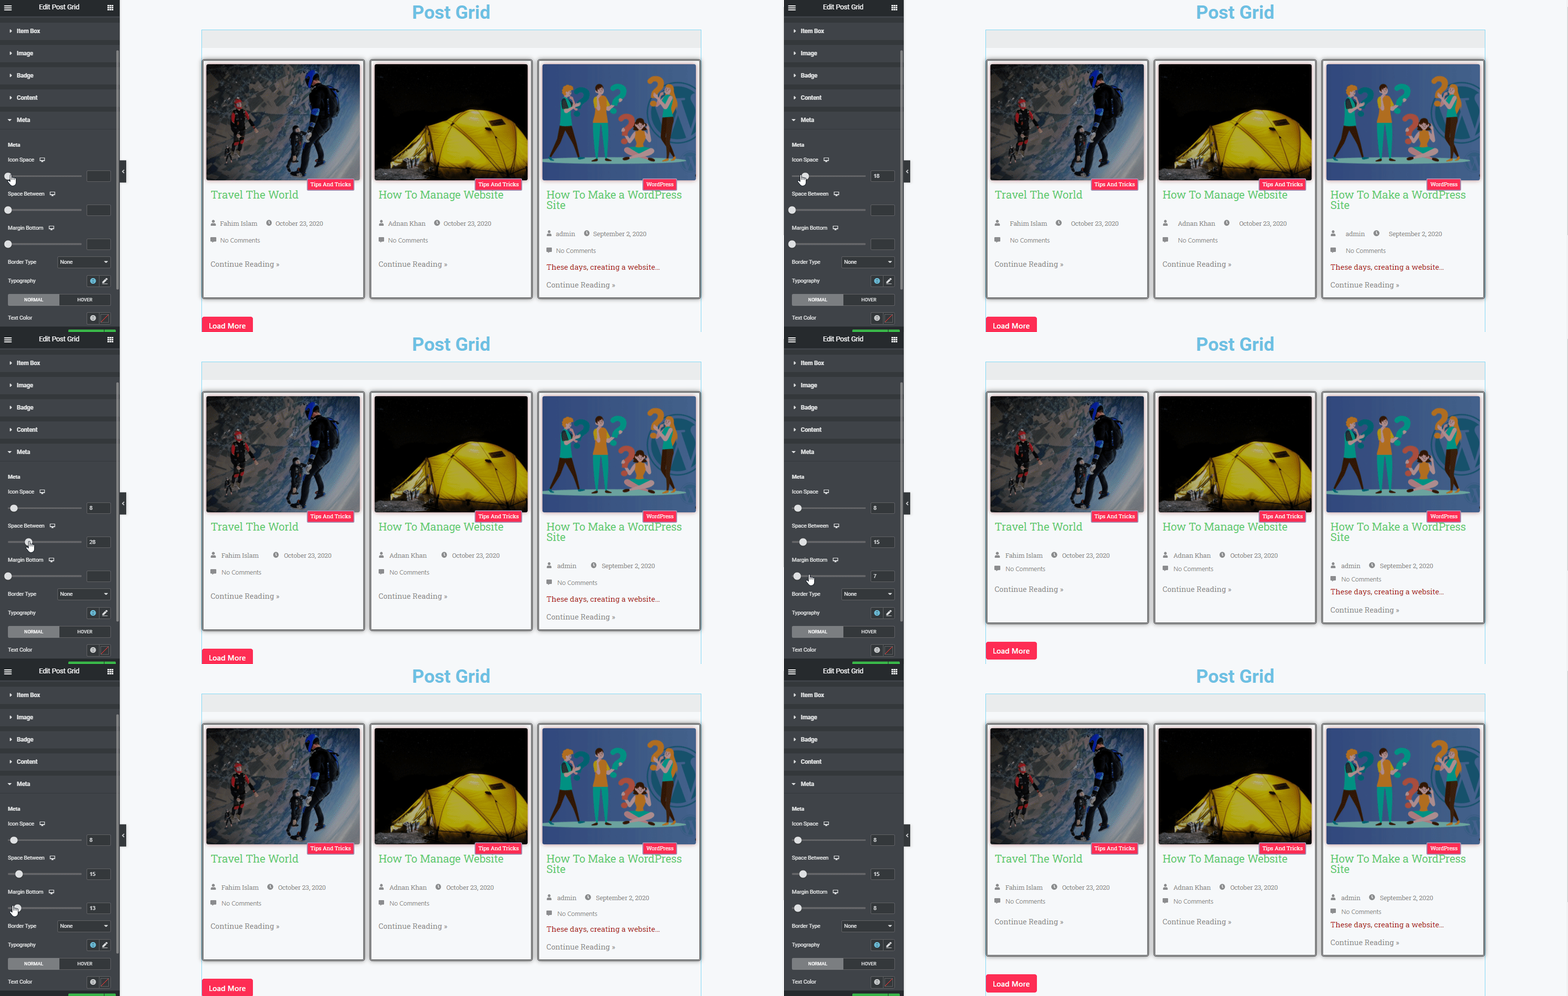
Next, tap on the Meta to edit your post’s meta information in a stylish way.
Next, click on the Read More button and change its margin, padding, border, border-type, width, border-radius, text, text color, size, etc.
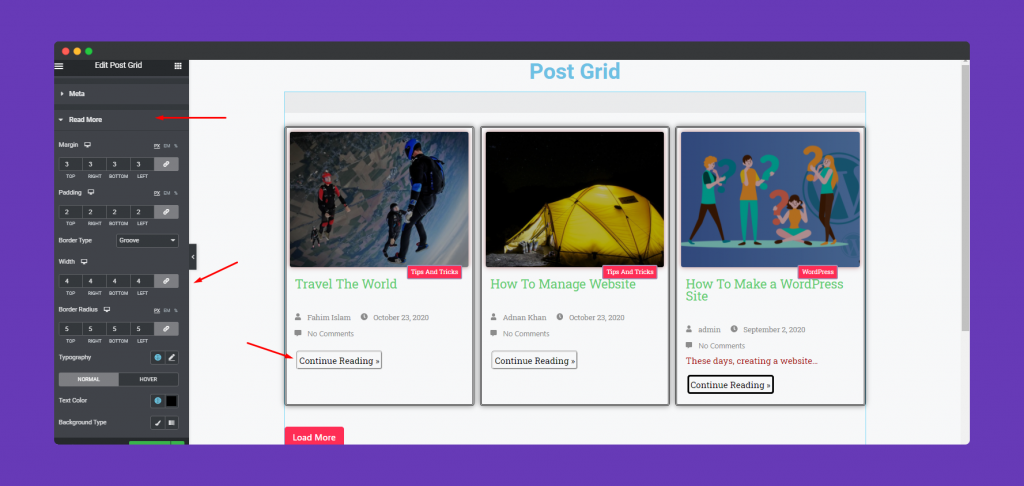
And in the last part of the Style section, you have Pagination to edit. So just tap on it, and change its margin, padding, border-type, typography, border-radius and text colors.
Important Note:
When you activate the Stylica skin, then one more option will appear for you to edit.
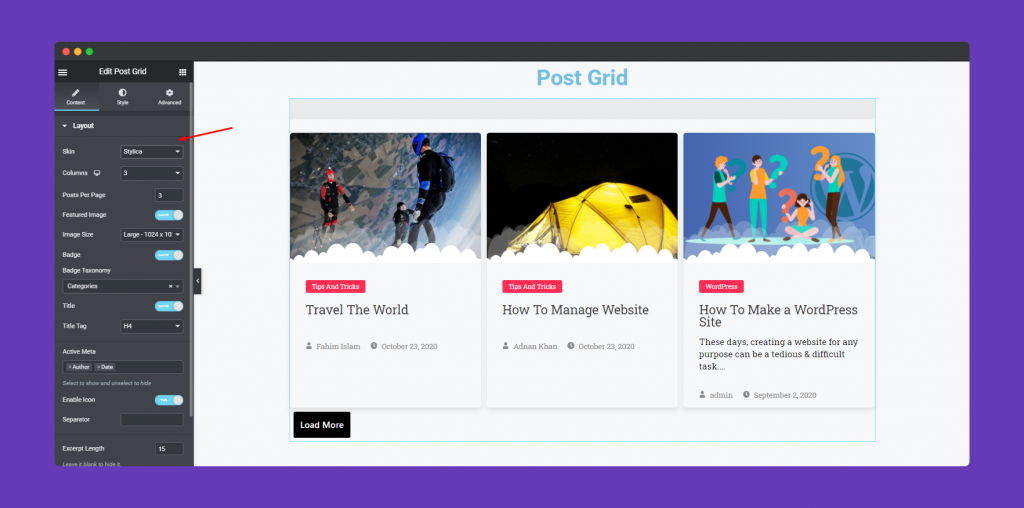
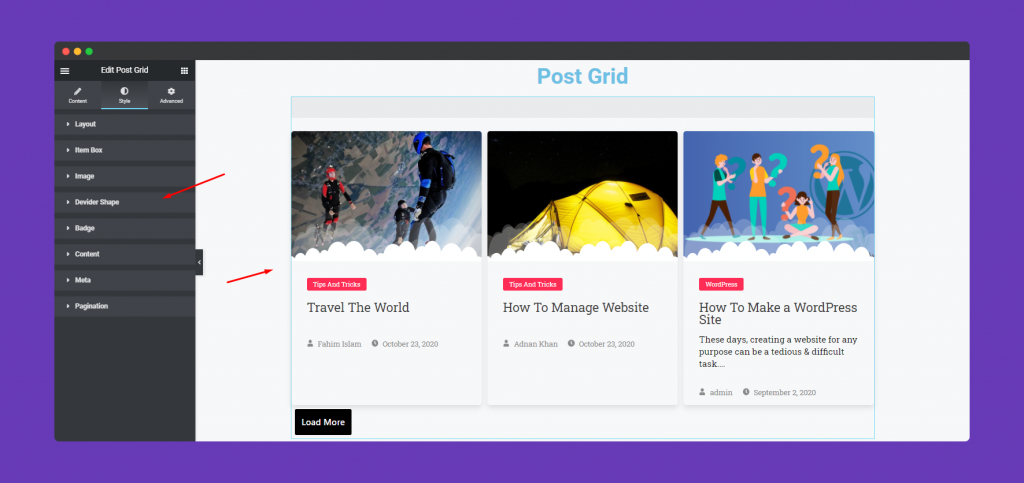
Then navigate to the Style section, and here you’ll get one more option which is Divider Shape
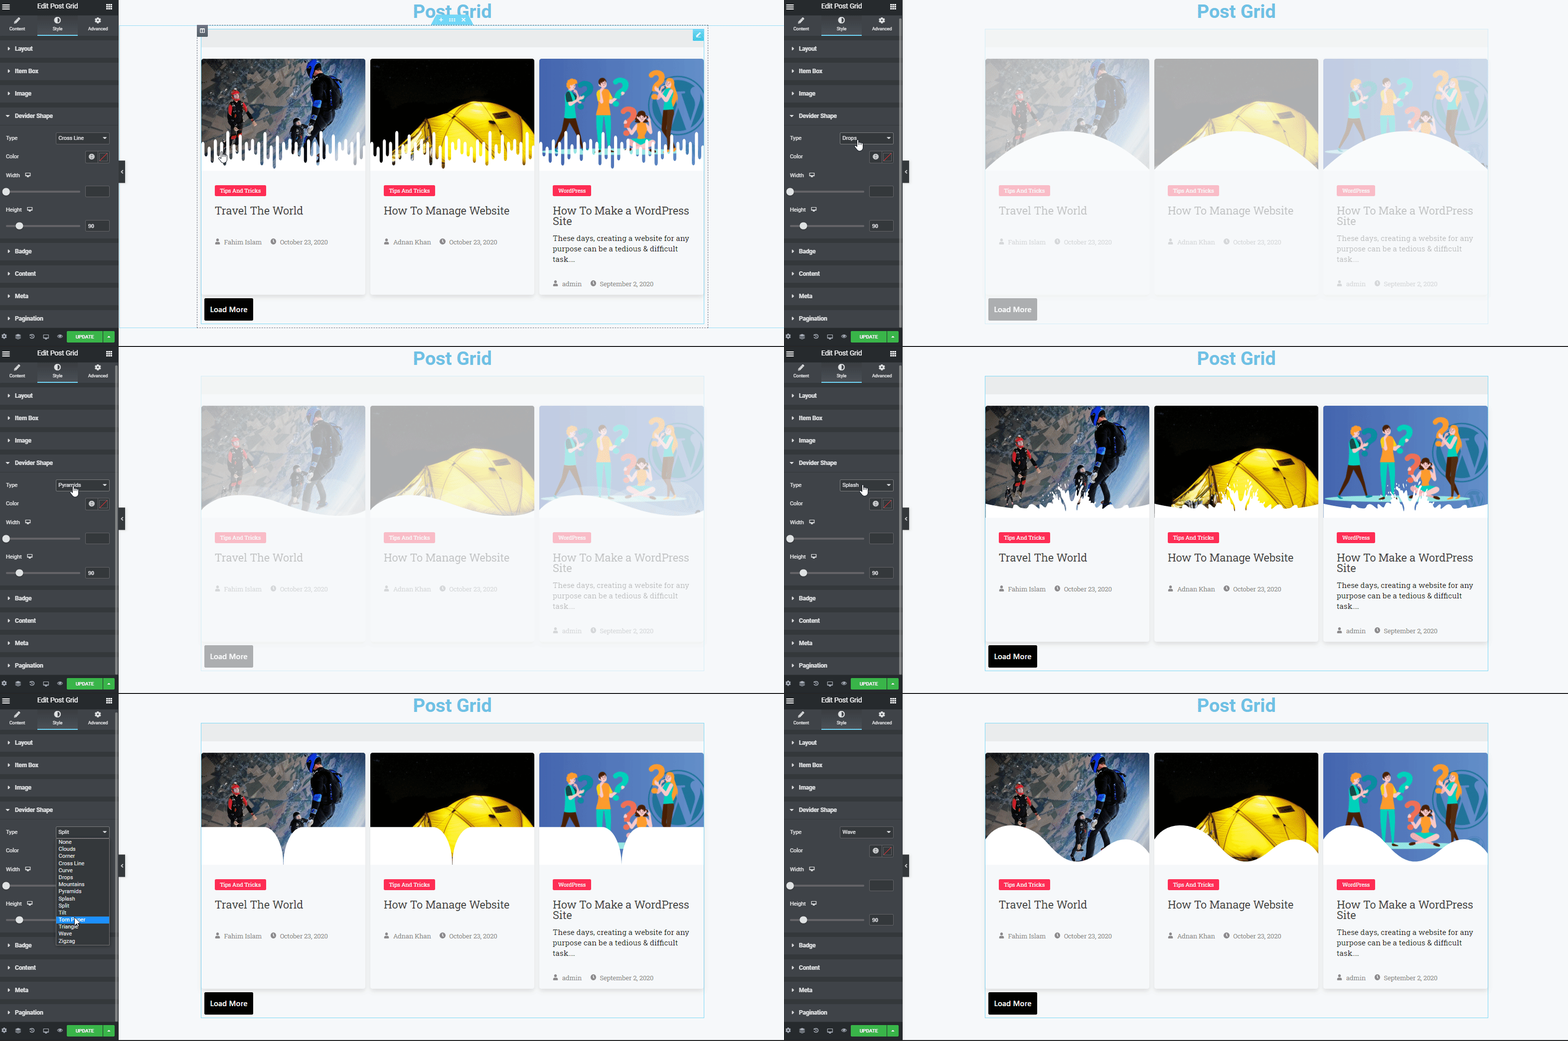
So here is how you can apply the Divider Shape to your design and give it a splendid look. Also, you can increase the amount by height, width, and colors.
Step Four:
If you want to add motion effects, happy effects, background or make it responsive and more intriguing, click on ‘Advanced‘ to explore those options. the ‘Advanced‘ is a default feature of Elementor. Give a read to this Document to know more about Advanced features and its uses.
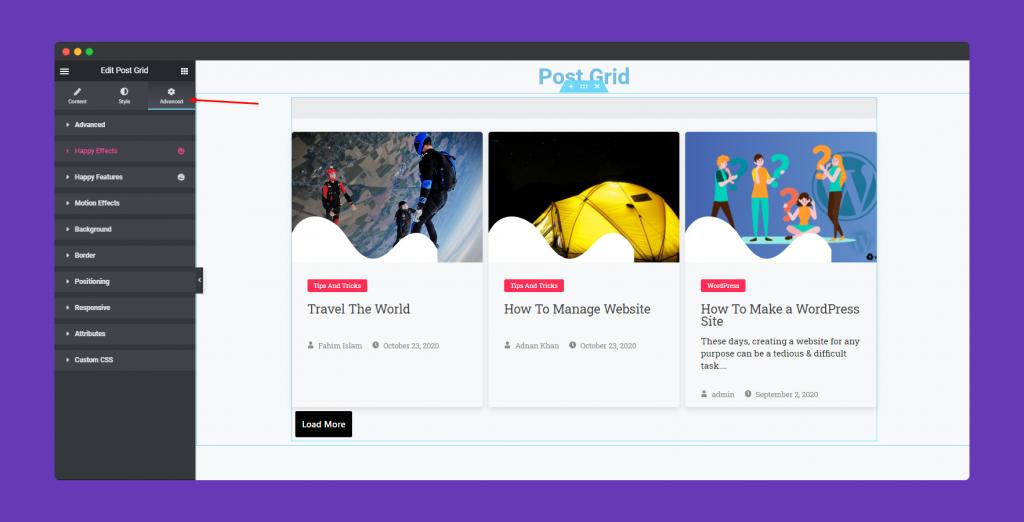
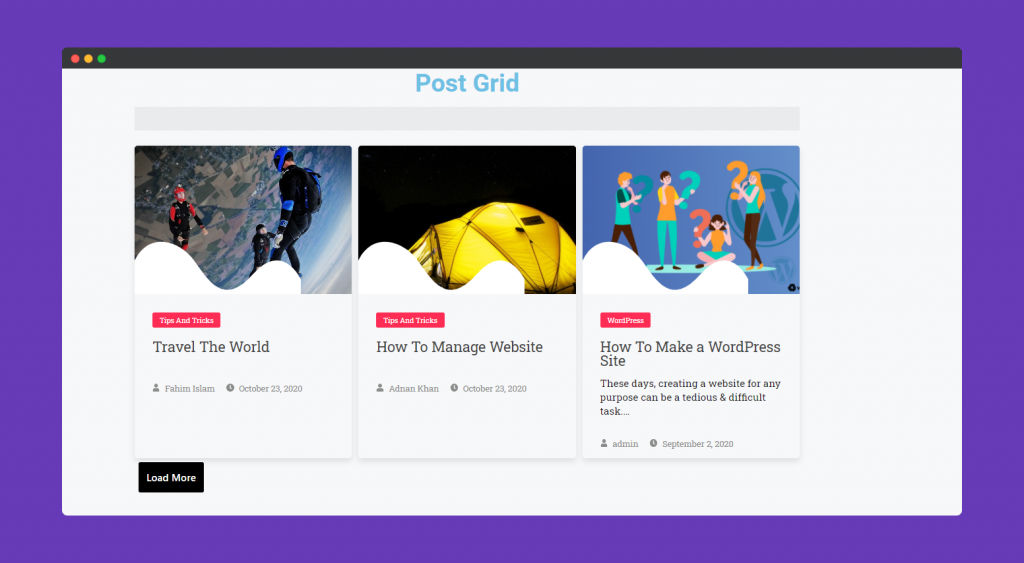
So finally after done with the whole process, your design will be like the following screenshot.
Update in v2.6.1 – 18 October 2022
Advance Post Queries & Query ID integration with this Post Grid Widgets is now available in this version of v2.6.1.
Go to your function PHP file. Then add this below code.
function custom_query_callback( $args ) {
	// Modify the posts query here
	return $args;
}
add_filter( "happyaddons/post-grid/{$query_id}", "custom_query_callback", 10, 1 );

// Filter Posts by the Posts' order in a Post Grid Widget.
function my_query_by_post_order( $args ) {
	$args['order'] = "DESC";
	return $args;
}
add_filter( "happyaddons/post-grid/{$query_id}", "my_query_by_post_order", 10, 1 );
That’s It!
