The new Product Category Carousel widget of Happy Elementor Addons Pro will help you categorize your products from your WooCoommerce store in a more stylized way.
You can view the categories so that your users will easily what type of products you have on your store. Now, let’s see how to set it up.
Pre-requisites
- WooCommerce
- Happy Addons
- Happy Addons Pro.
Set up Product Category Carousel
Step 1:
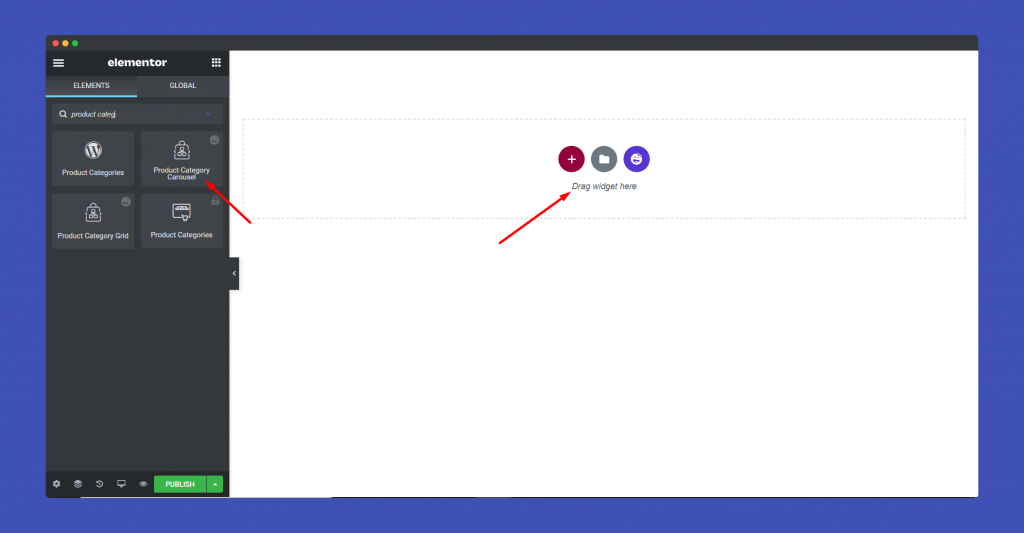
Select the Product Category Carousel widget from the menu bar on the left-hand side of the screen then drag and drop it in the selected area.
Step 2:
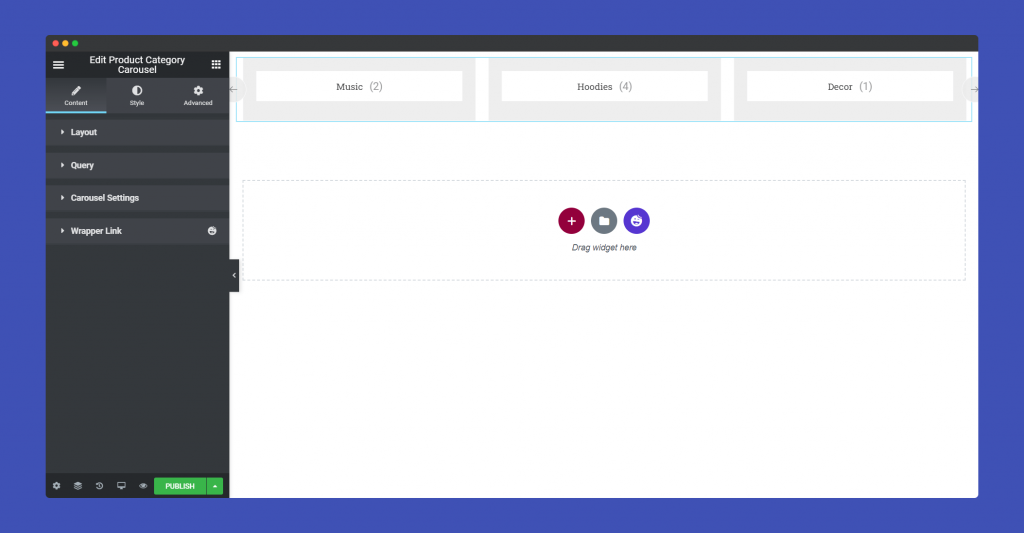
In the ‘Content‘ section, you will find options to edit ‘Layout‘, ‘Query‘, ‘Carousel Settings’, ‘Wrapper Link’.
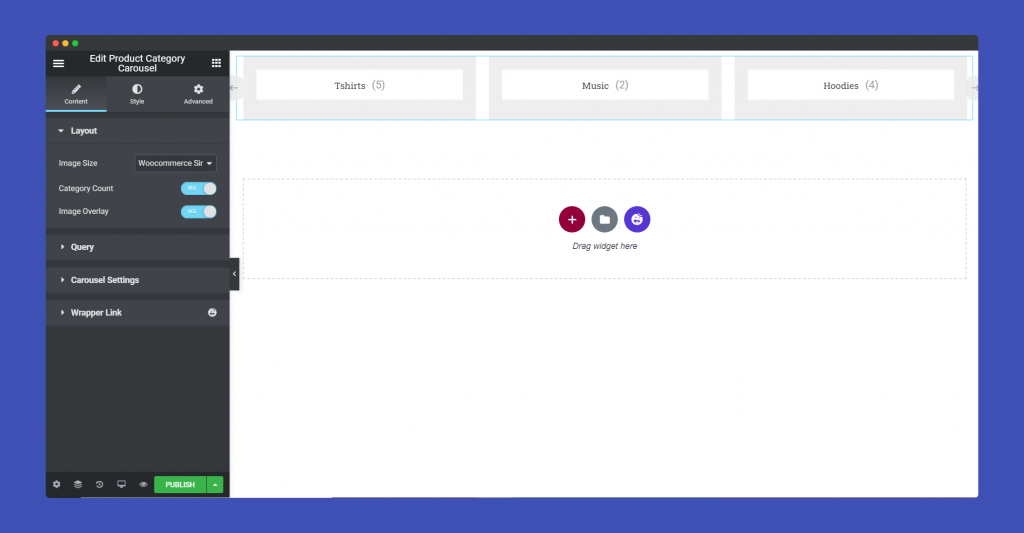
In the Layout part, you can choose image size, enable category count, image overlay.
The Query part will allow you to place the categories in order by name, count. Also, you can choose Descending or Ascending order. You can show empty categories as well.
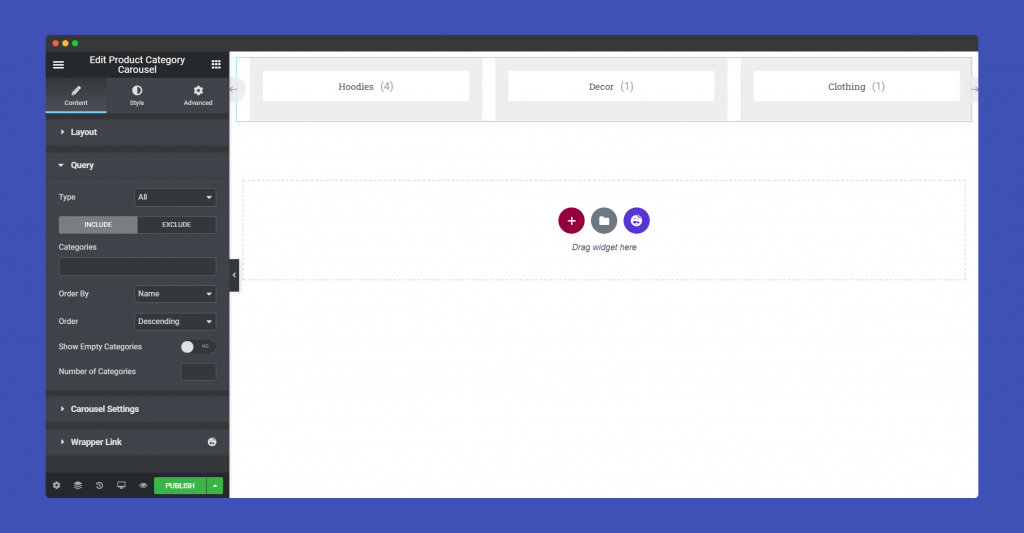
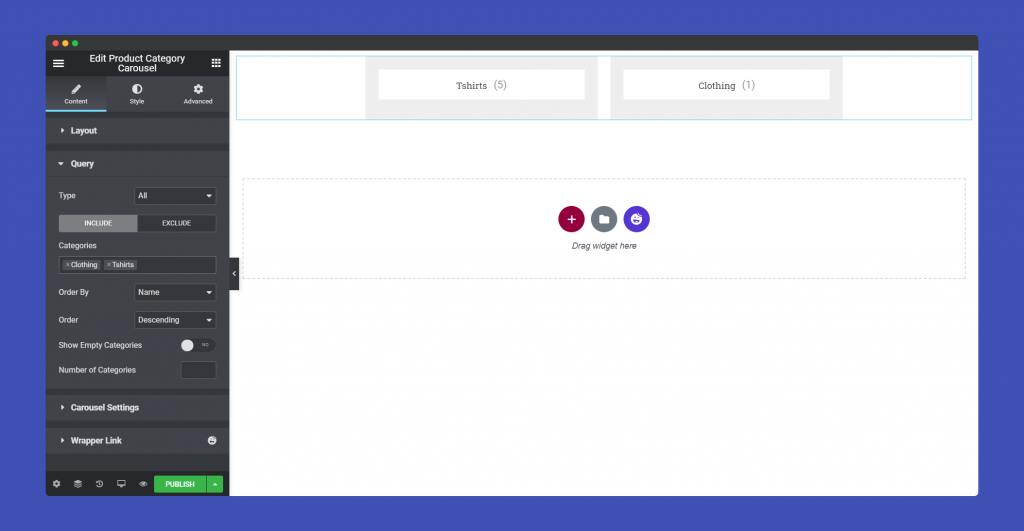
Now, there is a catch in the Query part. When you choose the Include query, that means you can choose what categories you want to include. Those categories will be shown in your website only.
in our case, we have chose to include Clothing and T-shirts.
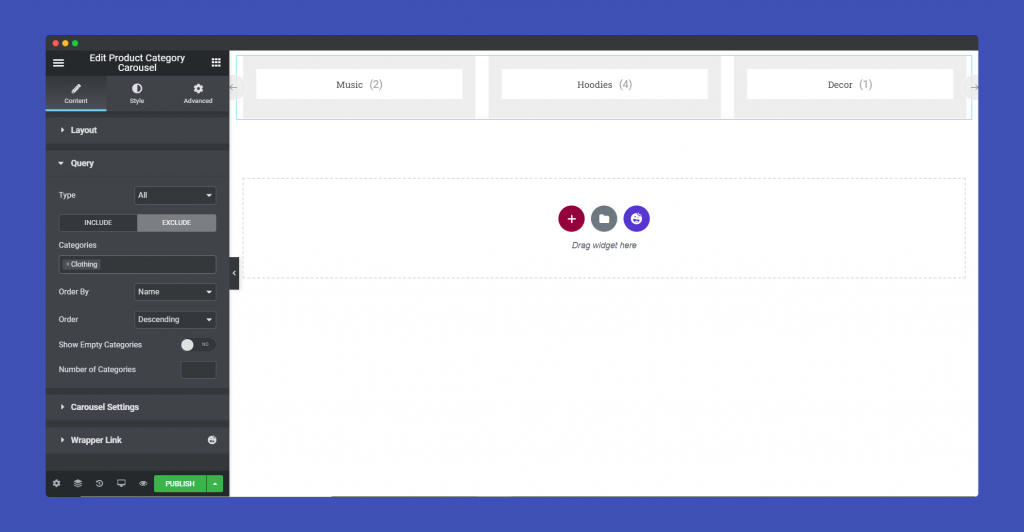
Exclude is the opposite of Include. You can choose categories that you don’t want to show on your website.
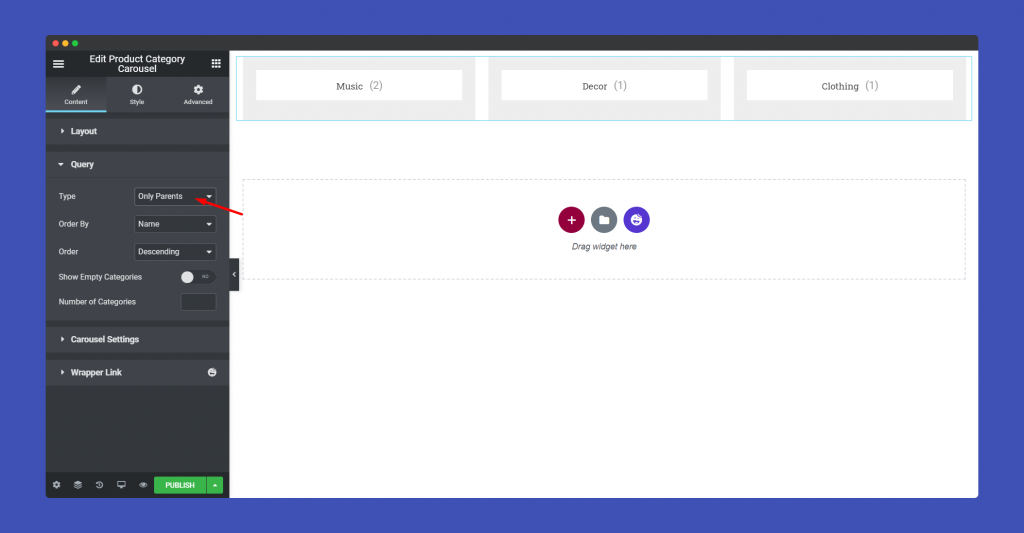
Now, you can choose to show the Parent category or the Child category. When you choose Only Parent from the Type part, only the parent will be shown.
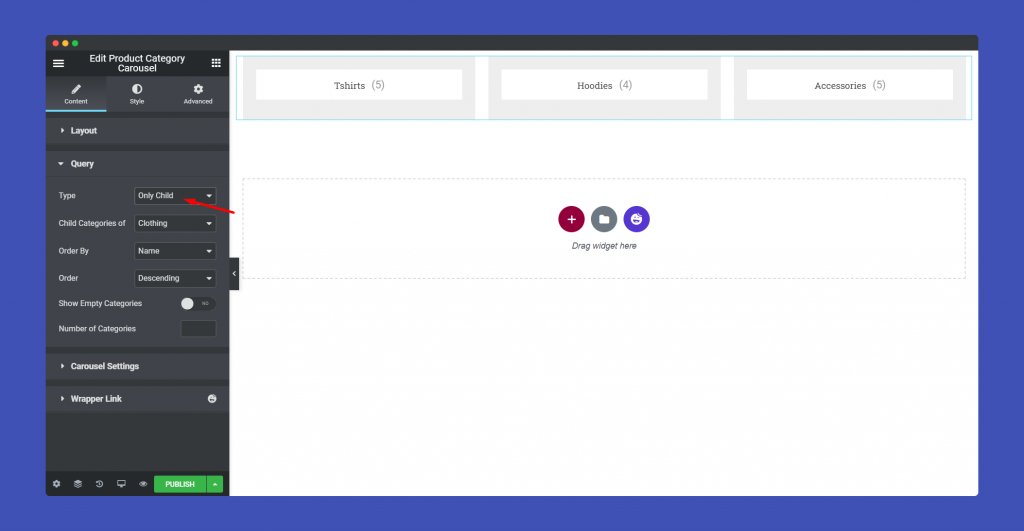
Like that, when you choose Only Child, you need to choose Child Categories. So we chose to show the child categories of Clothing. That is why you can see T-shirts, Hoodies and Accessories are showing.
In the Carousel Settings part, you can select the animation speed, enable autoplay, choose autoplay speed. You can select the number of slides as well.
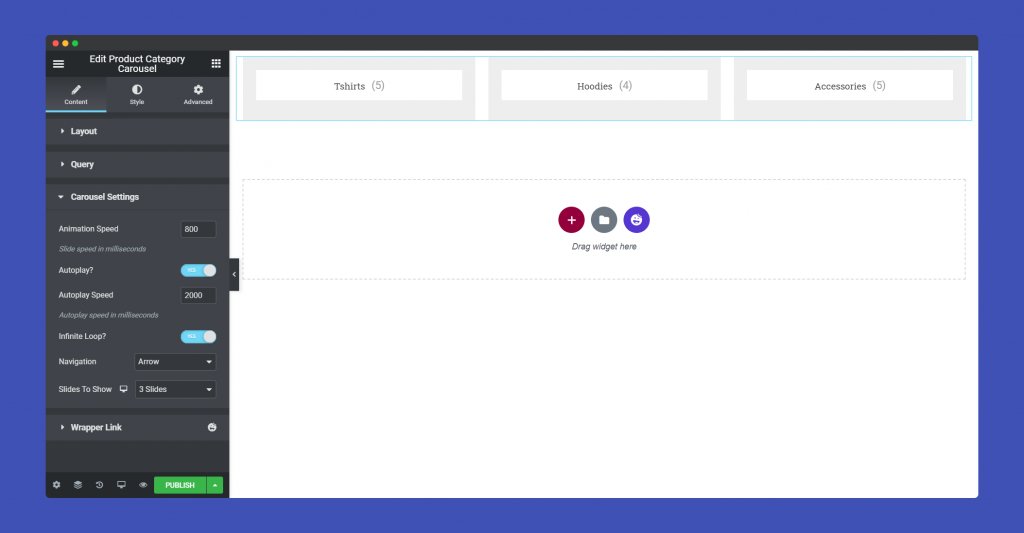
Step 3:
In the ‘Style‘ section, you will have options to design ‘ Carousel Item,’ ‘Image’, ‘Content’, Navigation-Arrow’, and ‘ Navigation-Dots’.
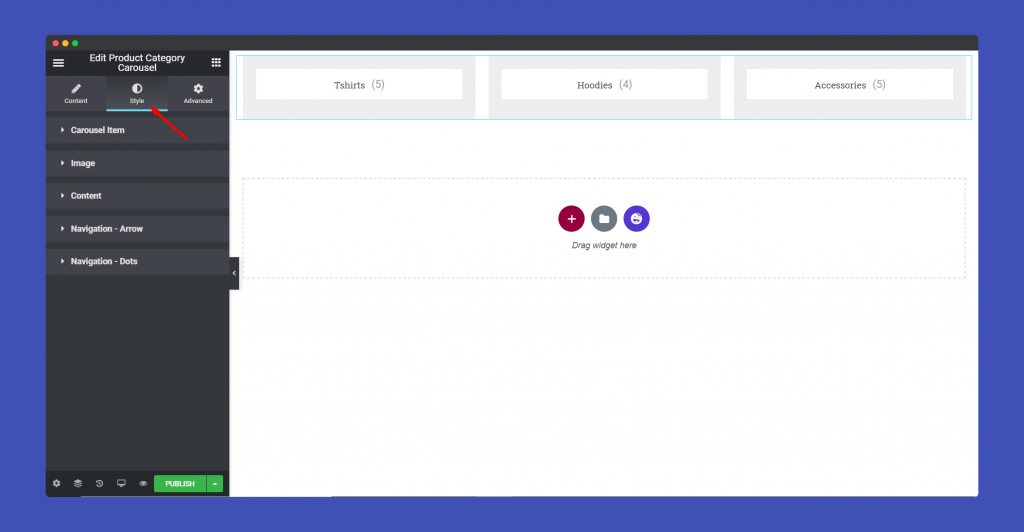
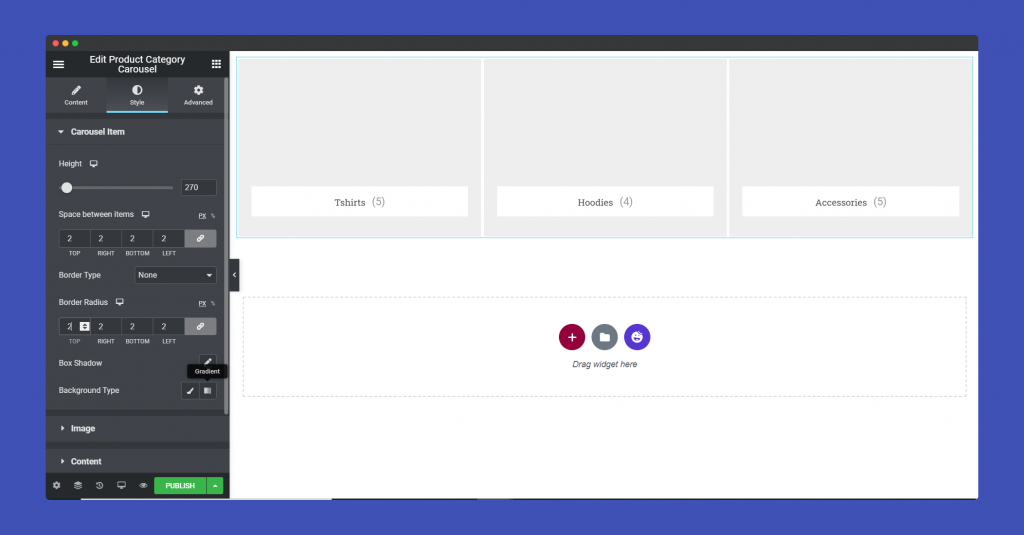
In the Carousel Item part, you can add height, add box-shadow, border, background type and many more.
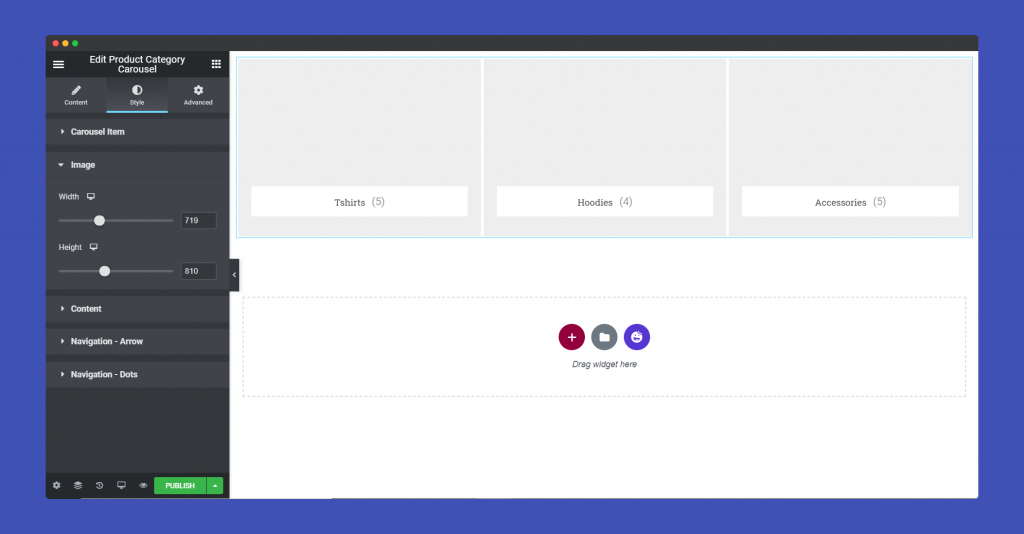
You can resize the image in the Image part.
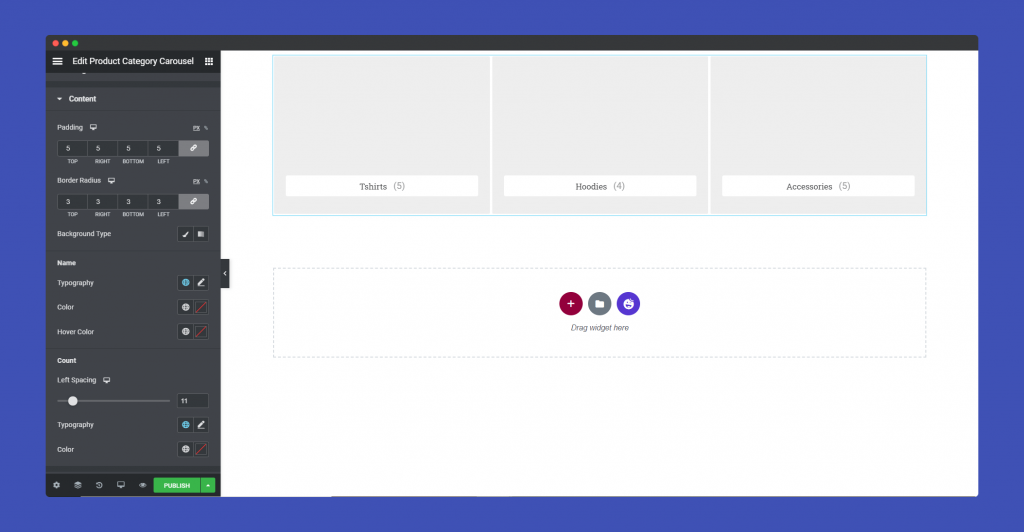
In the Content part, you can add padding, border-radius, typography, spacing, hover color, etc.
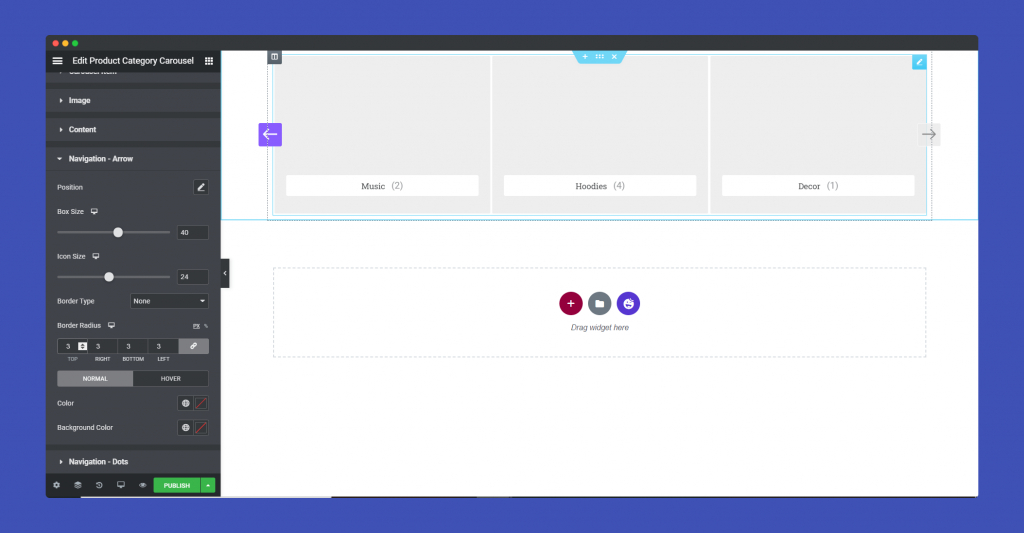
Design your Navigation-Arrow, set Box-size, background-color, font Size, add a border. You can also add a hover effect to your arrows as well.
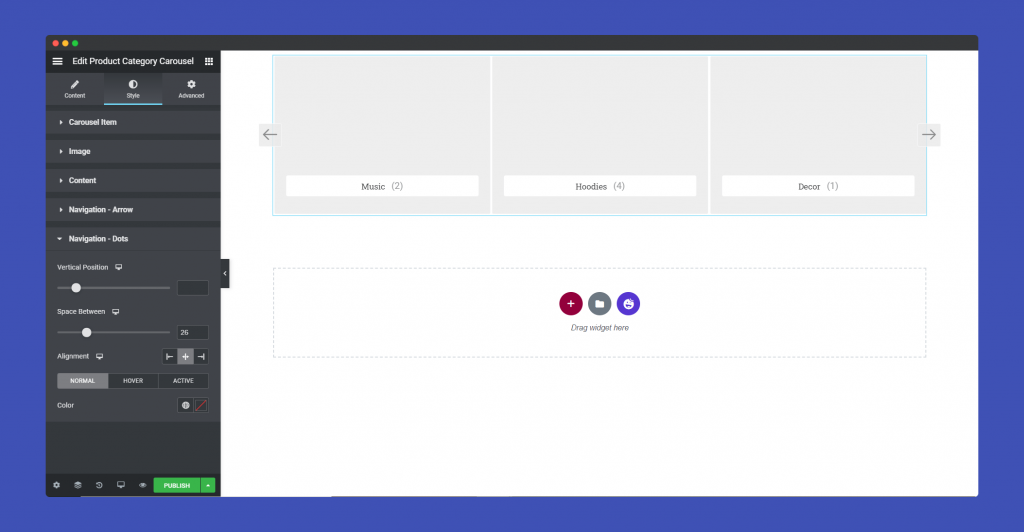
For Navigation-Dots, you can set position, space between, alignment.
Step 4:
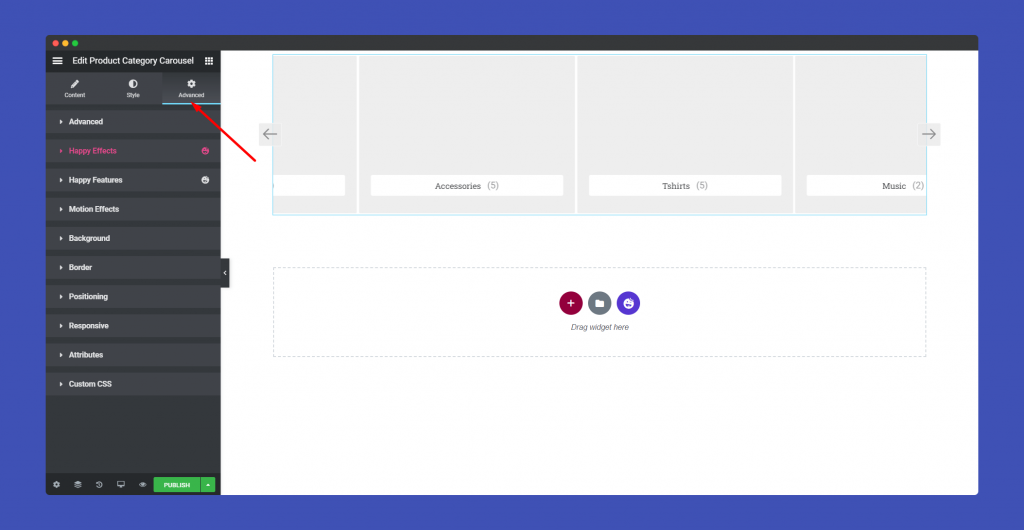
If you want to add motion effects, happy effects, background or make it responsive and more intriguing, click on ‘Advanced‘ to explore those options. the ‘Advanced‘ is a default feature of Elementor. Give a read to this Document to know more about Advanced features and its uses.
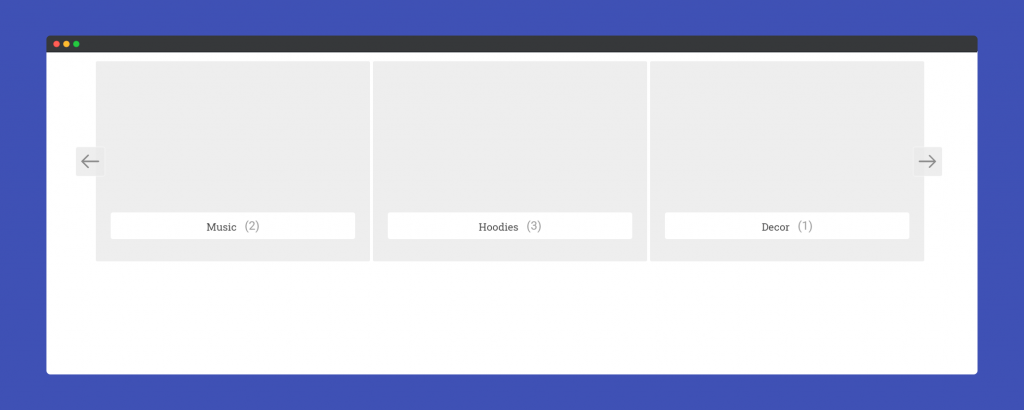
Finally, after clicking the publish button you will see the beautiful Product Category Carousel on your webpage.
That’s it!
