The best part of using Multi Layer Parallax is that it makes any images more engaging and stunning than ever. Let’s get to it.
Required Plugins
You will need the following plugins to be installed –
- Elementor Free
- Happy Addons Free
- Happy Addons Pro
Let’s see how to configure a Multi Layer Parallax background with various customization options such as normal and hover states, classic or gradient backgrounds, and image positioning.
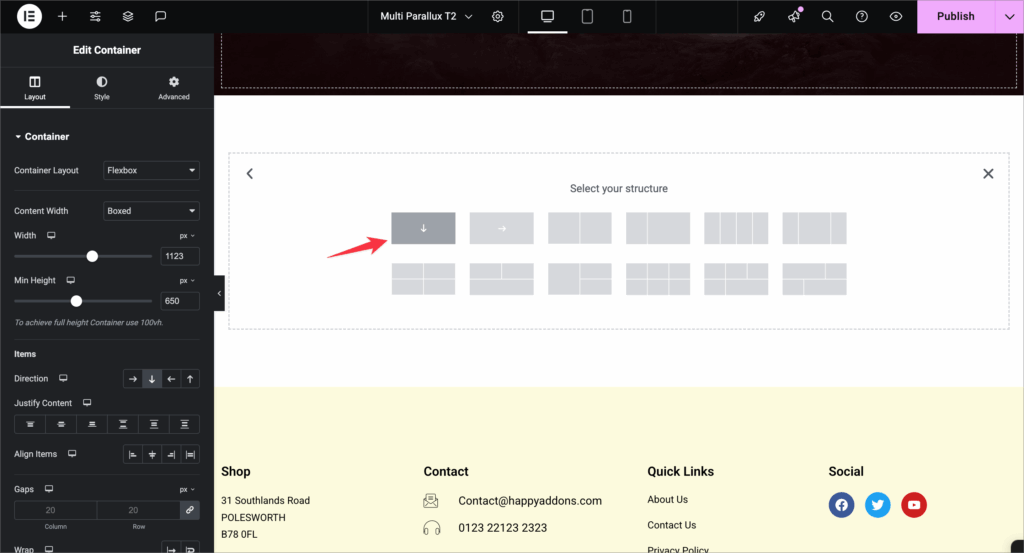
Edit/Create the container where you want to apply the Multi Layer Parallax background.

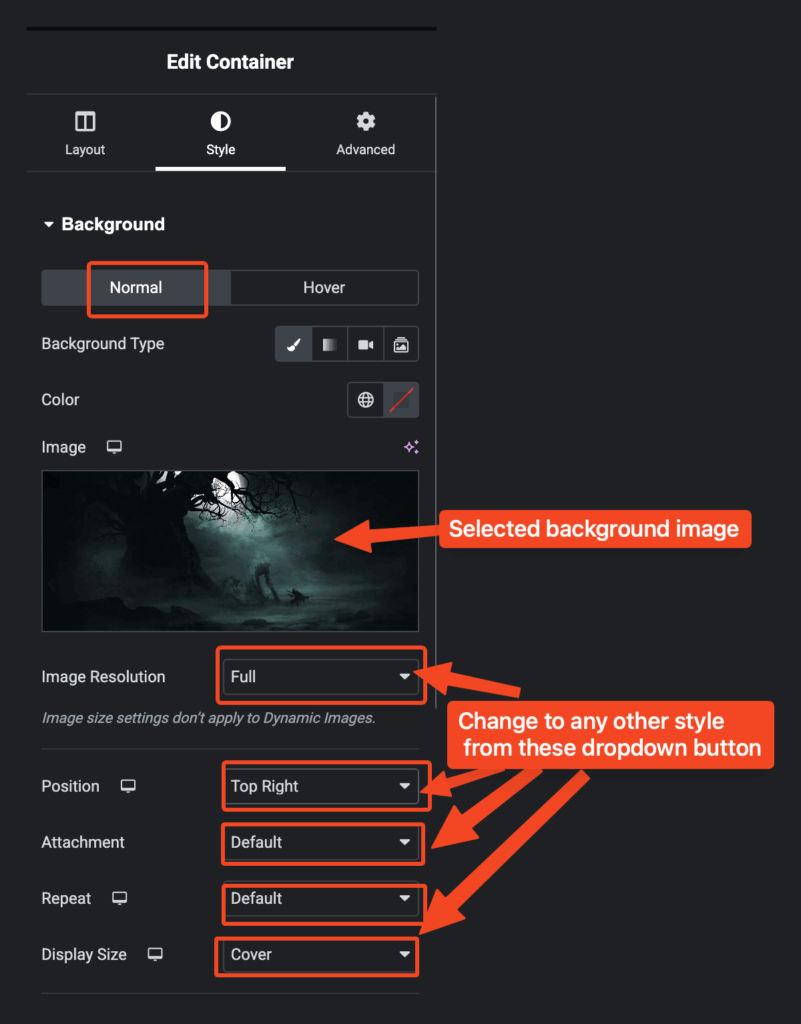
- Navigate to the Style tab.
- Go to Background settings.
There are two states available for customization:
- Normal – The default background state.
- Hover – The background appearance when hovered by the user.
Switch between these tabs to customize each state separately.
Choose a background type from the available options:
- Classic – Use a solid color or image.
- Gradient – Create a smooth gradient effect with two or more colors.
- Video – Add a looping background video.
- Slideshow – Set multiple images to slide or fade.
- Color Only – Use a plain color without images.
- Choose Image – Upload or select from the media library
- Image Resolution – Full, specific size
- Position – Default, Center-Center, Center Left, Center Right, Top Center, Top Left, Top Right, Bottom Center, Bottom Left, Bottom Right, and Custom
- Attachment – Default, Scroll, Fixed
- Repeat – Default, No-repeat, Repeat-x, Repeat-y
- Display Size – Default, Cover, Contain, Auto, and Custom.

Before activating the Multi Layer Parallax feature, we have to choose an image for the background as shown above.
How to activate Multi Layer Parallax?
To activate the Multi Layer Parallax feature, navigate to,
Elementor Page > Edit container > Layout > Multi Layer Parallax > Enable > Yes.
Now, click on Item 1 and select an image. Then resize the image as needed.
Z-index: It determines the stacking order of elements on a page.
- z-index: 1 — Element is behind higher-index elements.
- z-index: 10 — Element is on top of elements with a lower index.
This setting is especially useful when layering multiple backgrounds or elements to create depth effects like Multi Layer Parallax.
Horizontal Alignment: You can change the Horizontal Alignment to Custom, Left, Right, and Center. Change the Horizontal position as you want.
Vertical Alignment: You can adjust the Vertical Alignment by choosing from Custom, Left, Right, or Center. Additionally, you can fine-tune the Vertical position to achieve the exact placement you need.
Important Note: You have to hit the Apply Button every time to see the changes you have made.
You can tweak these styles to grab more attention,
- Vertical Alignment – Top, Center, Bottom, and Custom
- Effect Type – Scroll Parallax, Mouse Track
- Vertical Parallax – Yes
- Direction – Up, Down
- Viewport – Bottom 0%, Top 100%(as per your need)
- Horizontal Parallax – Yes
- Direction – Left, Right
- Viewport – Bottom 0%, Top 56%(as per your need)
- Show Layer On – Desktop, Tablet, Mobile
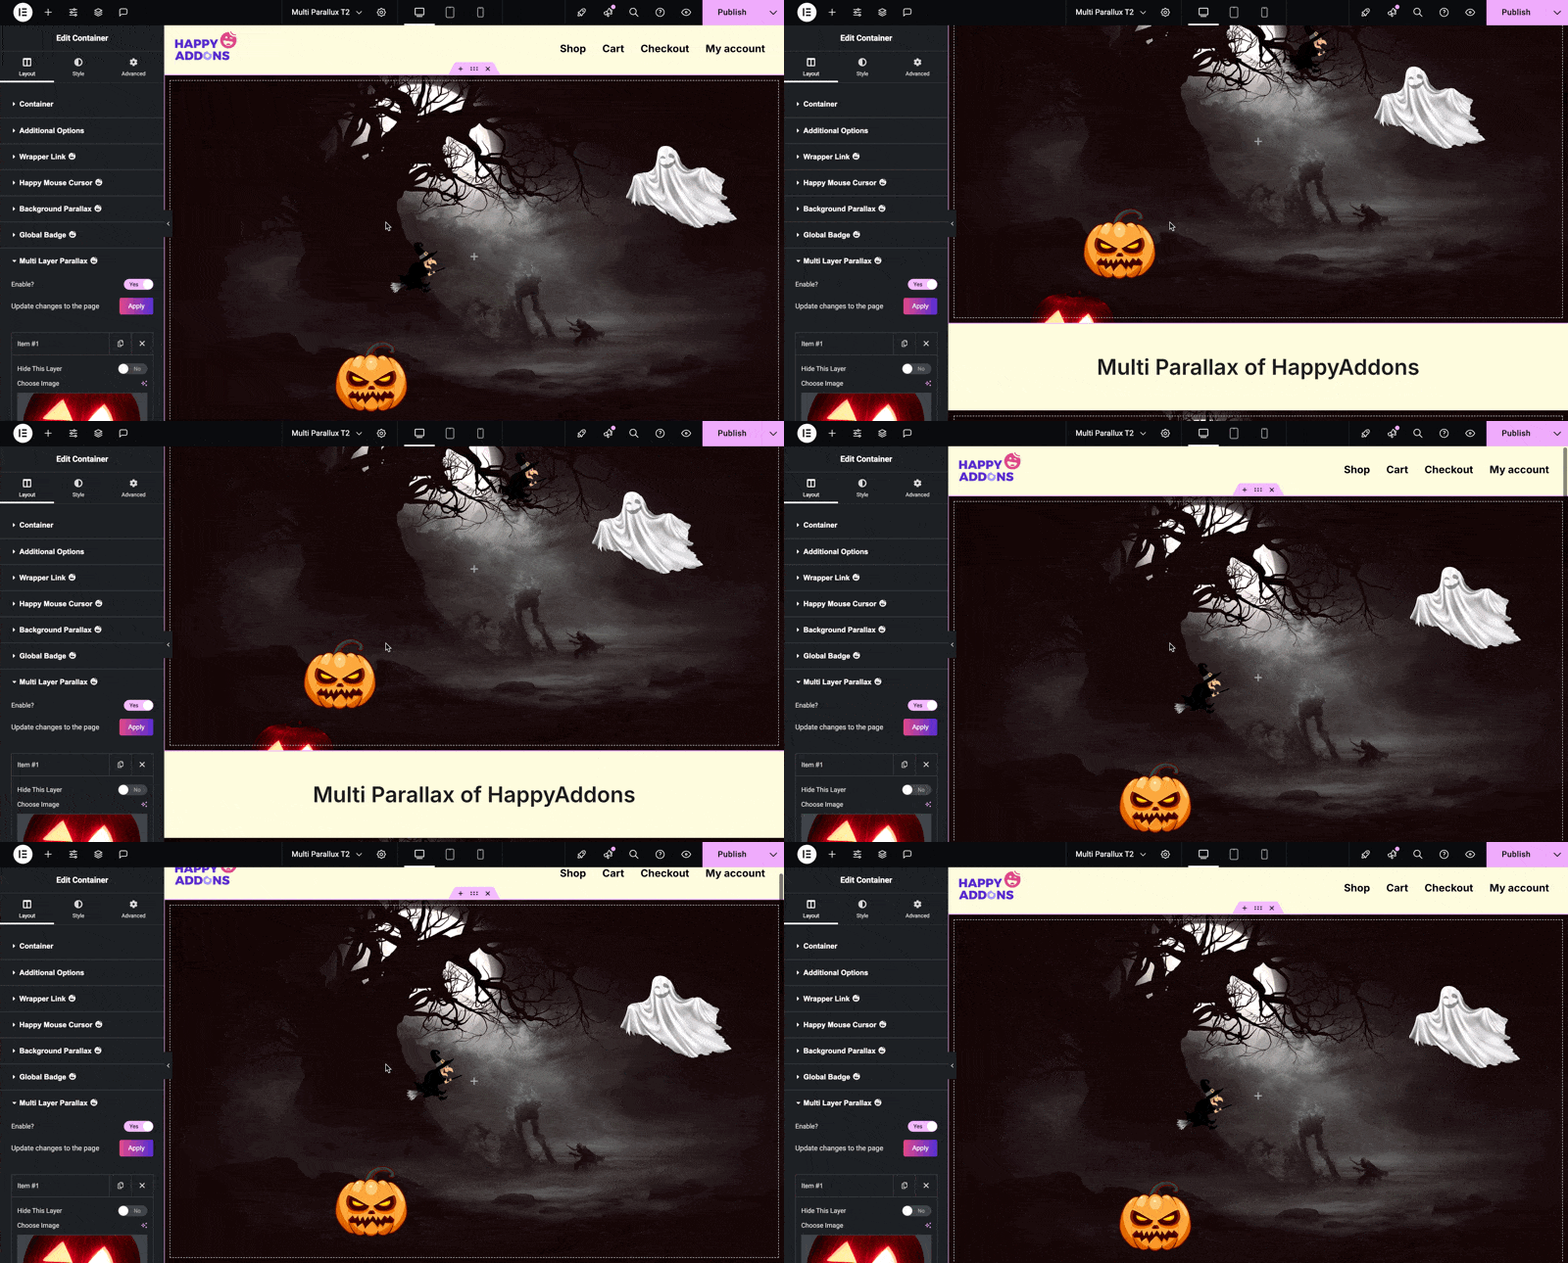
Scroll Parallax Effect

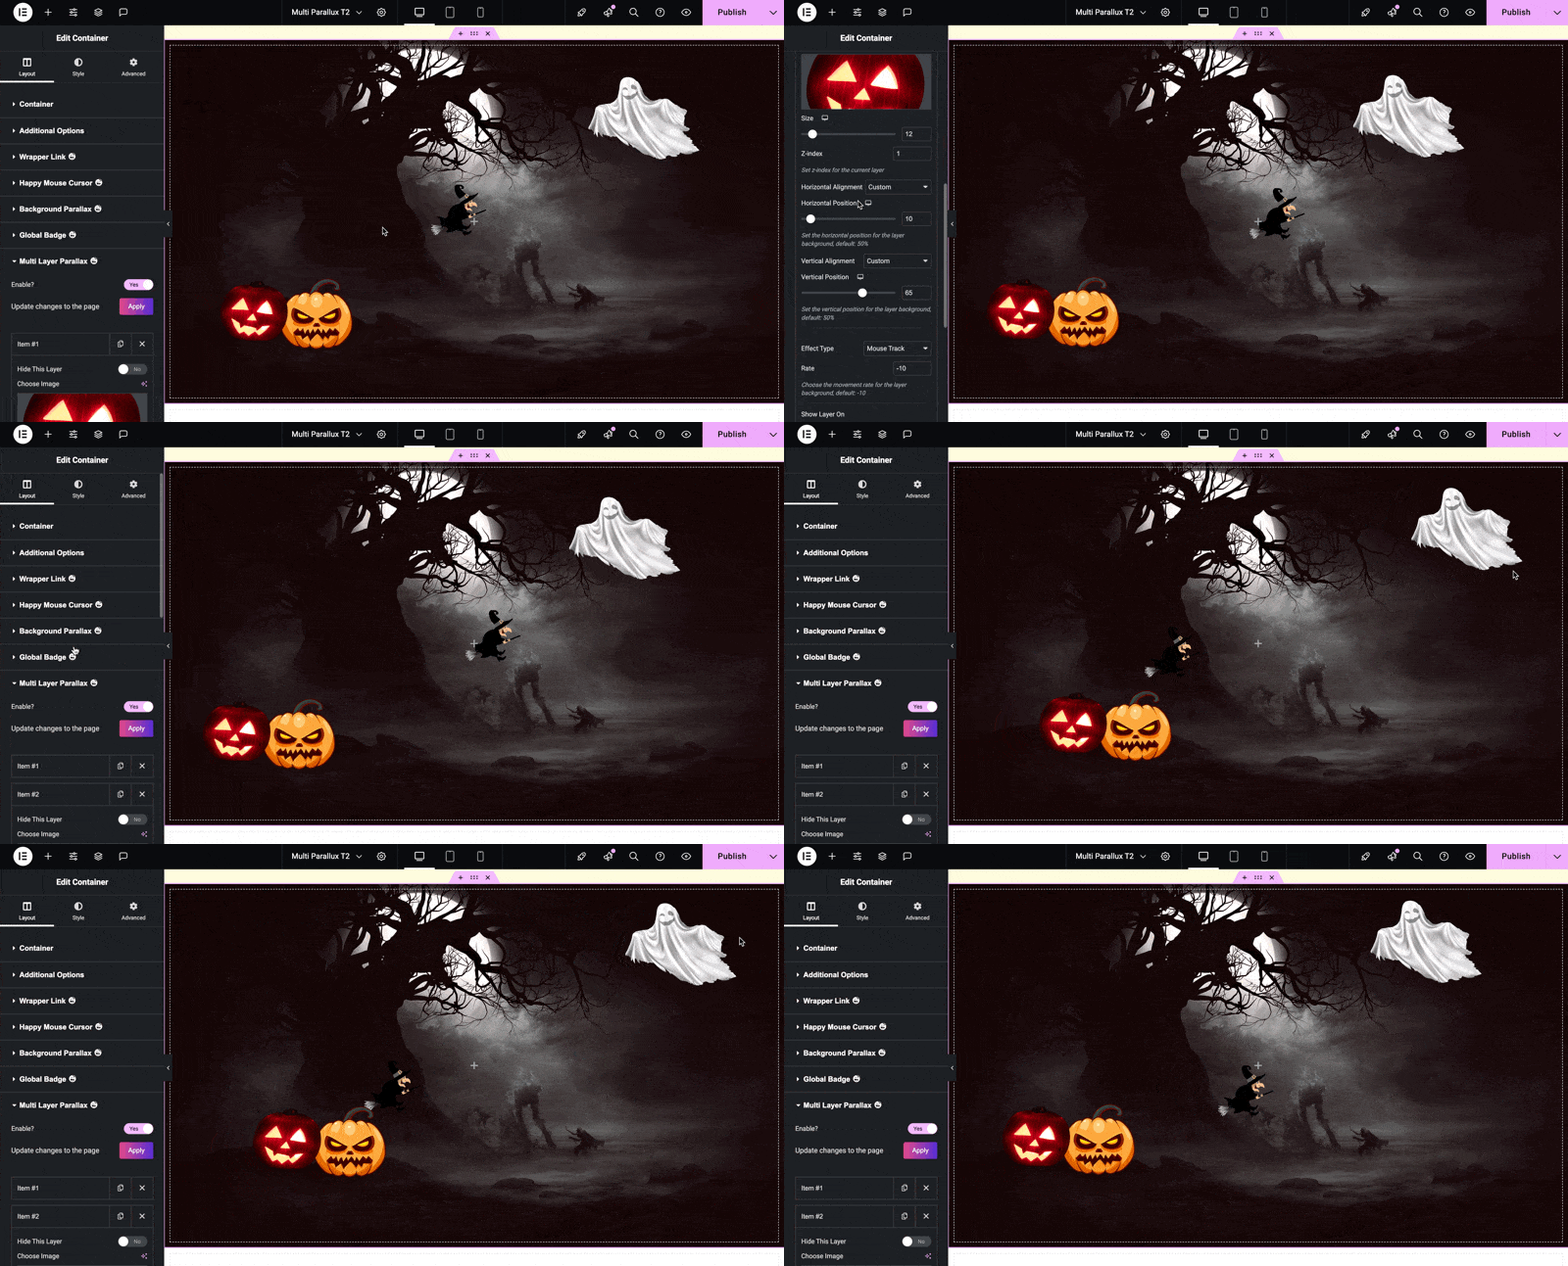
Multi Layer Parallax > Mouse Track
This creates a mouse movement–responsive parallax effect, making the layer move subtly as the user moves their cursor.
- Start by selecting an image for the desired layer (e.g., Item 1).
- Click on Effect dropdown menu.
- Choose Mouse Track from the list of available effects.
- Select the movement rate for the layer background
- Click the Apply button to save your changes.
Mouse Track Effect

You did great making your page awesome with Multi Layer Parallax.


