How to Use the Advanced Toggle Widget of Happy Elementor Addons
The Advance Toggle widget of Happy Elementor addons is a pro feature. The term toggle signifies that there are only two or more possible settings and that you want to switch from the current setting to the other setting by clicking. So Advance Toggle allows you to do that with ease.
Step 1:
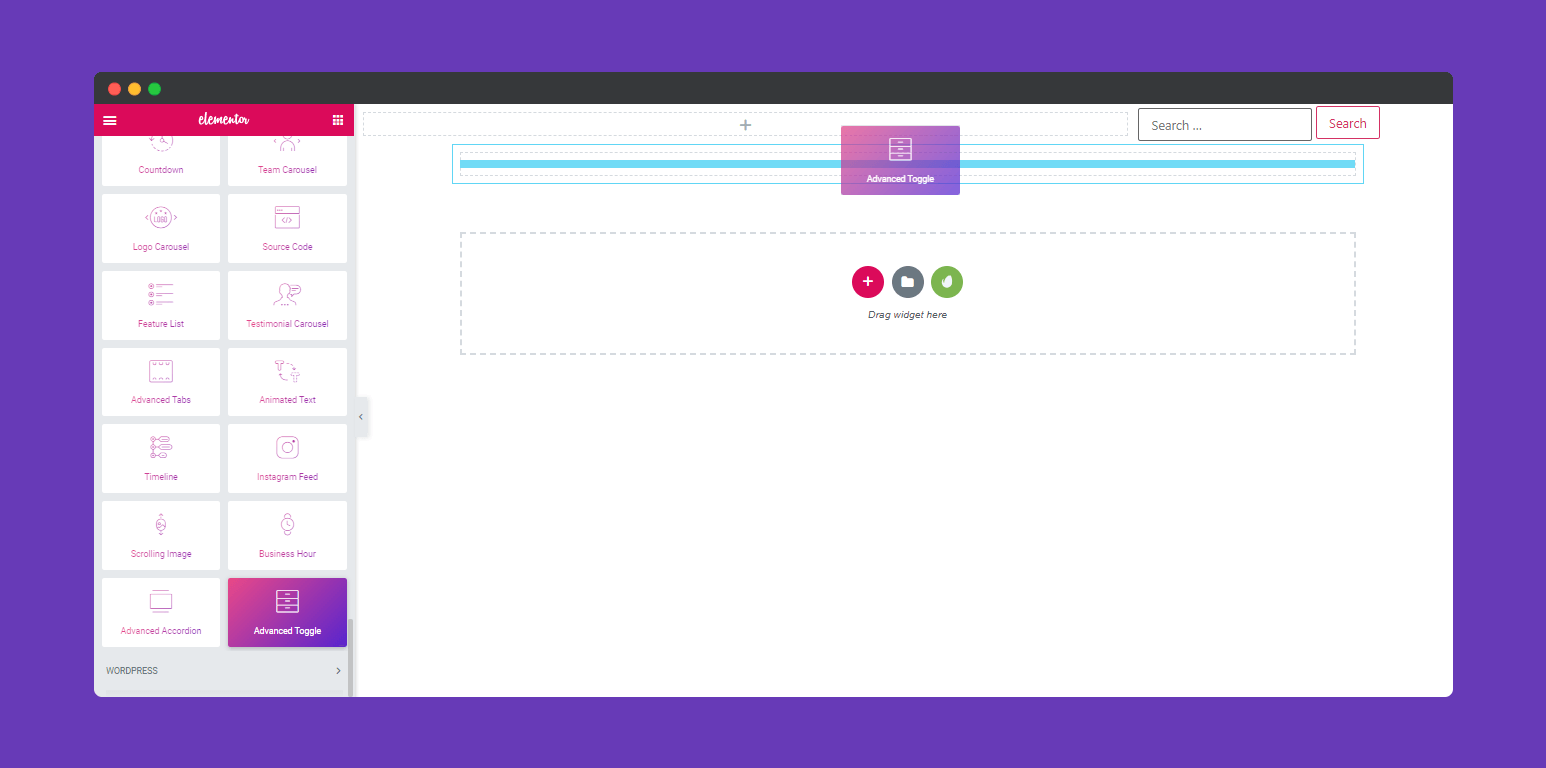
First of all, Select the “Advance Toggle” widget from the left sidebar of the Happy Elementor Pro Feature and then drag it to the selected area.

Step 2:
Next, Select Content to get more options. Here you’ll get two options. “Toggle” and “Options”

Here you’ll get more option to edit your “Toggle”. After clicking on the “Toggle” option you can add more toggle and give their Title, Icon, Forms, and also content.

This section is so interesting. Here you can edit the “Opening Icon” and “Closing Icon”

Step 3:
To stylize your widget with a more lucrative view click on “Style”

Here you can change the style of your Widget. If you click on ‘Items’, you will get options to edit your toggles according to width, height, padding, border, etc

According to your website design, you can stylize this option by clicking on ‘Title’. Here you’ll able to change Padding, Typography, Text Shadow, Border Radius, Text Color, Background and it’s color, etc.

After clicking on ‘Content’ you can able to edit the content inside the box. Like Padding, Border Type, Border Radius, Typography, Color, Background, and it’s color, etc.

To edit space between the title and Opening-Closing icon, you can increase and decrease the space from this section.

Step 4:
If you want to add motion effects, happy effects, background or make the page responsive, click on ‘Advanced‘ to explore those options. the ‘Advanced’ is a default feature of Elementor. Give a read to this Document to know more about Advanced features and its uses.

Finally, after finishing all the editing, click on ‘Publish’ to see your work live. The only limit is your imaginations.

That’s it!
