Happy Addons introduces Product Category Grid to display all your WooCommerce Store’s categories in an organized way. So your customers will have quick navigation to find your products easily.
Like all other widgets of Happy Addons, this widget also comes with some handy usages & easy to use features. So you only need to follow the basic instruction to add it to your WooCommerce store and beautify it.
Let’s get started:
How to use product category grid widget of Happy Addons
Step One:
First of all, select the widget from the left side screen. And then paste it on your working area.
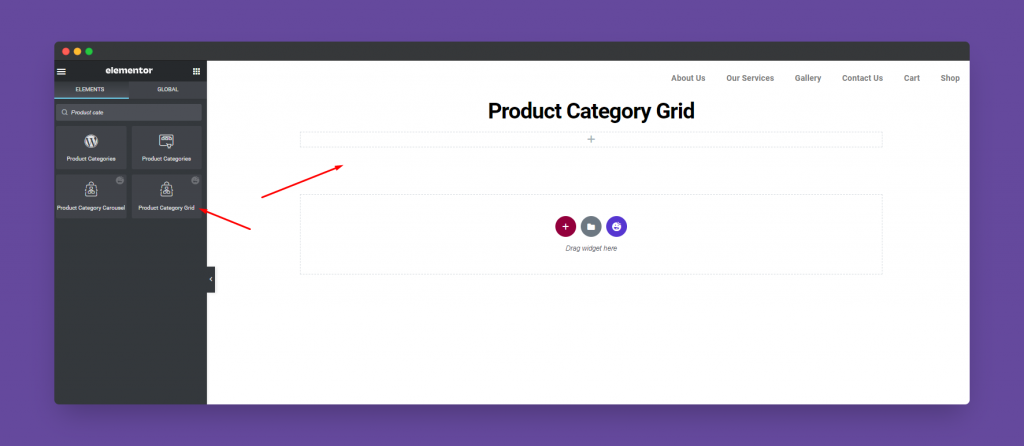
After that you could see your product categories will appear on the screen automatically.
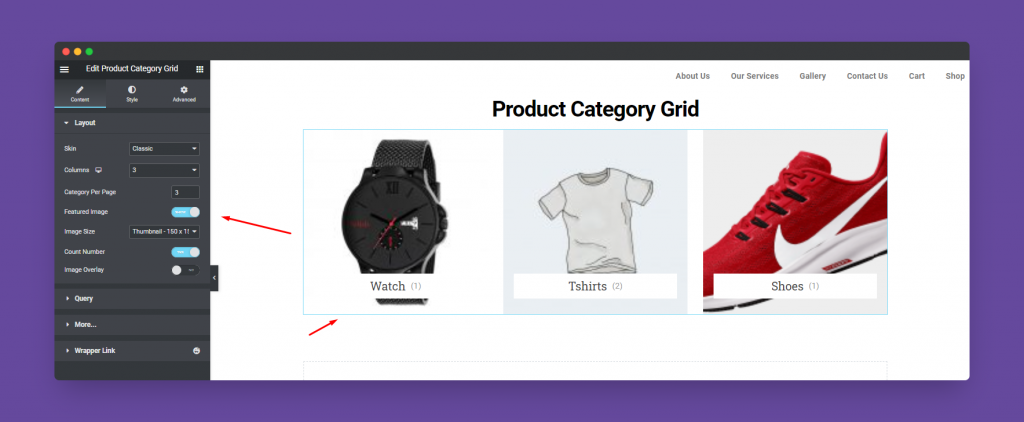
Step Two:
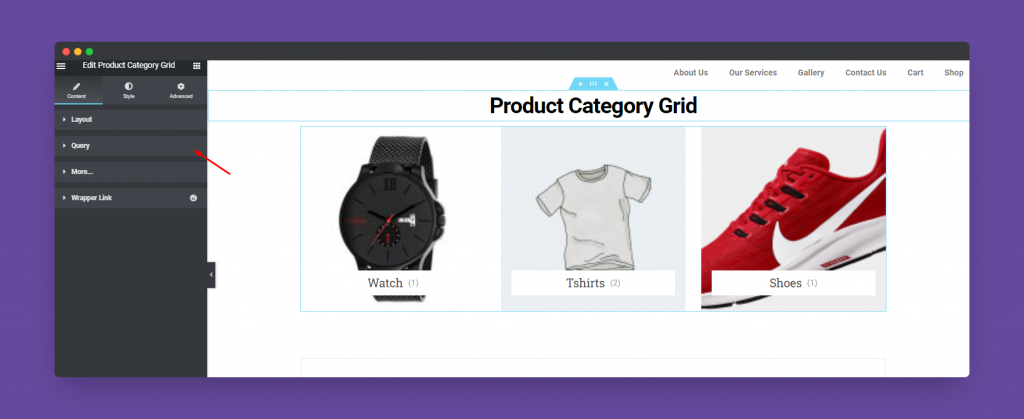
So here you’ll get three major options to customize your product category grid.
- Layout
- Query
- More Items
- Wrapper Link
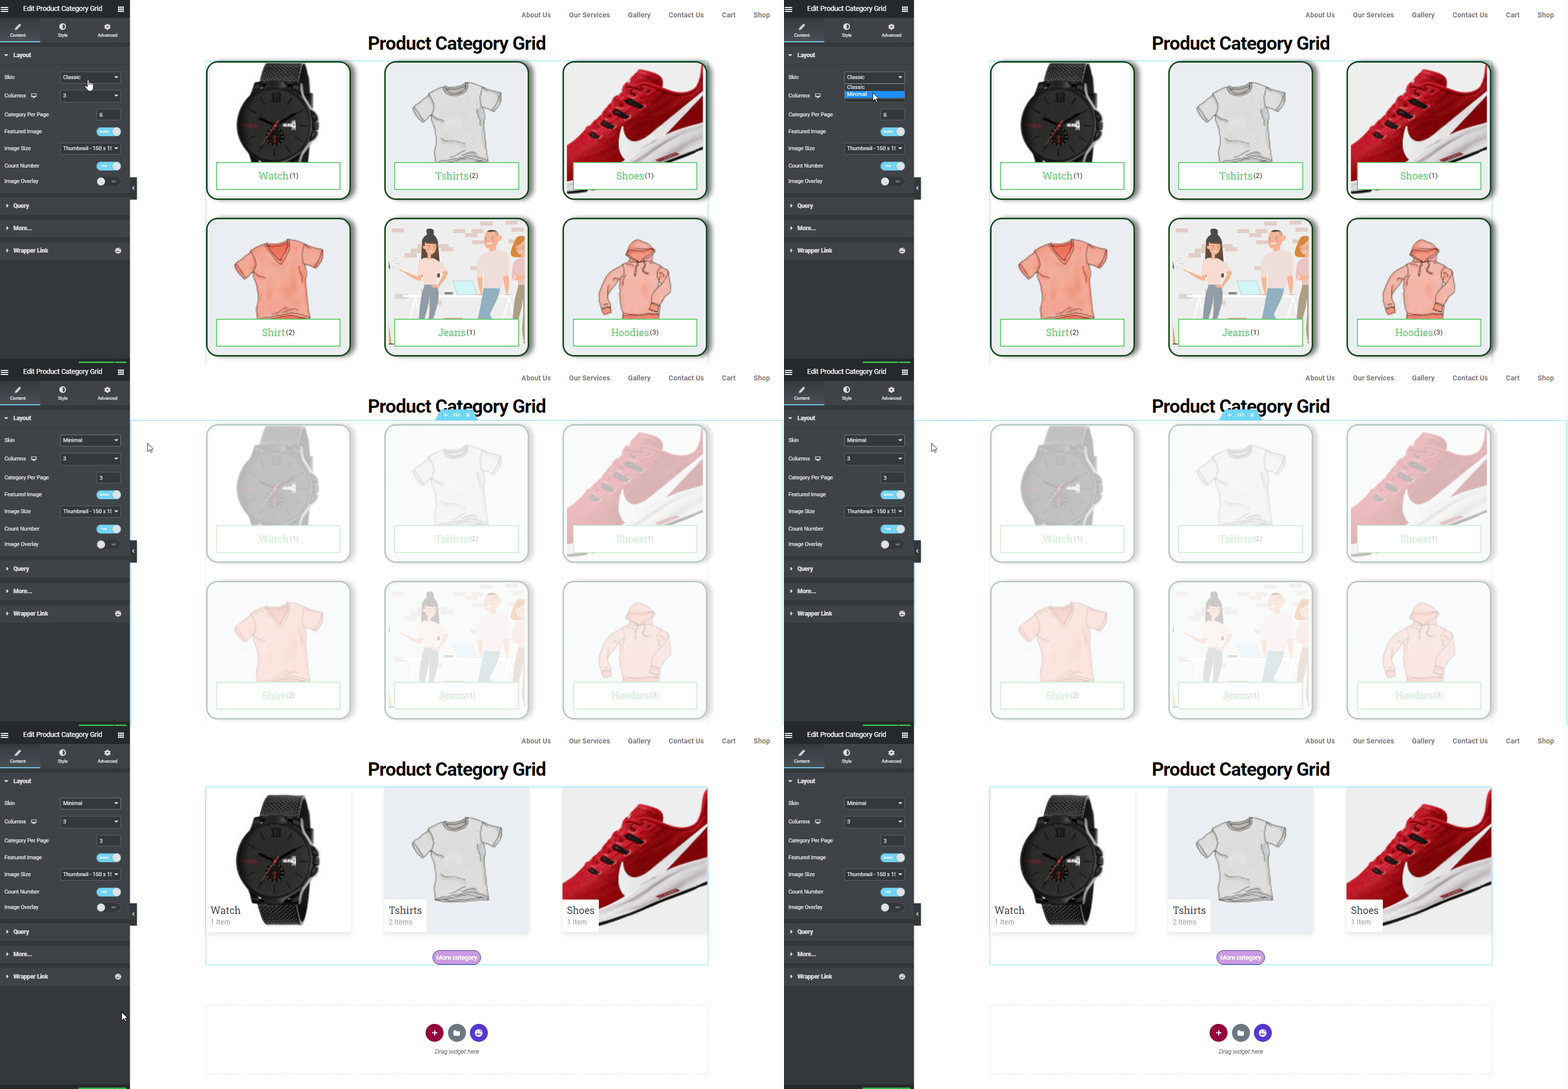
Now tap on the Layout. And here you could see the layout options. Such as which skin that you want to use, number of columns, number of category pages, image size, feature images, and image overlay, etc.
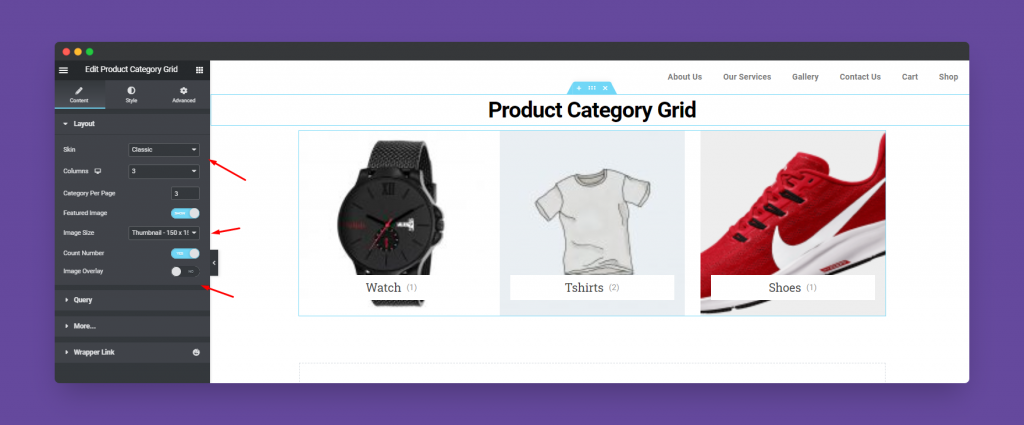
Well, you can use two types of Skins. Classic and Minimal.
Next, you have query to customize. Here you can choose the category type.
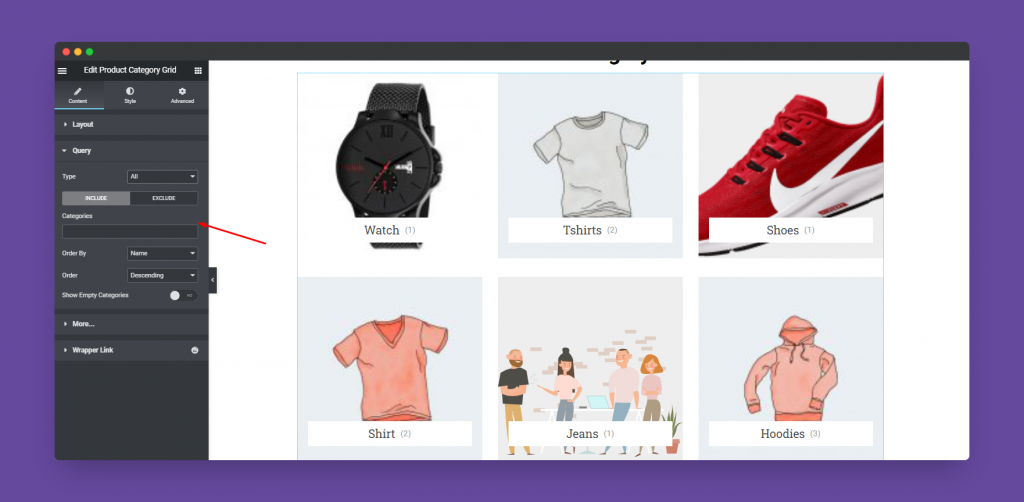
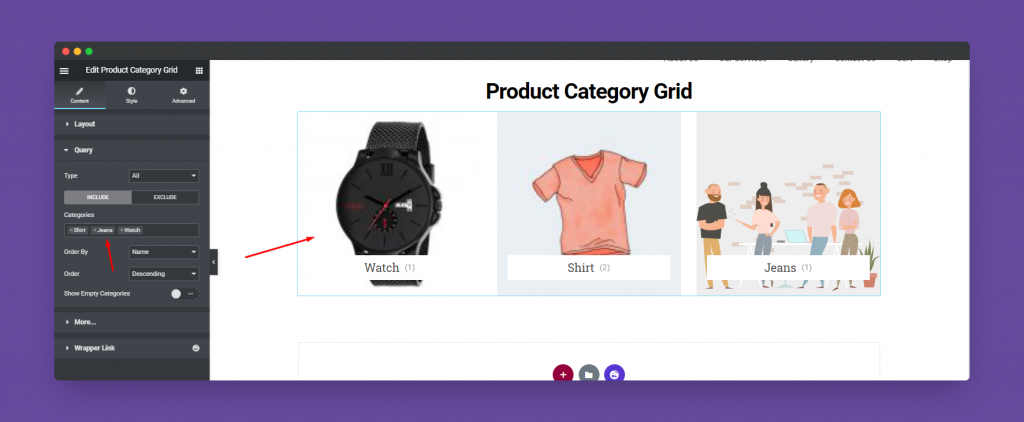
For example, you can exclude or include the categories, sub-categories, also type their name manually and synchronize them according to their names.
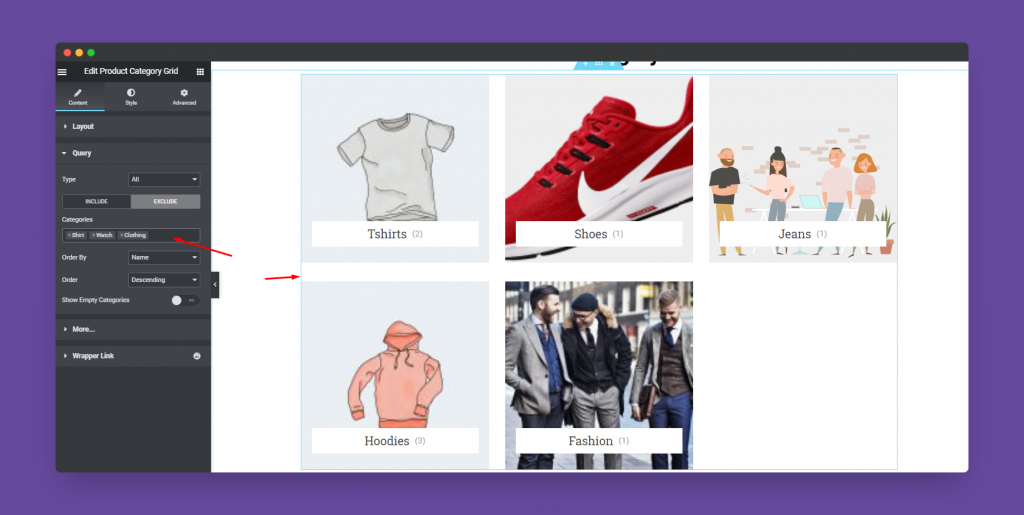
However, same goes for when you exclude the category item from the grid view. As a result, it will not appear.
And lastly, we have another item. If you want to provide a link to your more product, simply enable the option and give a link to it.
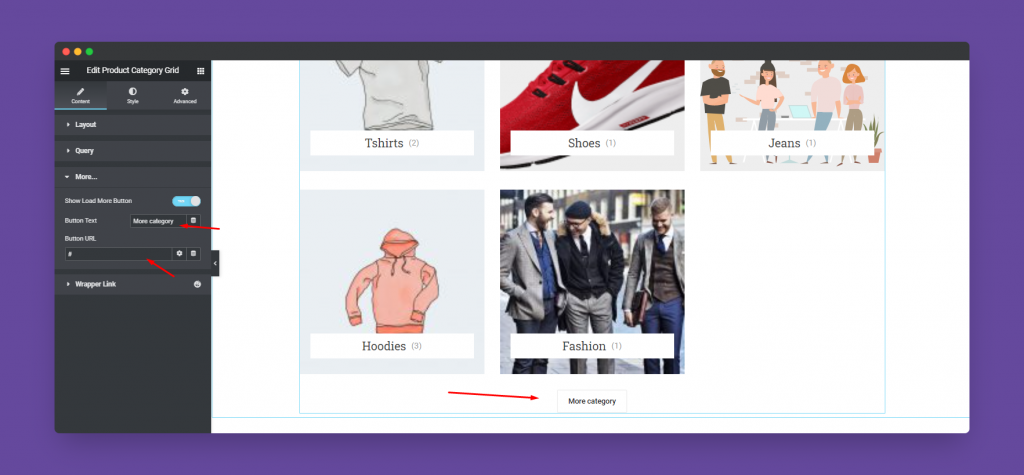
Step Three:
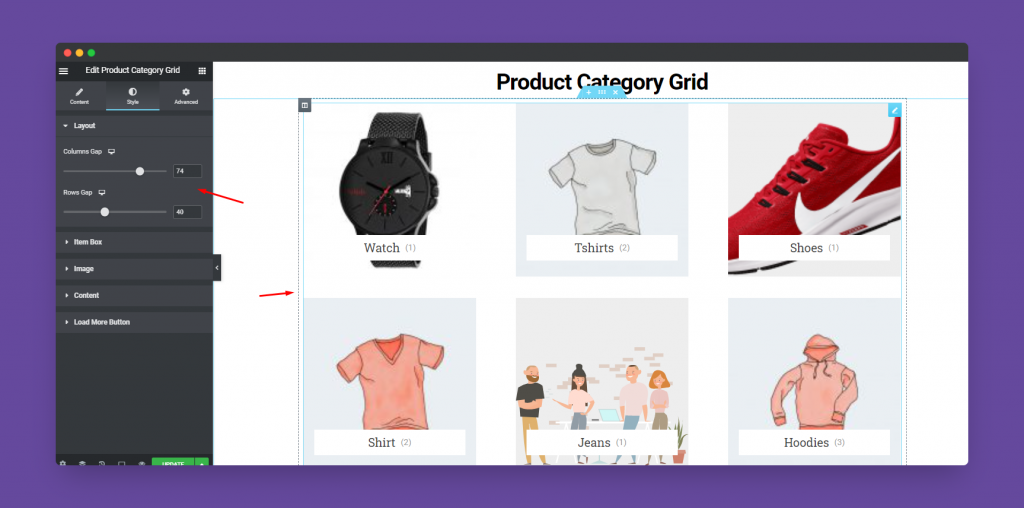
Now it’s time to stylize the widget a bit. For instance, click on the Style tab. And here you’ll get the first option Layout. Here you can control the Column and Row gap.
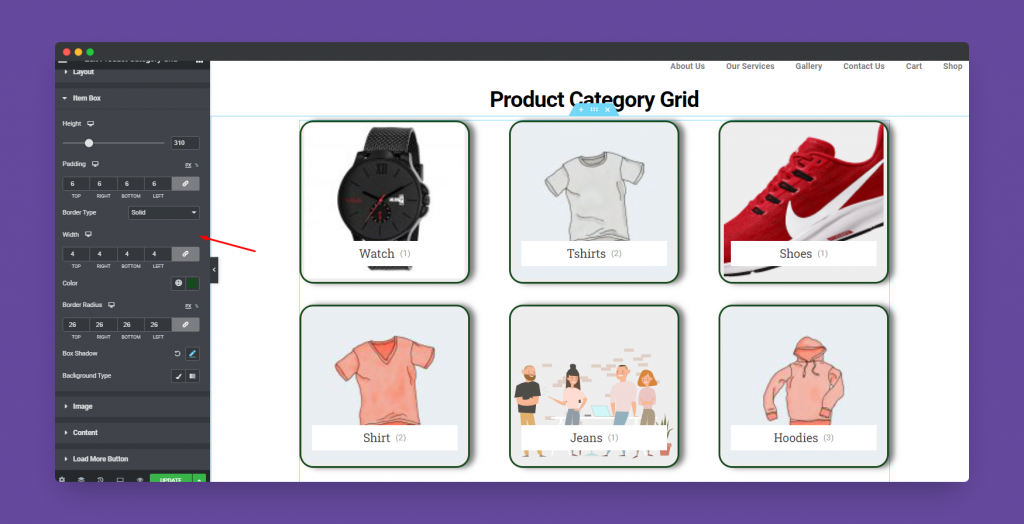
Now tap on the Item Box option. Here you can resize the item box, margin, padding, width, color, border radius, box-shadow, etc.
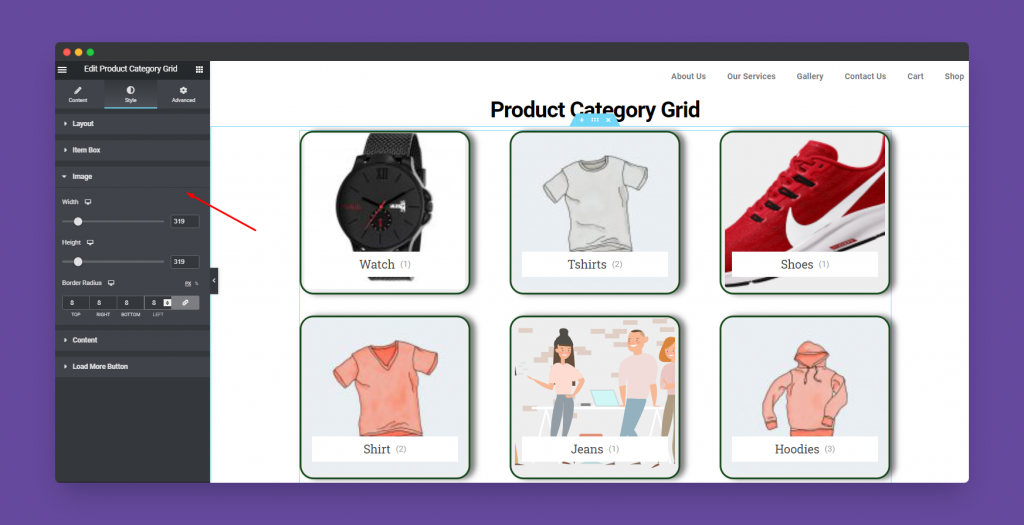
If you want to customize the Image, tap on that option and change its Height and Weight.
Well, you can also change the Category Name and its content. Such as its color, height, width, border color, shadow, count color and size, etc.
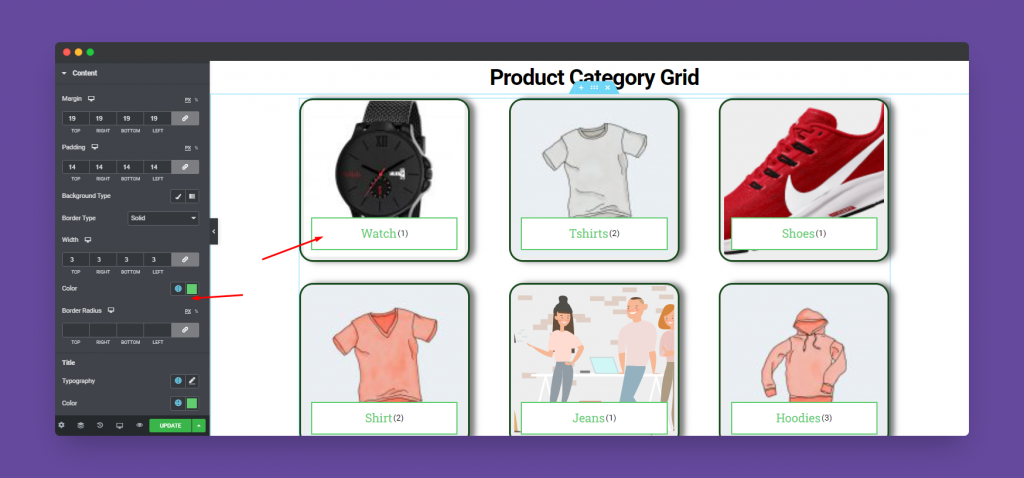
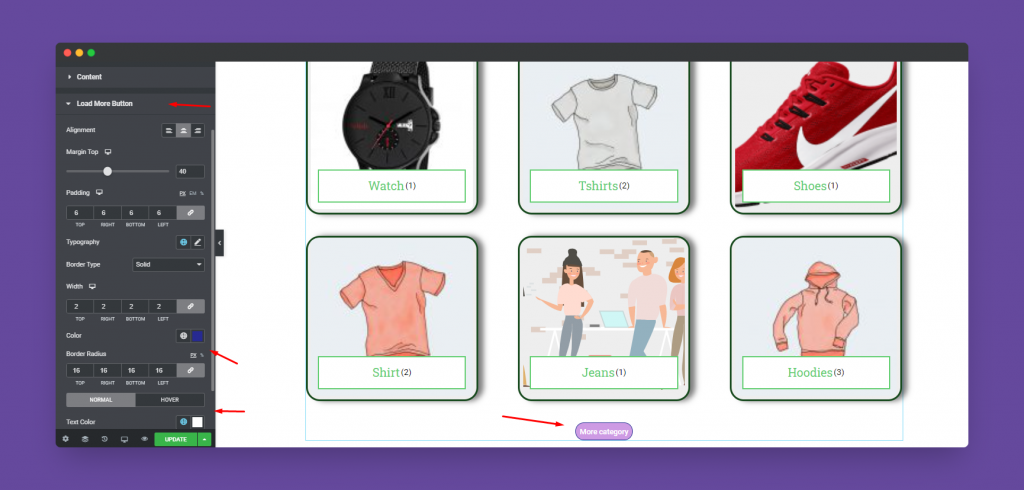
Last we have Load More option. Similarly, you can change its color, background color, typography, etc.
Step Four:
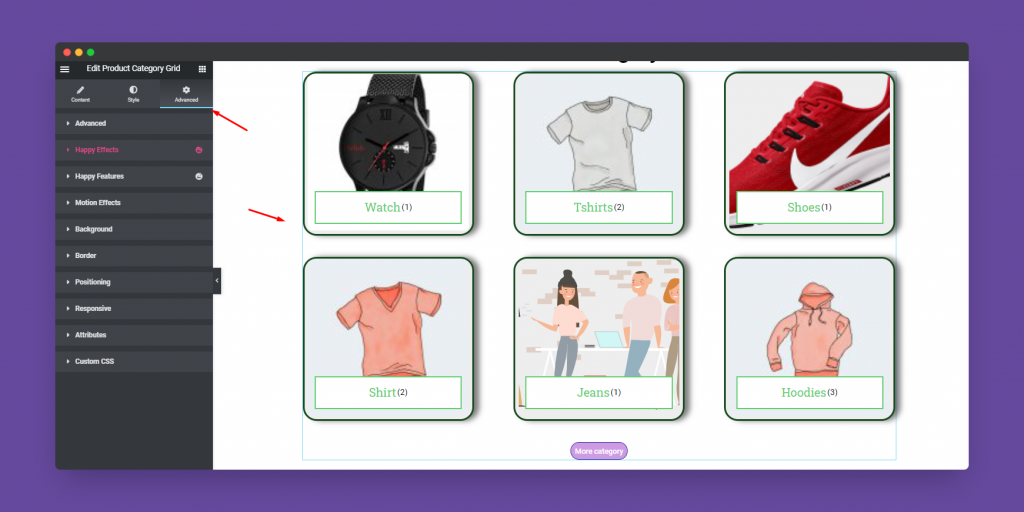
If you want to add motion effects, happy effects, background, or make it responsive and more intriguing, click on ‘Advanced‘ to explore those options. the ‘Advanced‘ is a default feature of Elementor.
Give a read to this Document to know more about advanced features & functions.
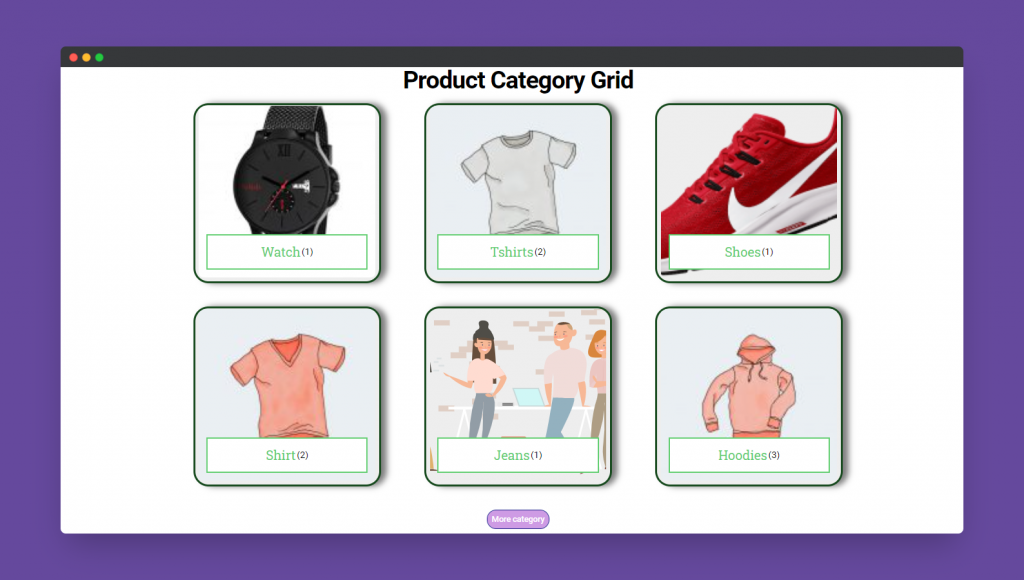
So here is the final output of the overall design.
That’s it!
