Having trouble customizing the default WooCommerce cart page in an organized way? Take a look at Happy Addons Pro‘s new ‘WooCommerce Cart‘ widget. Yes, you can now design your cart page in a decent and creative way with this completely flexible widget.
Pre-requisites
- WooCommerce
- Elementor
- Happy Addons
- Happy Addons Pro
How To Use WooCommerce Cart Widget
Let’s get into deep and exploring the following steps:
Step: 1
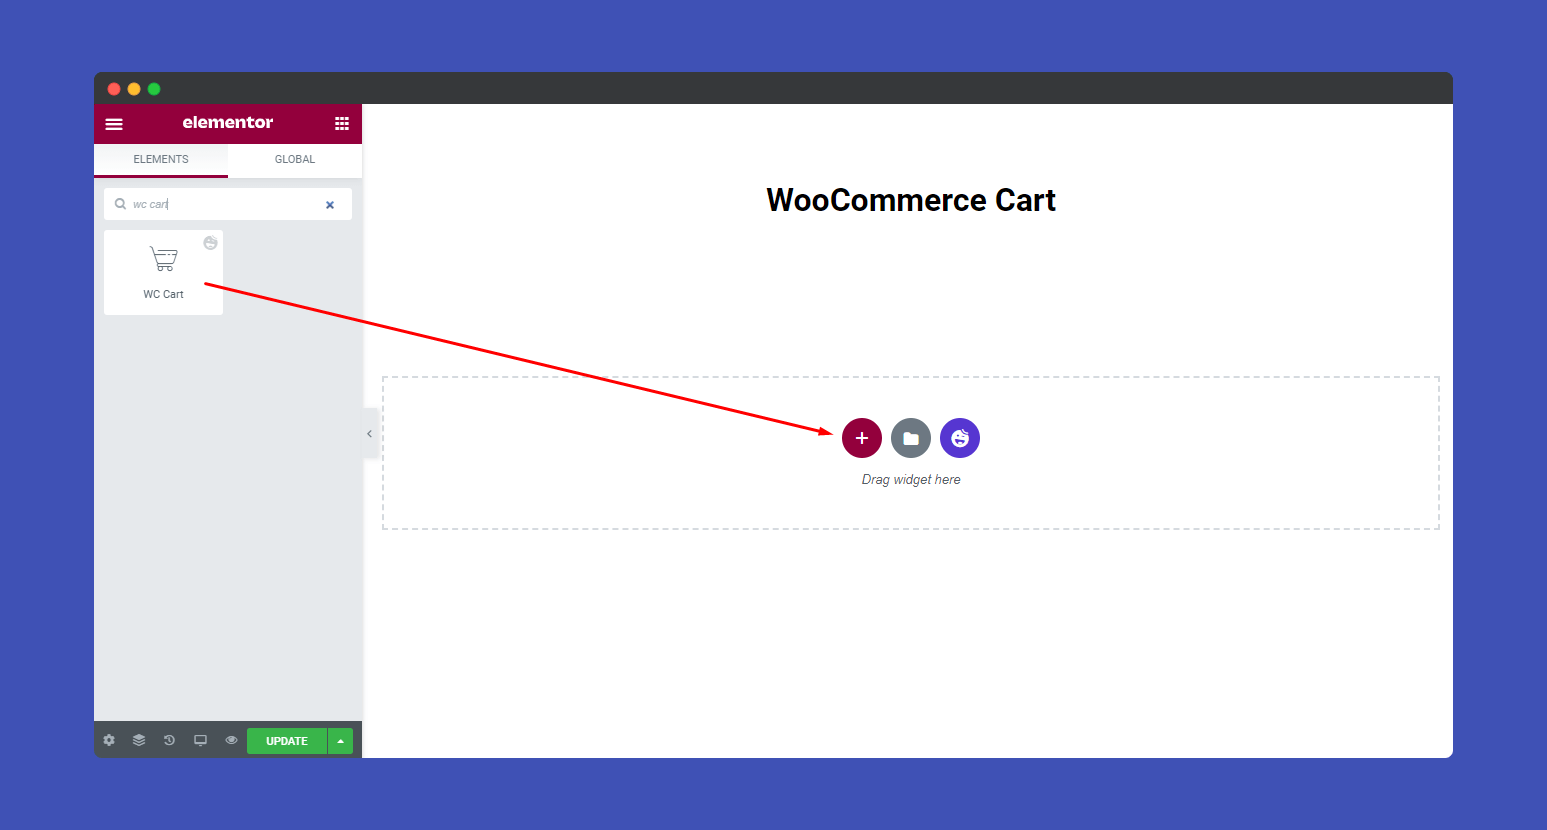
First, find the WooCommerce Cart widget in the left side menu. Then drag and drop it onto the selected area.
Step: 2
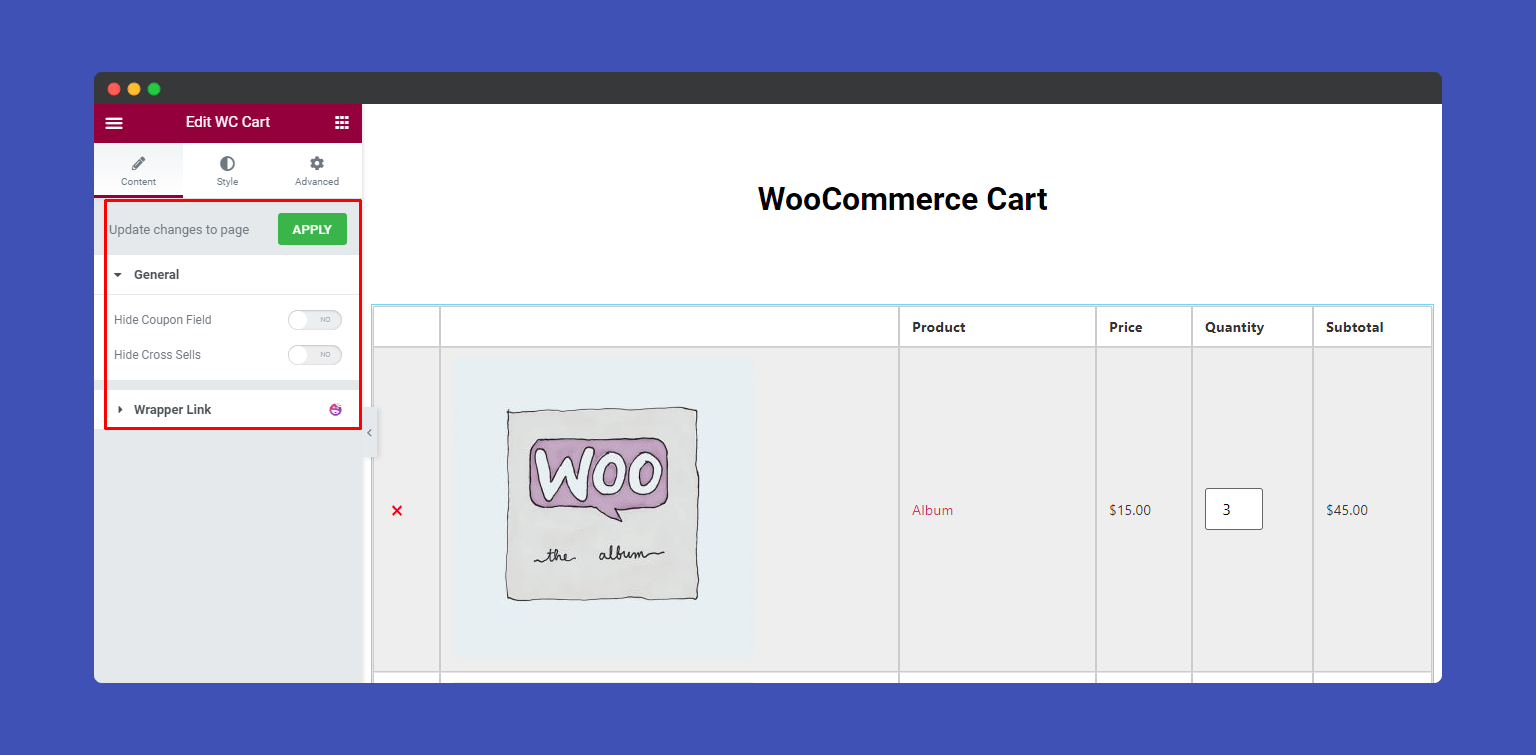
In the Content–>General, you can hide and show your cart page Coupon Field and Cross Sells option.
Step: 3
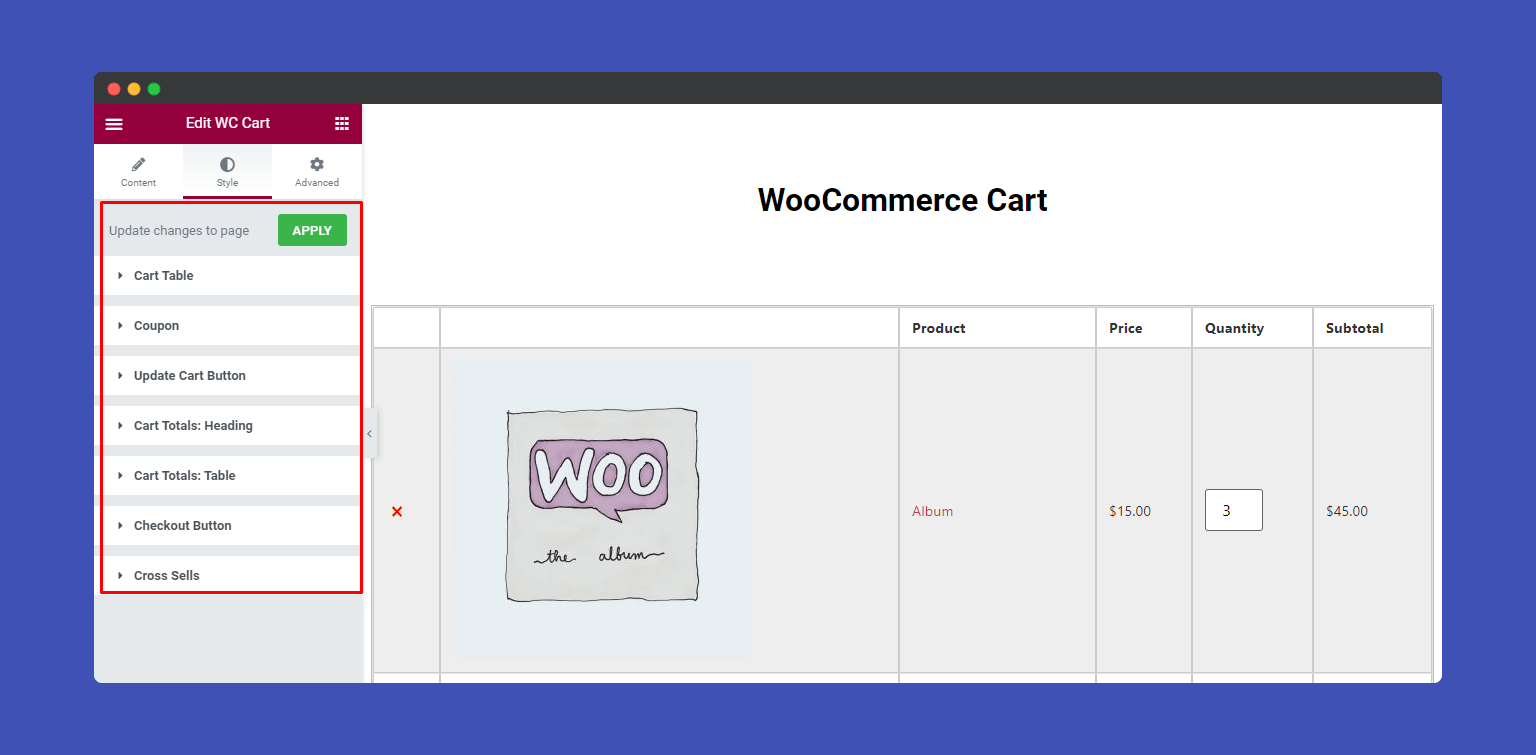
In the “Style” section, you will find seven options to design your cart. Here are the lists.
- Cart Table
- Coupon
- Update Cart Button
- Cart Totals: Heading
- Cart Totals: Table
- Checkout Button
- Cross Sells
Cart Table
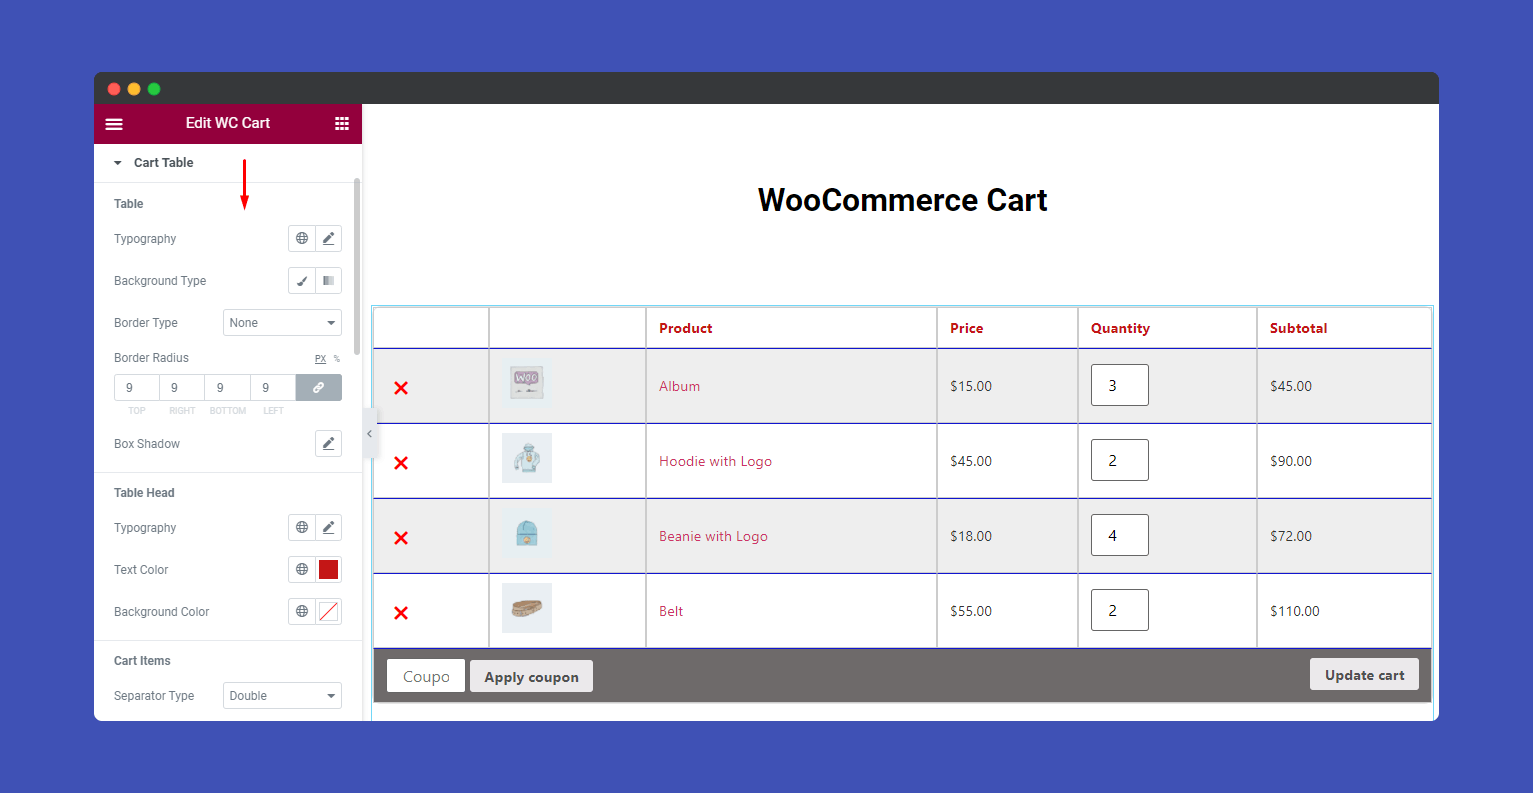
In the Style–>Cart Table, you will find tons of options to change your cart table content like Table, Table Head, Cart Items, Image, Quantity Input, Product Remove, and Update Cart Row.
Coupon
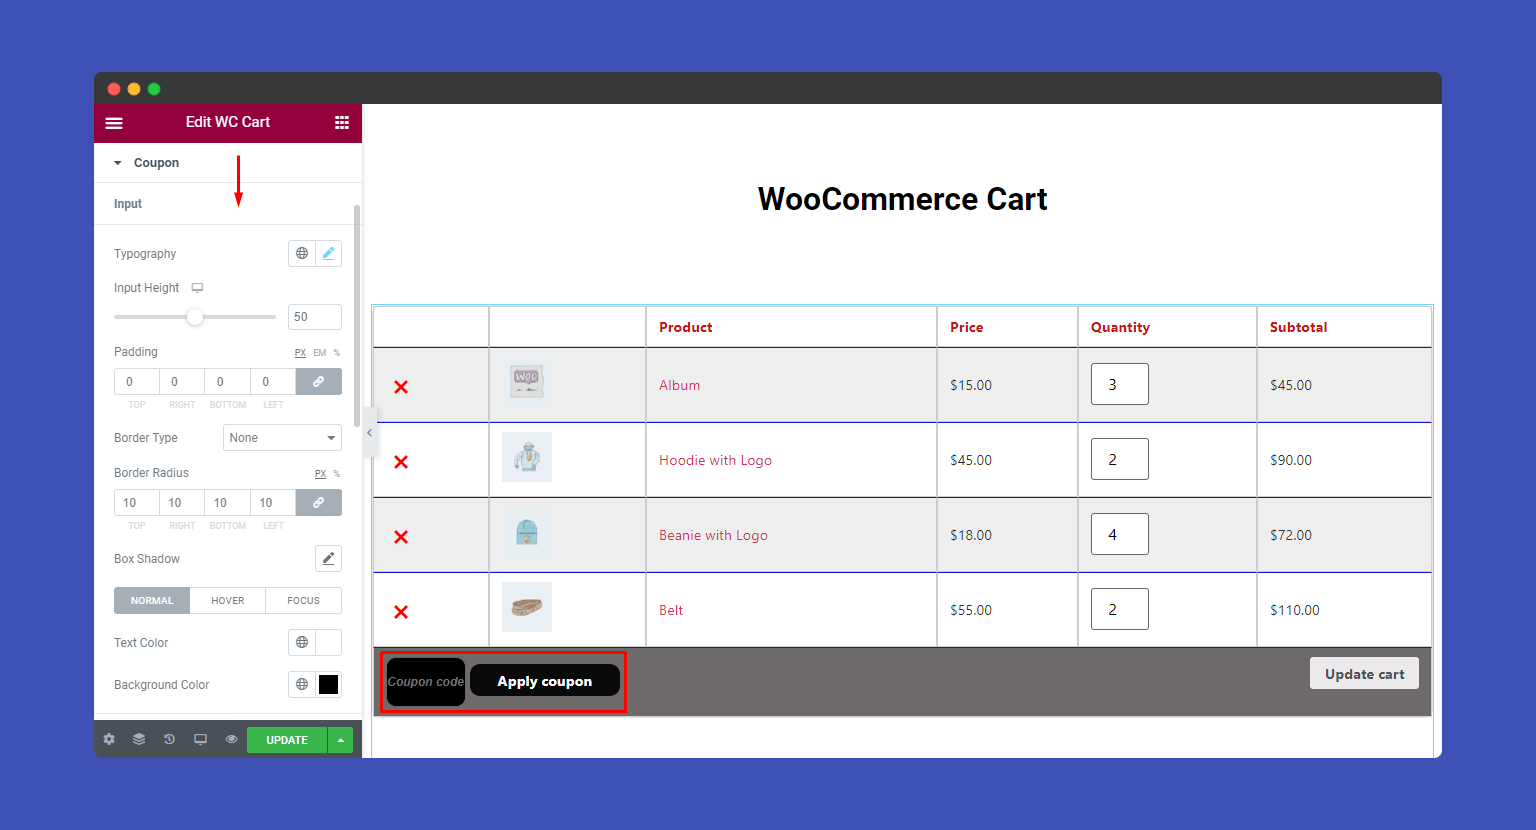
You can also style the Input and Coupon Button. Here you set Input Height, Padding, Border Type, Border Radius, Box Shadow, Text Color, and Background Color.
Update Cart Button
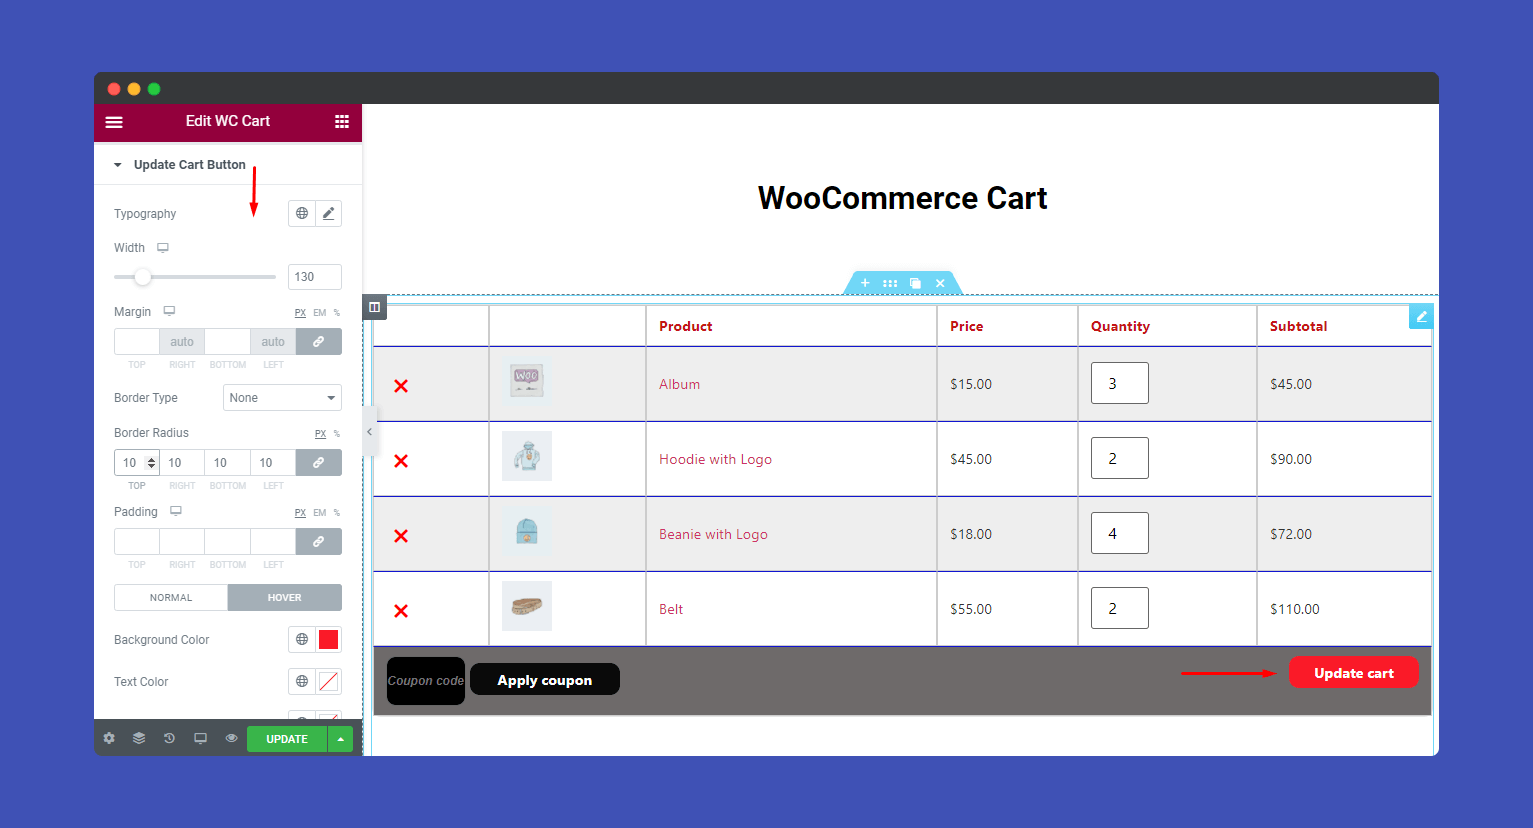
If you want, you can customize the Typography, Width, Margin, Border Type, Border Radius, Padding, Background Color, Text Color, and Box Shadow of the ‘Update Cart Button‘.
Cart Totals: Heading
You can define the Color, Typography, and Spacing of the ‘Cart Total: Heading‘.

Cart Totals: Table
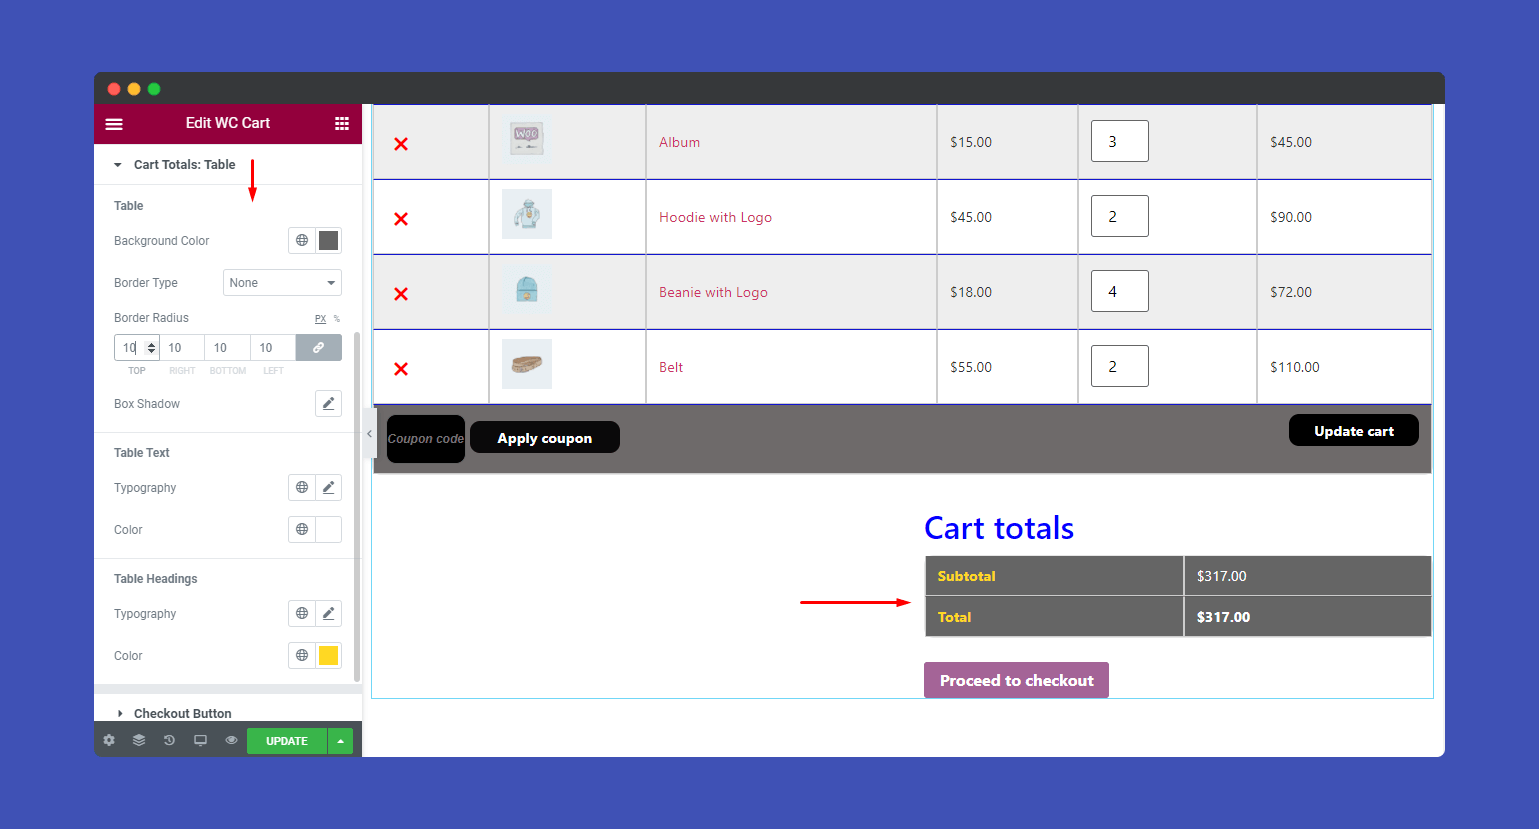
Likewise, you edit the ‘Cart Total: Table‘ content like Table, Table Text, and Table Headings. Set the table’s Background Color, Border Type, Border Radius, Box Shadow, Typography, and Color.
Checkout Button
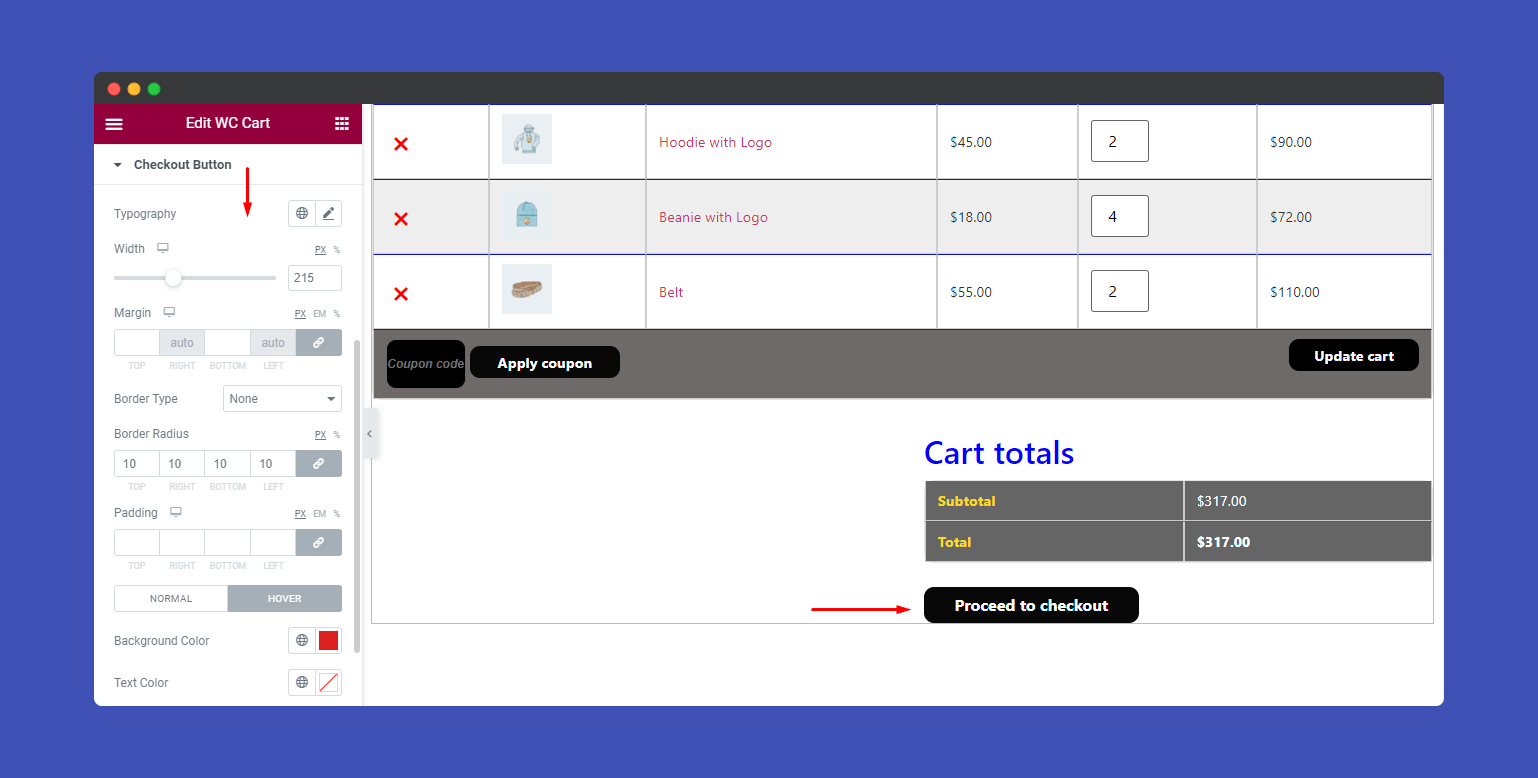
Here are some styling options like Typography, Width, Margin, Border Type, Border Radius, Padding, Background Color, Text Color, and Box Shadow for giving a stunning look to the Checkout Button.
Cross Sells
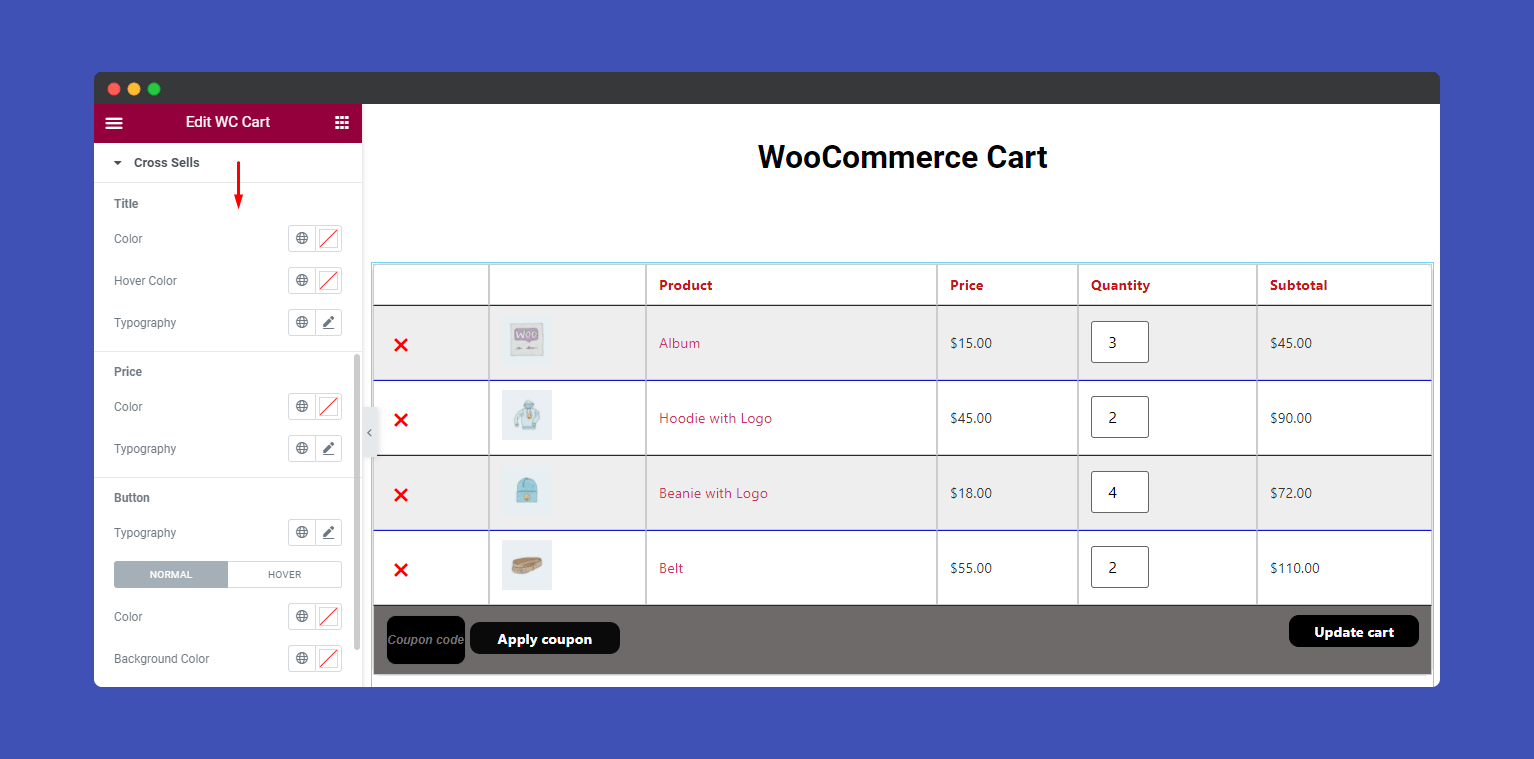
You can also customize the Cross Sell‘s Title, Price, Button, and Sale Badge with ease.
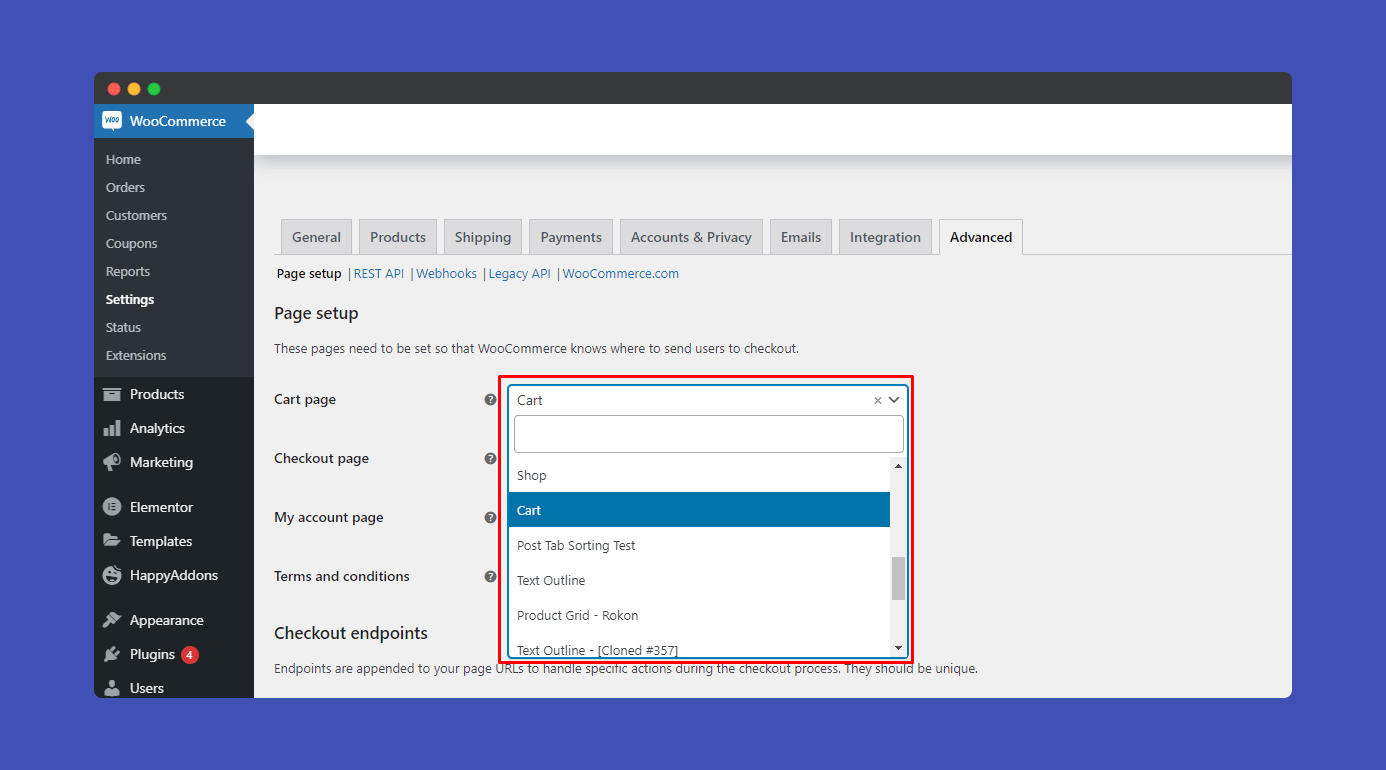
Note: If you think that you will not use the default cart page, instead you want to create a new cart page and design it using the Elementor, you can do it. To do this, you have to go to the WooCommerce–>Setting. Then click the Advanced tab. Here you’ll see the option to define the newly created page as your cart page.
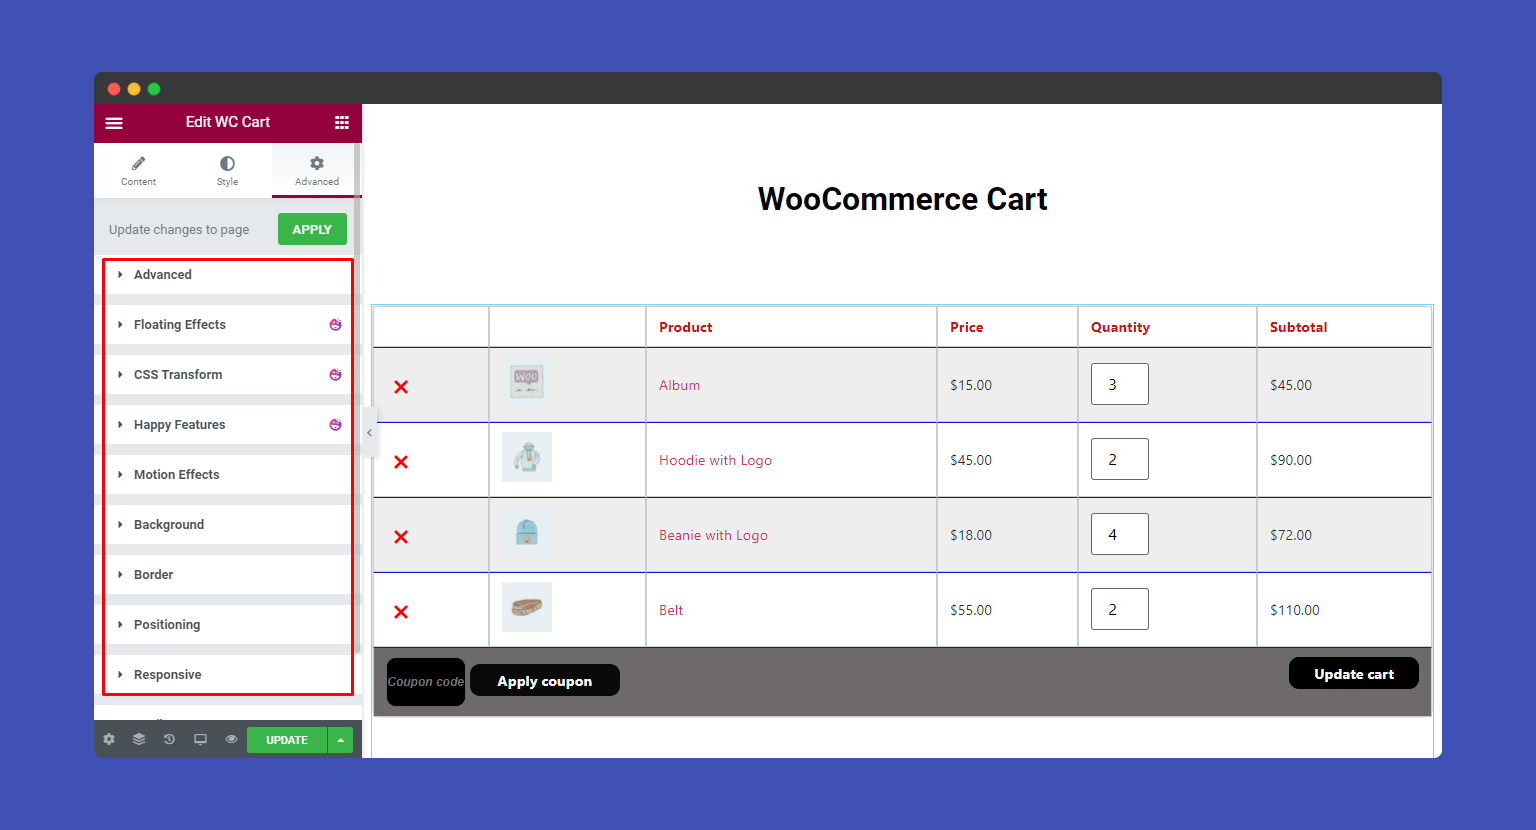
Note: If you find something will not work properly, you should click the Update changes to page ‘Apply‘ button.
Step: 4
If you want to add motion effects, happy effects, background, or make it responsive and more intriguing, click on ‘Advanced‘ to explore those options. the ‘Advanced‘ is a default feature of Elementor.
Give a read to this Document to know more about advanced features & functions.
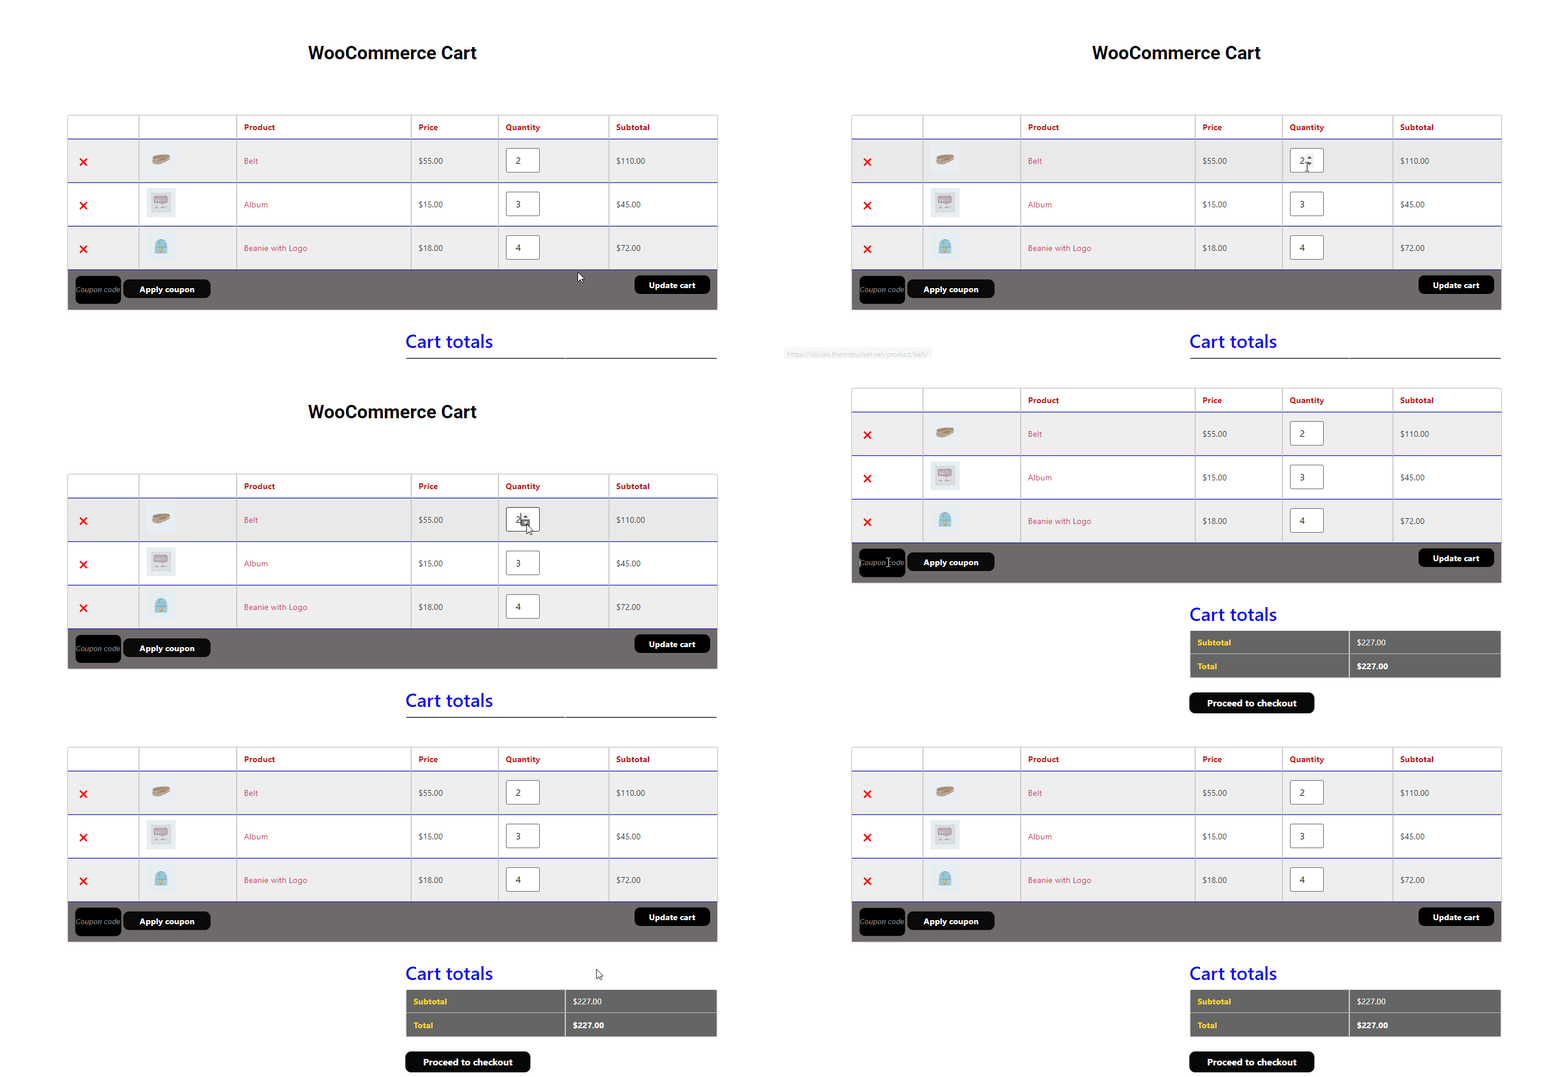
Here is the final preview of WooCommerce Cart widget.
That’s it.
