Using Product carousel widgets of Happy Elementor Addons Pro, you can easily bring some different flavors to your site’s look & give customers easy navigation to find your products quickly.
So let’s check out how to easily add product carousel widget and customize it step by step:-
How To use Product Carousel Widget of Happy Addons
Step One:
First of all, you need to add the widget on the working screen. This is where you’ll start working.
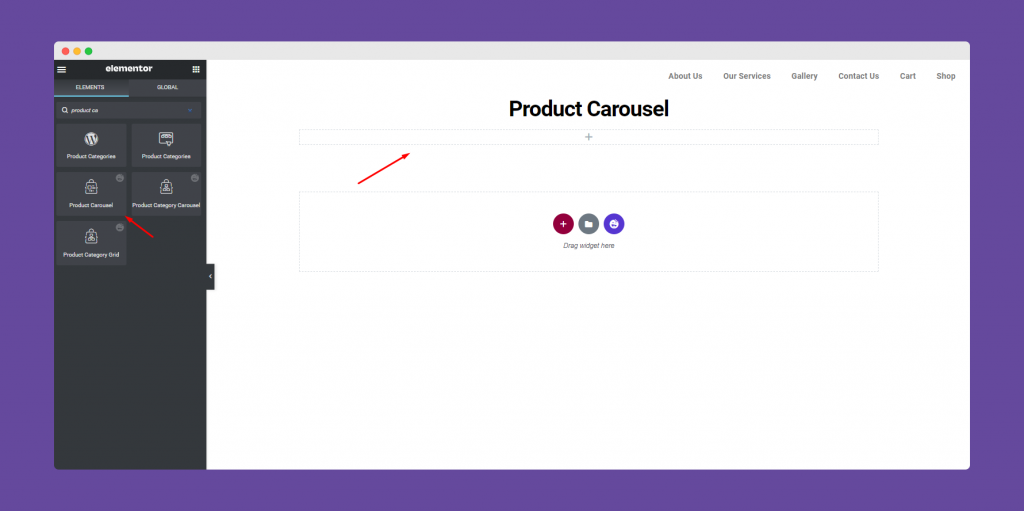
Do make sure that you already have enough products on your store. So it will help product carousel widget to work perfectly.
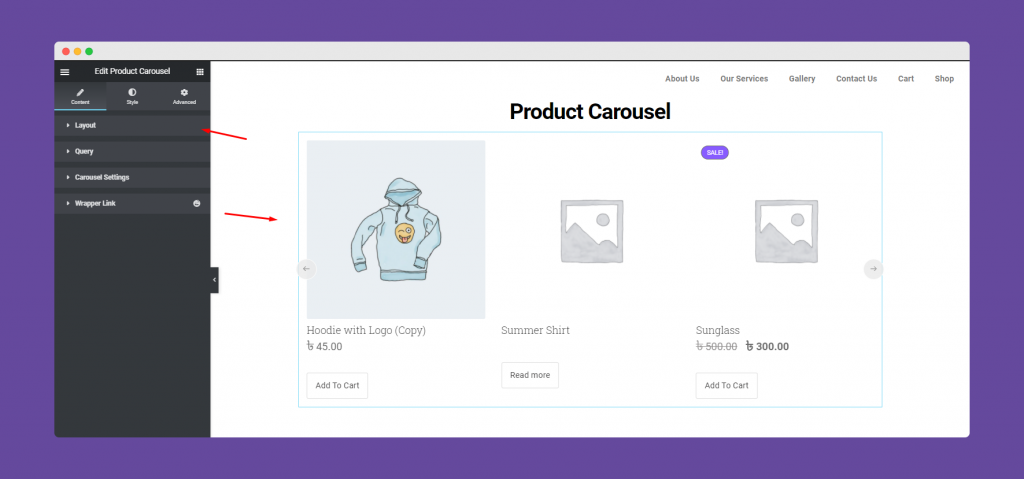
Well, after adding the widget, you could see that all your products are appearing on the screen.
Step Two:
So here you’ll get the options after adding the widget.
- Layout
- Query
- Carousel Settings
- Wrapper Link
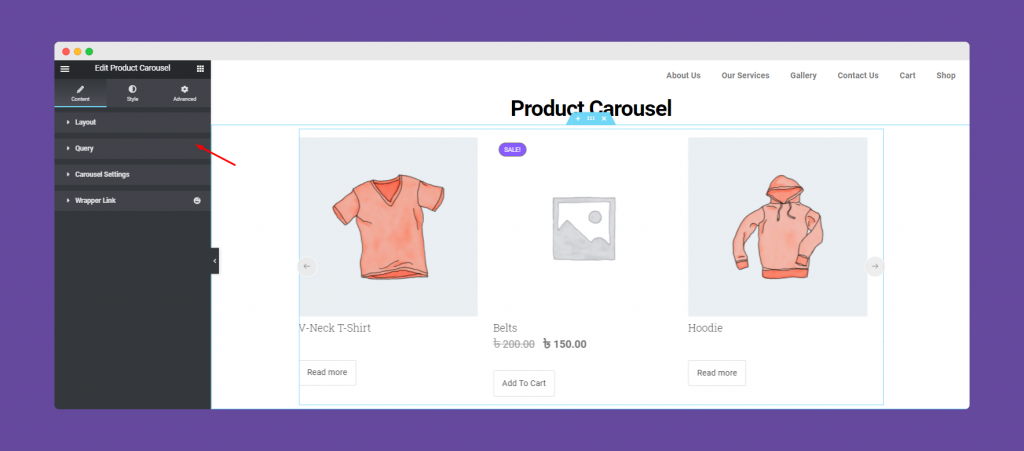
Let’s check out them one by one:-
Layout
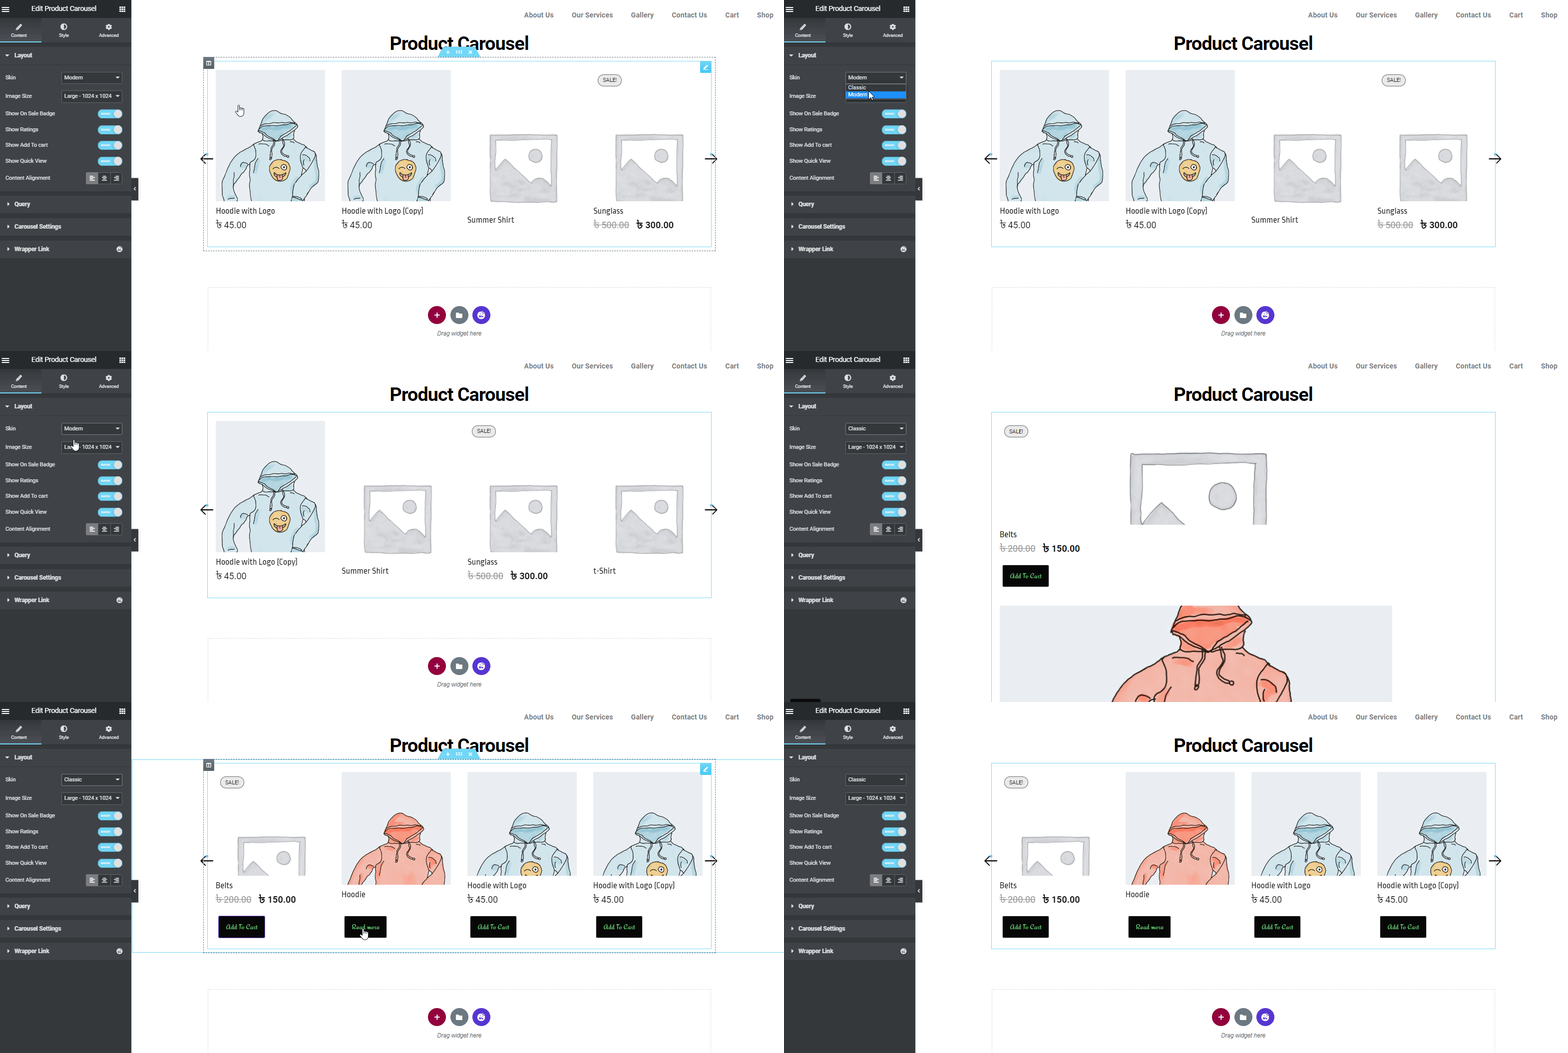
When you tap on the Layout, you could see the related options that will be available for you. For example, image structure, show or hide image contents and alignment, etc.
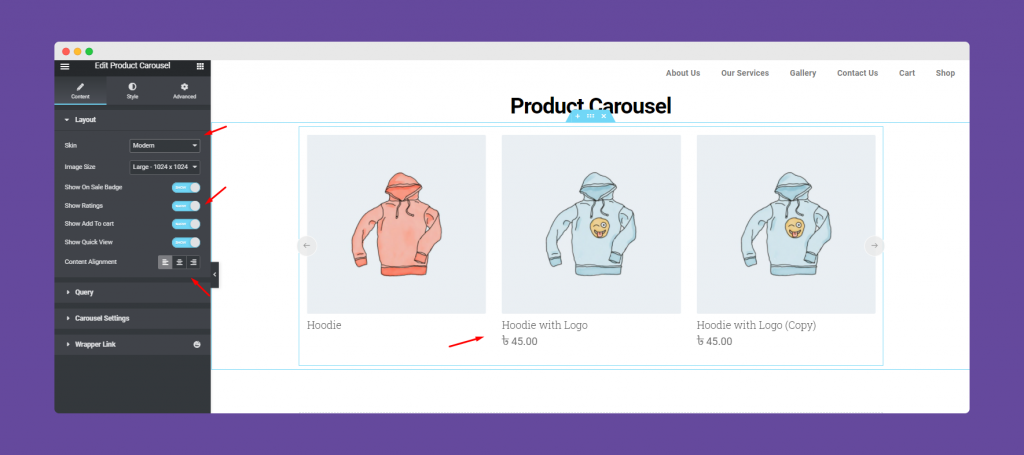
Here you can two types of Skins. Classic and Modern.
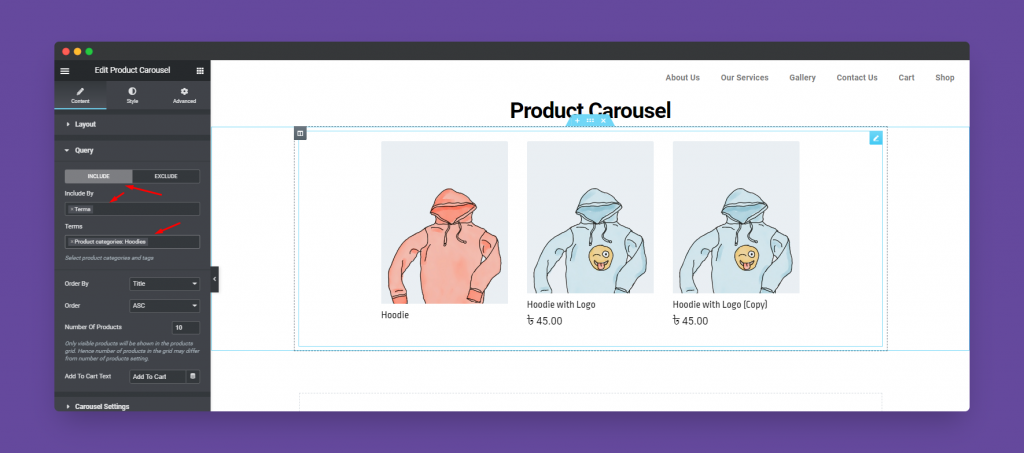
After you click on the Query section, you’ll have certain things to customize. Here you can exclude or include queries (actually your product tags will work here).
Okay, let’s say you want to include only Hoodie item. So click on the Include and type hoodie. That’s all, item related to the Hoodies will appear on the screen.
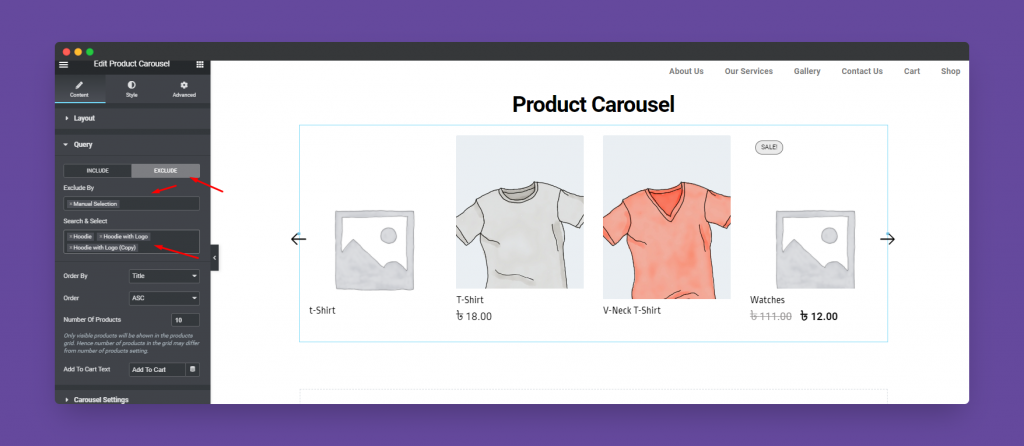
On the flip side, if you want to Exclude hoodies, simply click on the exclude and type the product name.
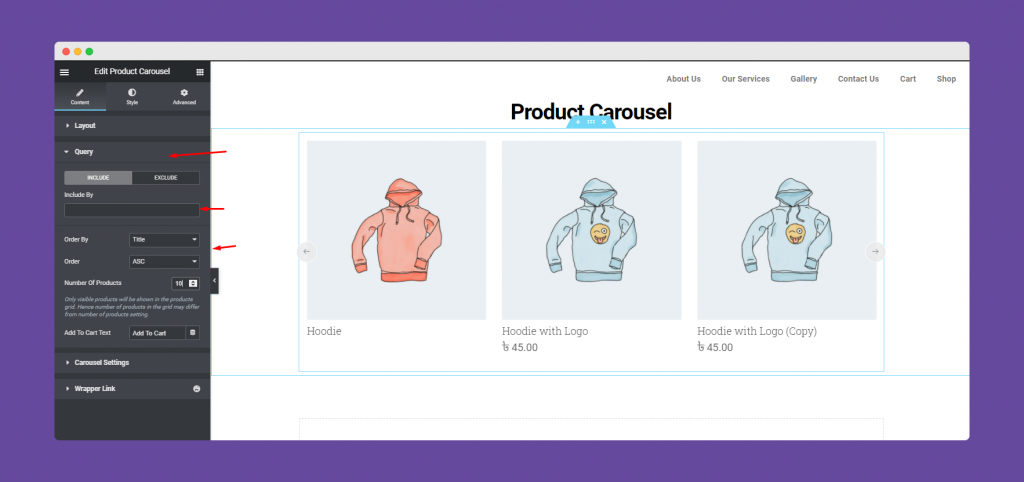
After that you can organize product order either in a ascending view or in a descending view. Also, you can customize the Add to cart button.
Carousel Settings
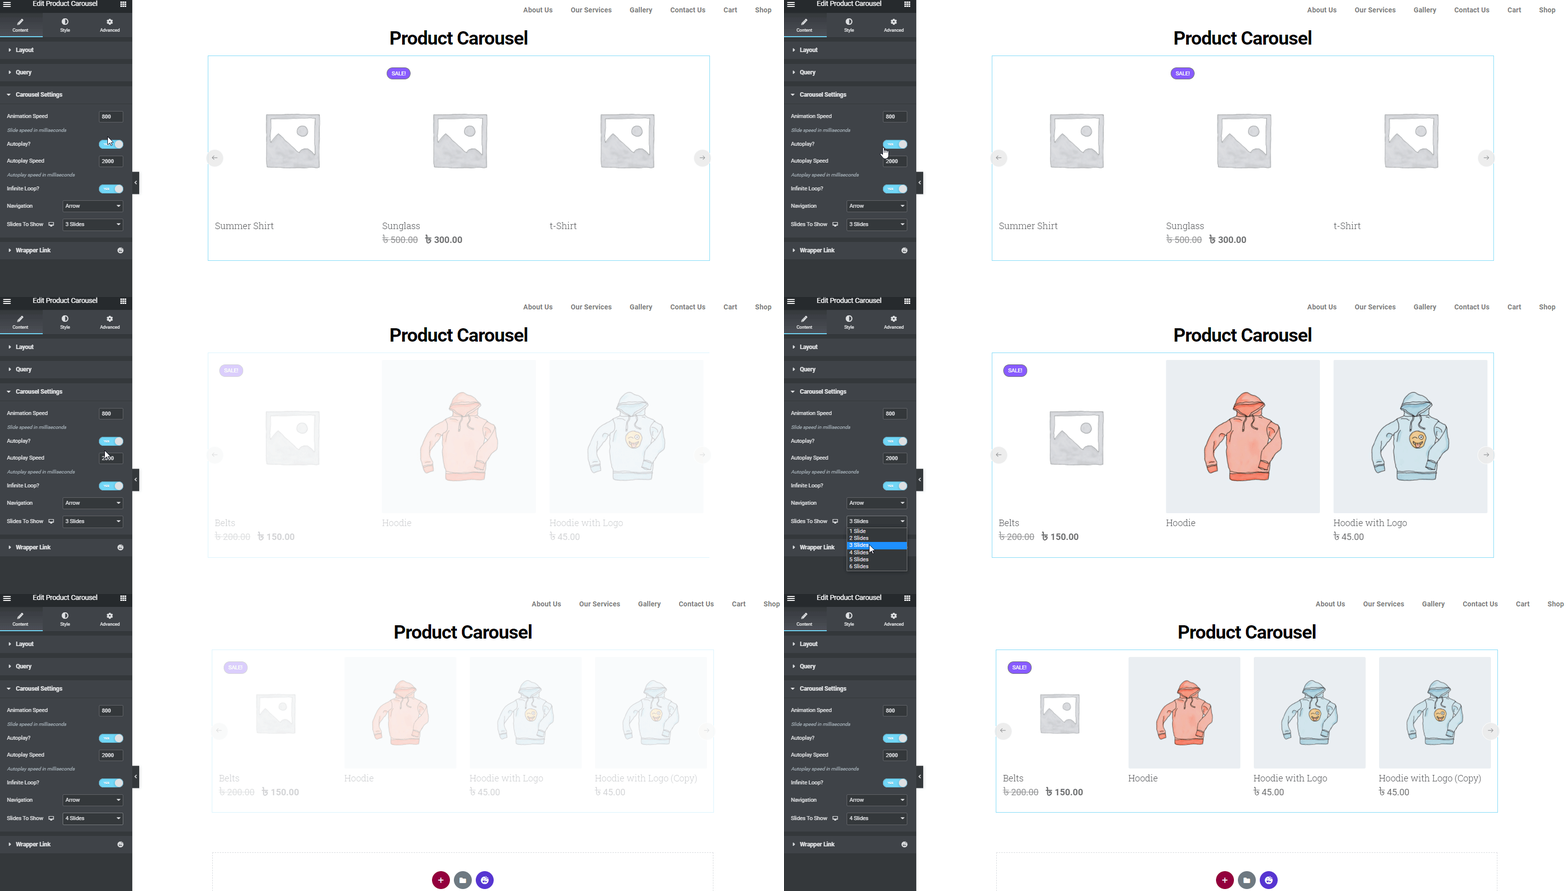
In the carousel settings, you can set the animation speed, duration, auto play option and also determine how to slides do you want to show, etc.
Wrapper Link
To know more about the wrapper link check out our official documentation or you can check out the following video.
Step Three:
Now it’s time to give a stylish look and change the style a bit. To do that, click on the Style section.
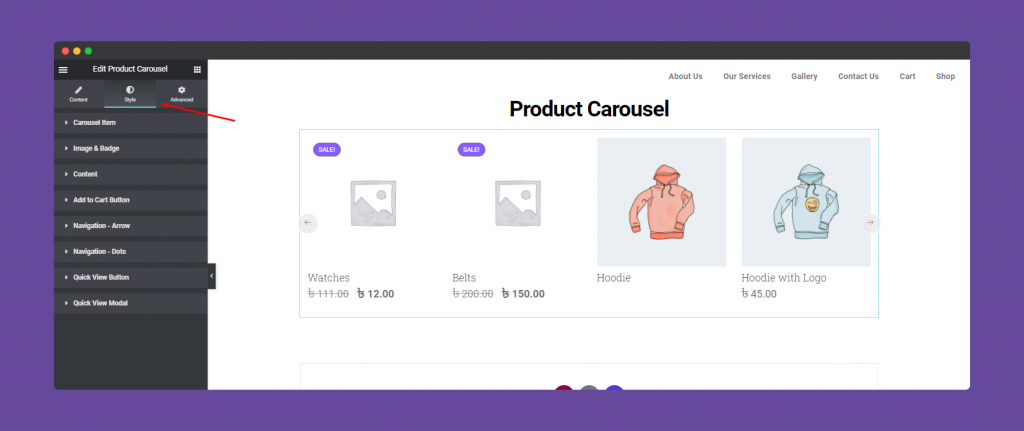
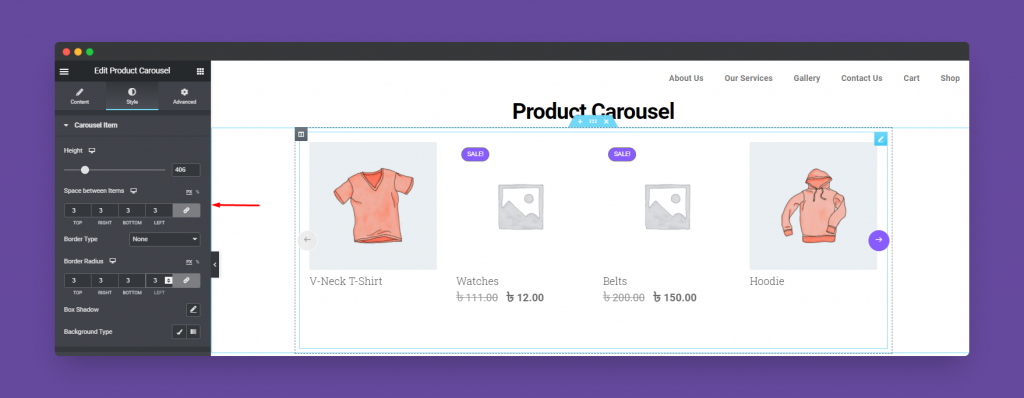
So the first option for giving a style on to your design is Carousel Item. Here you can resize, give a border radius, select the border type, box-shadow and background type.
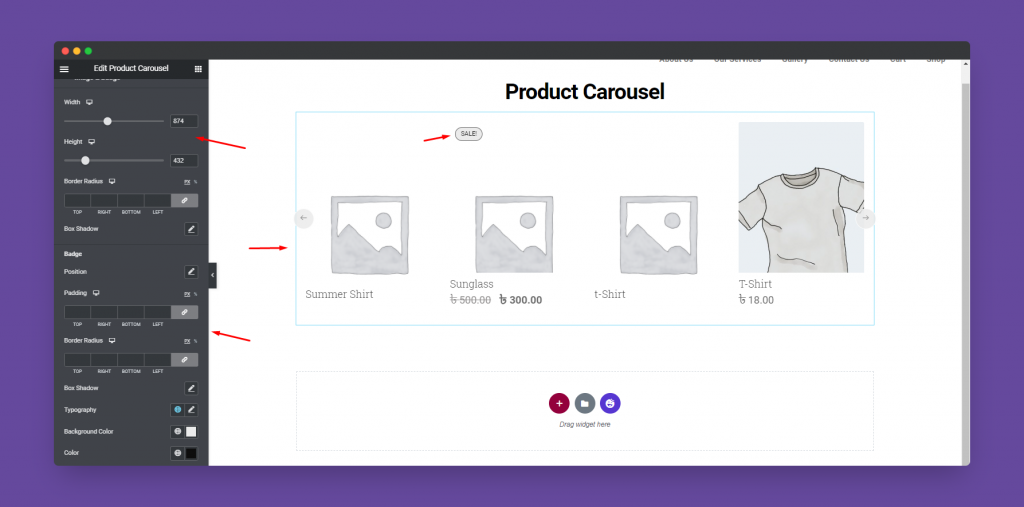
Next click on the Image Section. Here you’ll have certain things to customize your product images. For example, you can change height and weight, margin, padding, image position, typography, etc.
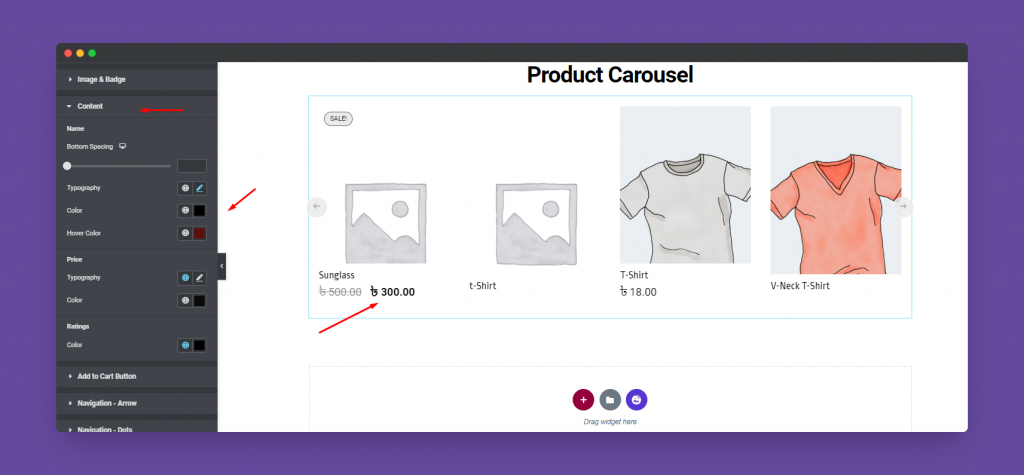
Again, click on the Content section. Here you can customize content’s color, typography, price color, typography, rating color, etc.
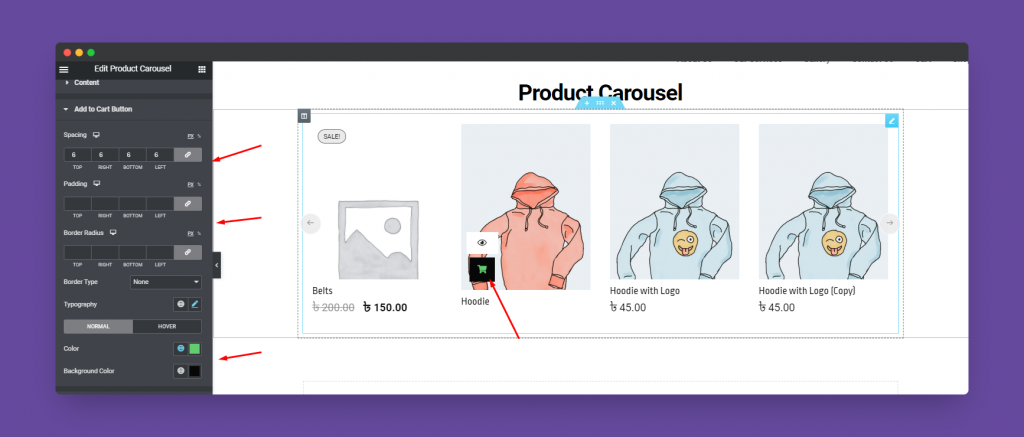
Next, you have Add to cart button. Similarly, you can customize its spacing, padding, border-radius, typography, border type, color, etc.
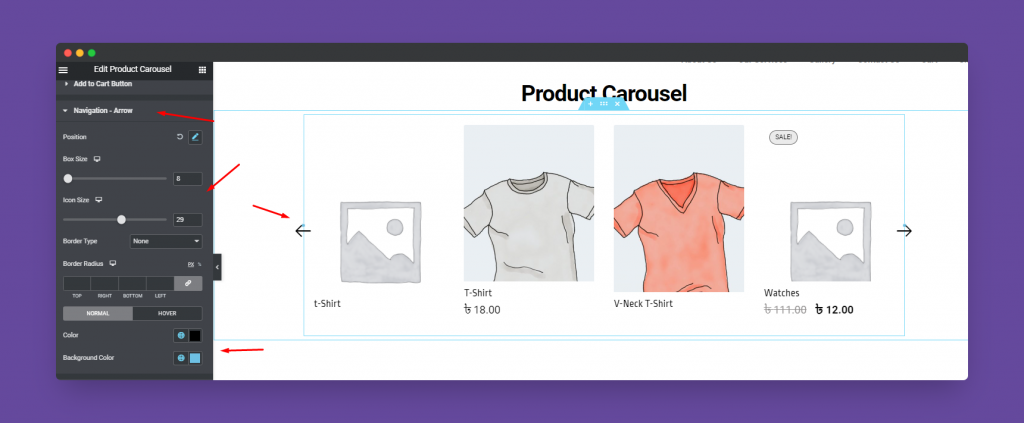
Next, tap on the Navigation Icon and here you can customize its size, position, colors and other things.
You can perform the same task to edit the Quick Navigation section. Such as colors, position, etc.
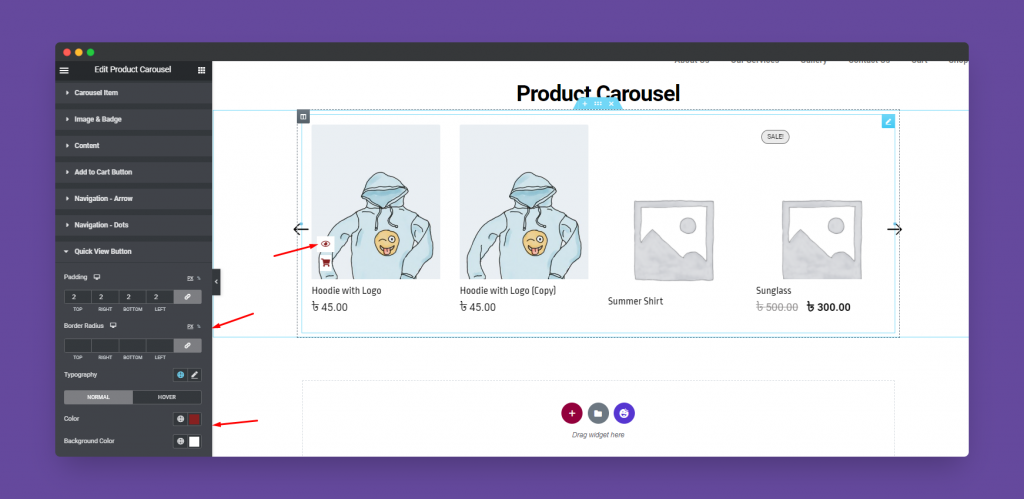
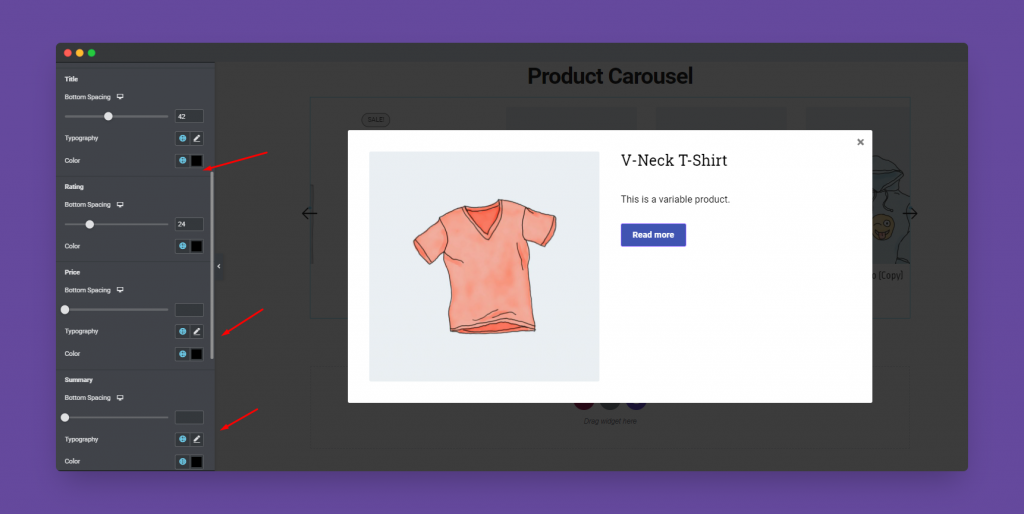
Lastly, you’ll have Quick Navigation View to edit. So after your customers click on the add to cart button or want to see the overall view of the products, s/he can see the following one.
So you can change the title, text, color, add to cart background color, text, and more.
Step Four:-
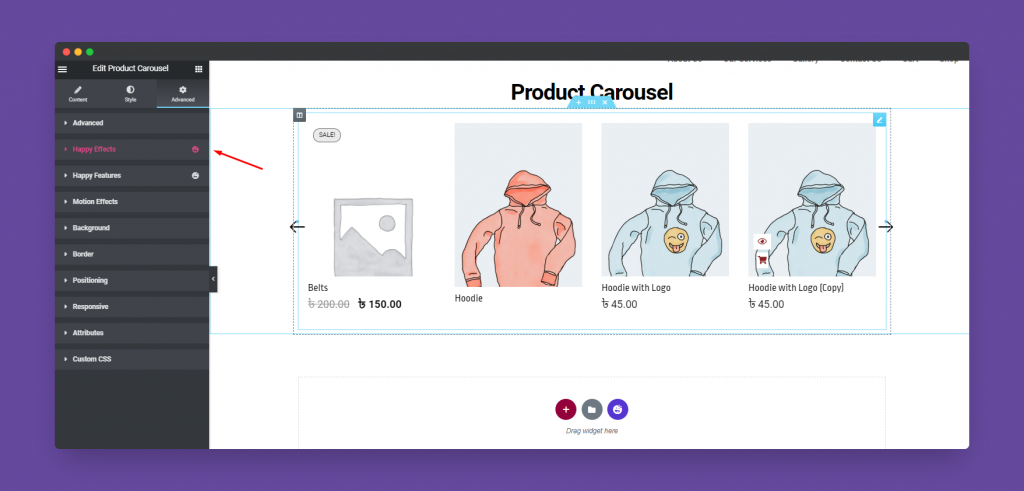
If you want to add motion effects, happy effects, background, or make it responsive and more intriguing, click on ‘Advanced‘ to explore those options. the ‘Advanced‘ is a default feature of Elementor.
Give a read to this Document to know more about advanced features & functions.
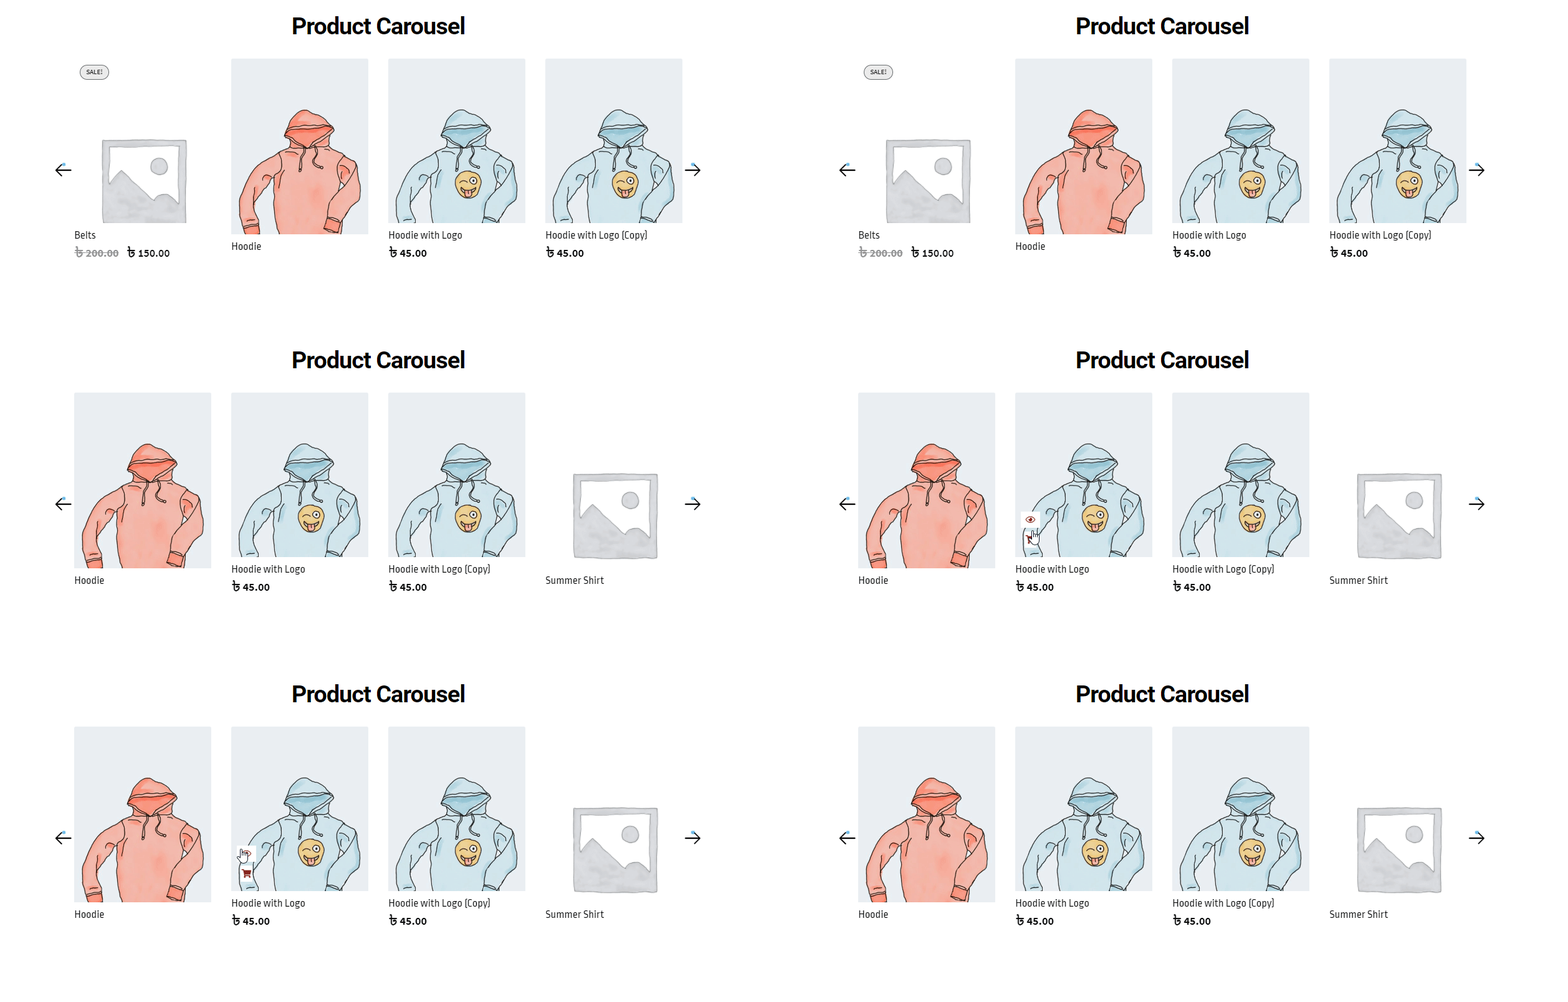
Finally, after clicking the publish button you will see the beautiful product carousel on your webpage.
That’s it!
